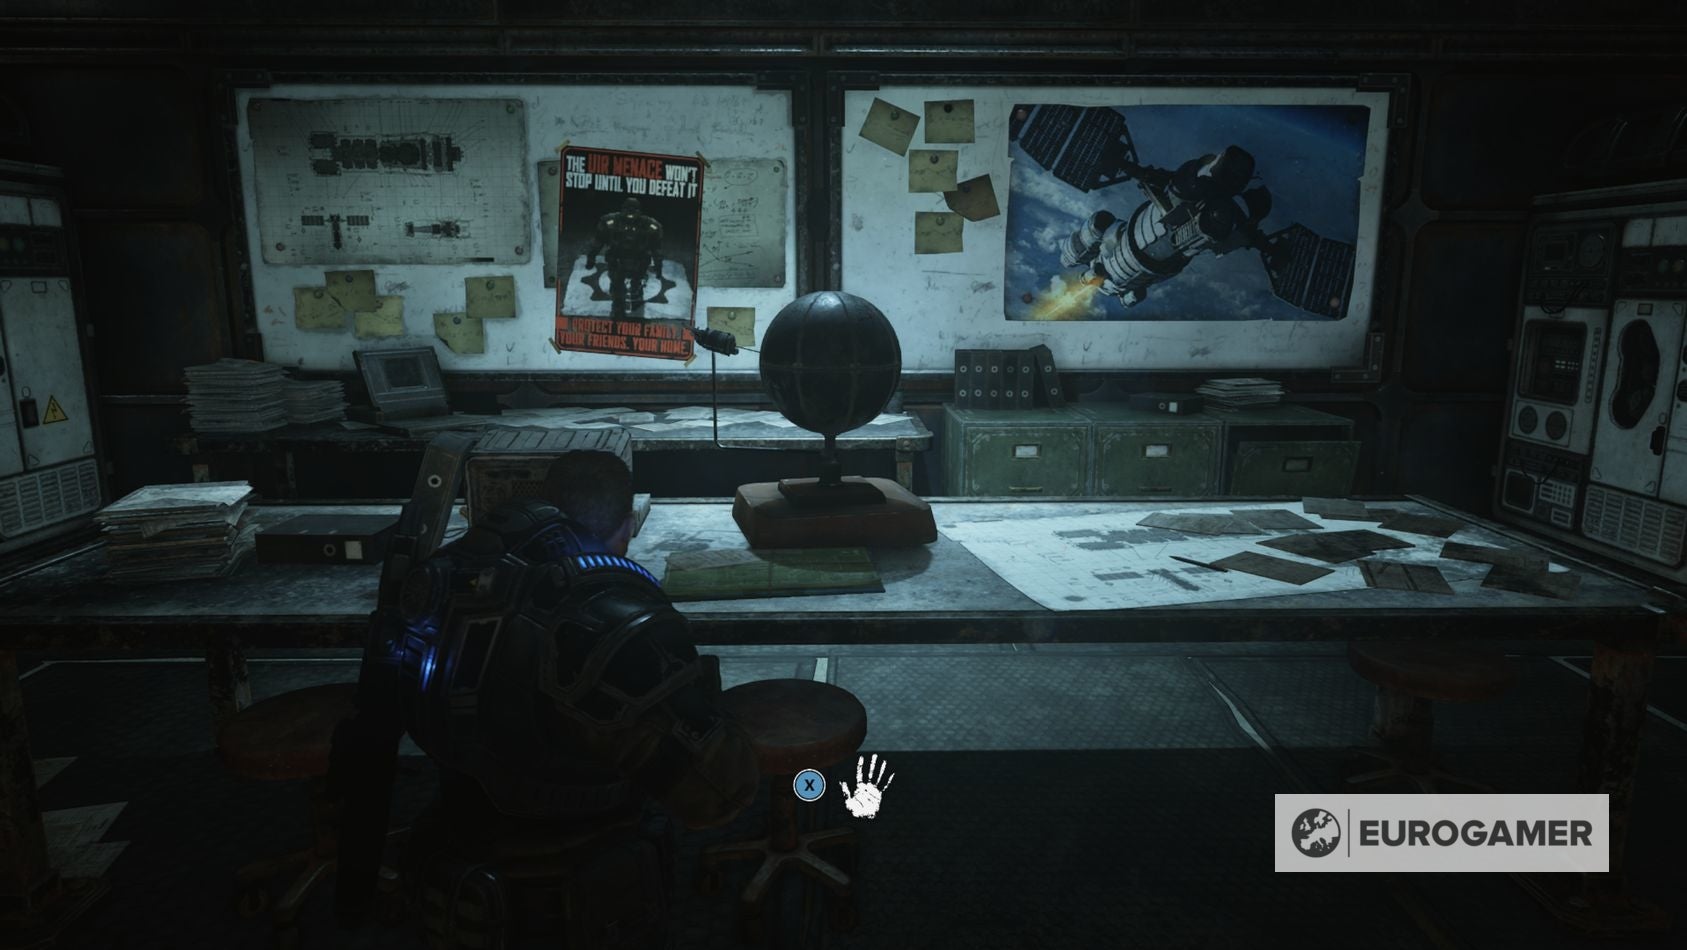
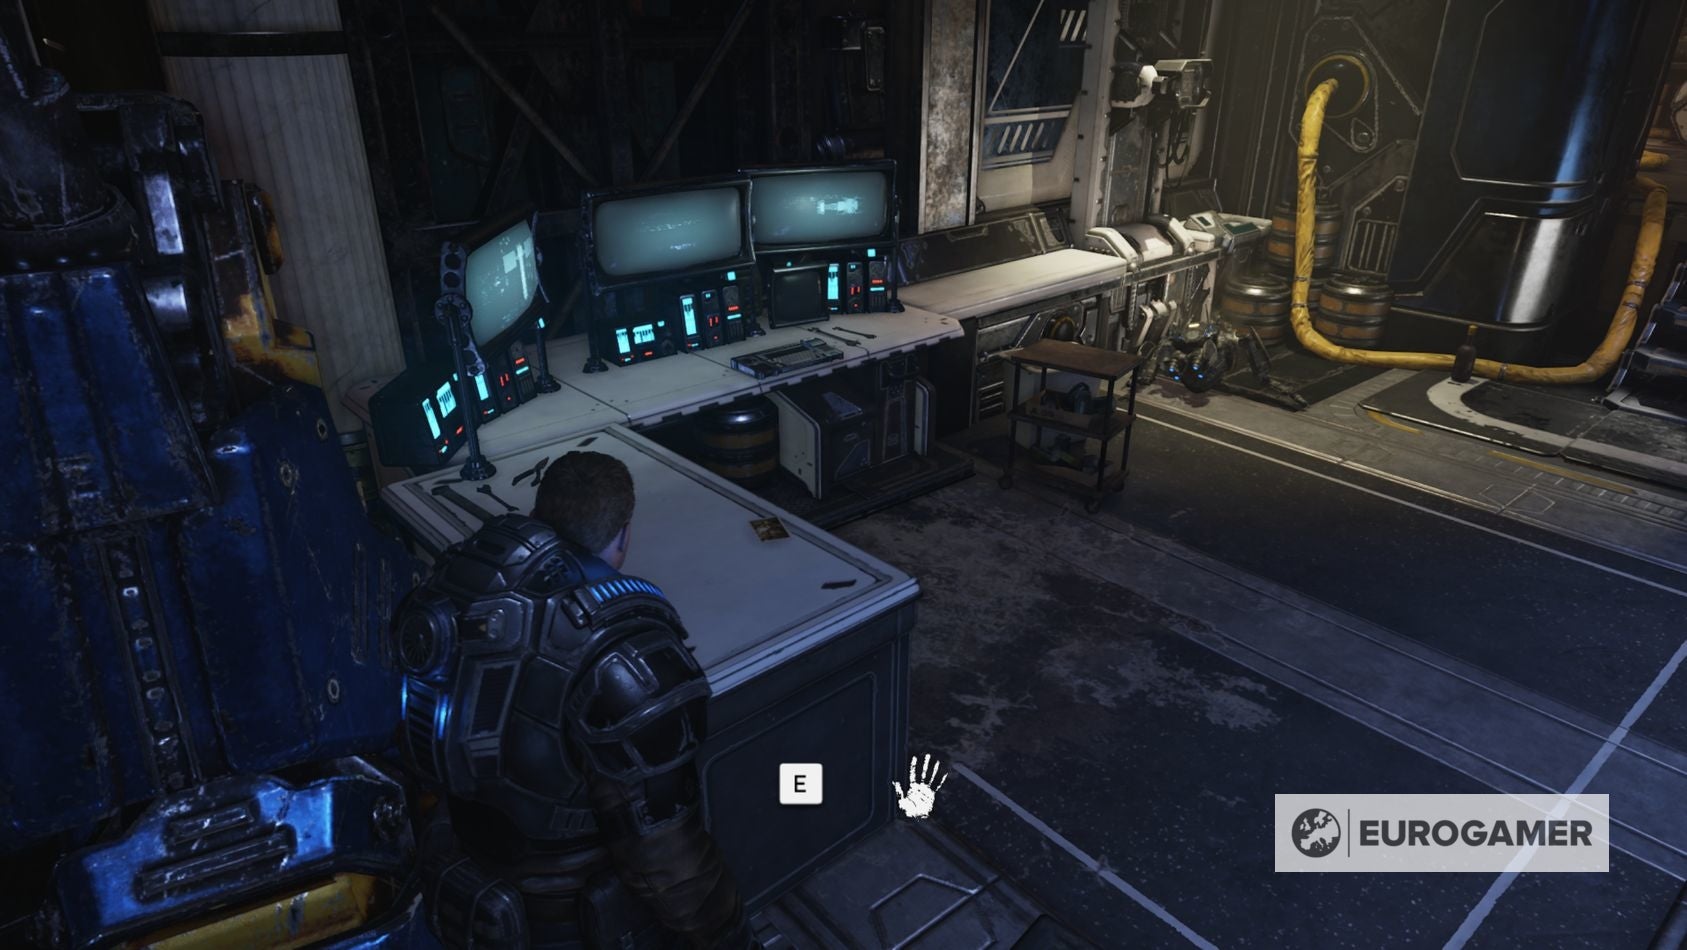
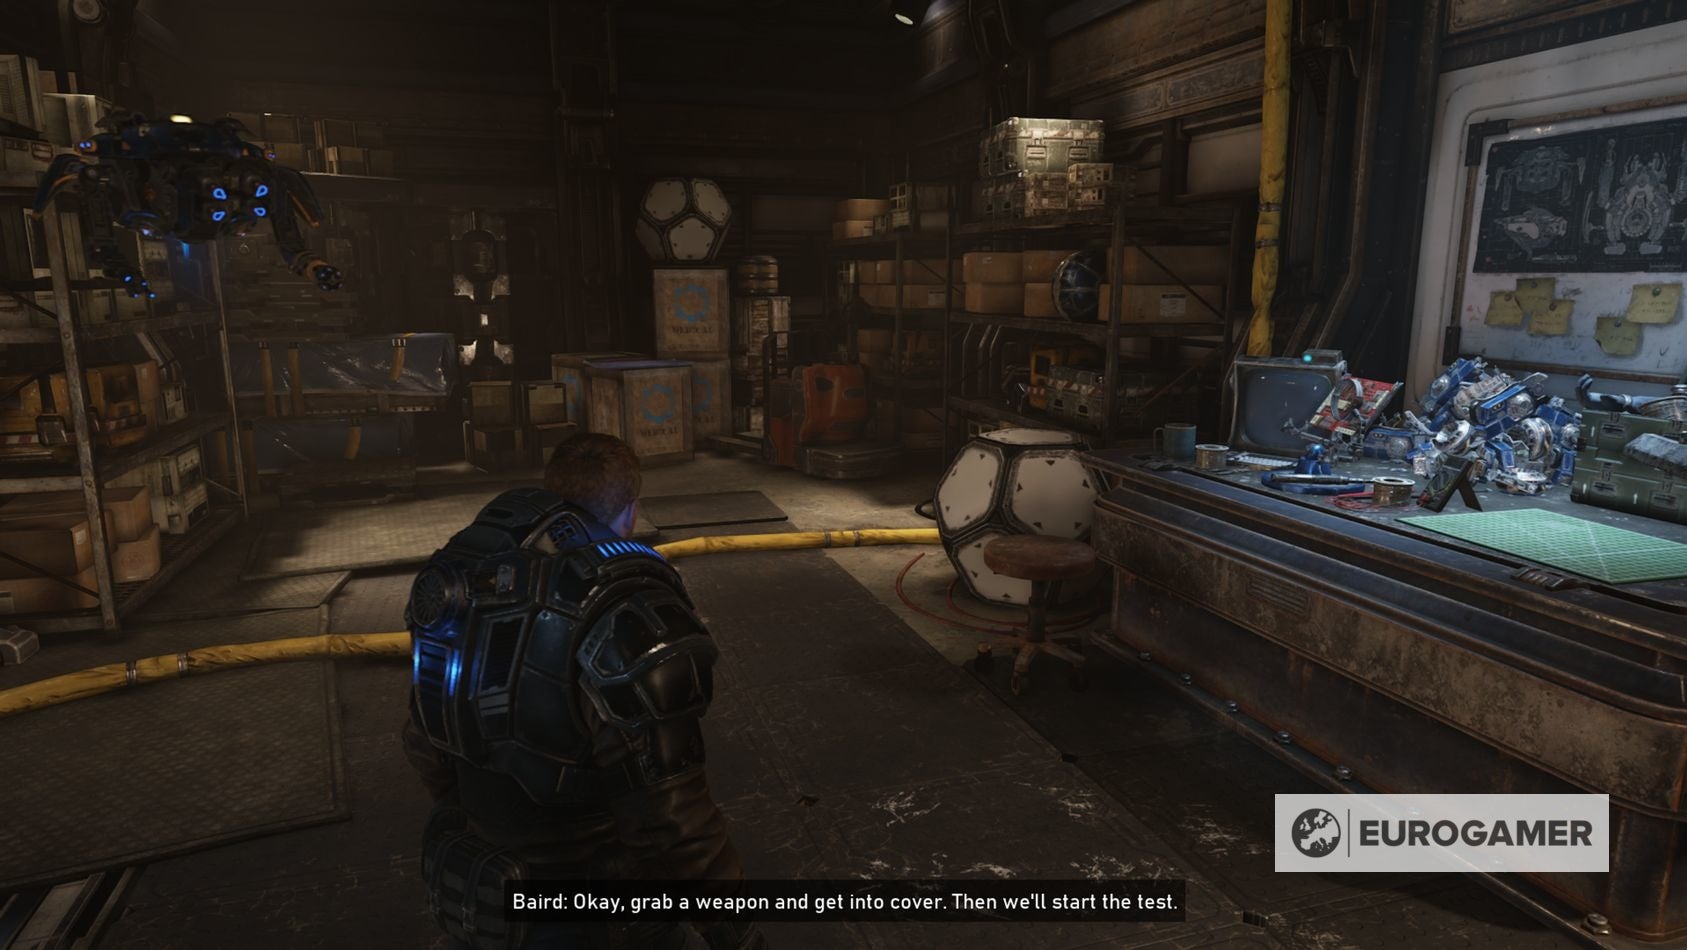
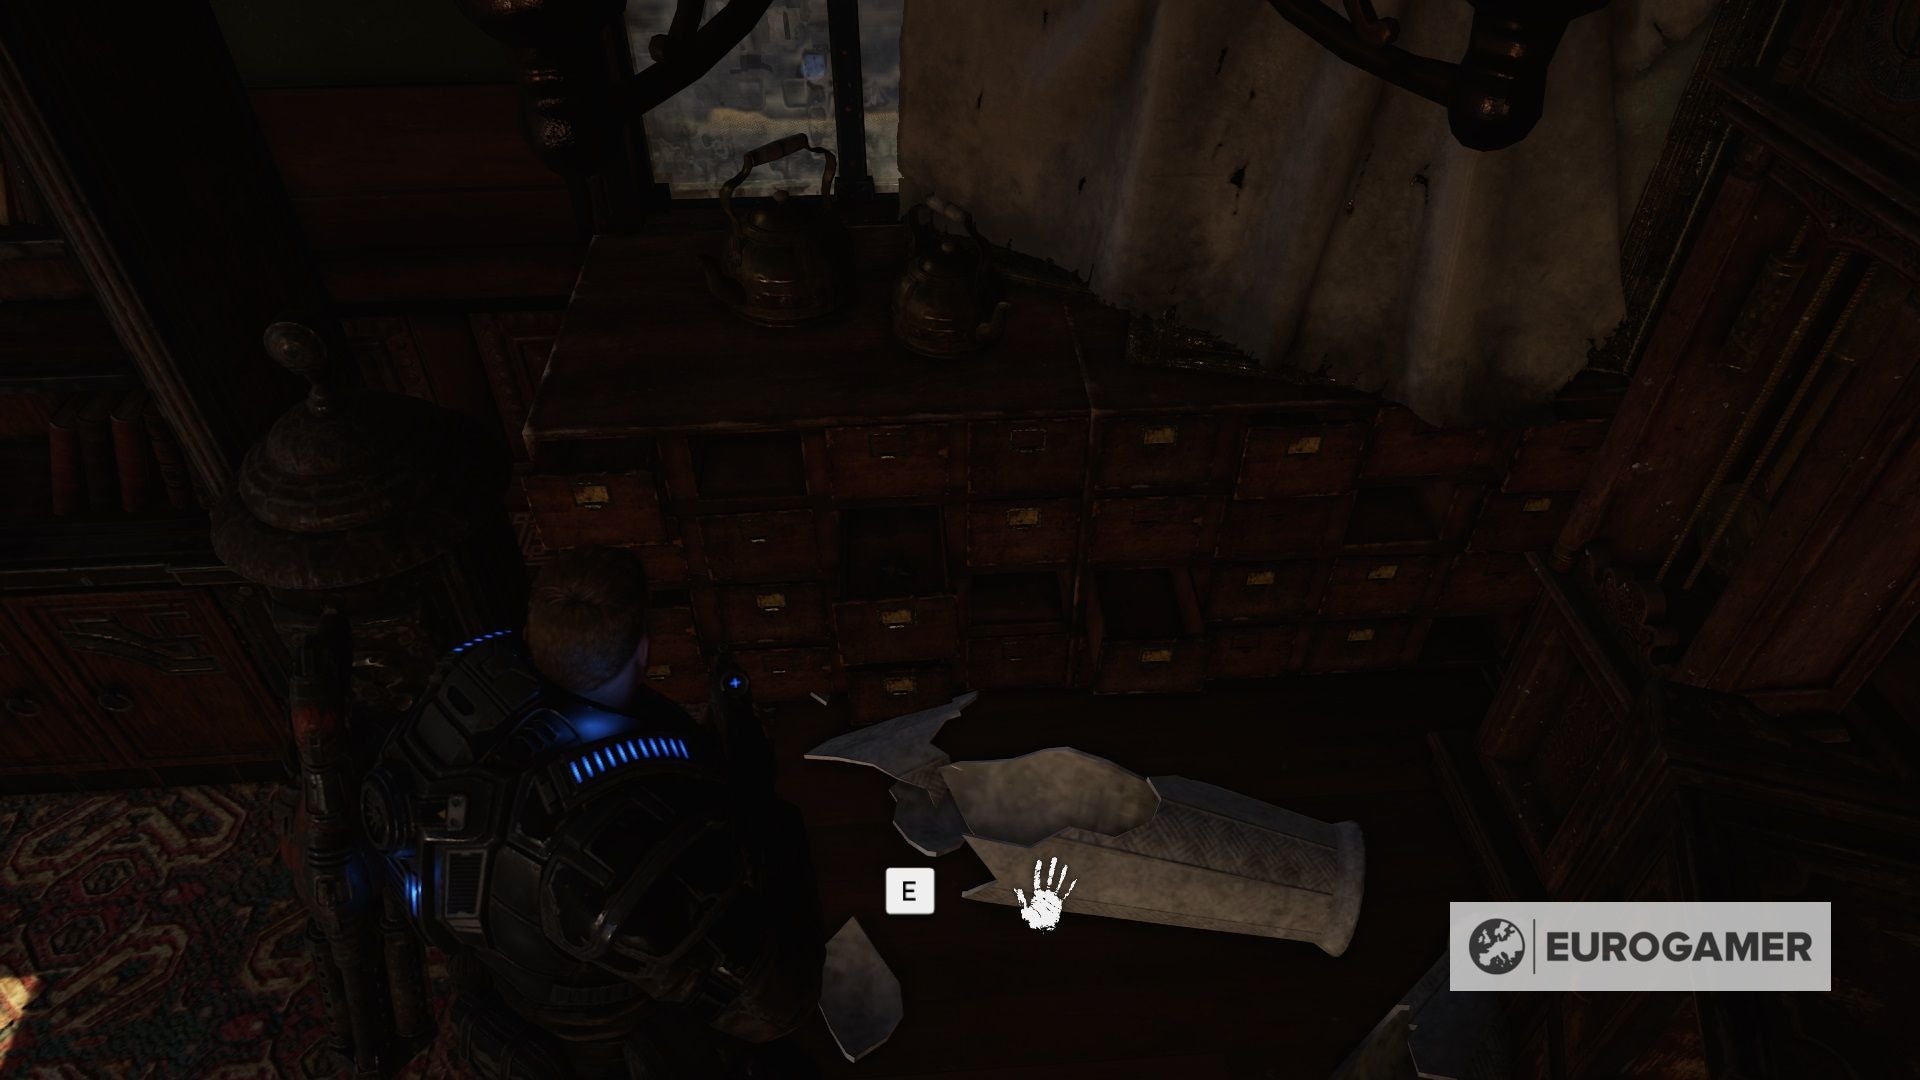
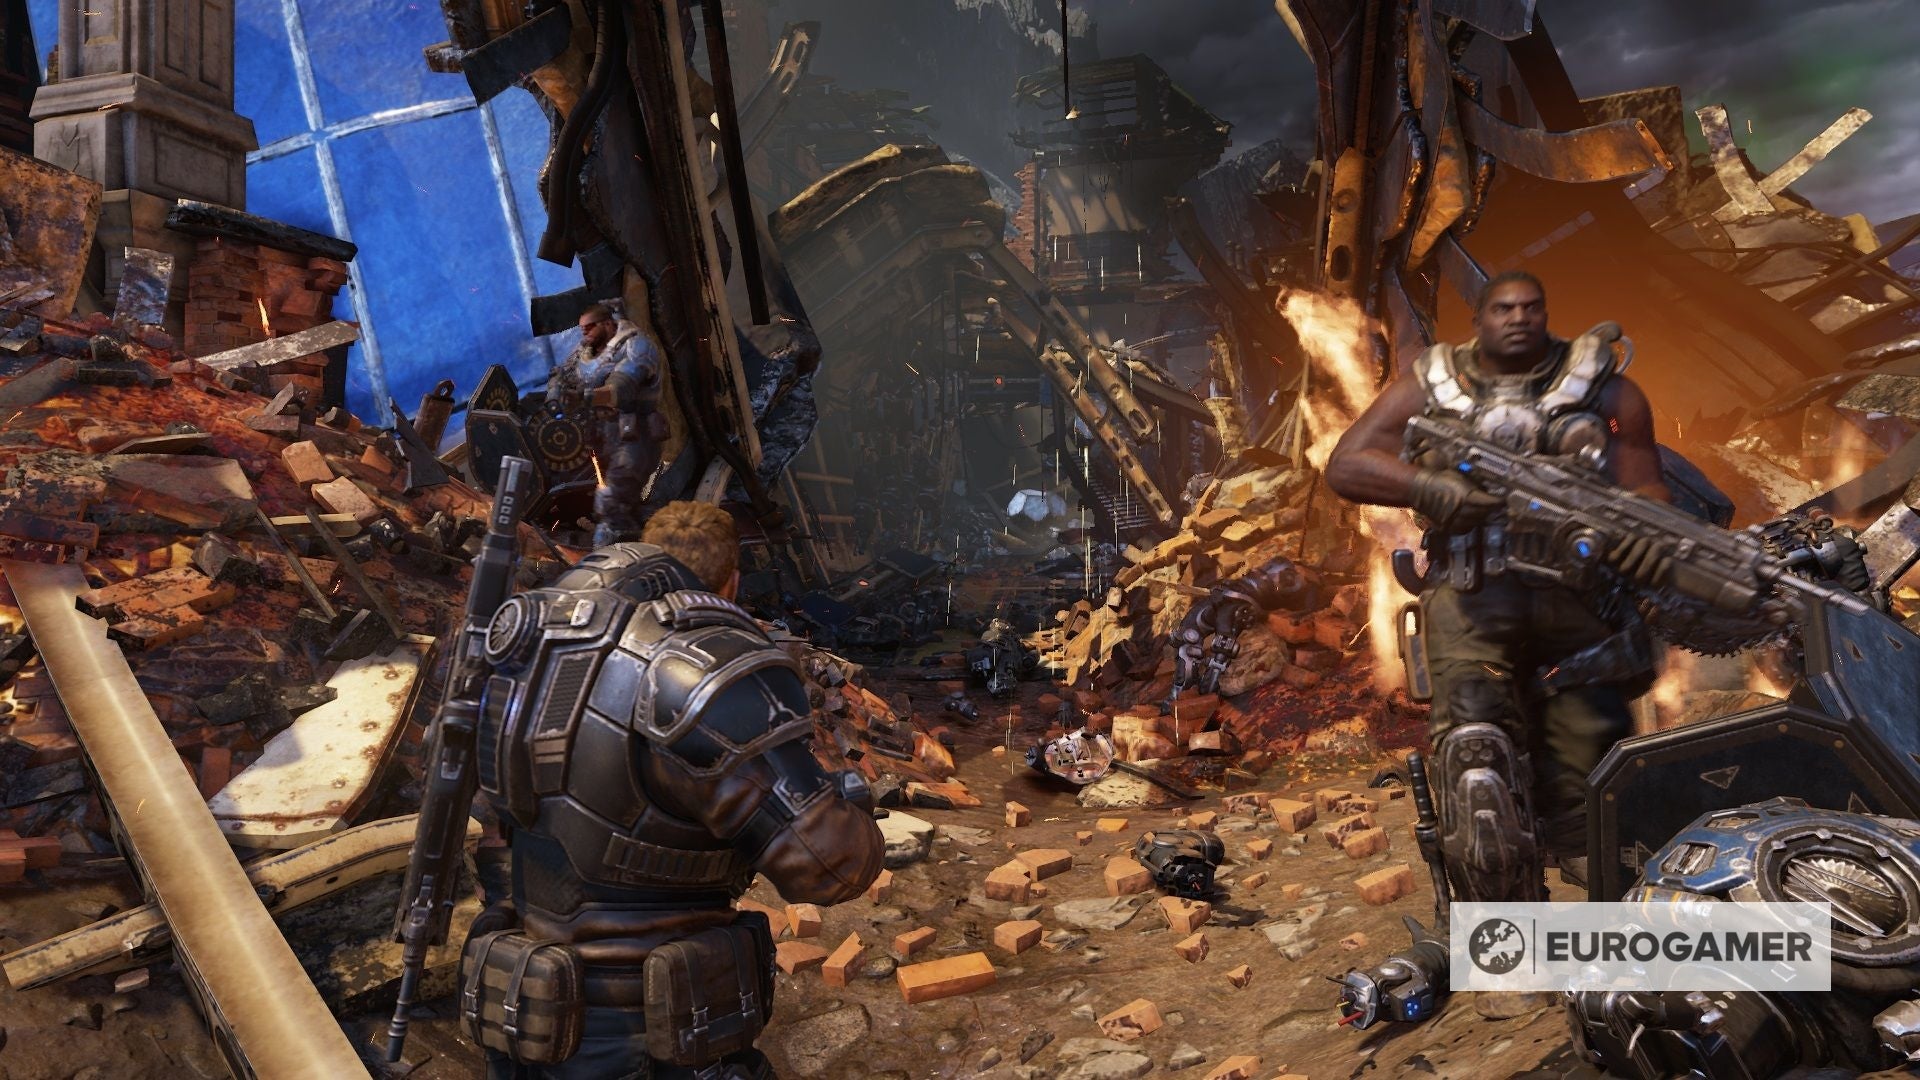
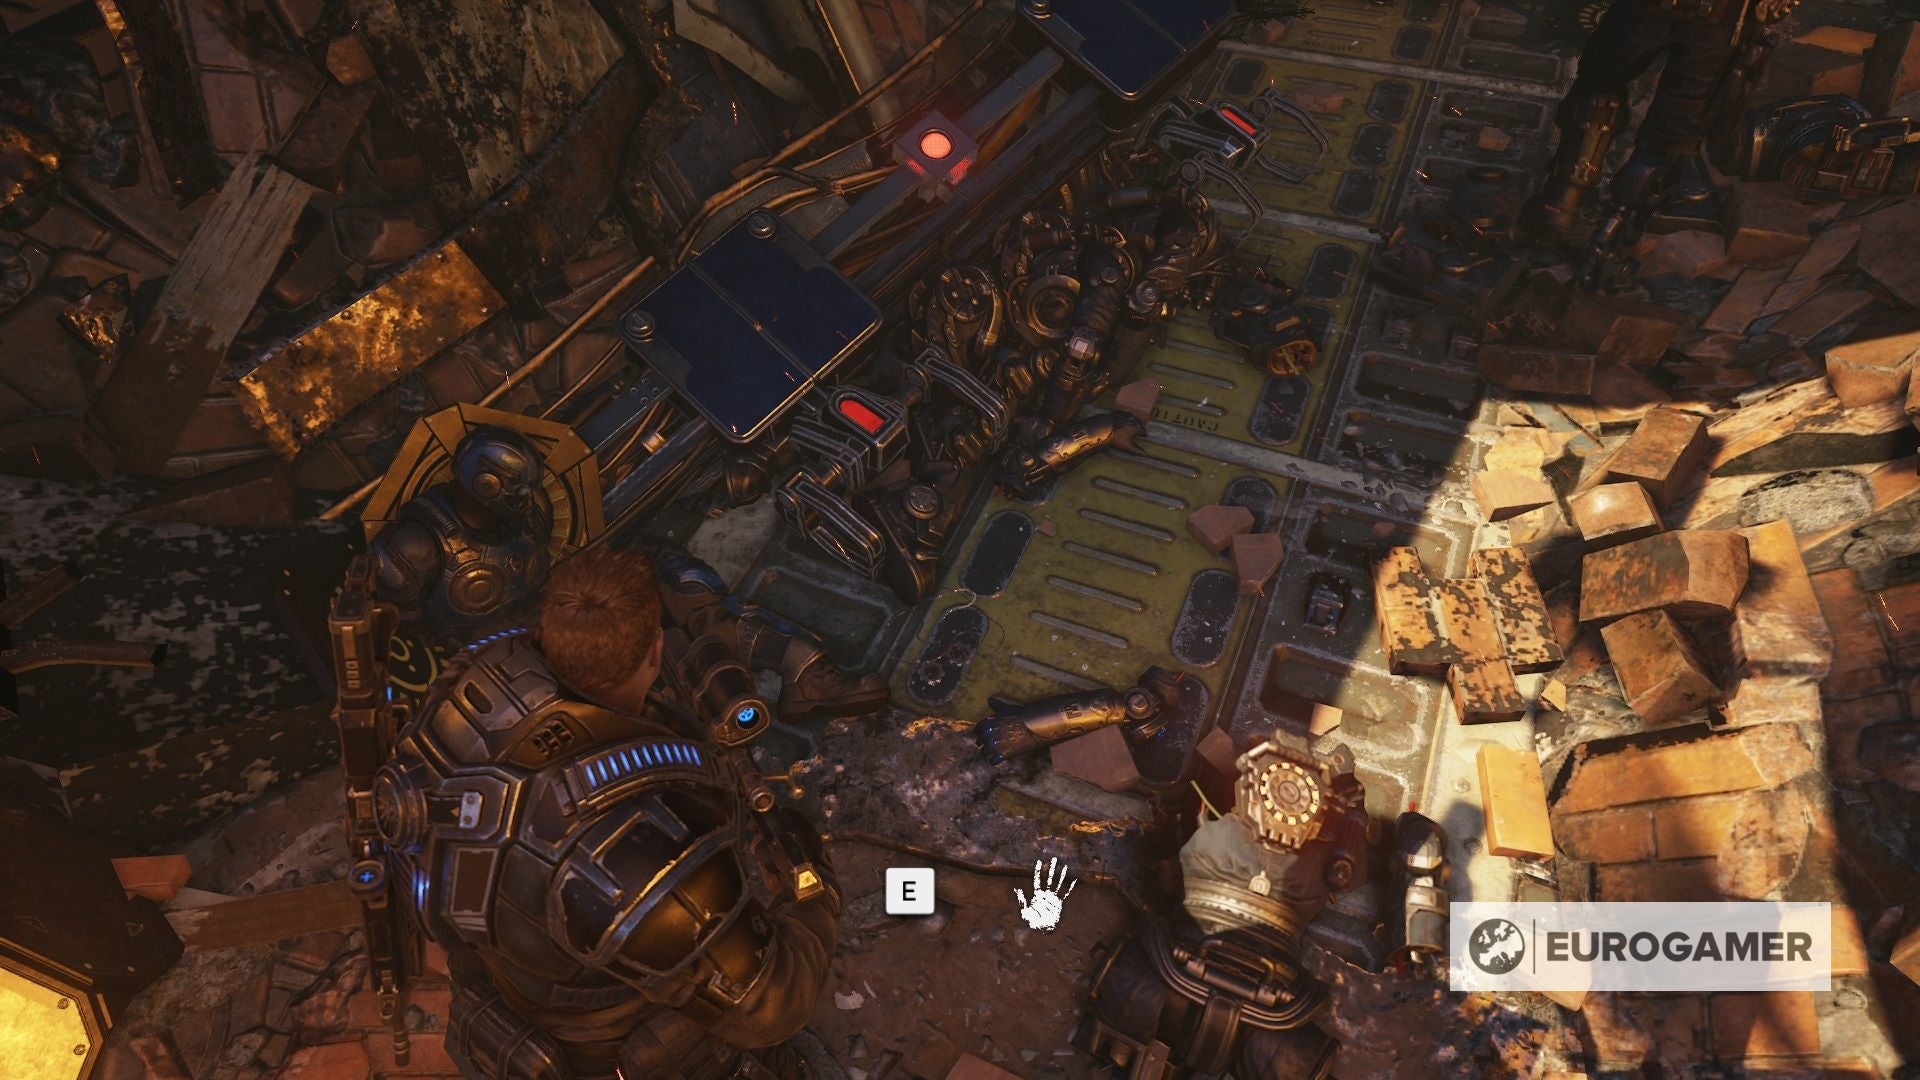
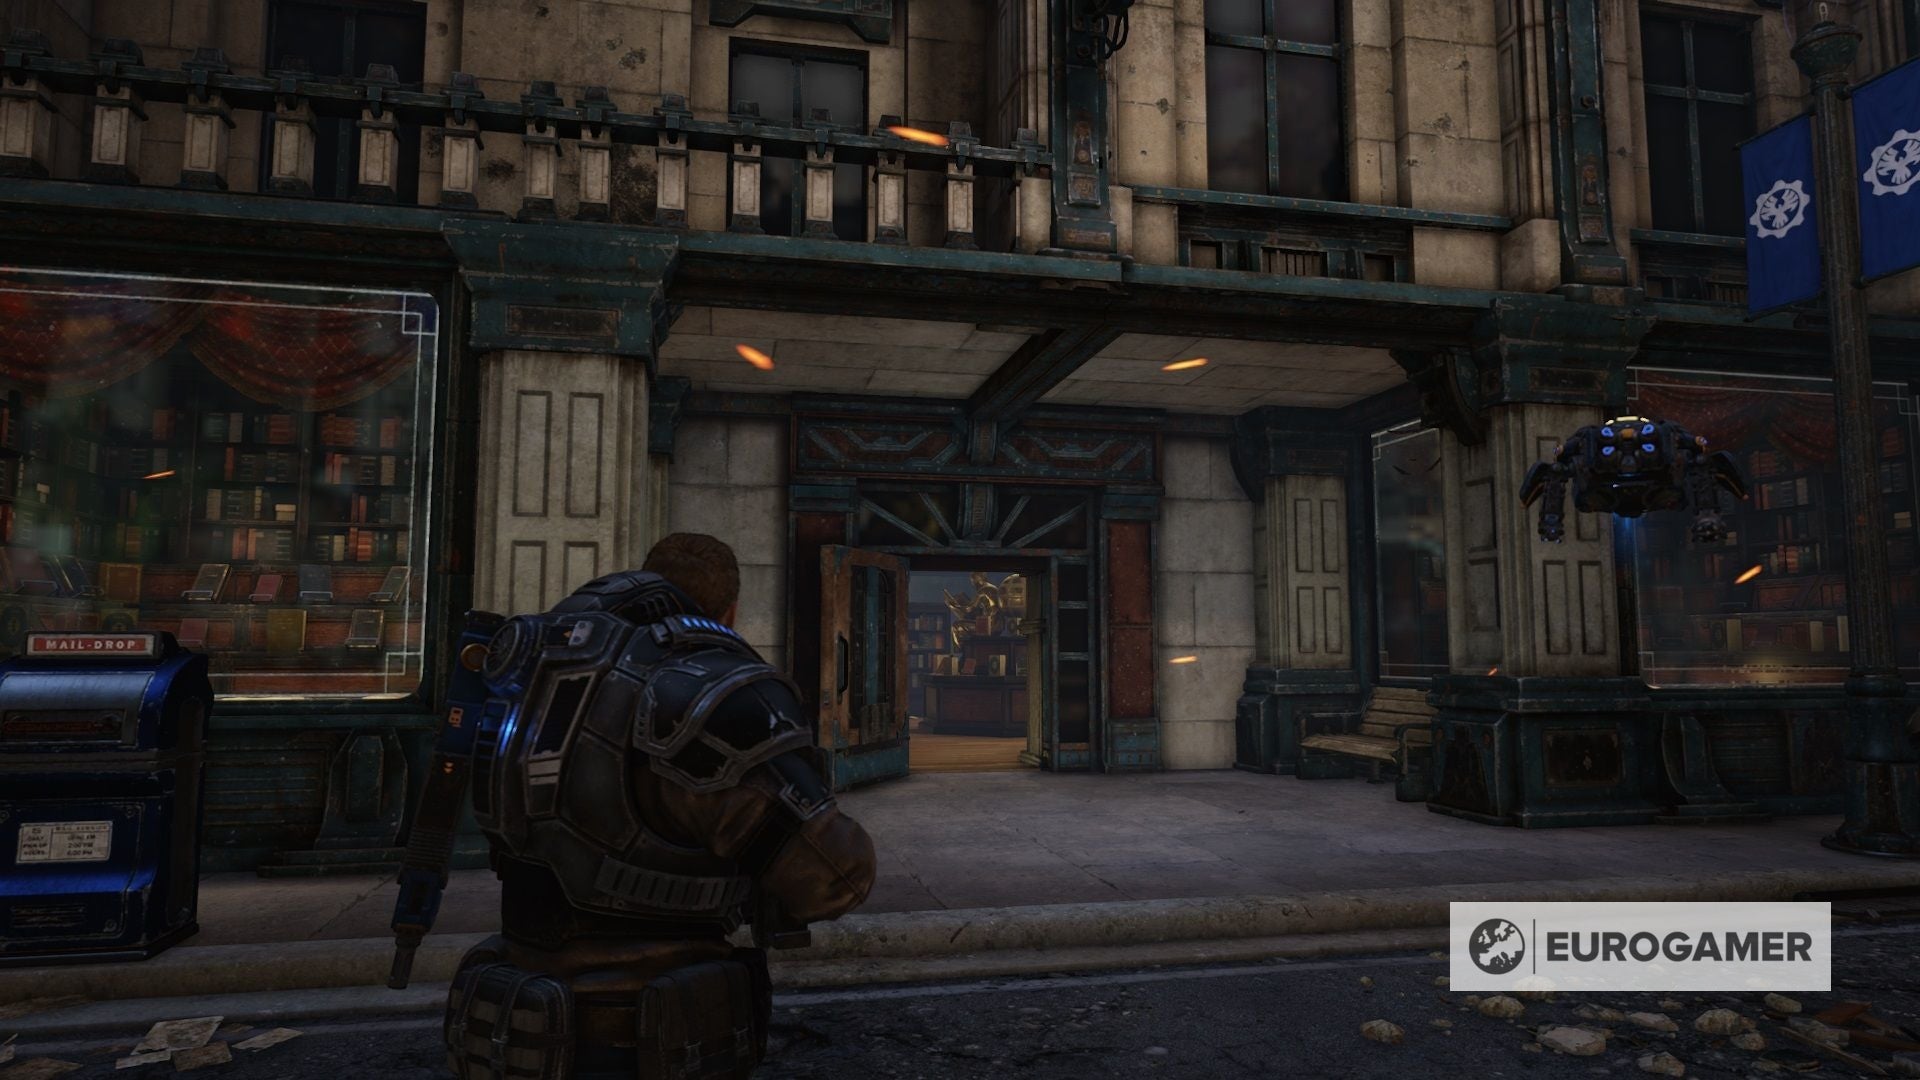
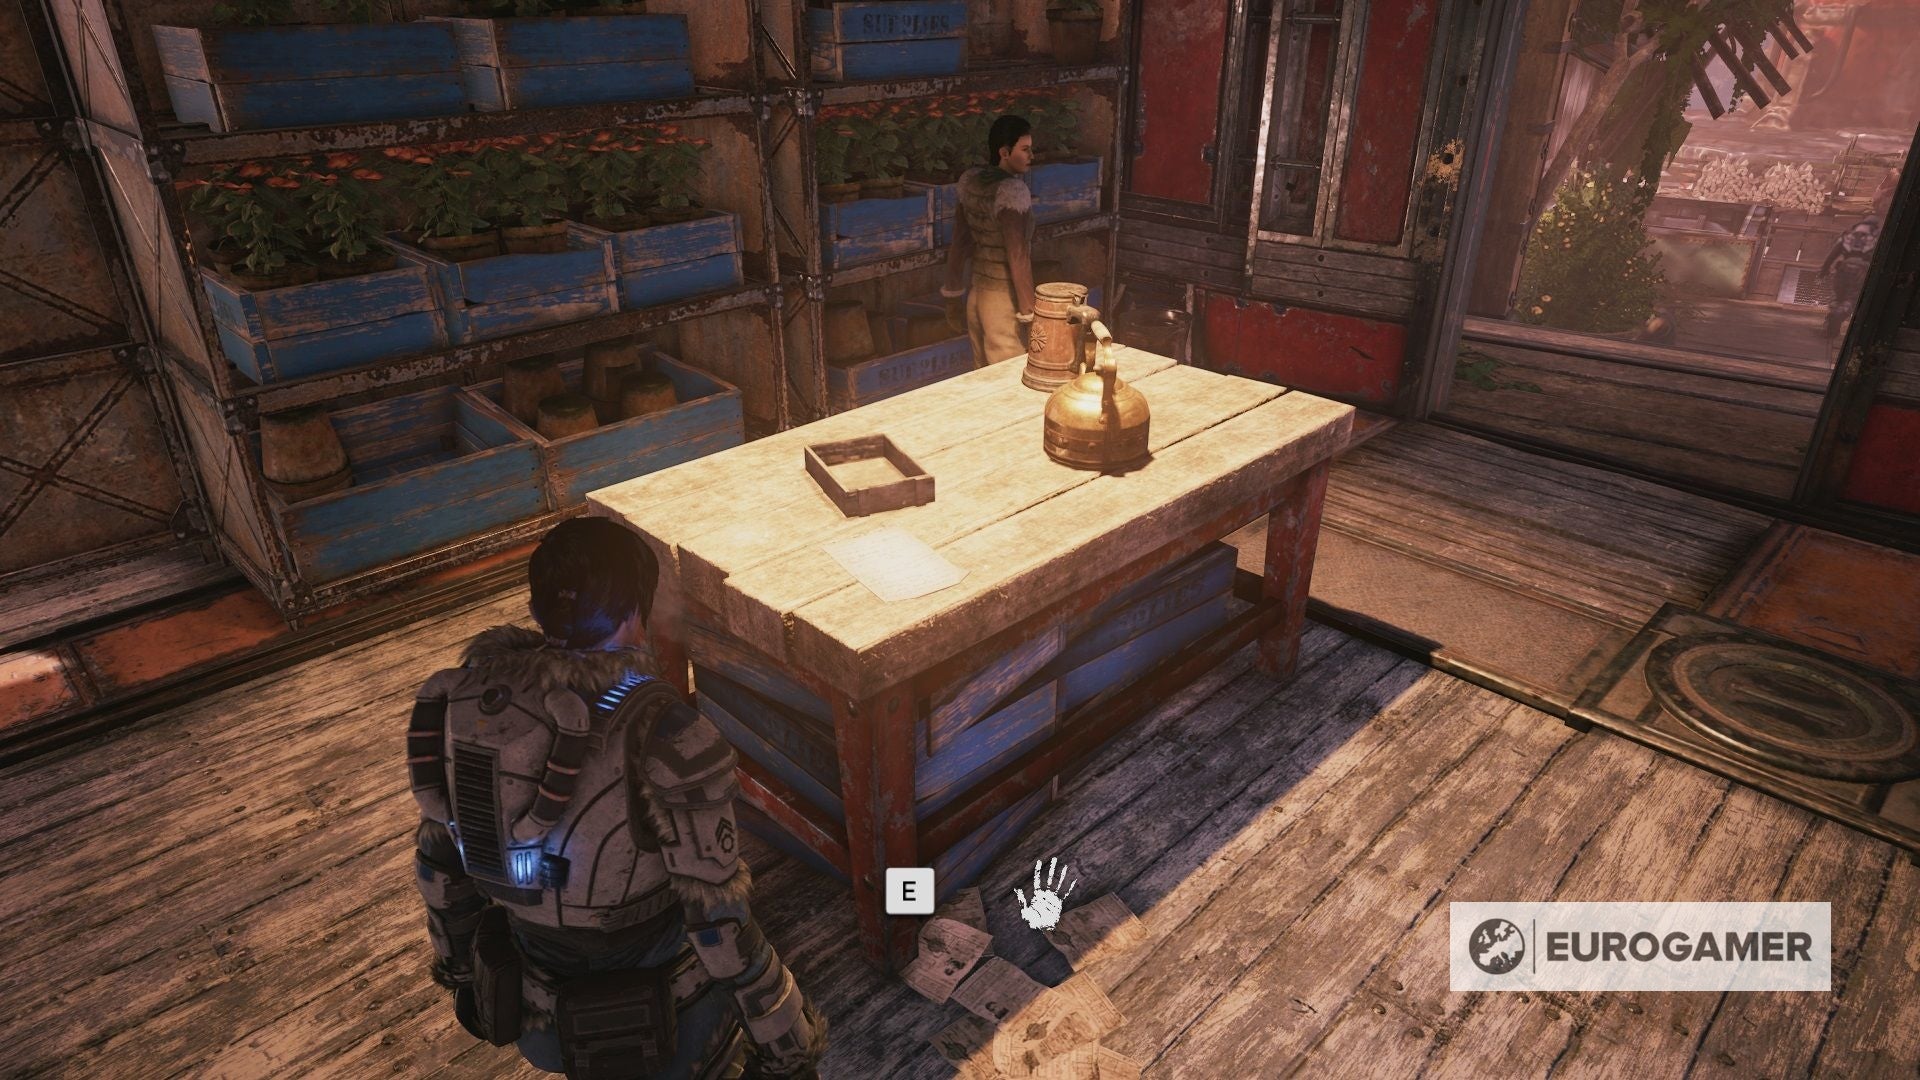
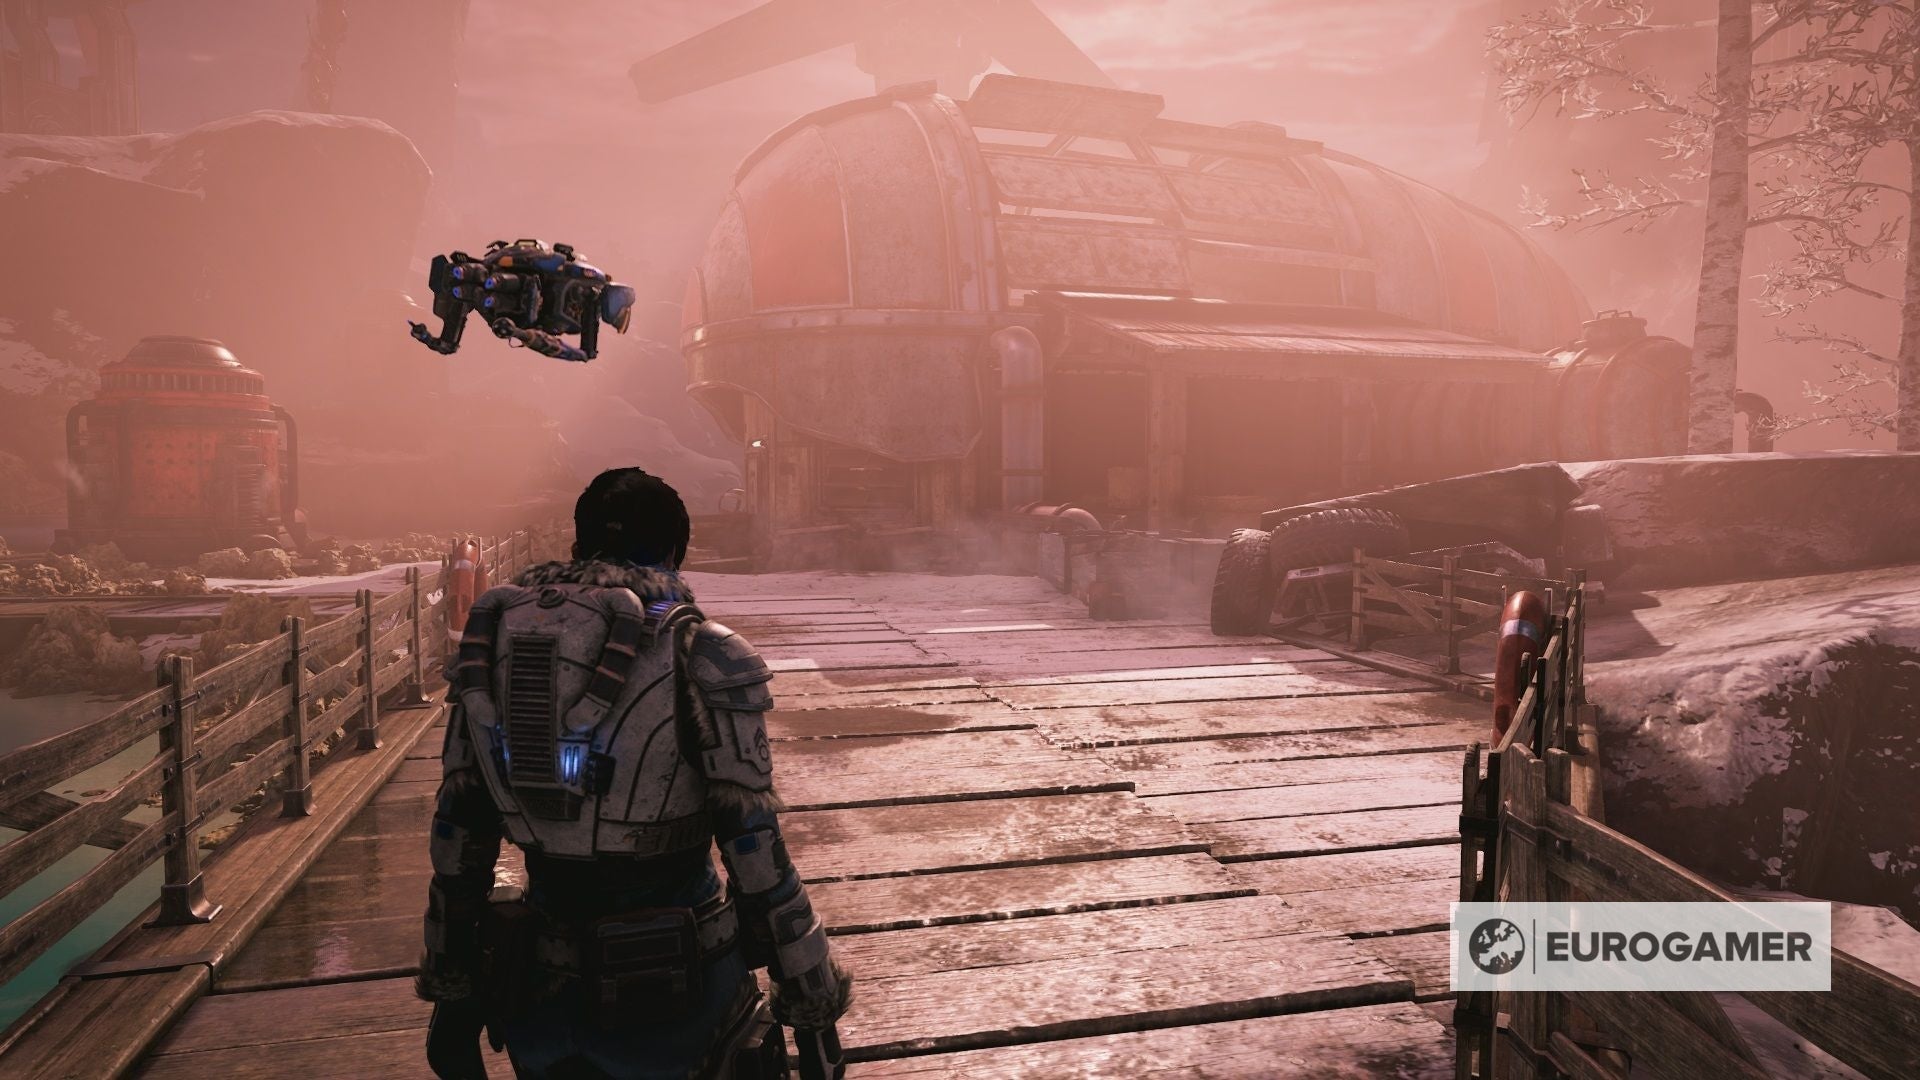
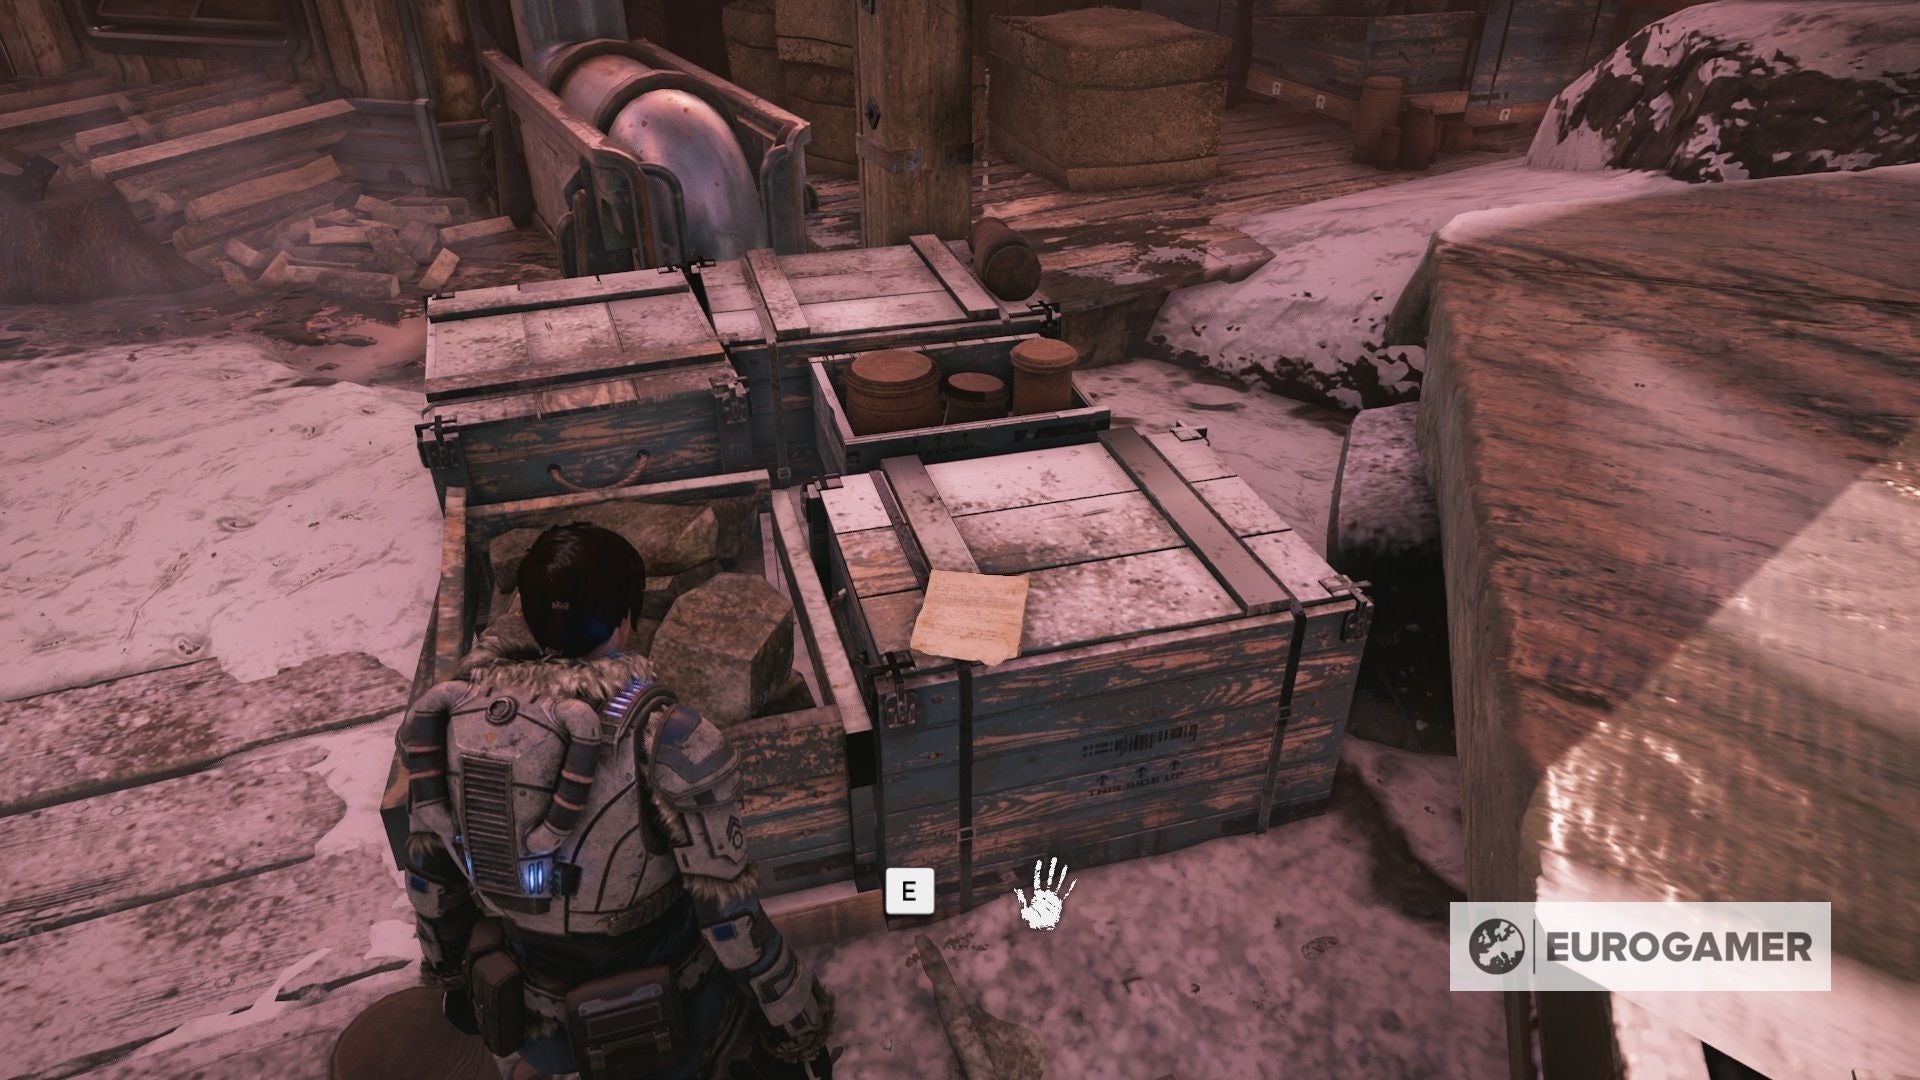
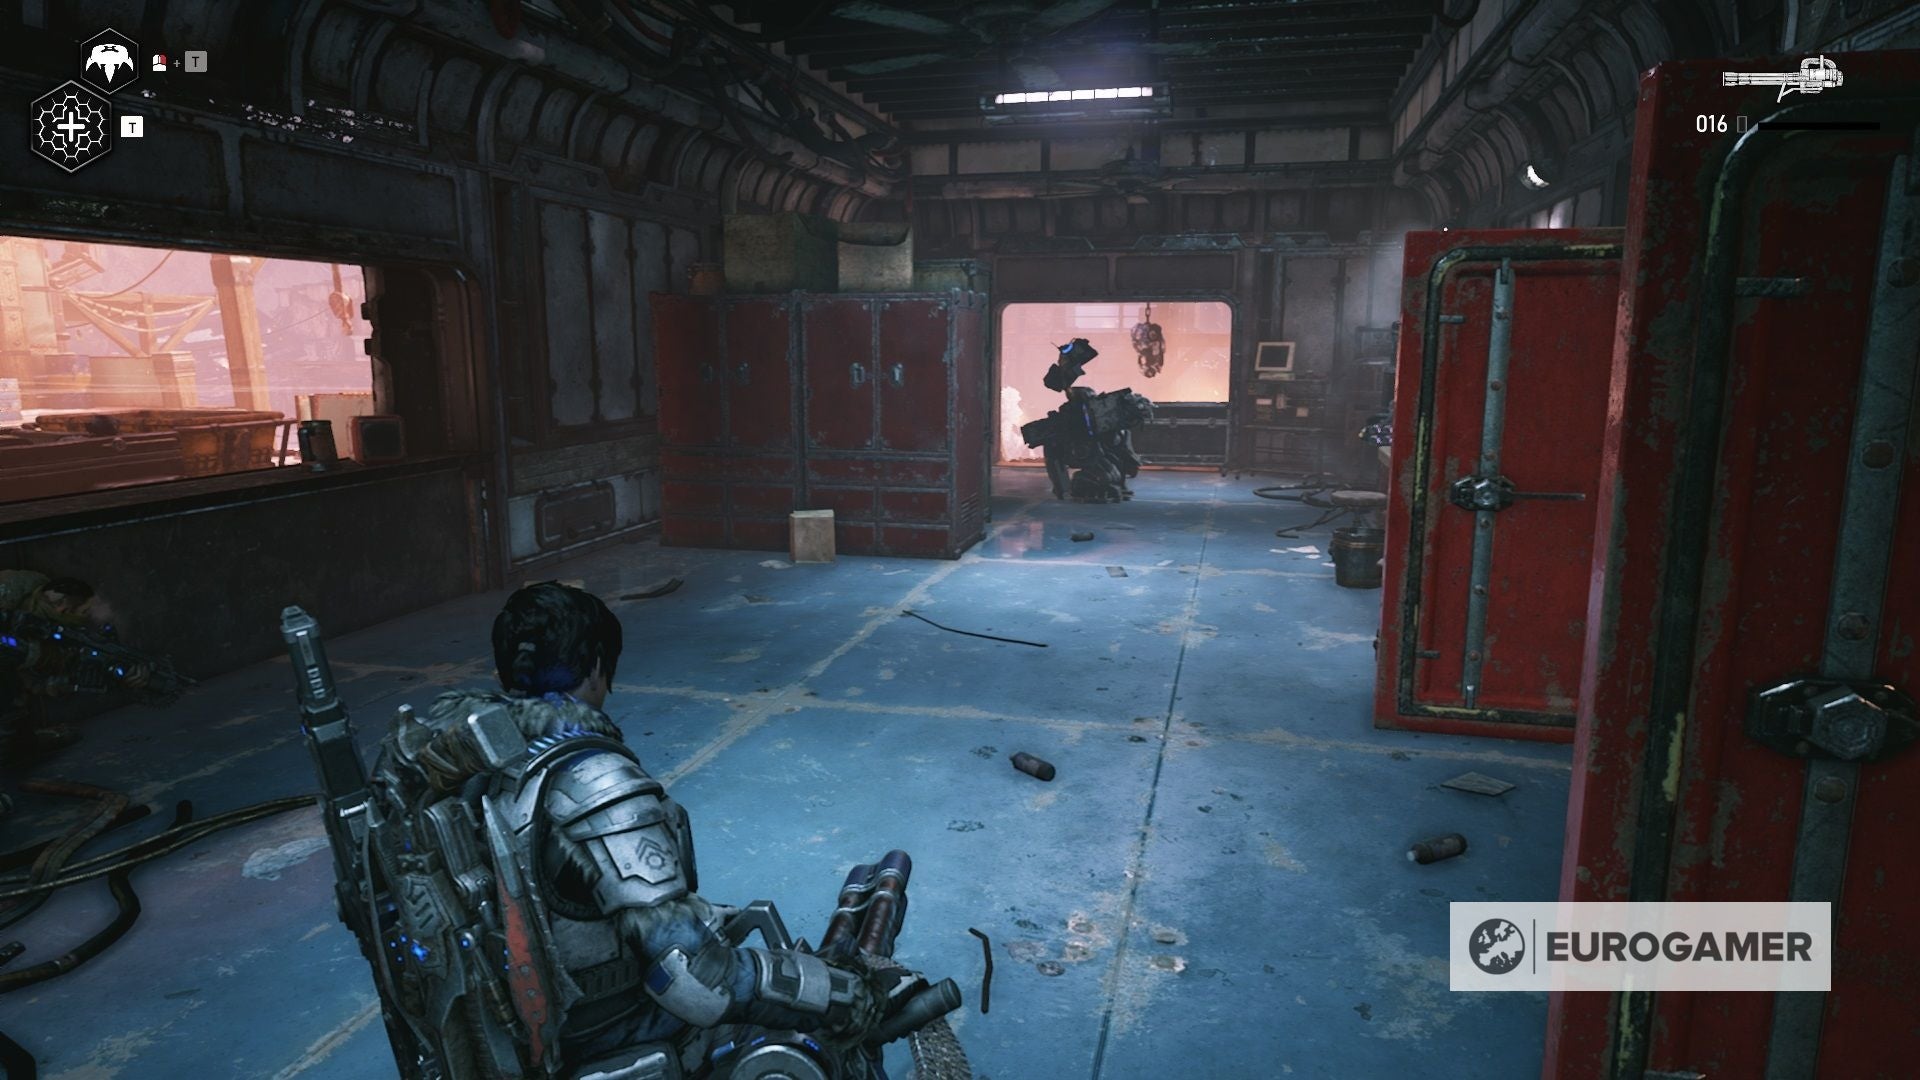
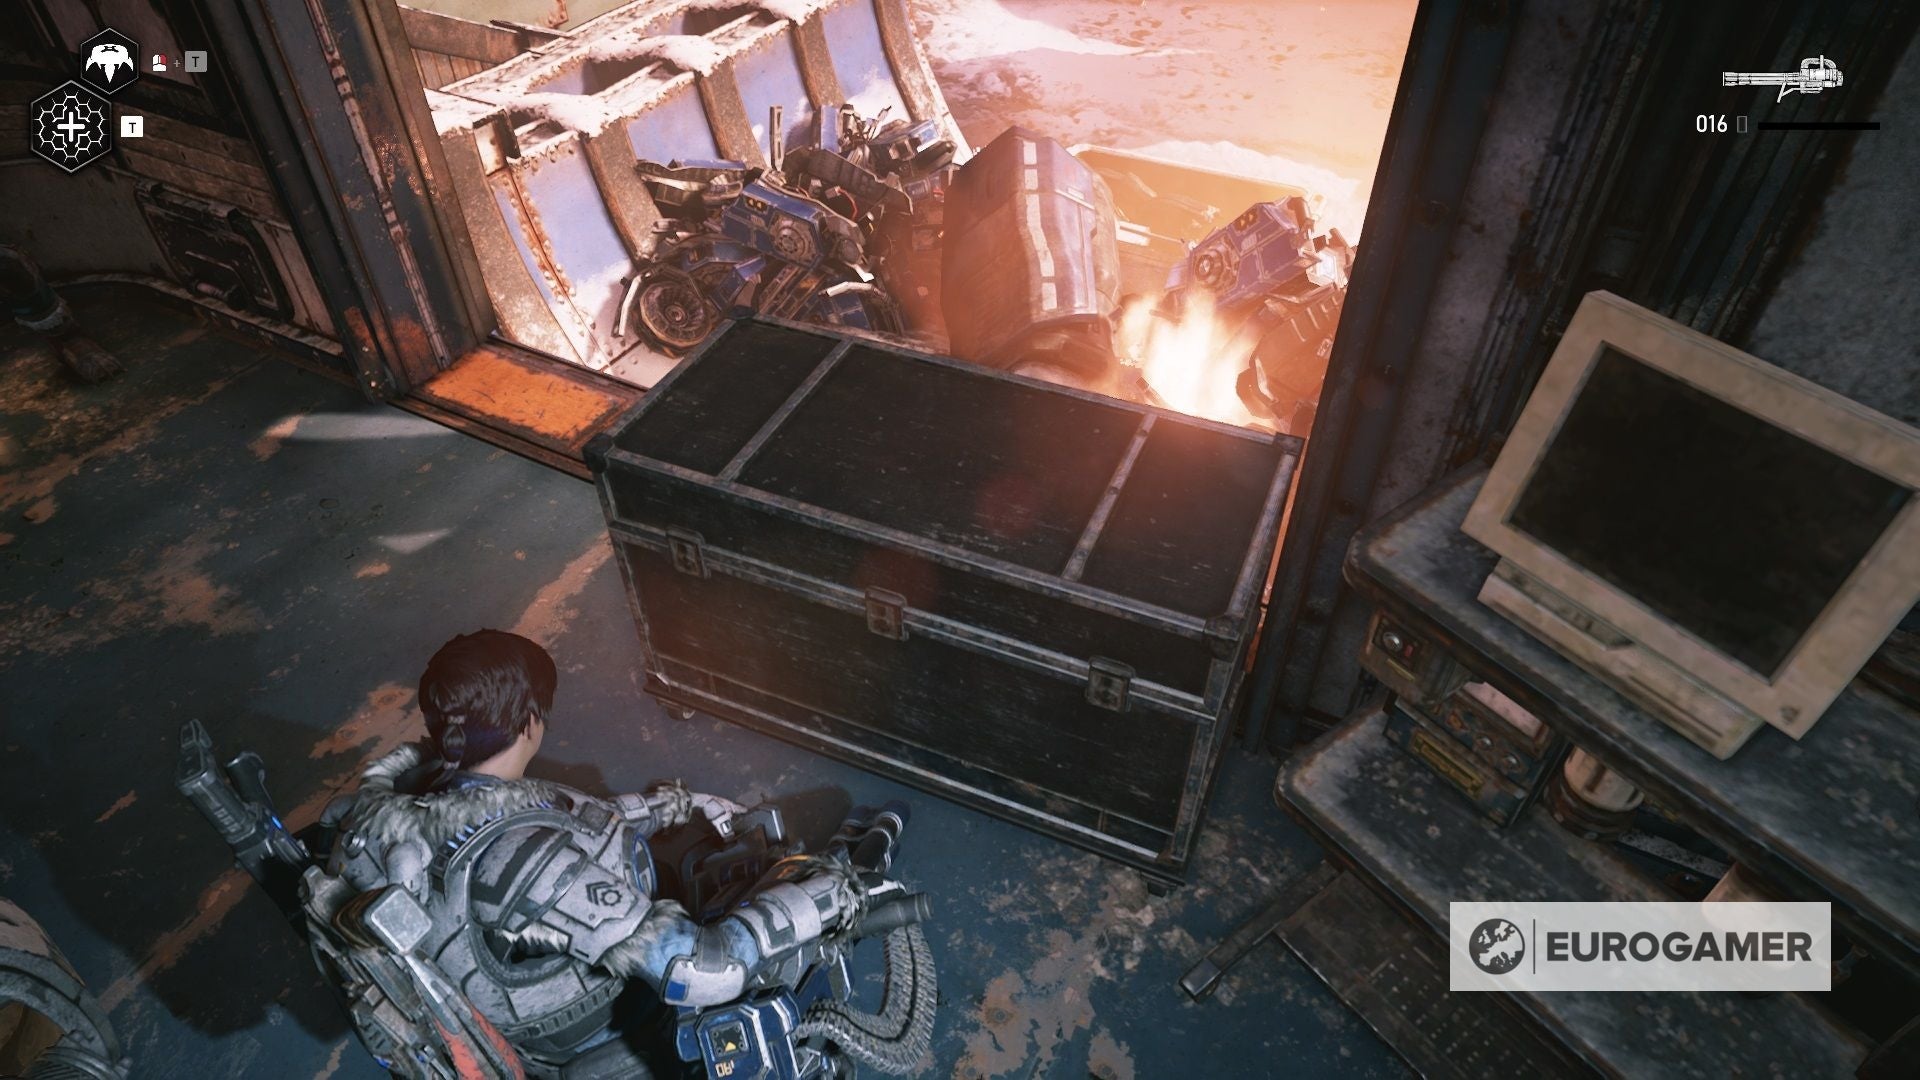
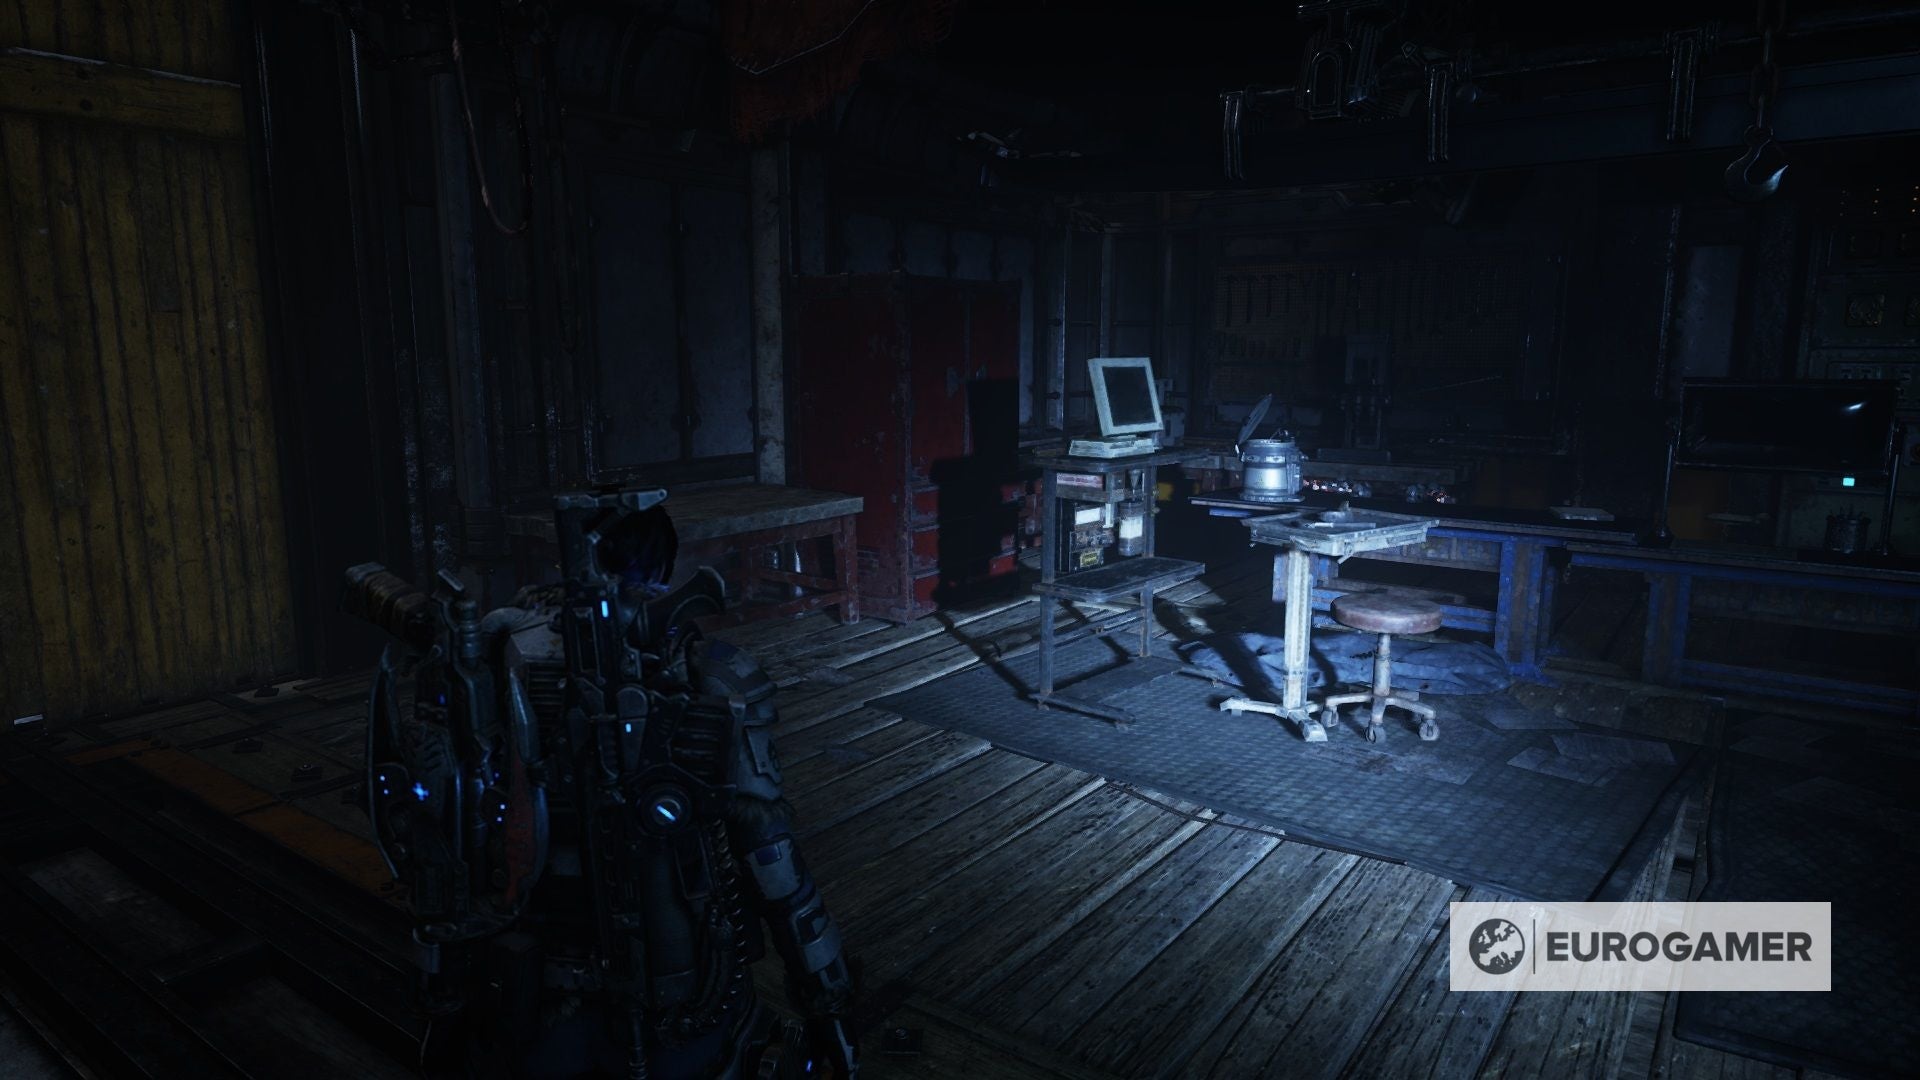
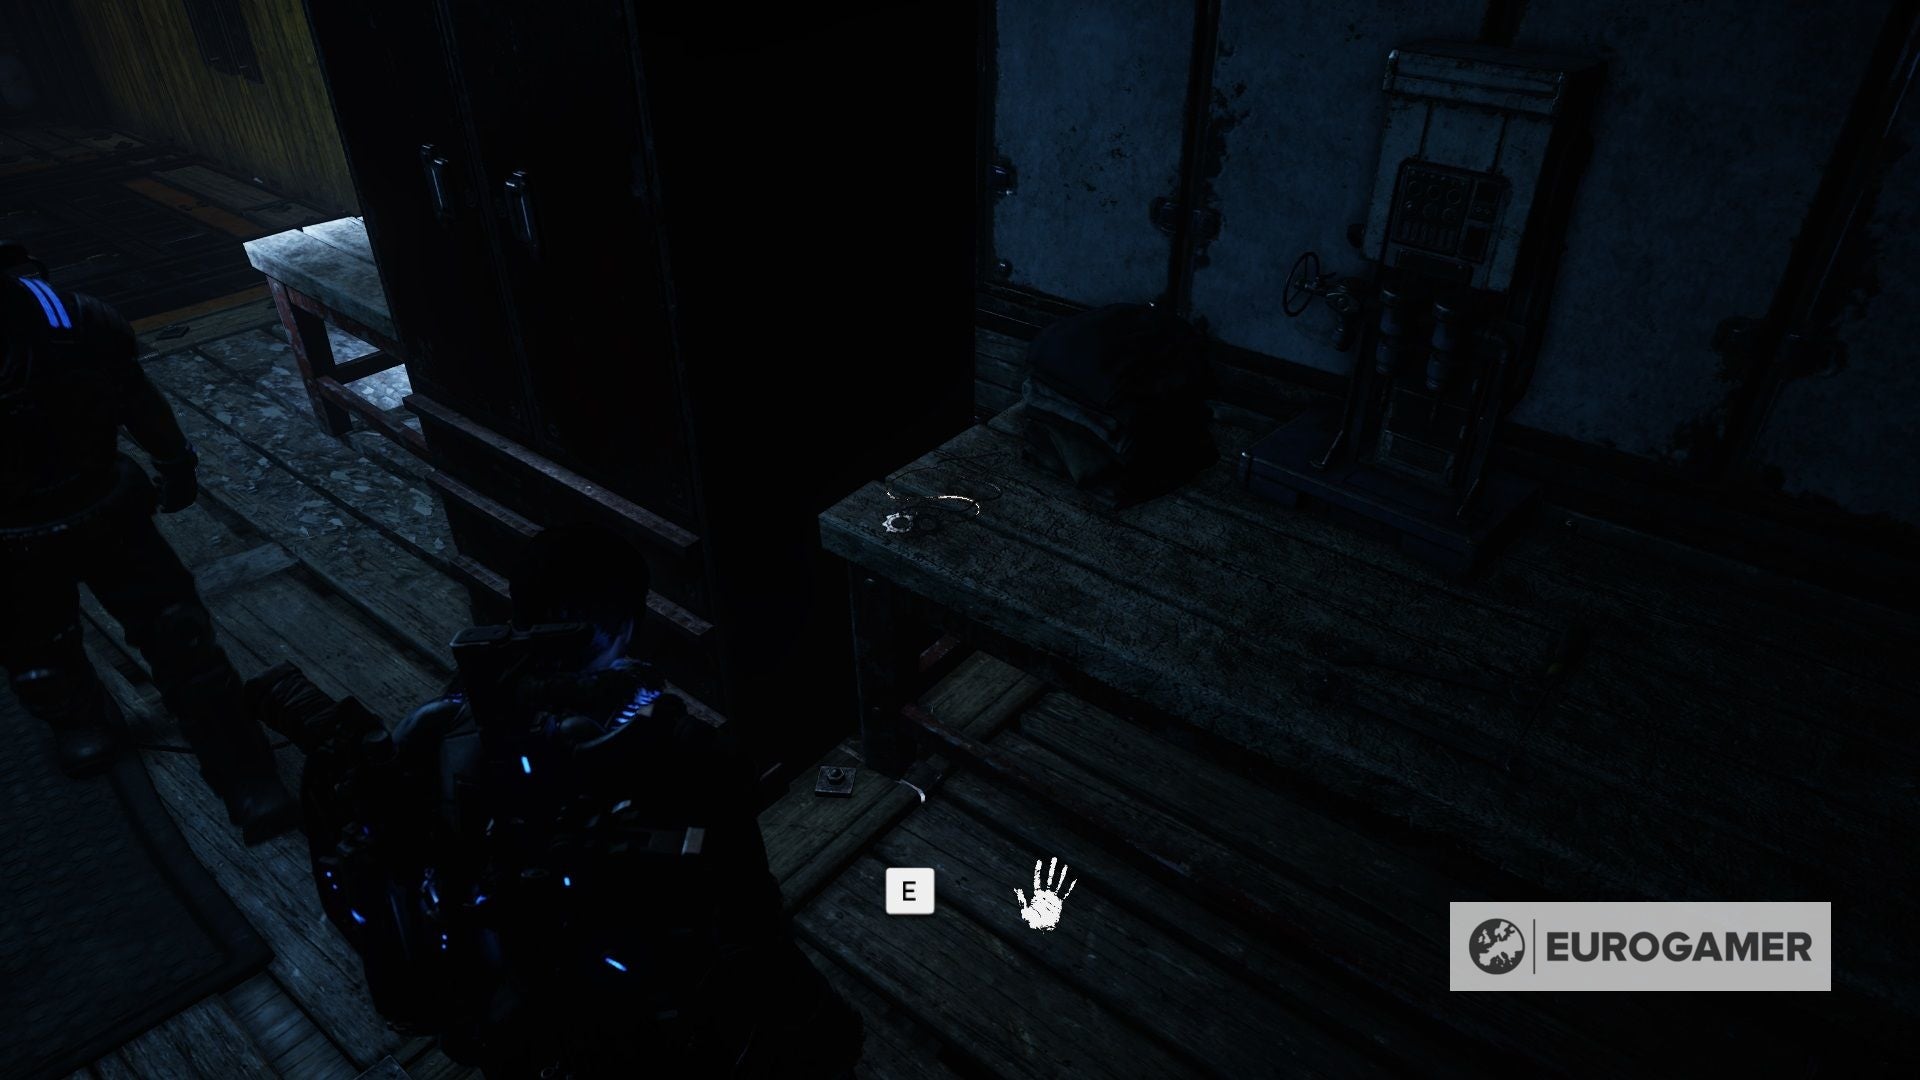
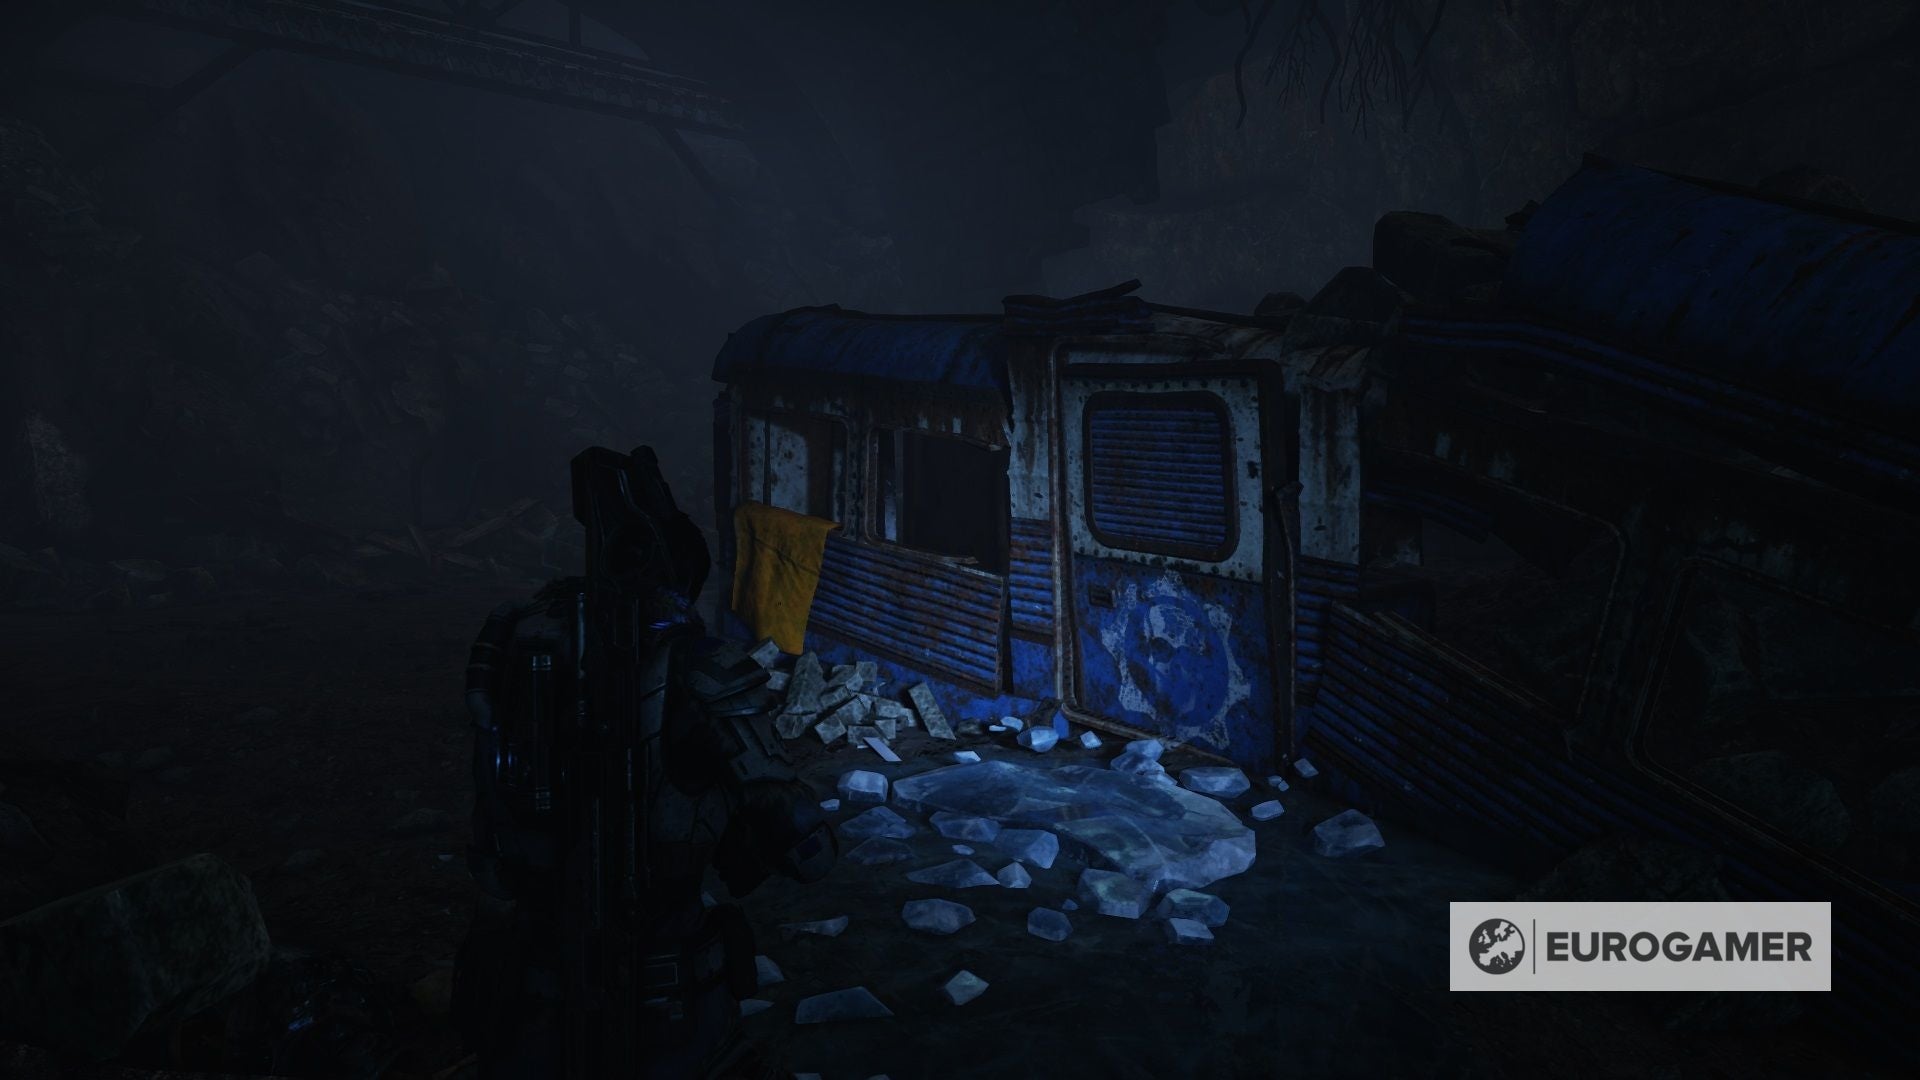
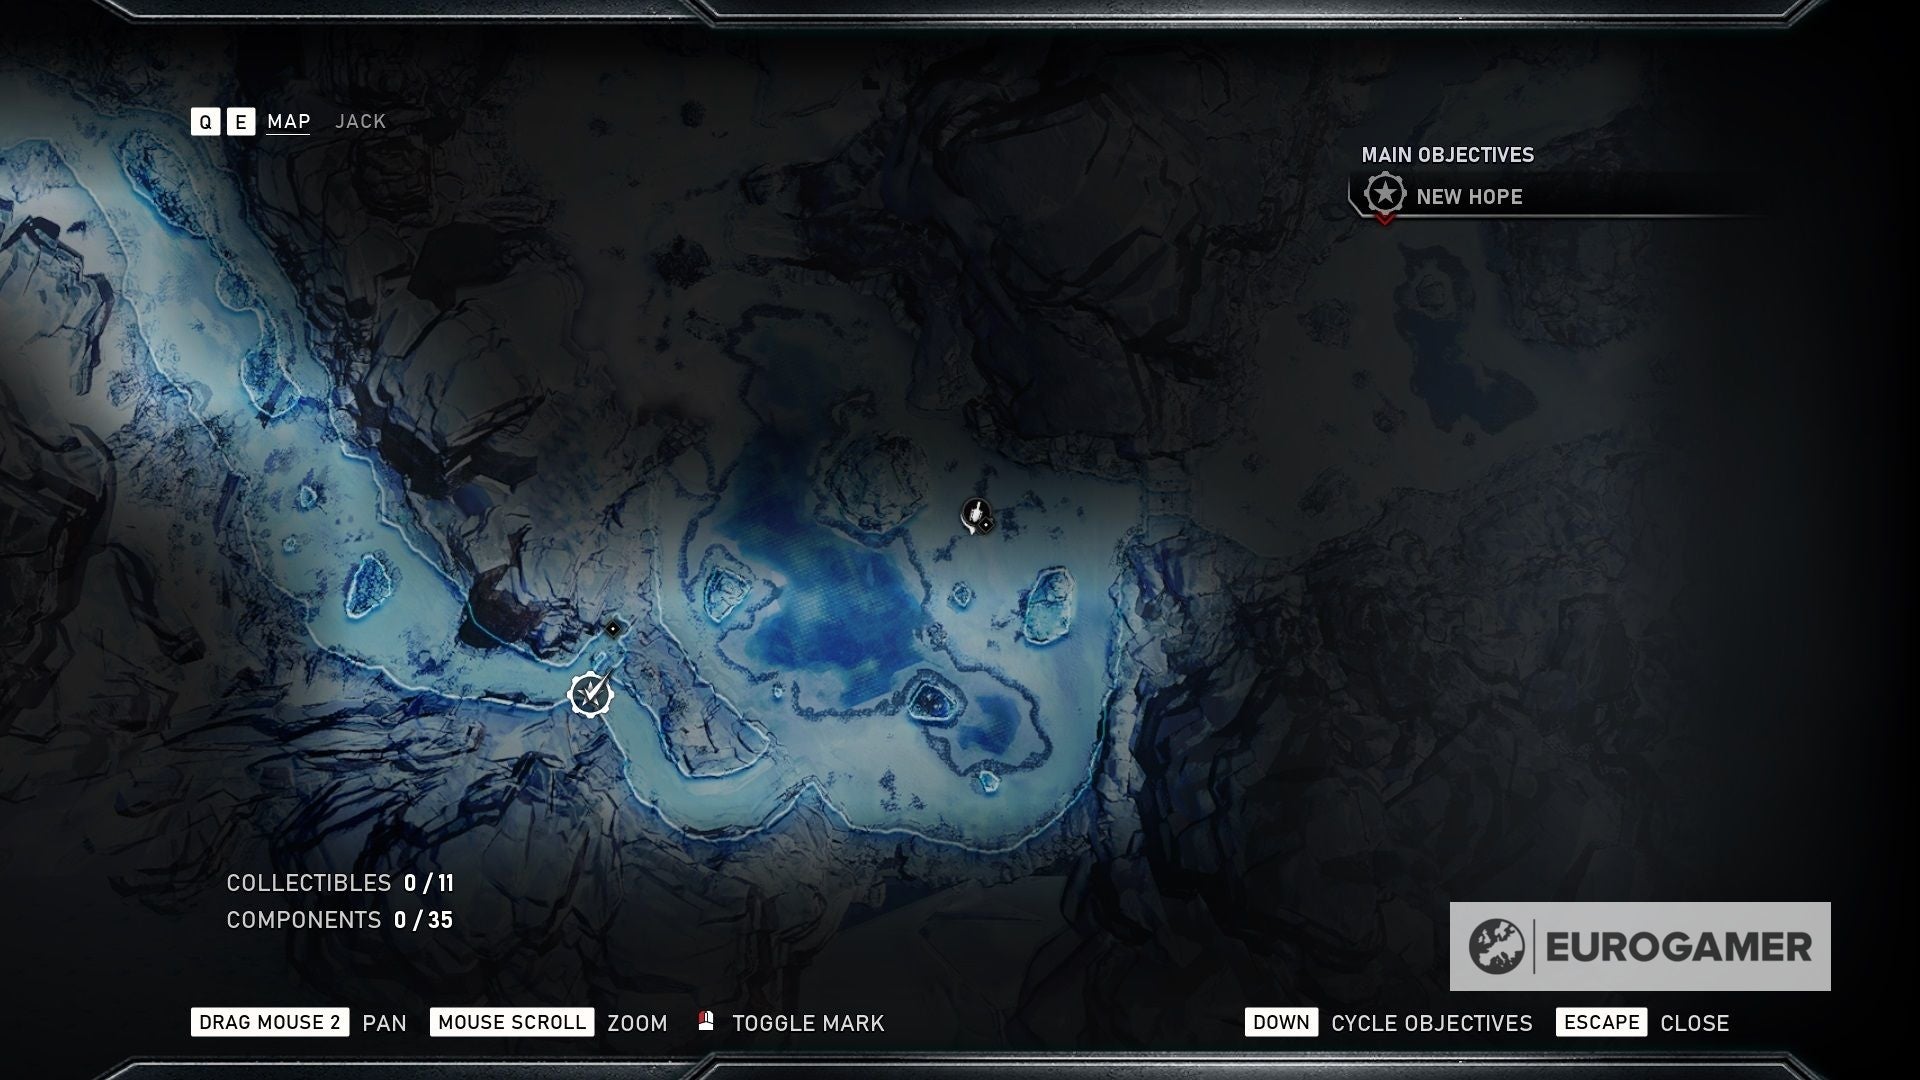
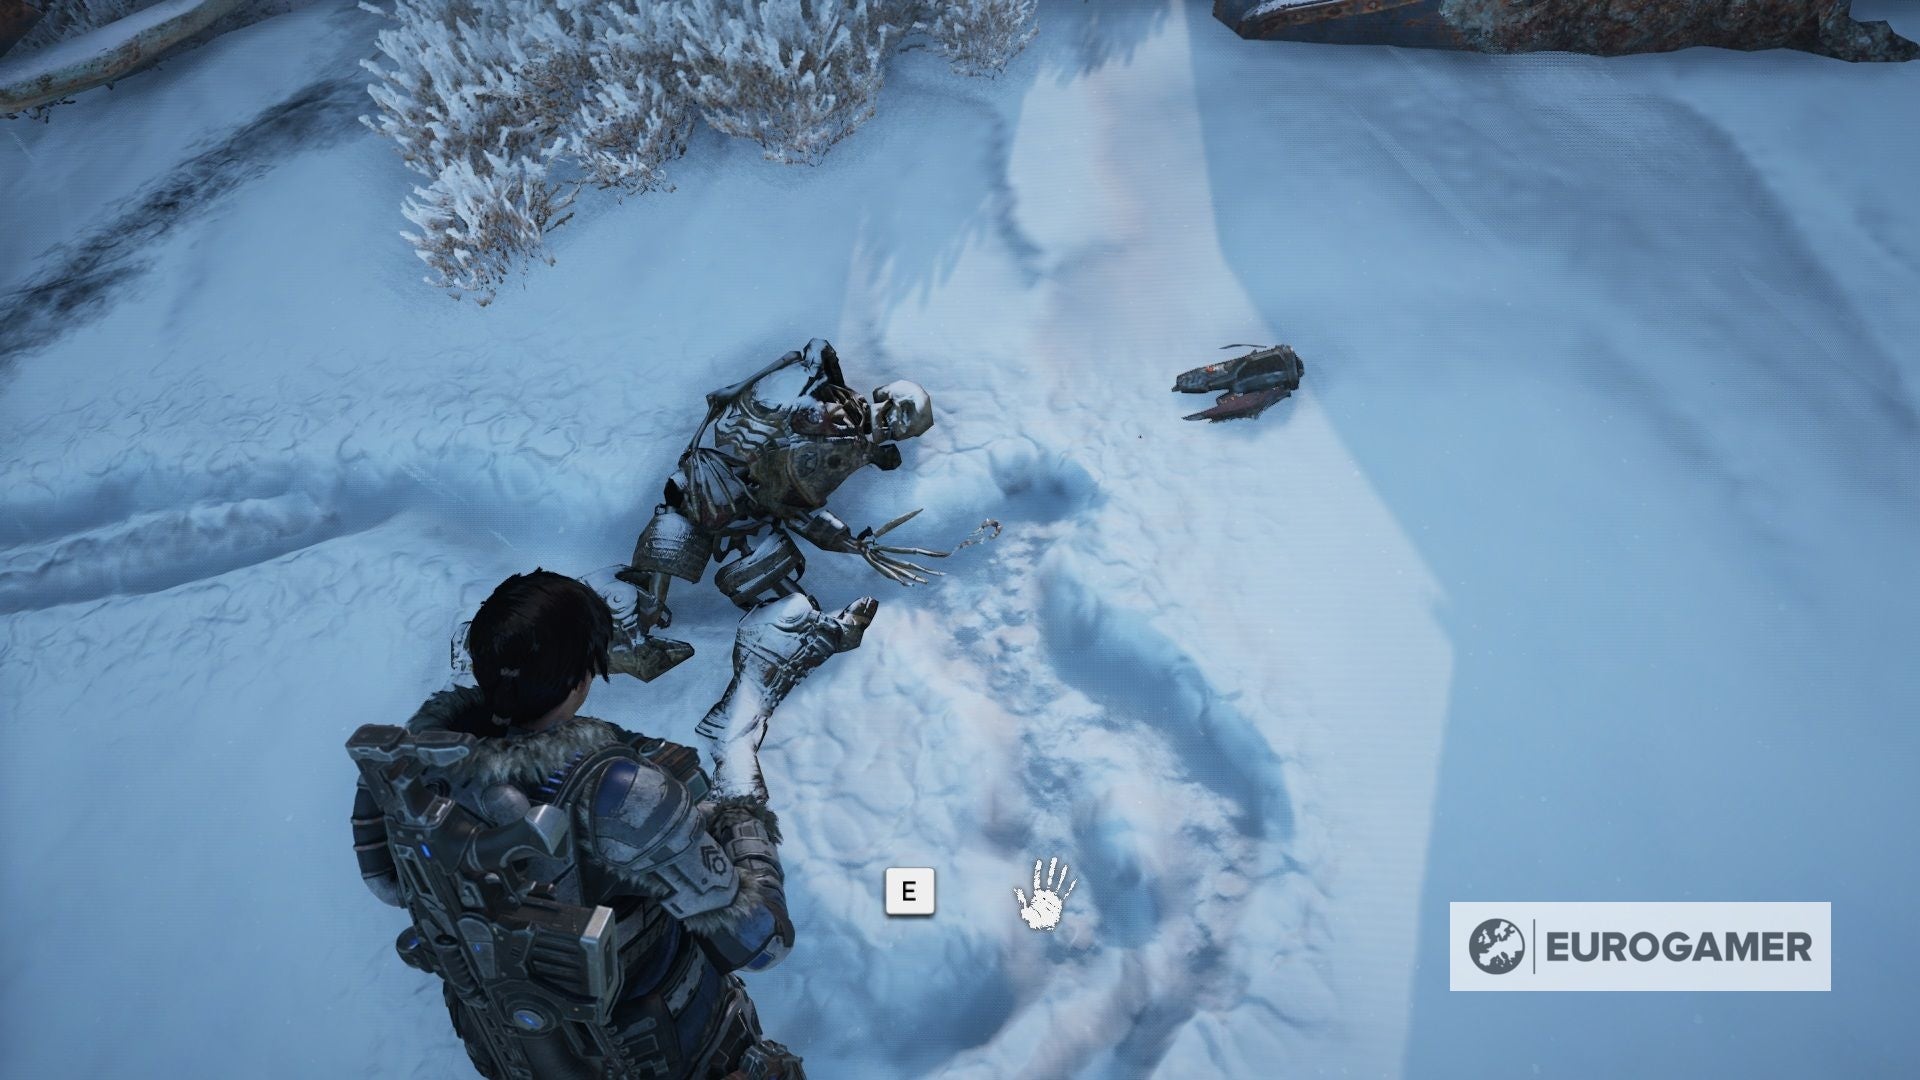
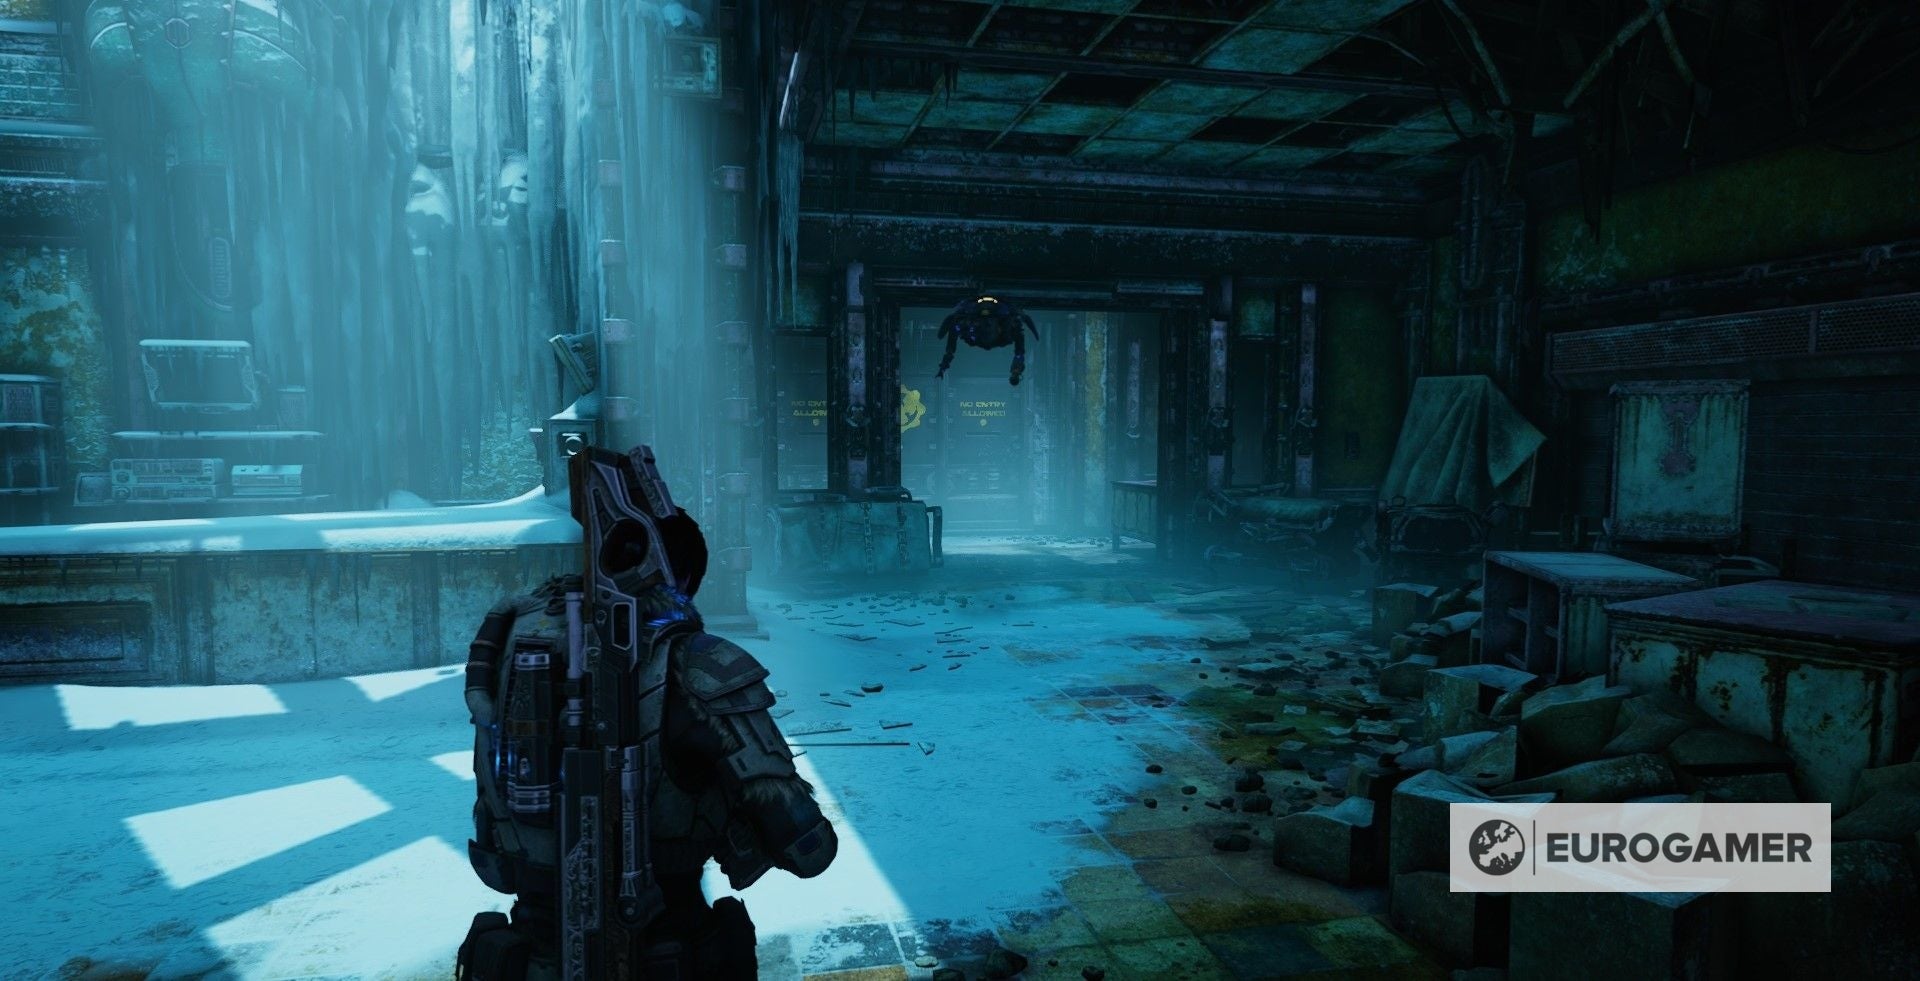
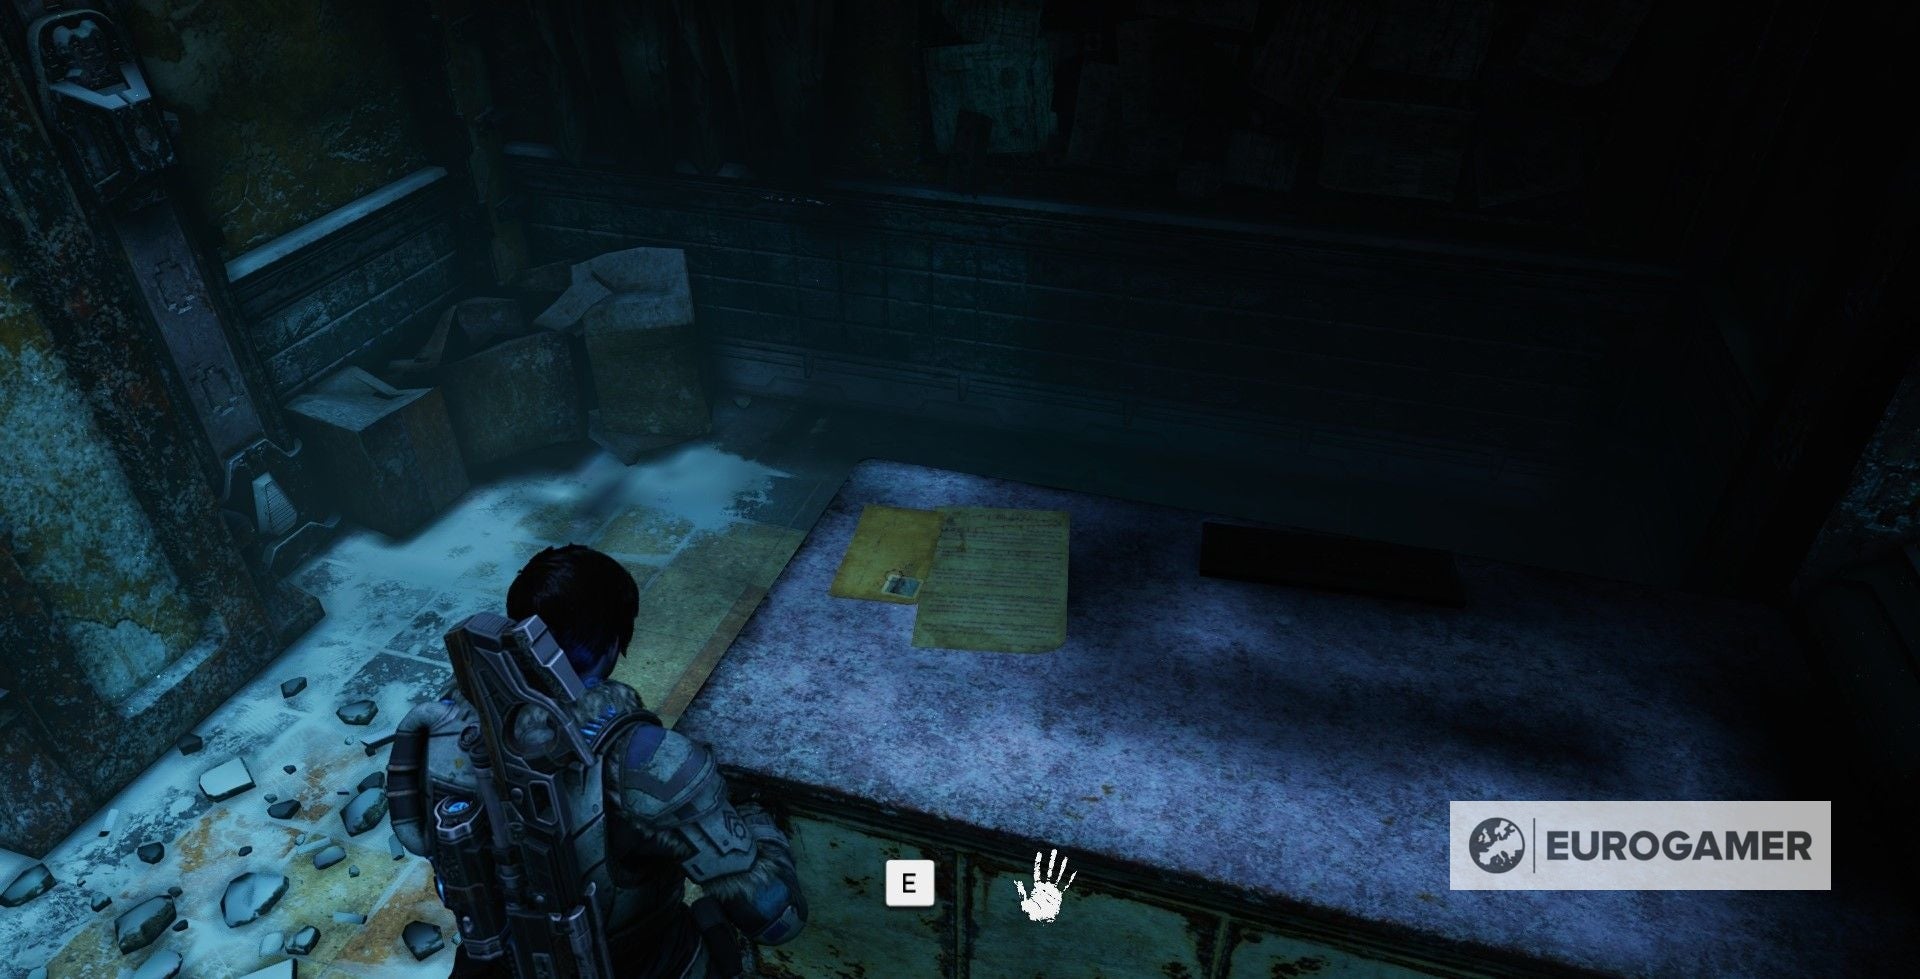
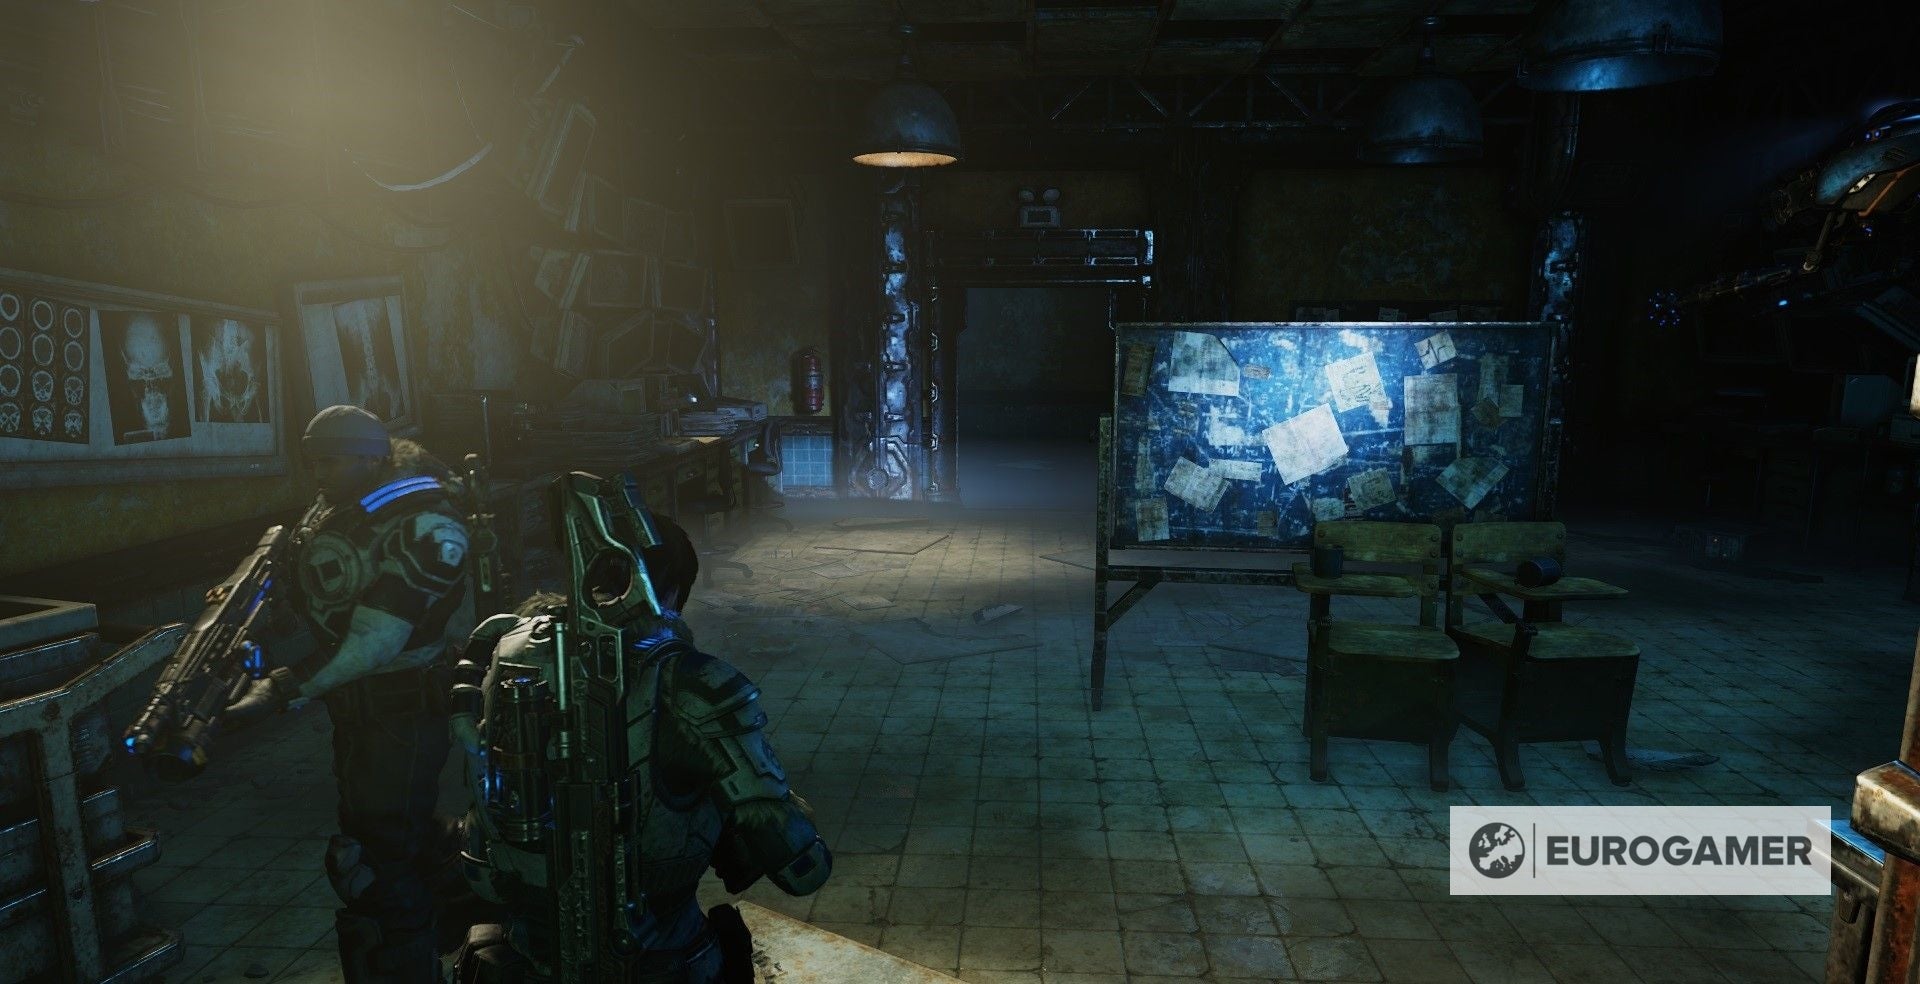
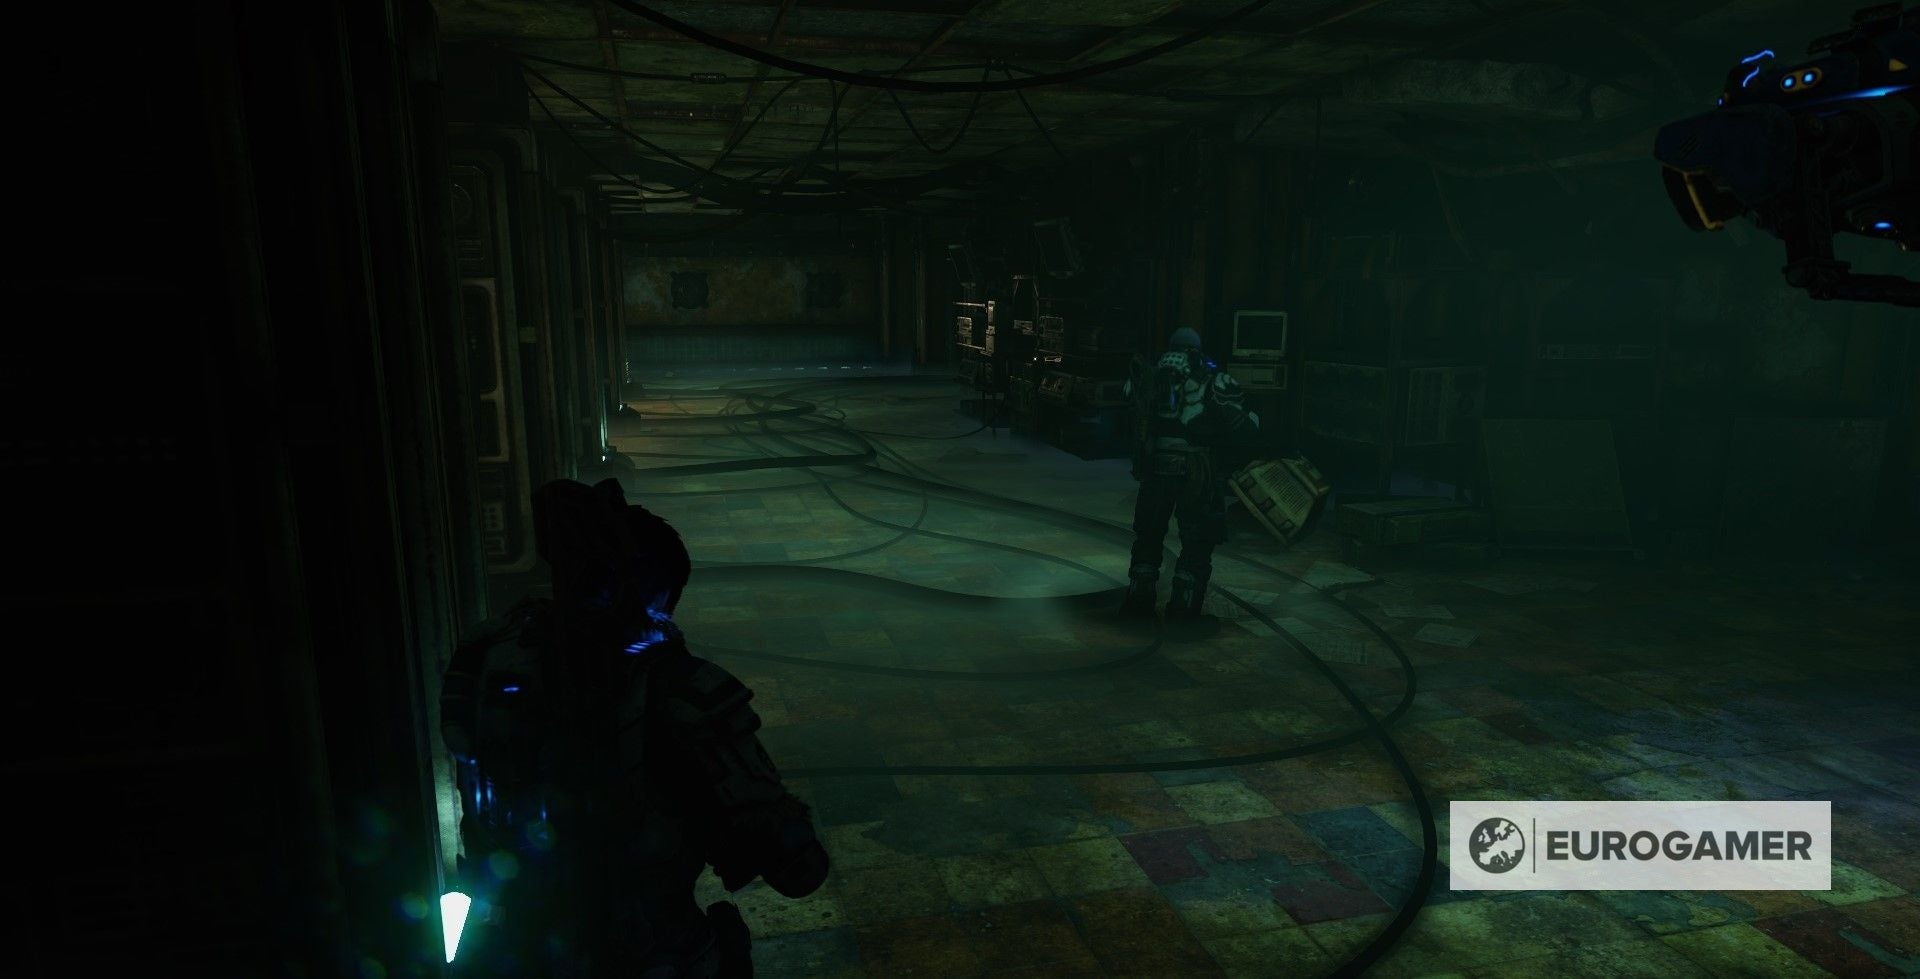
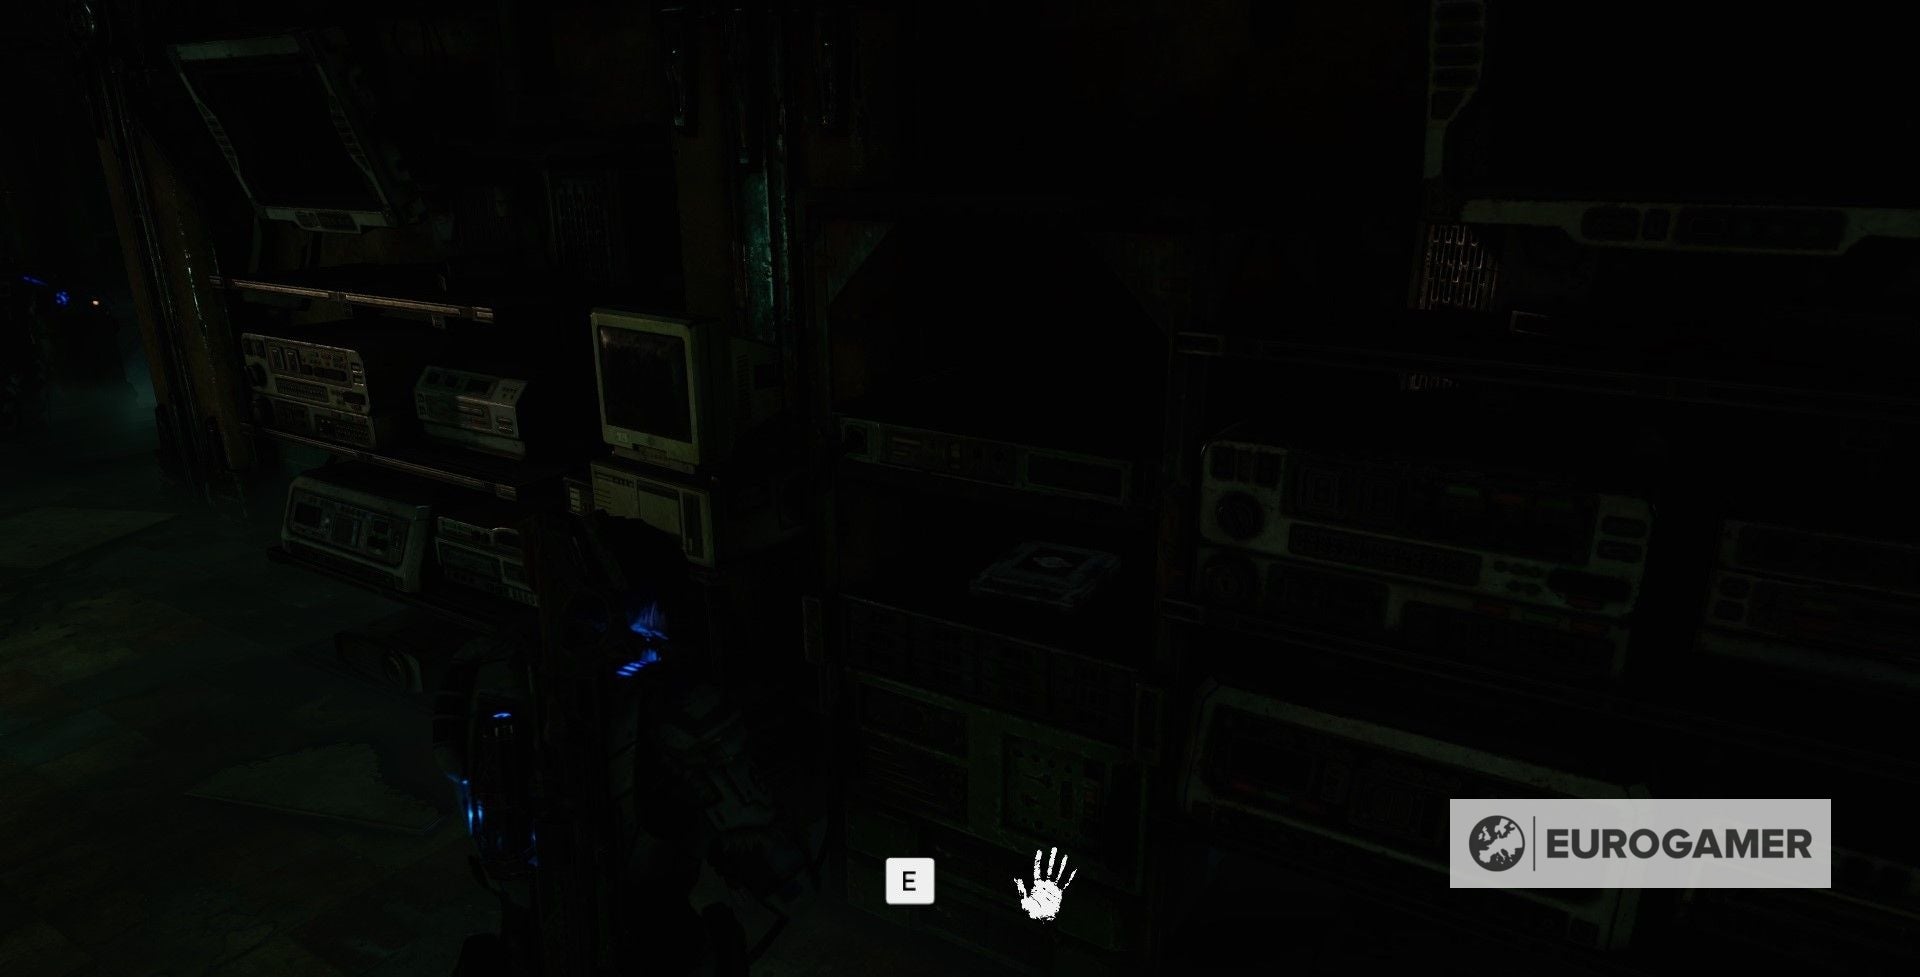
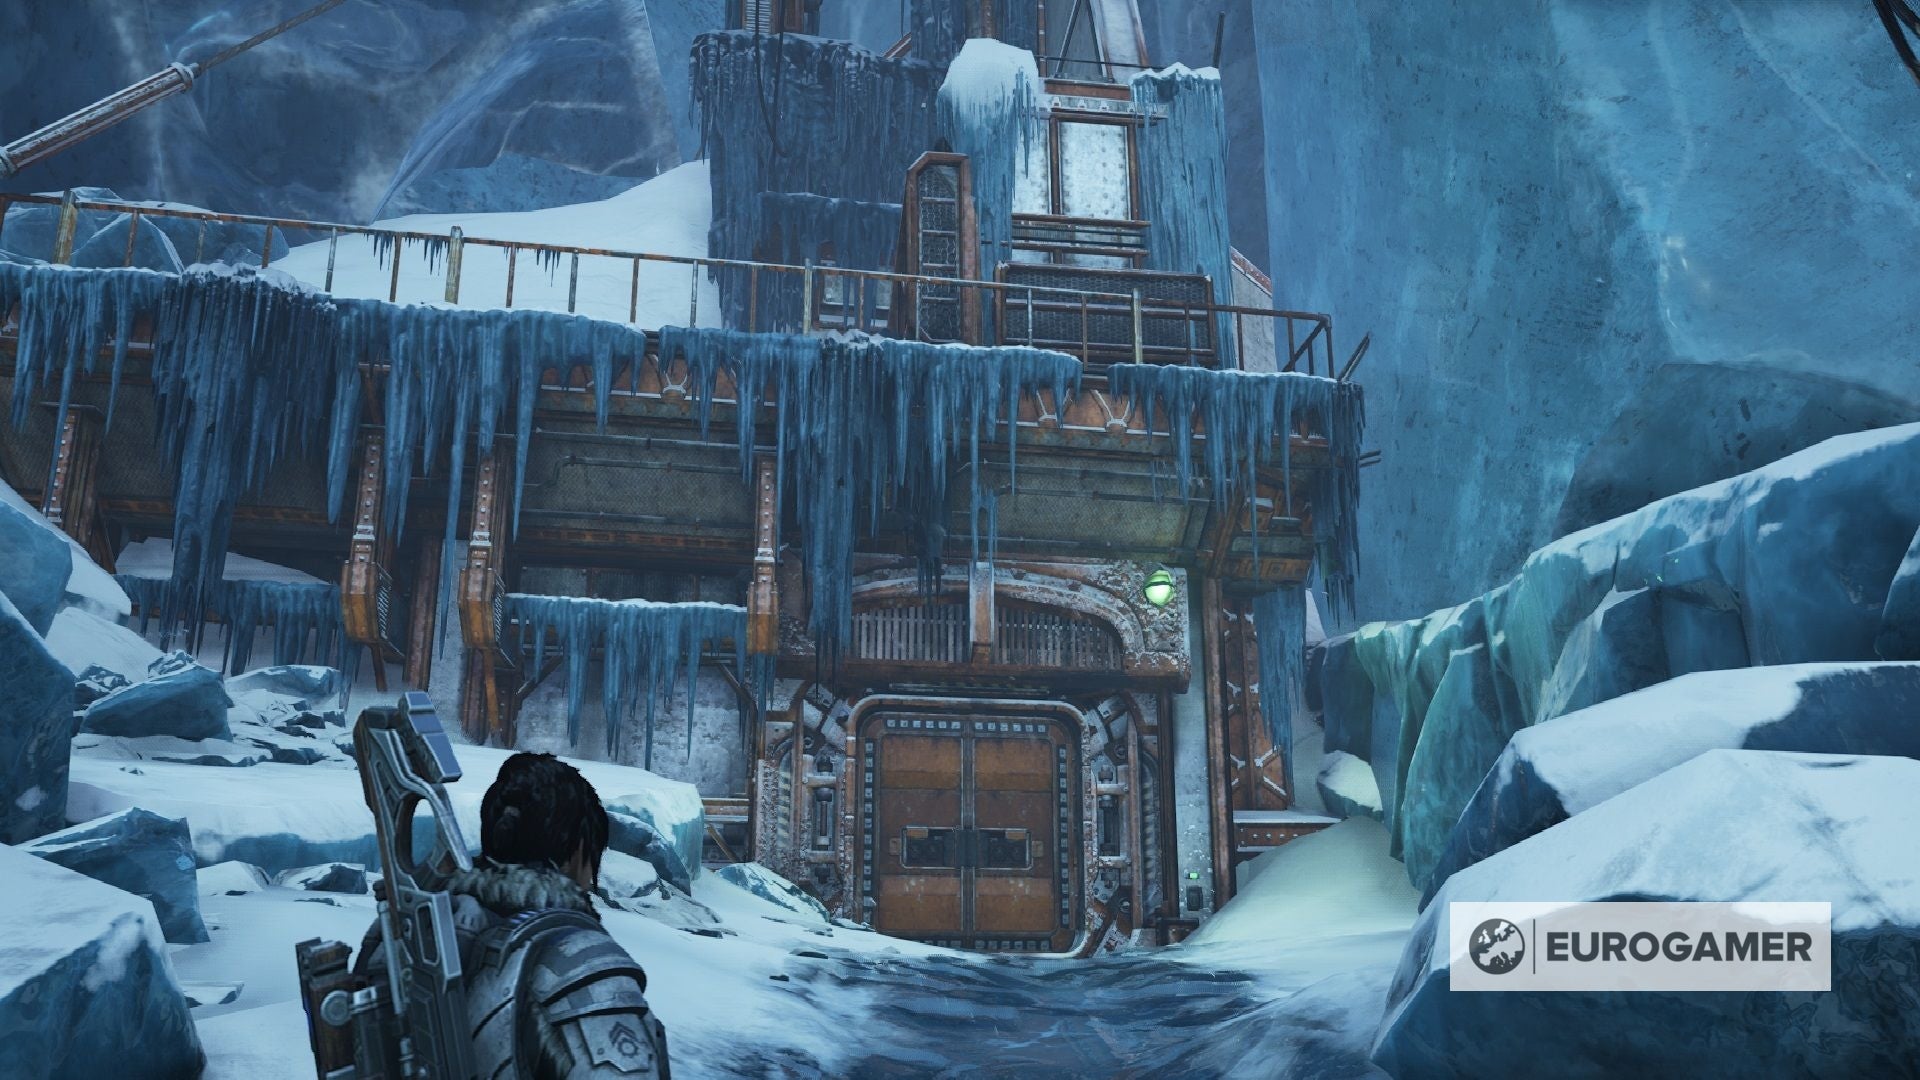
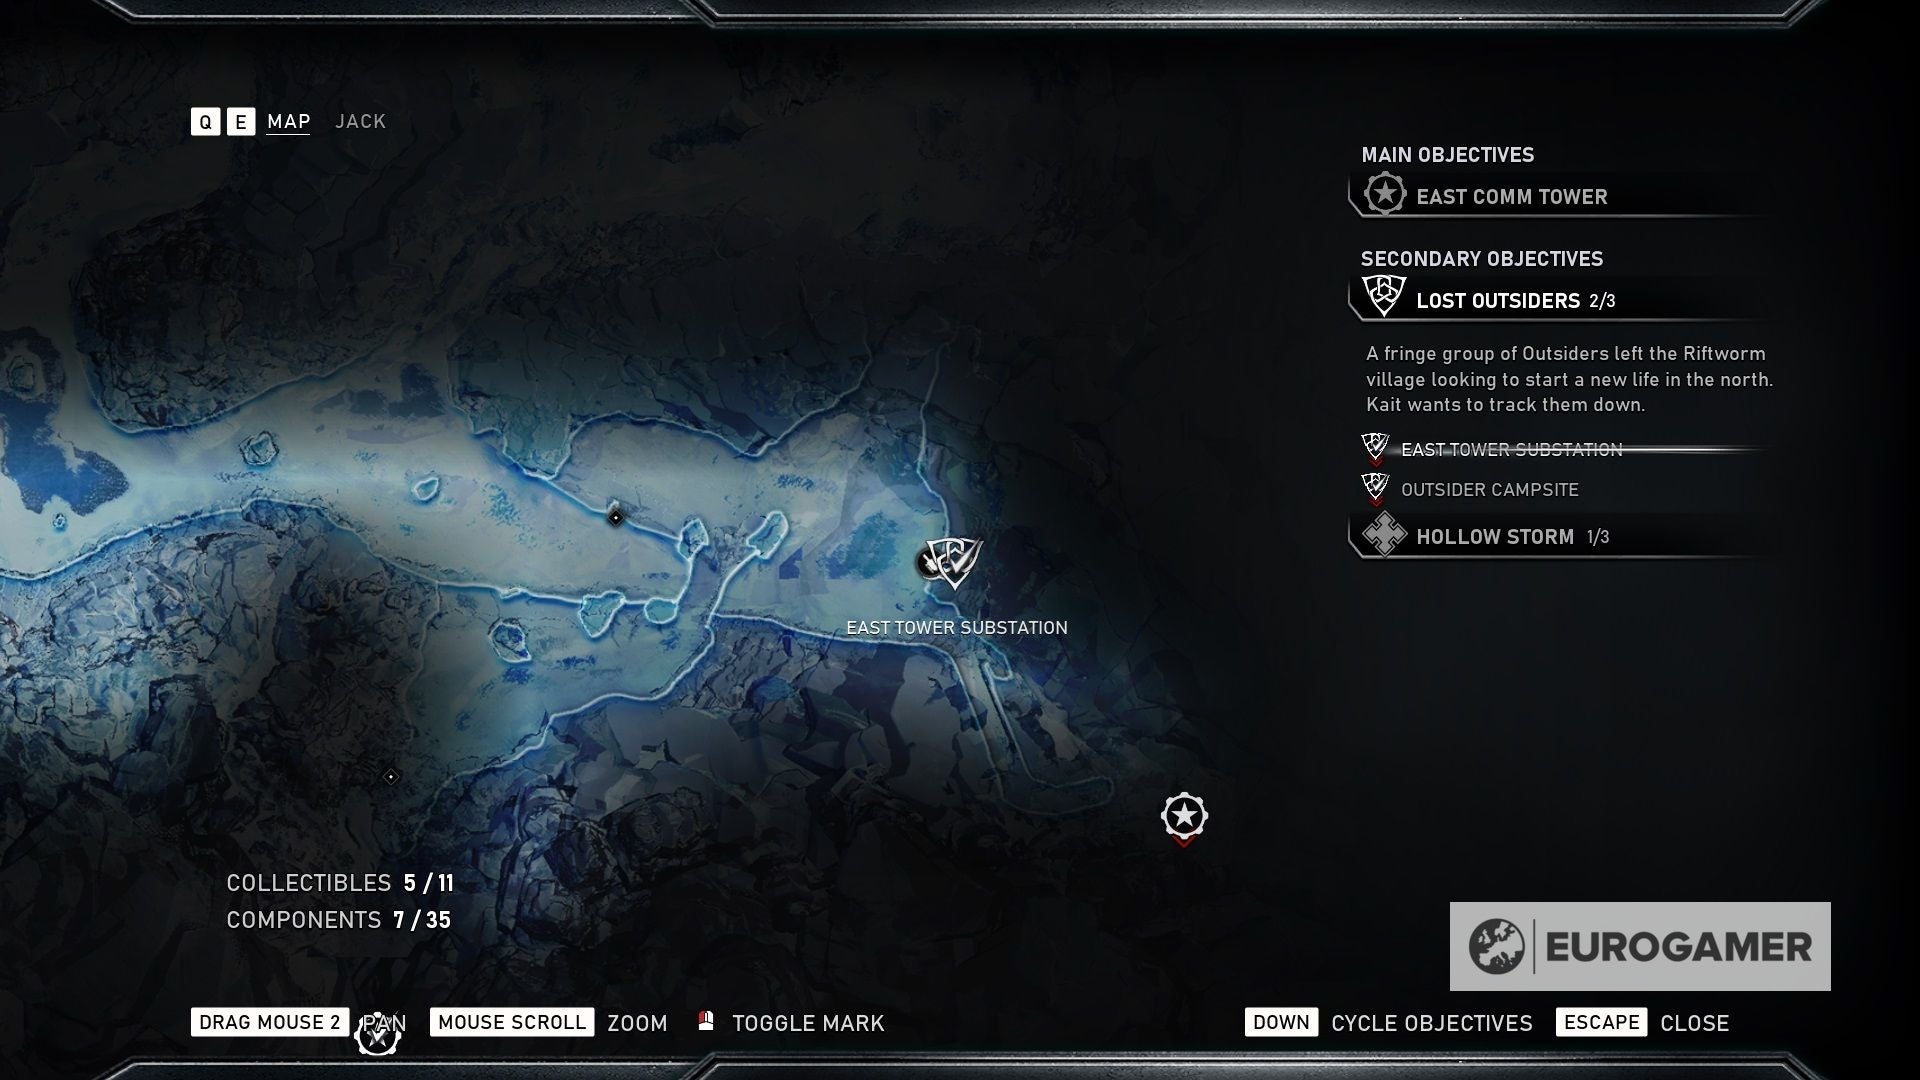
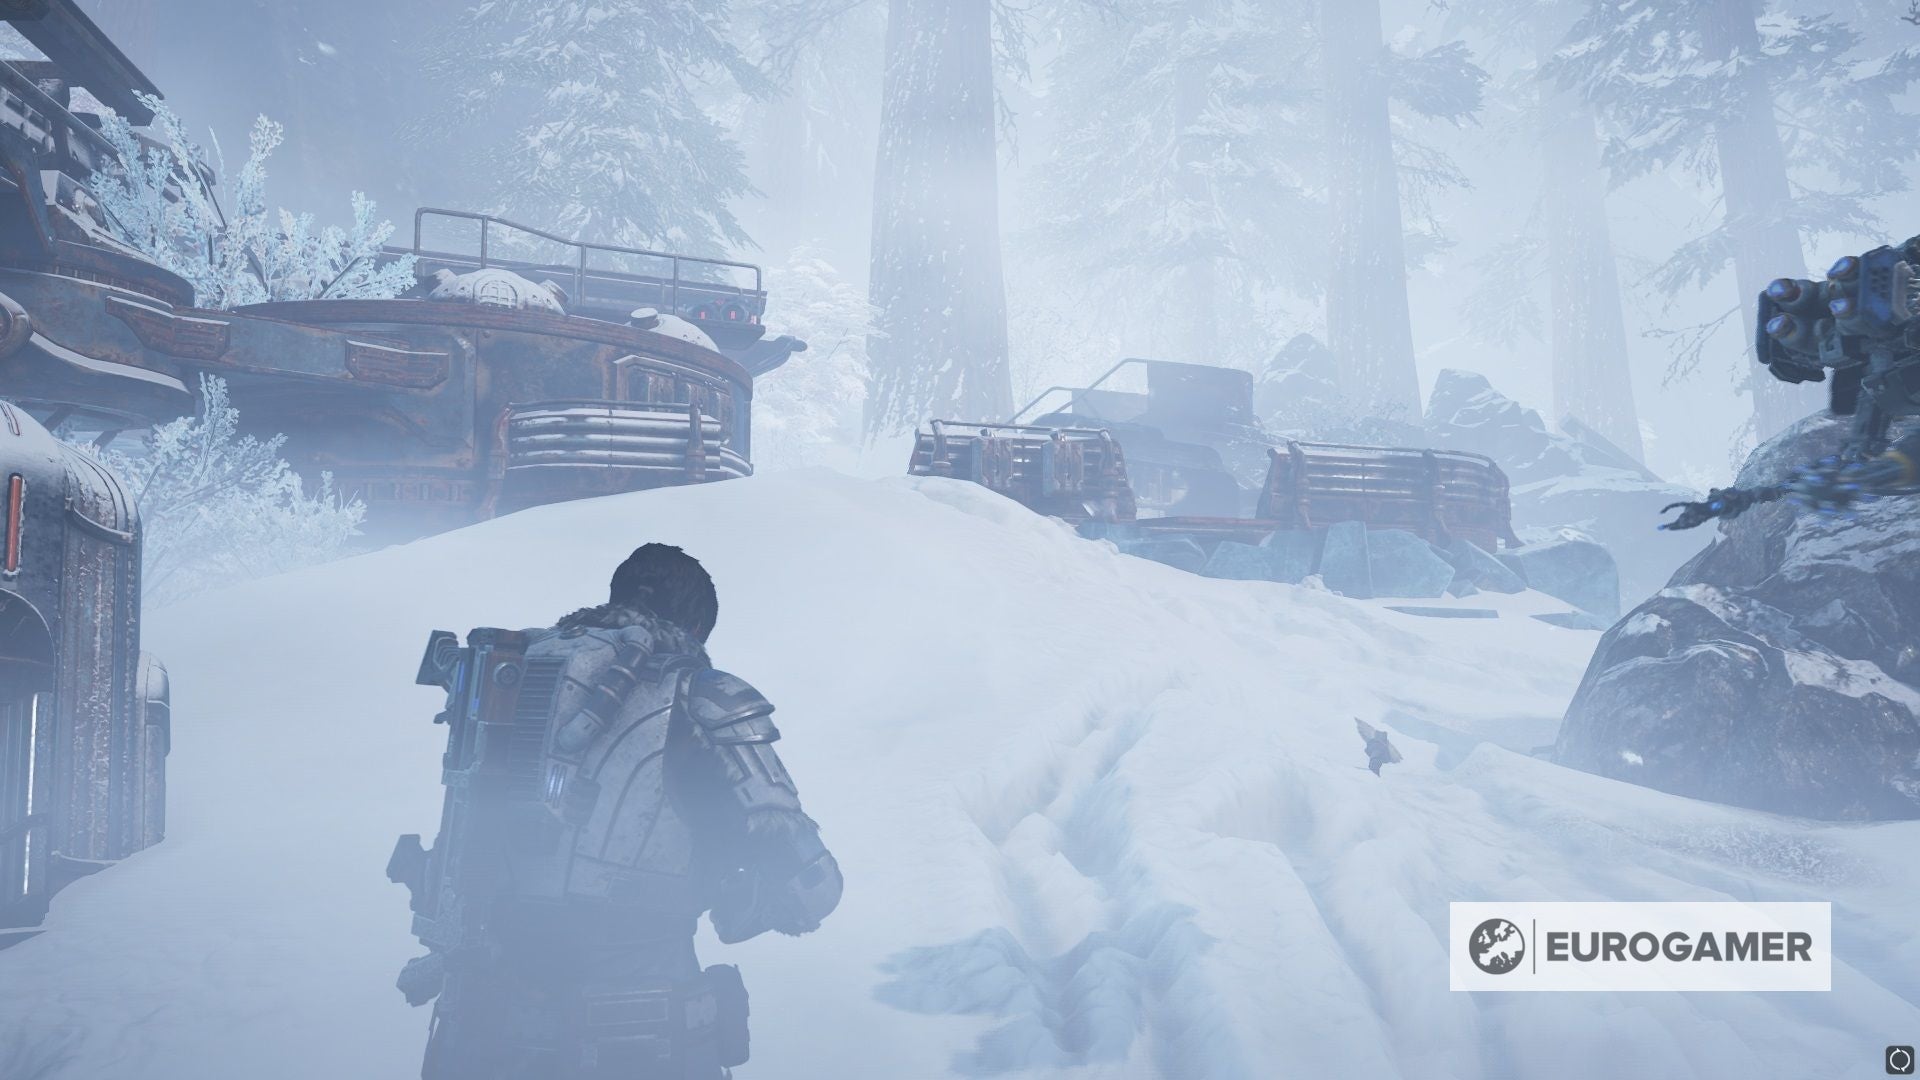
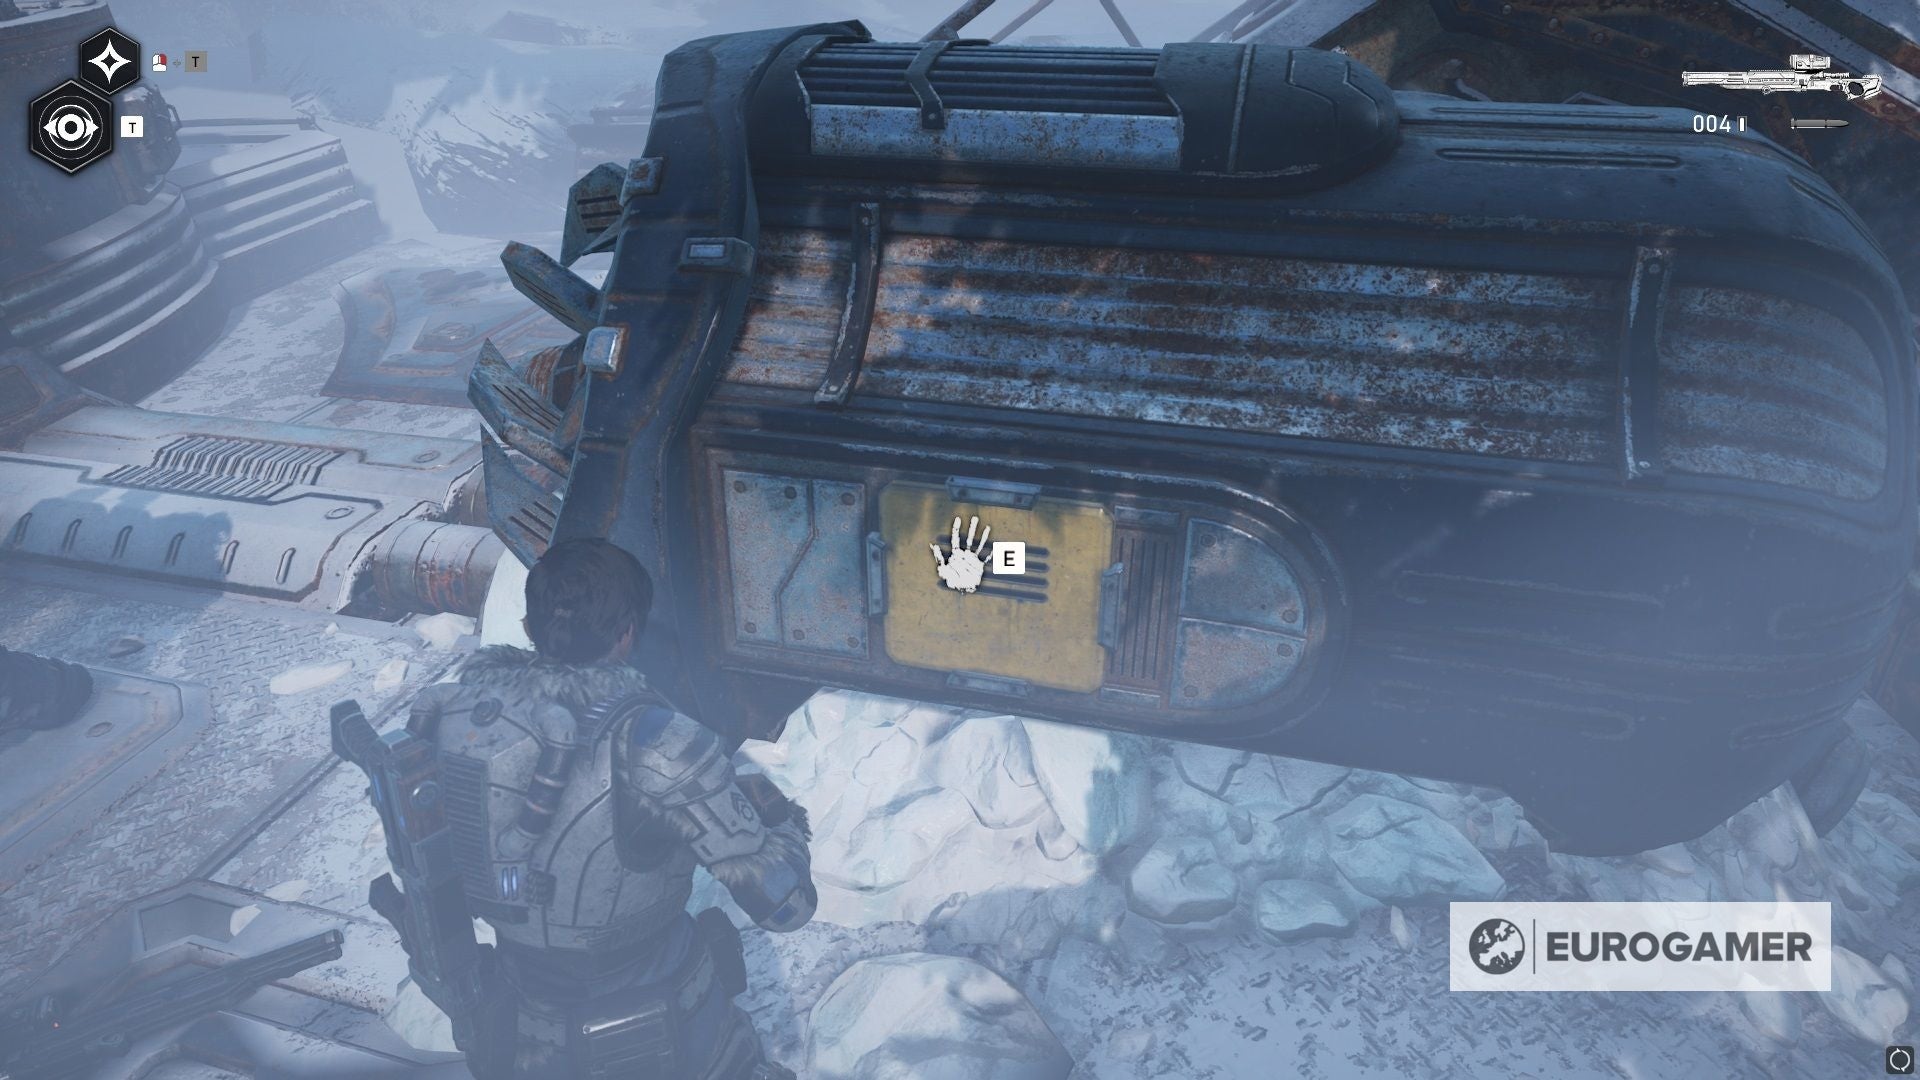
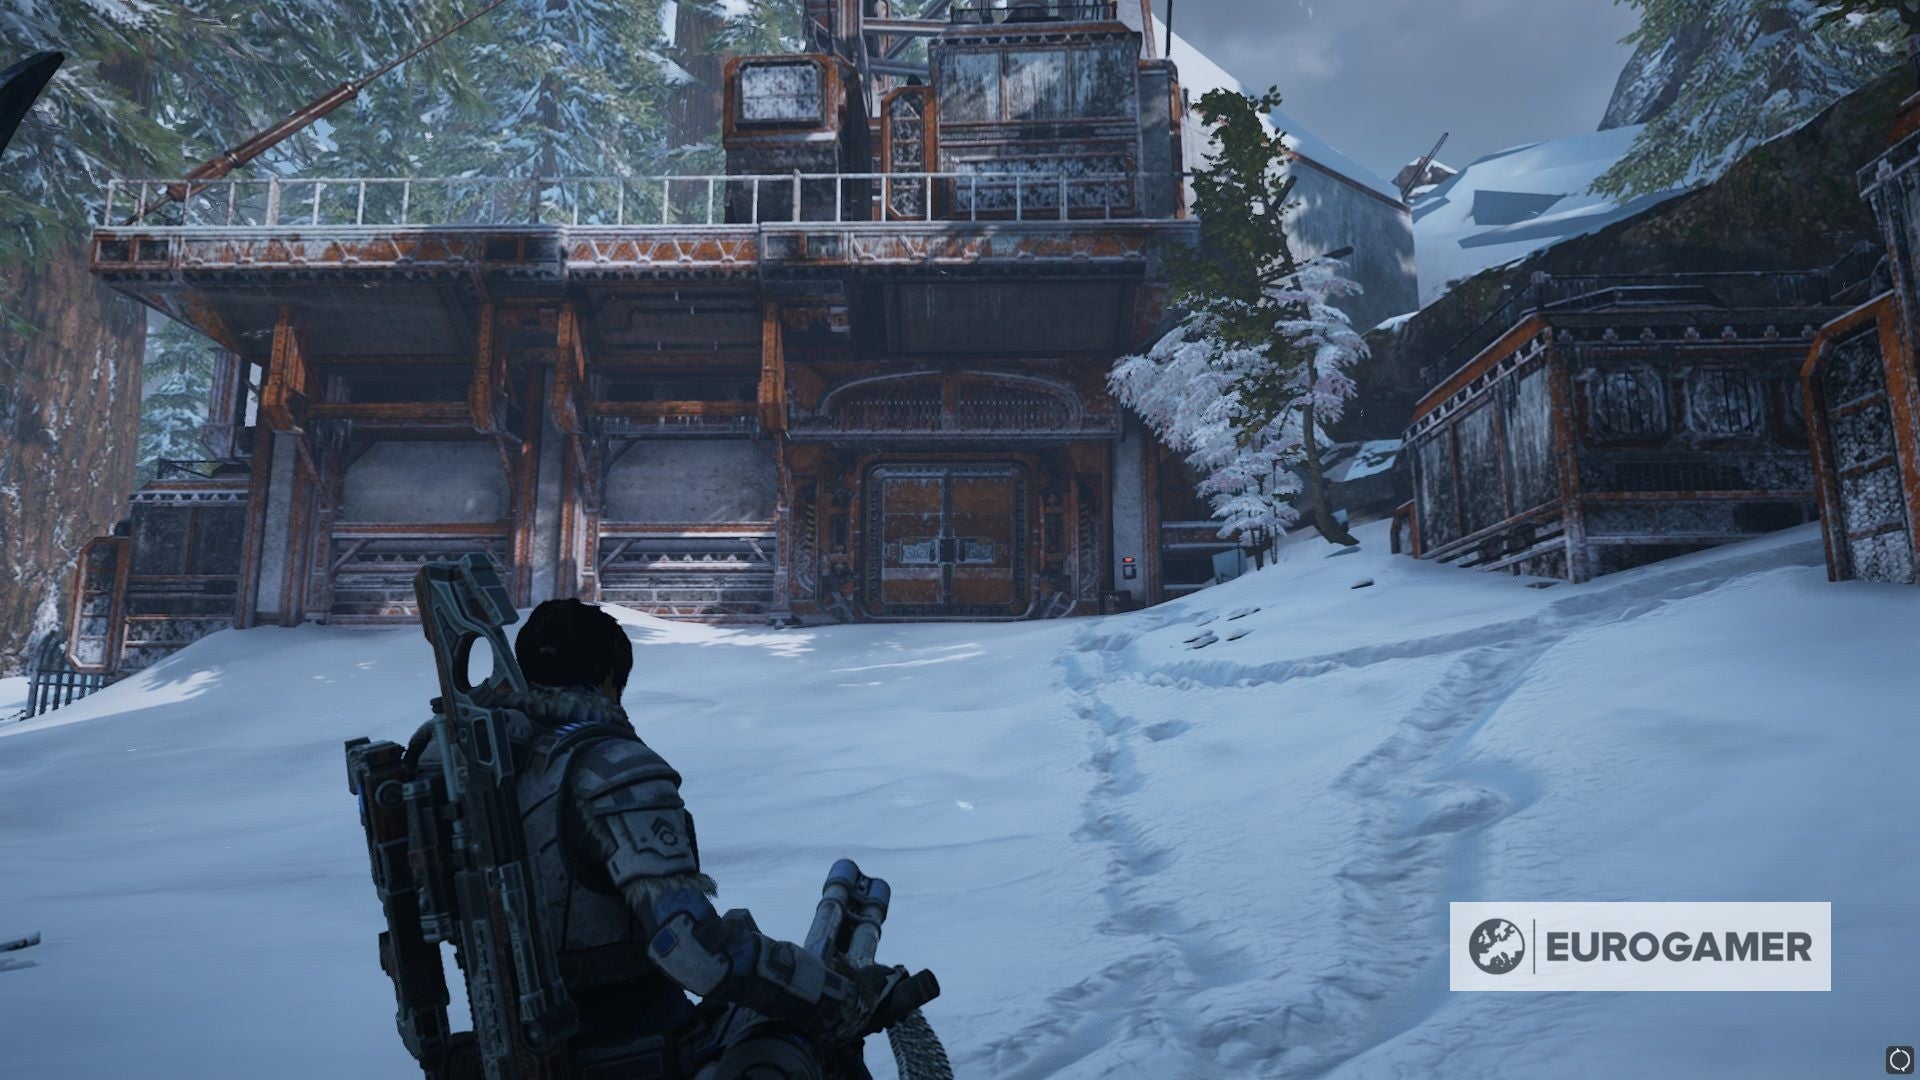
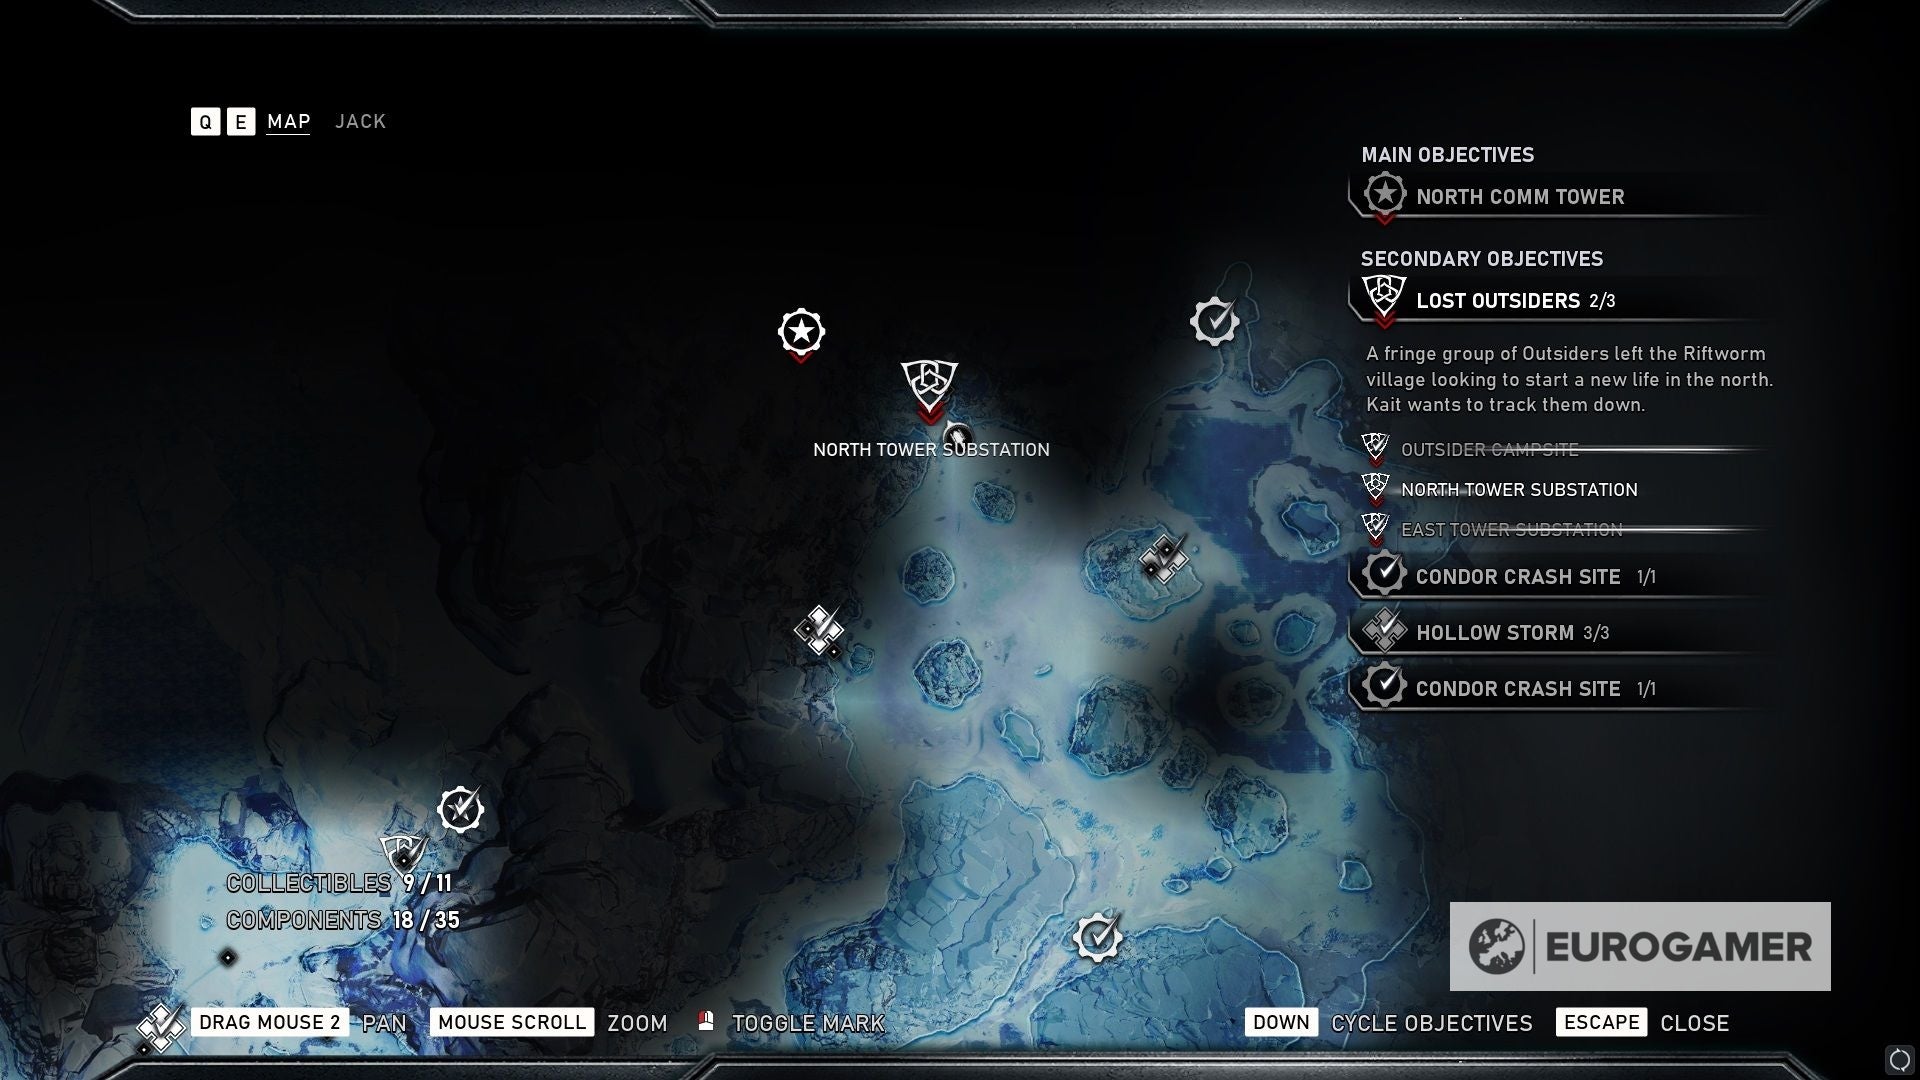
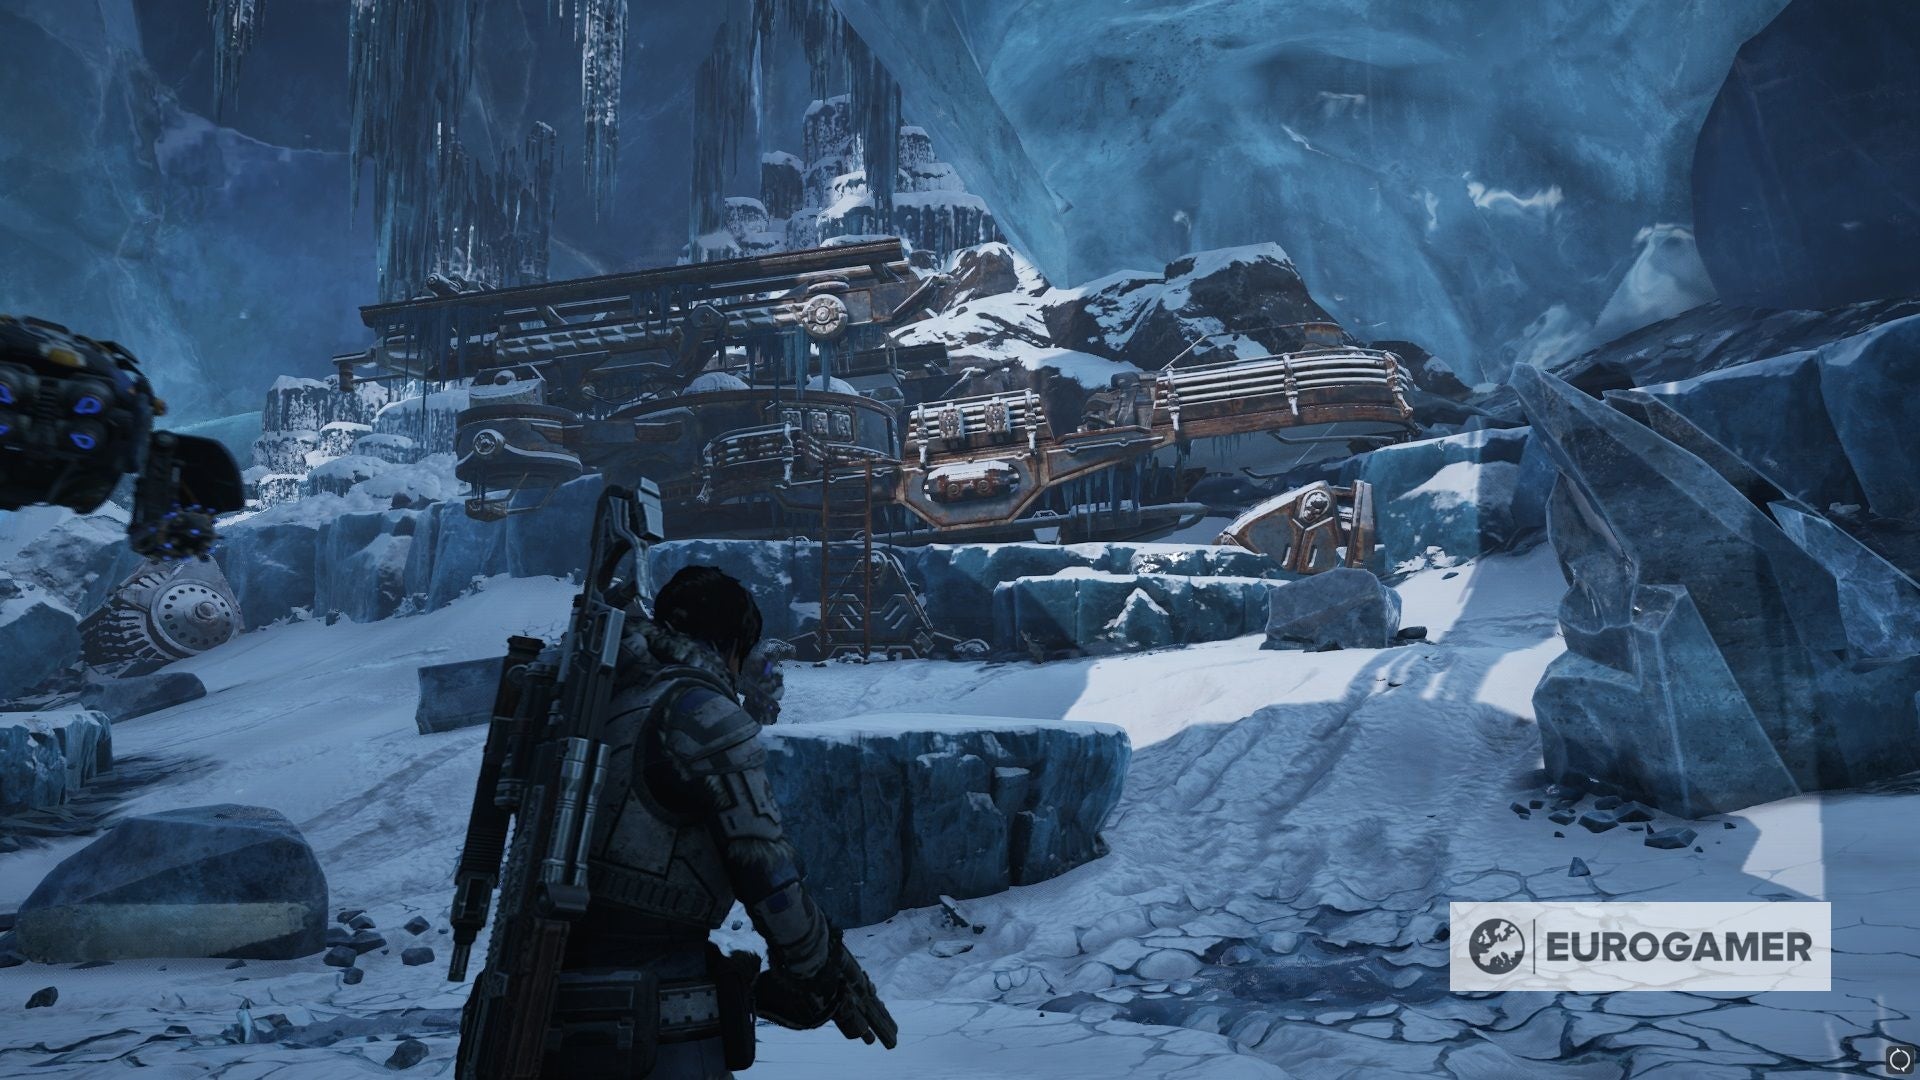
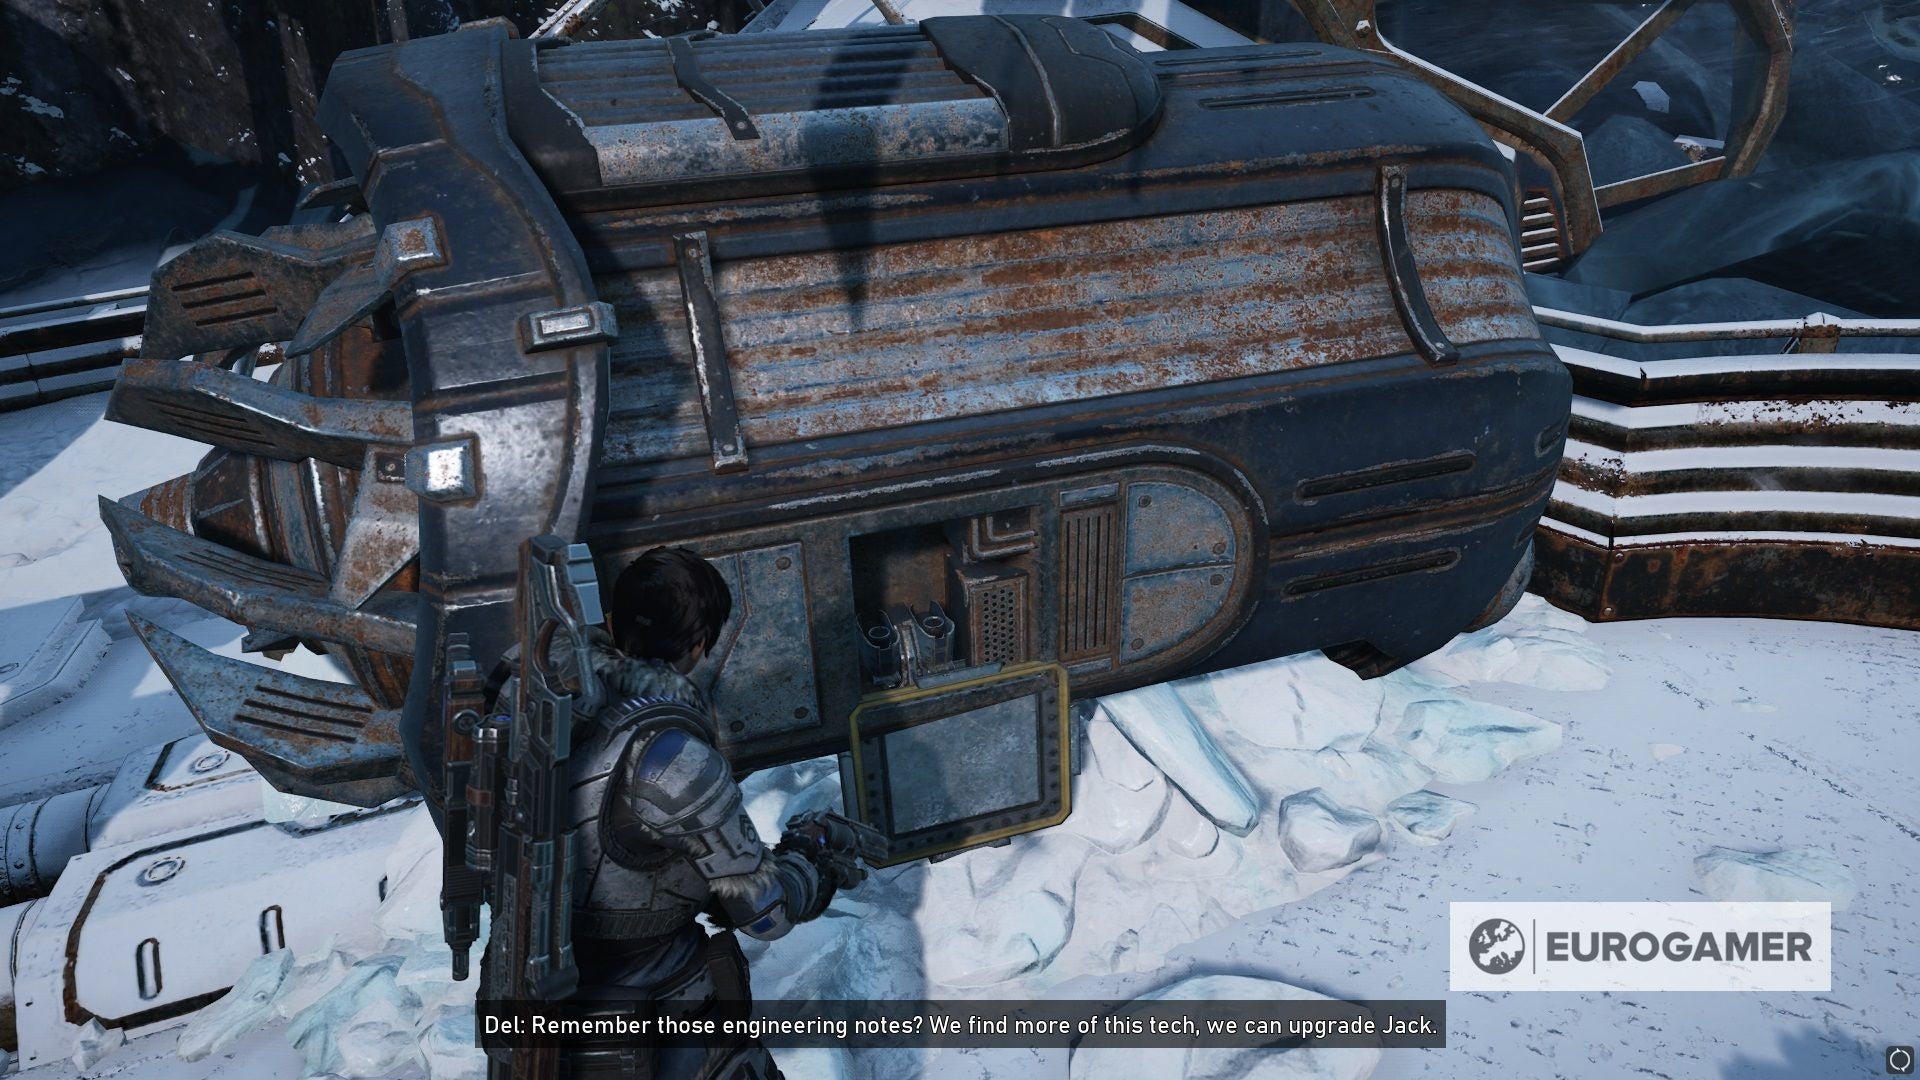
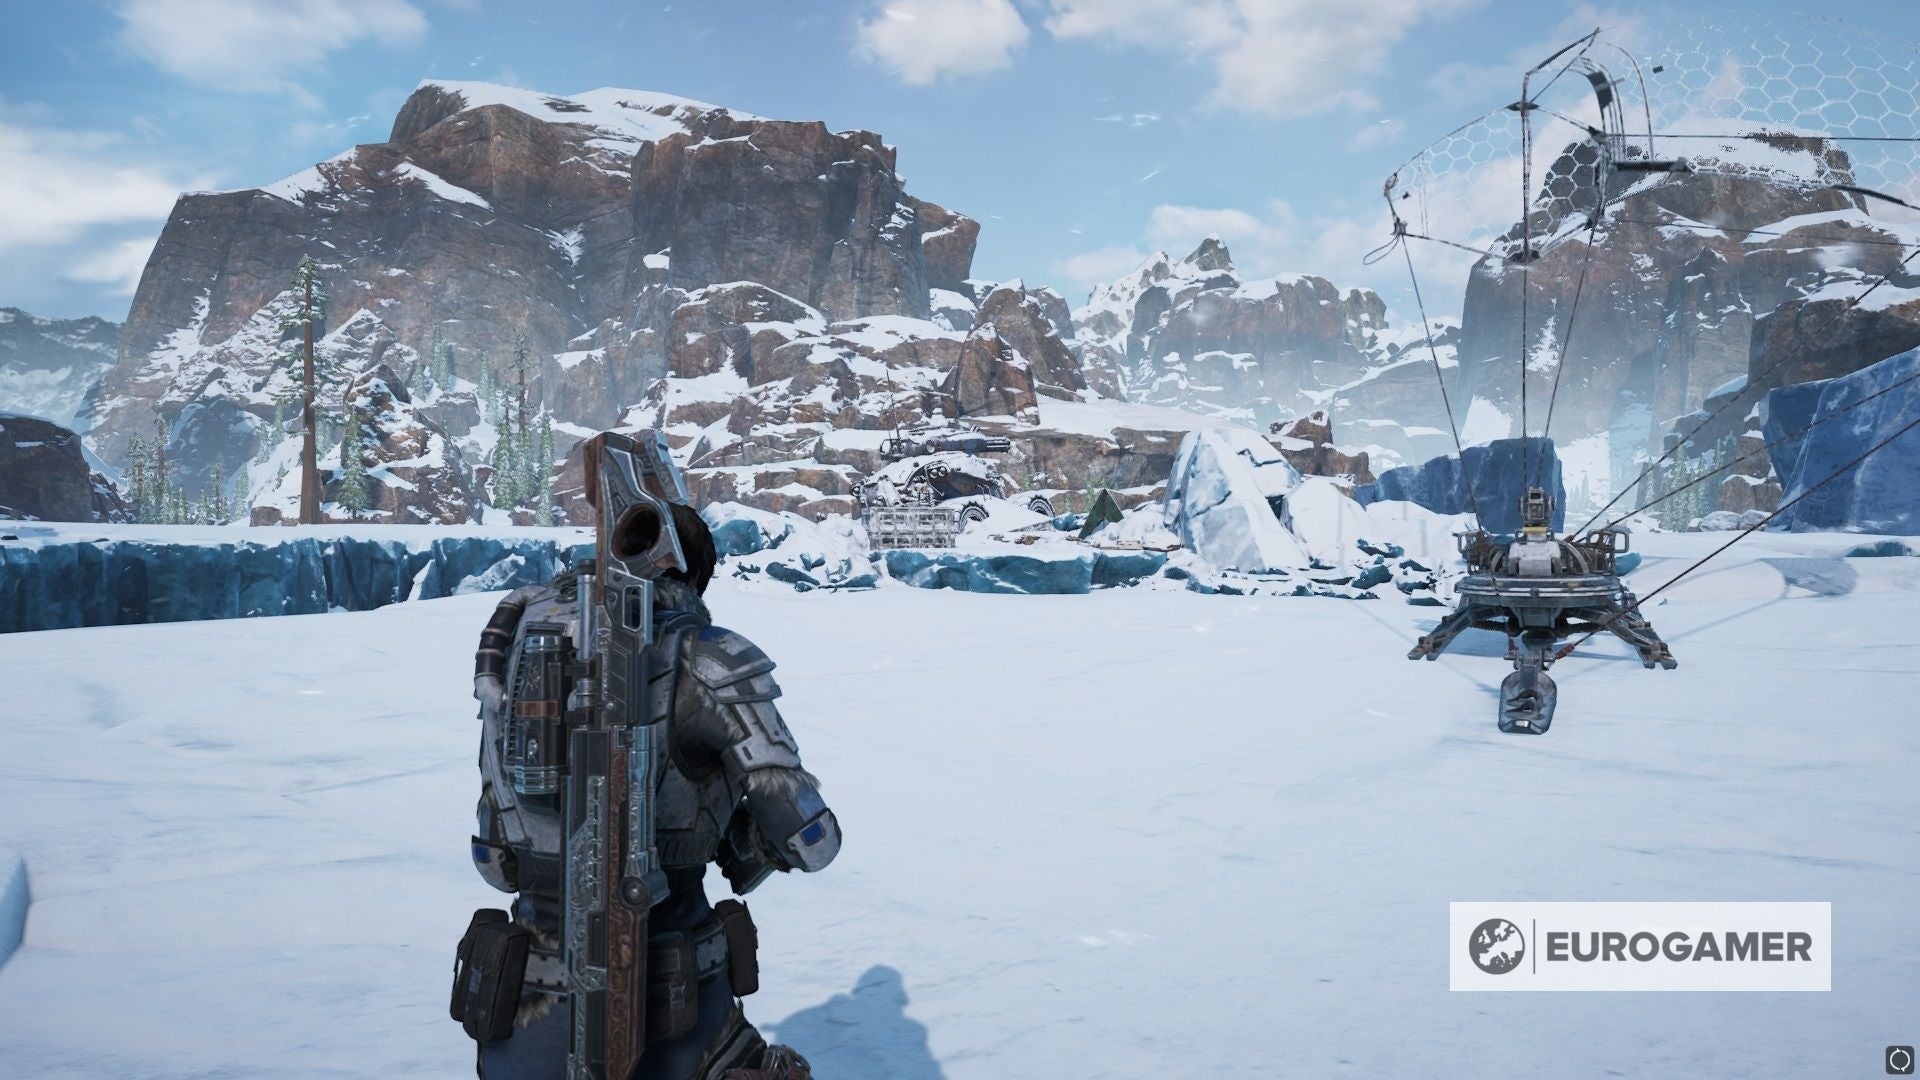
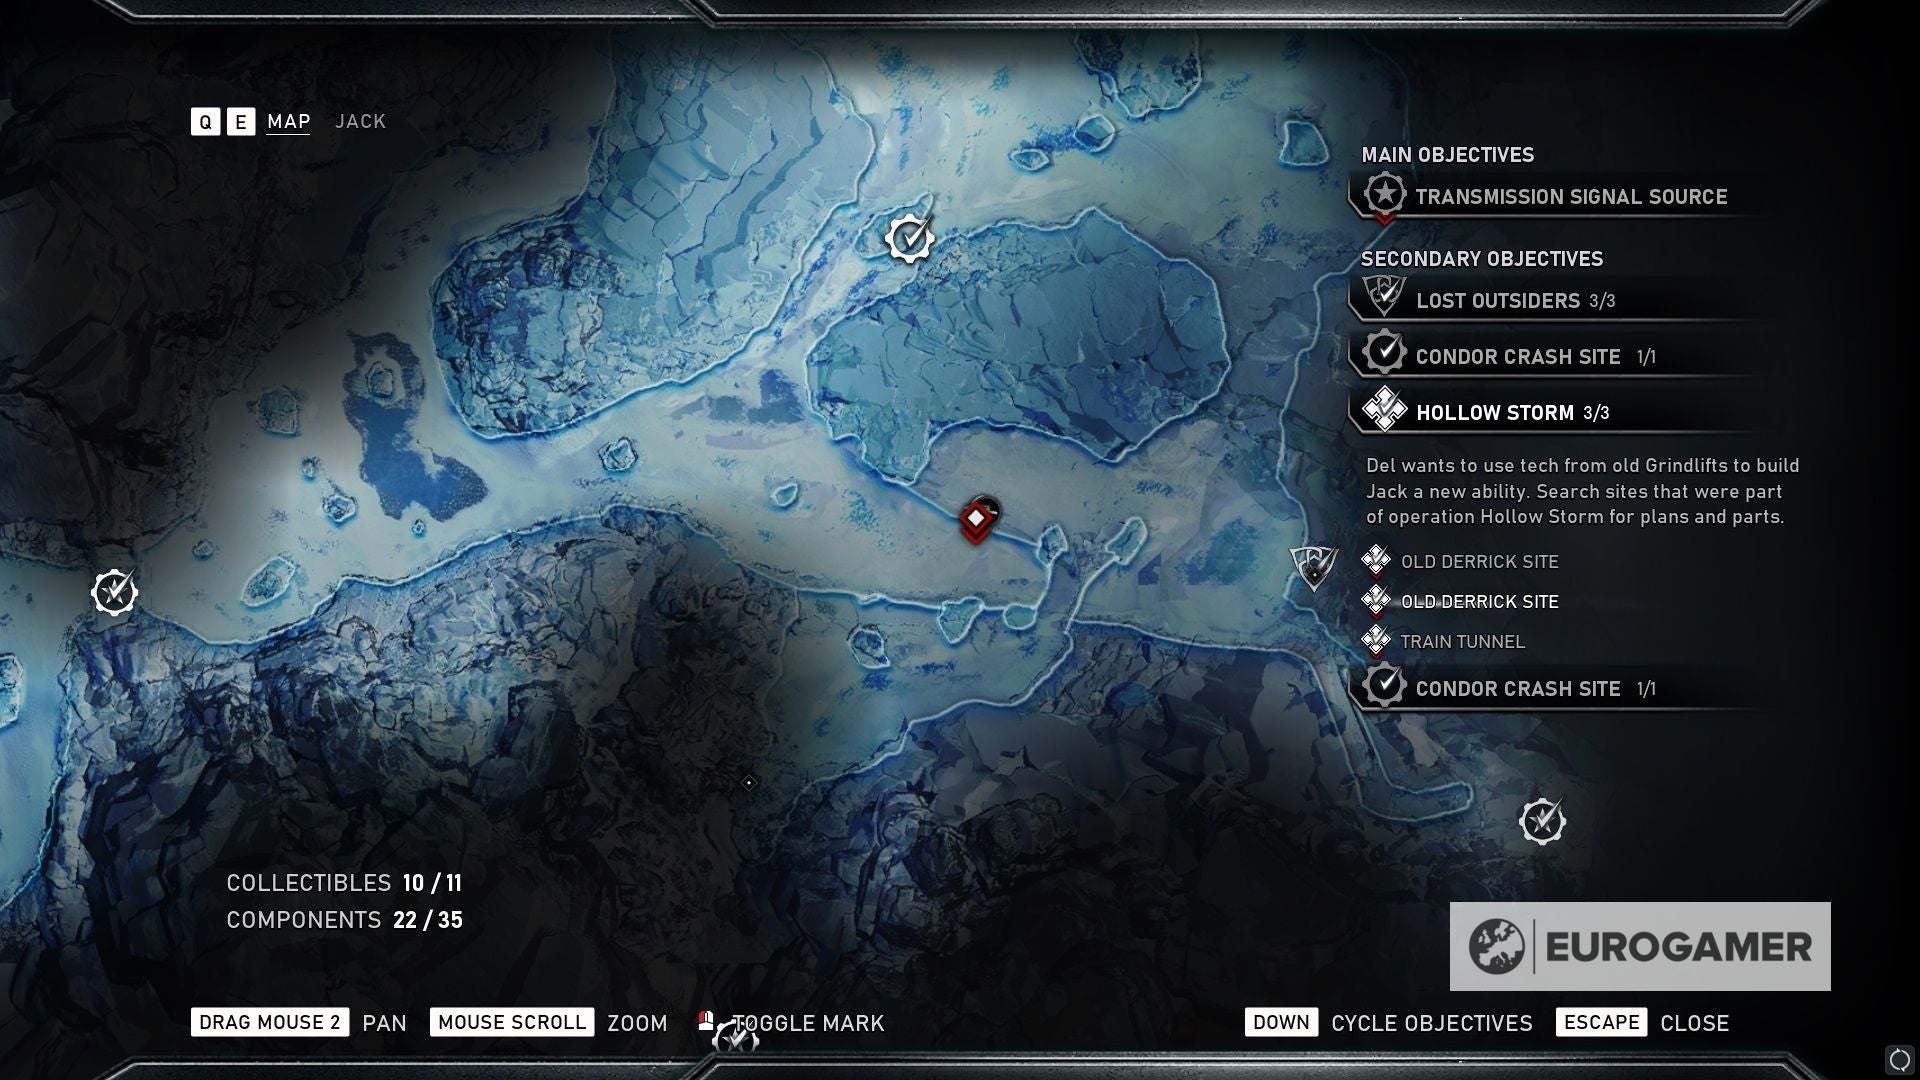
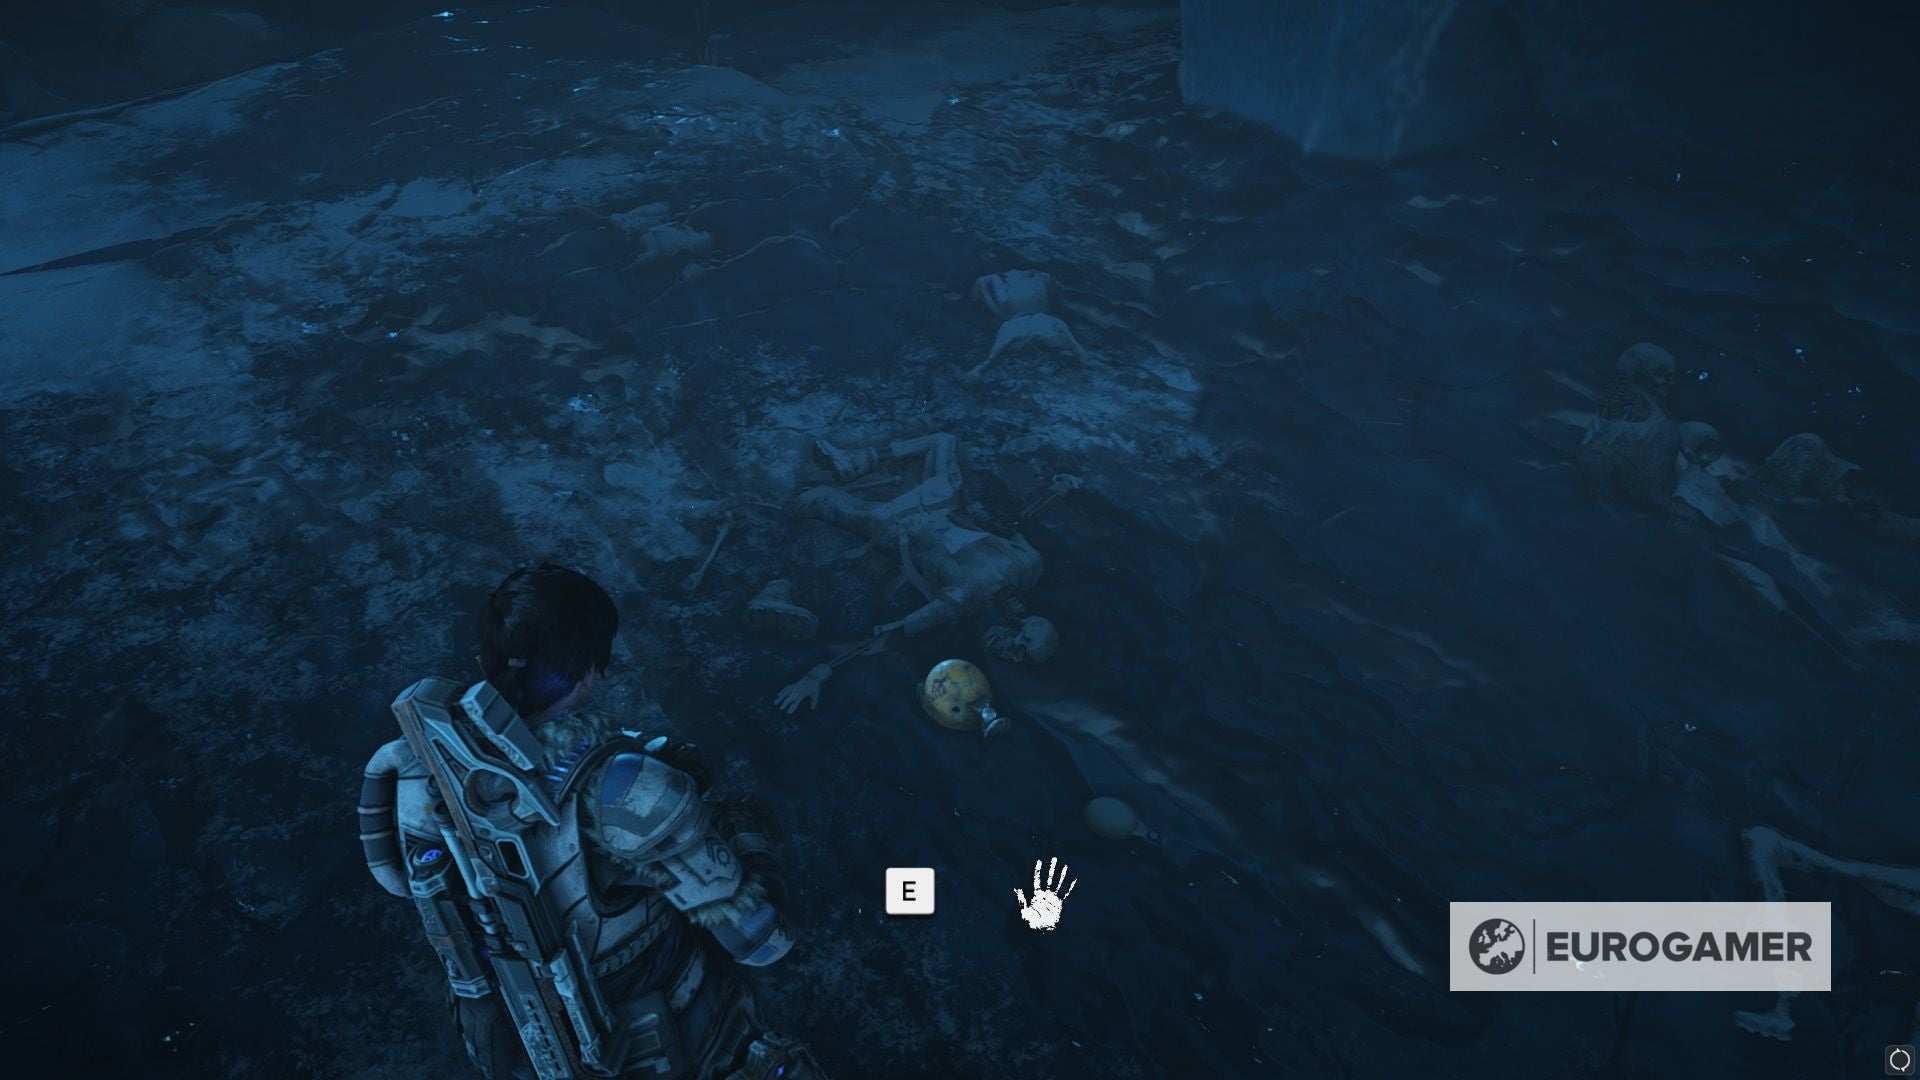
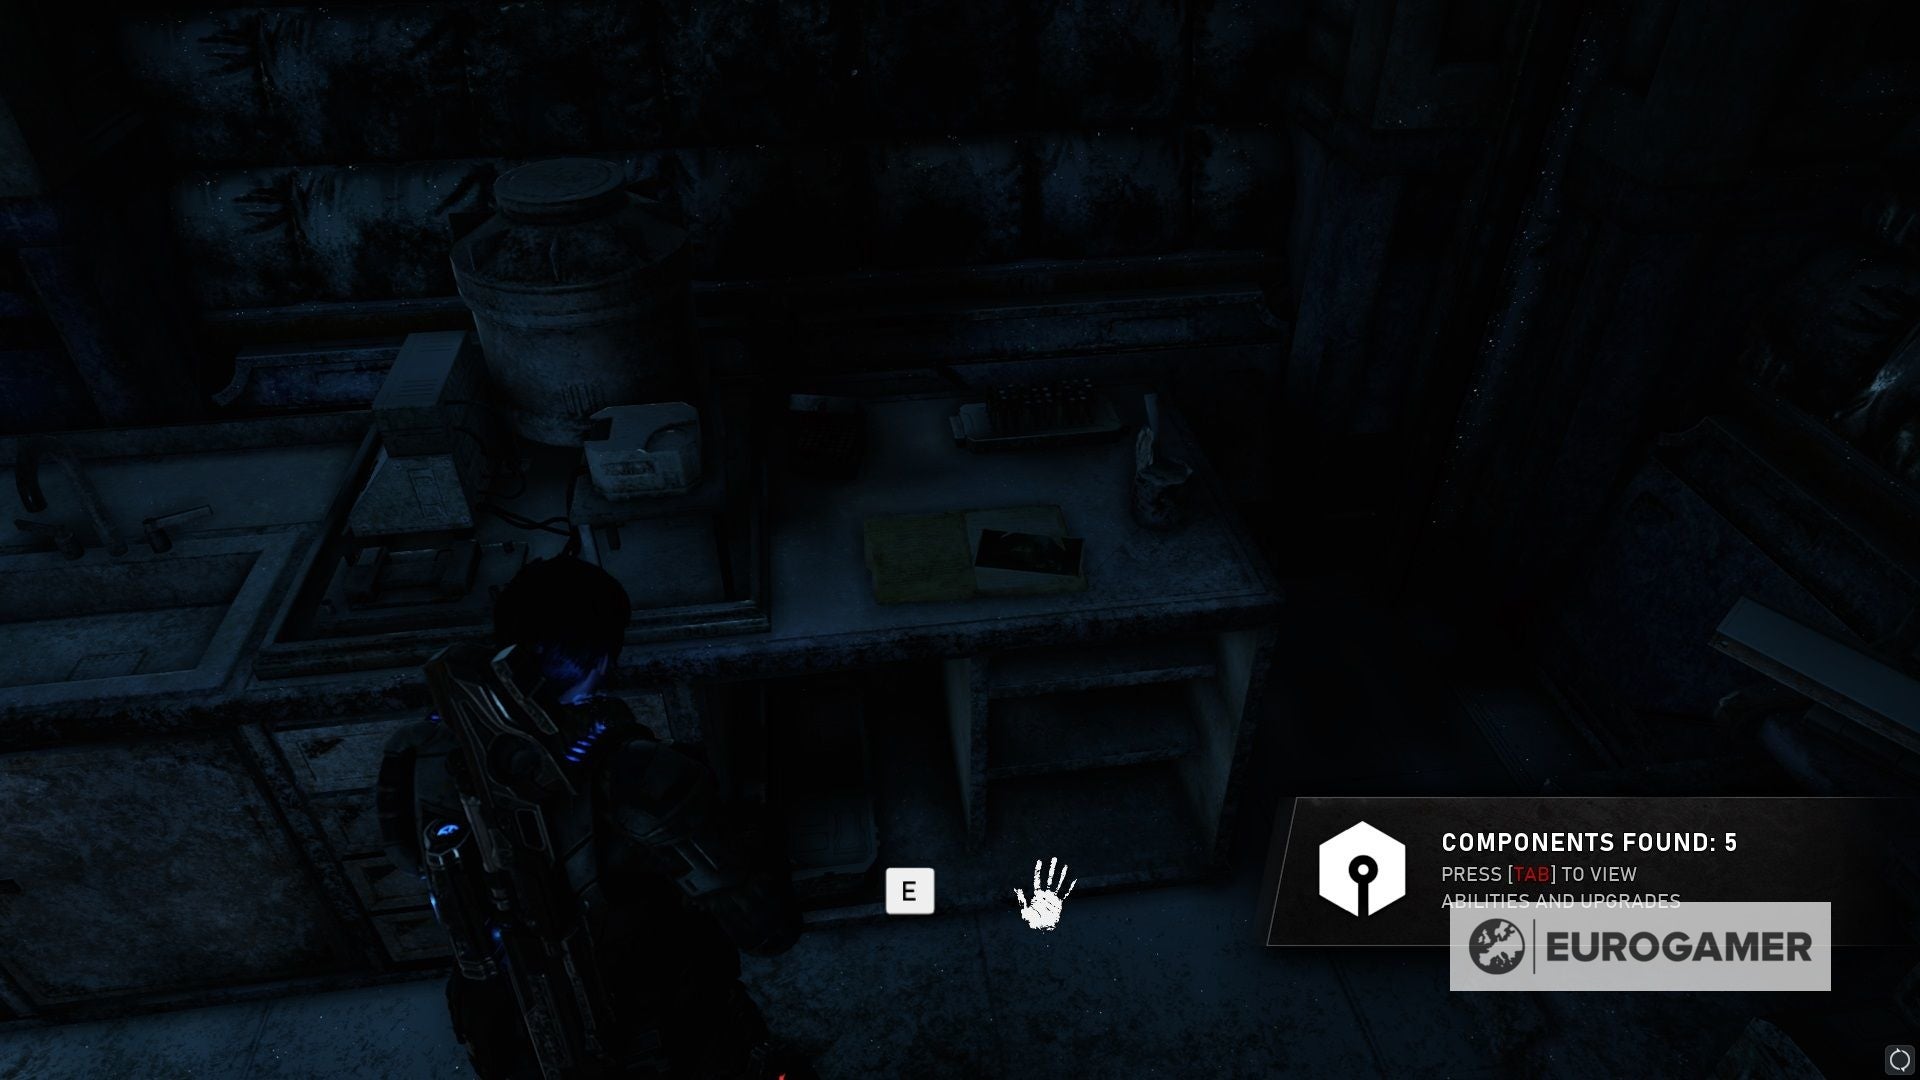
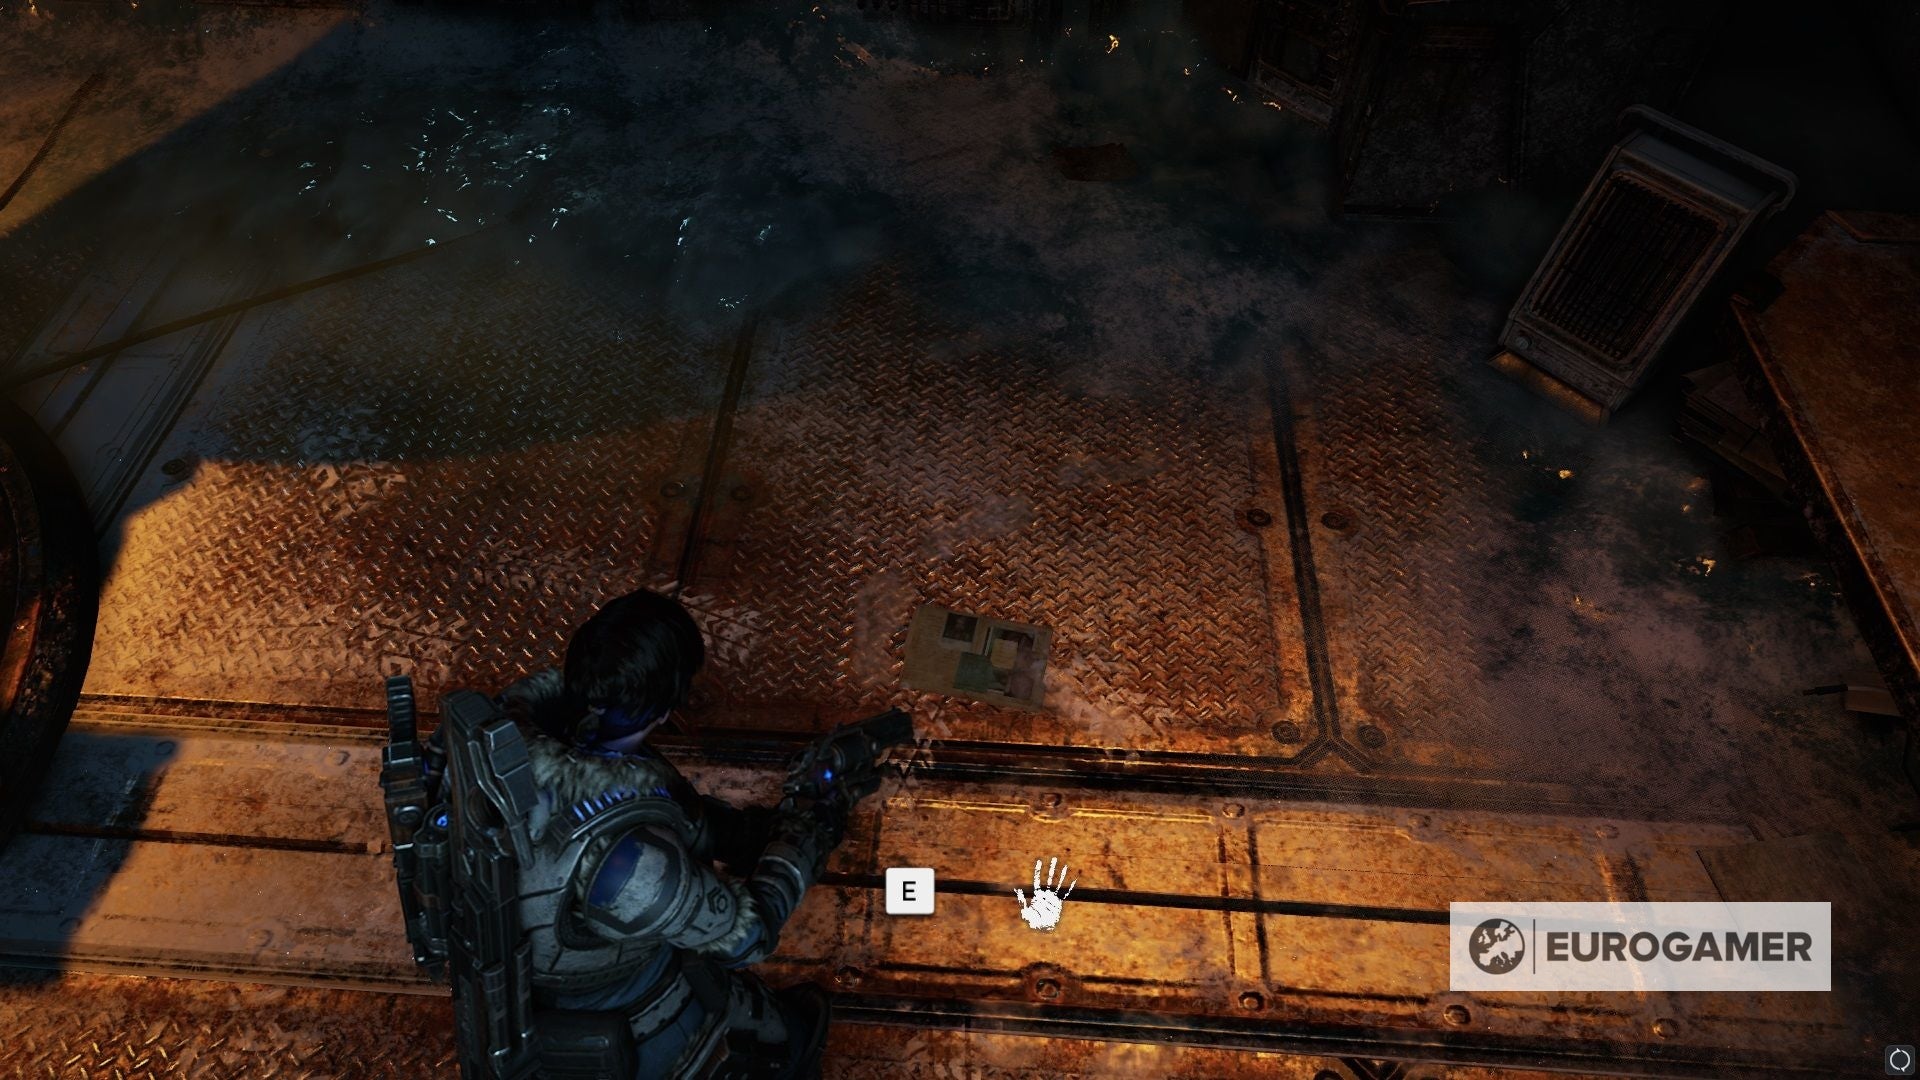
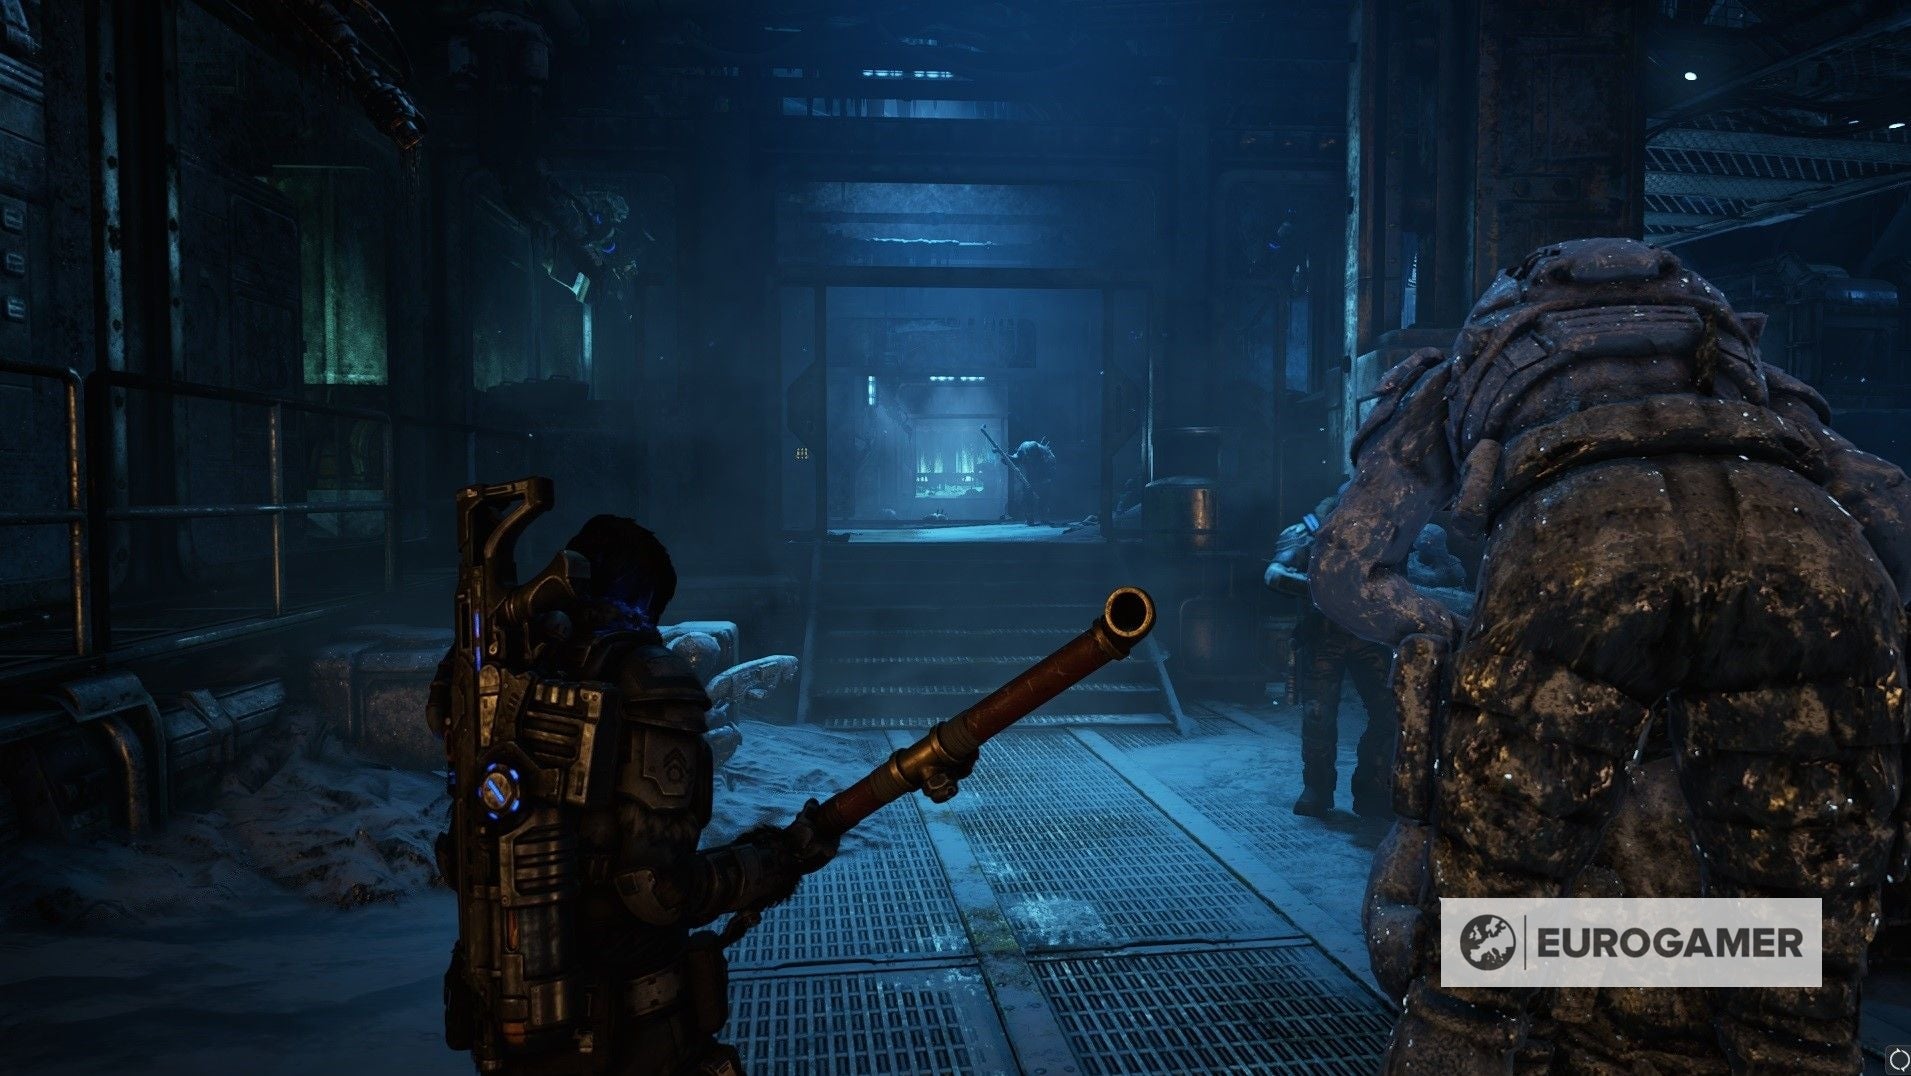
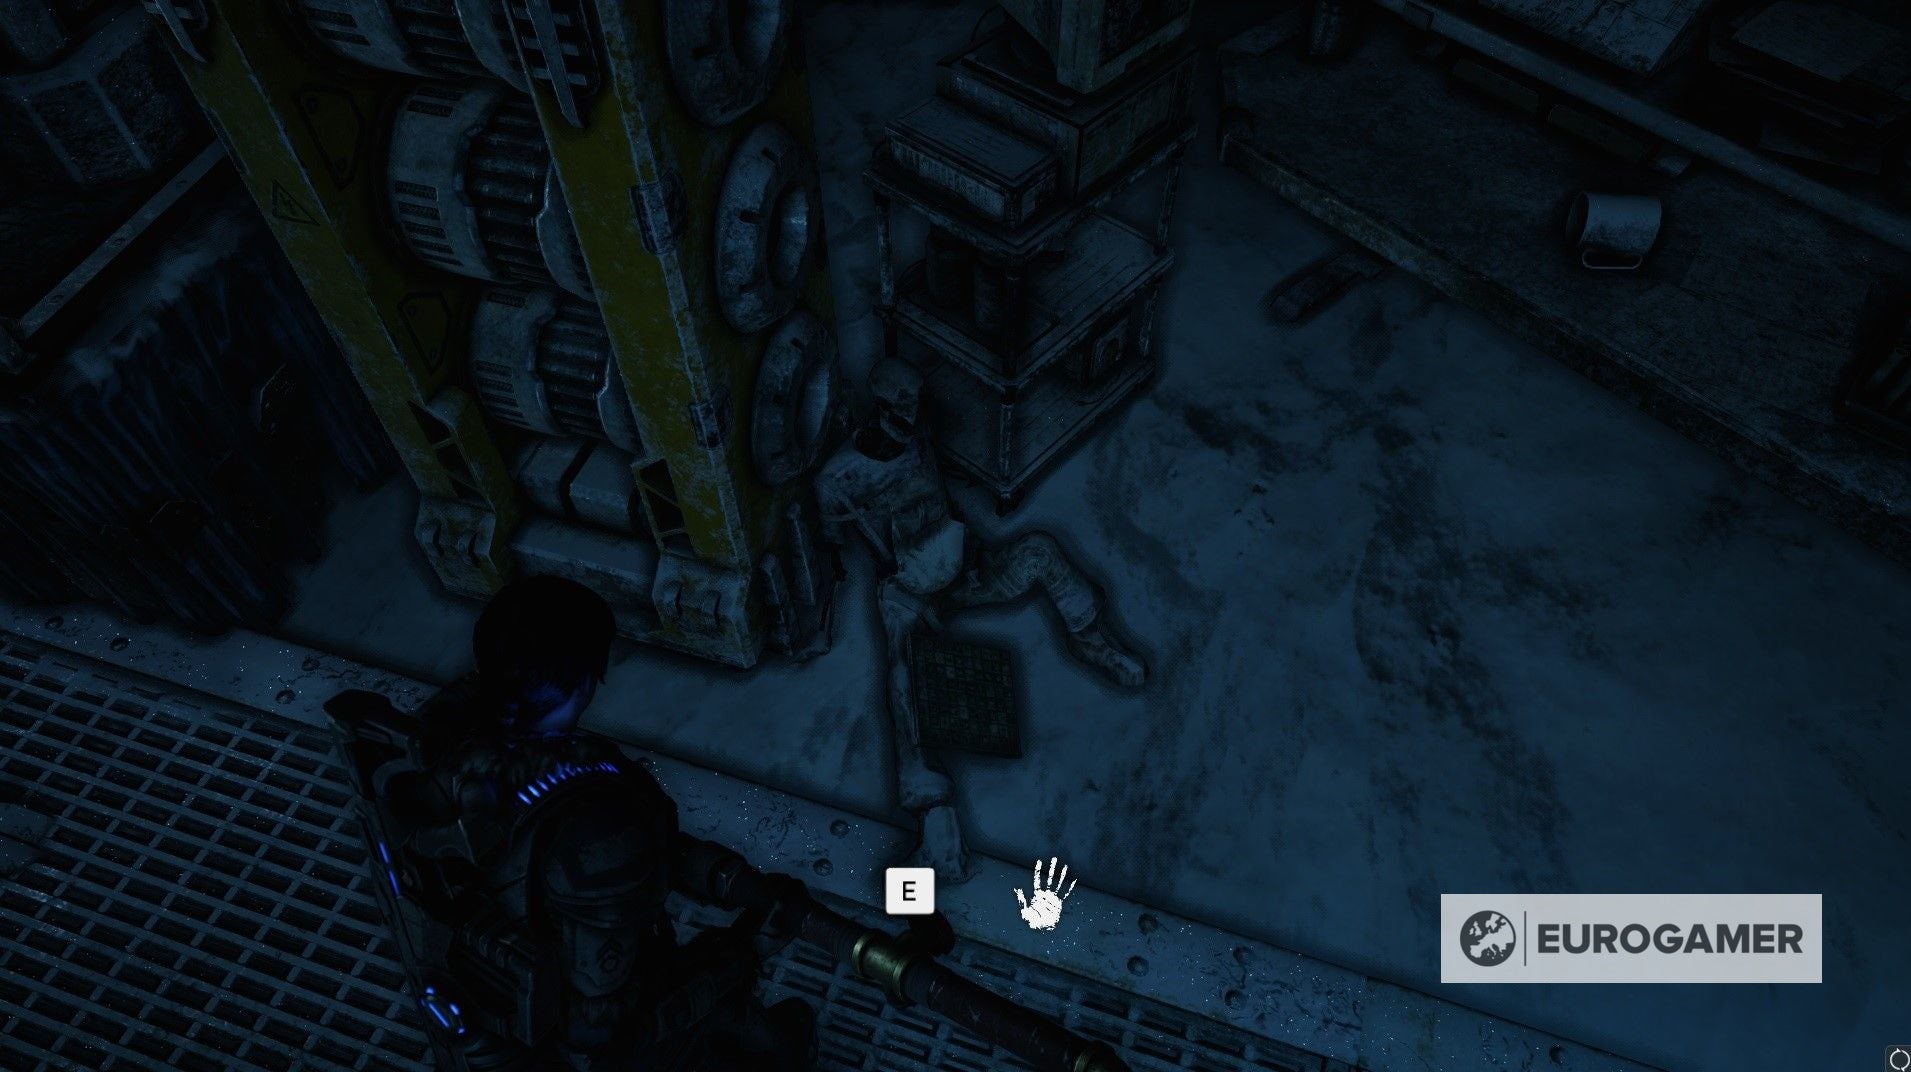
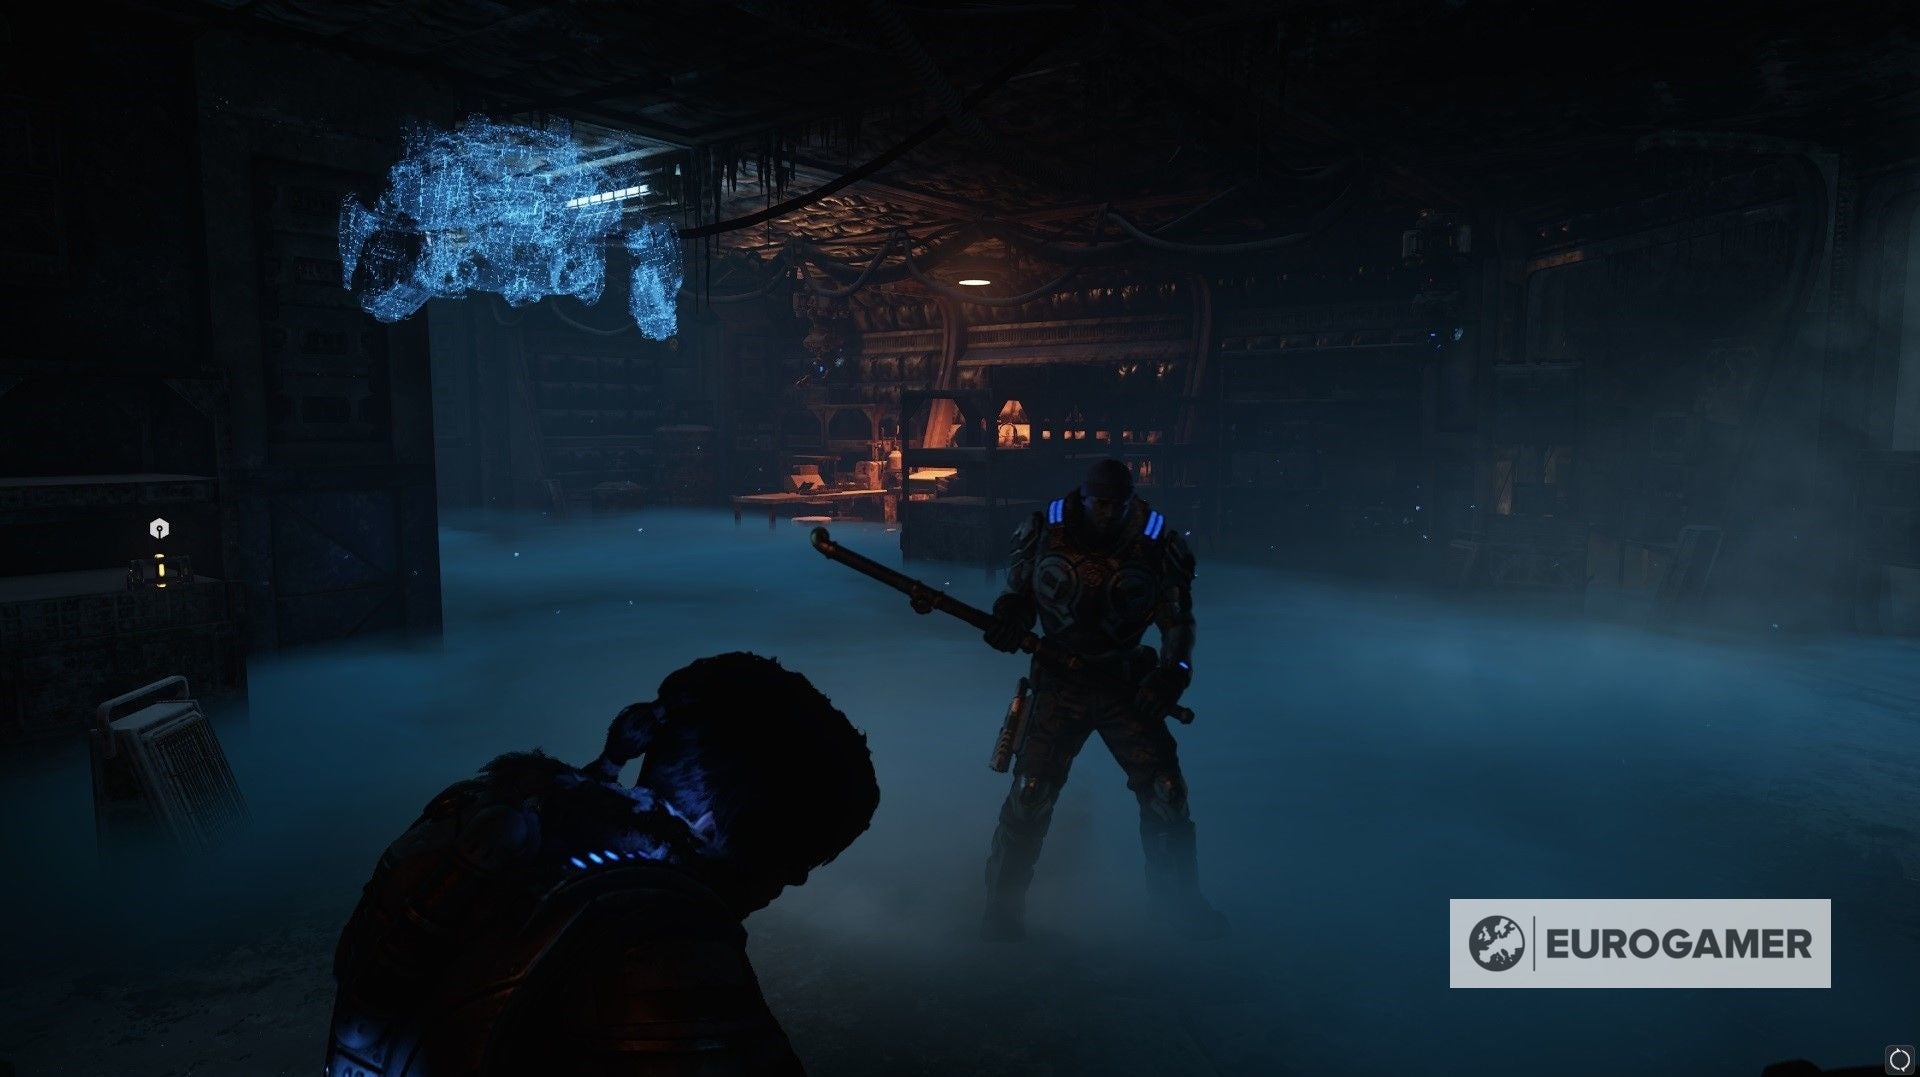
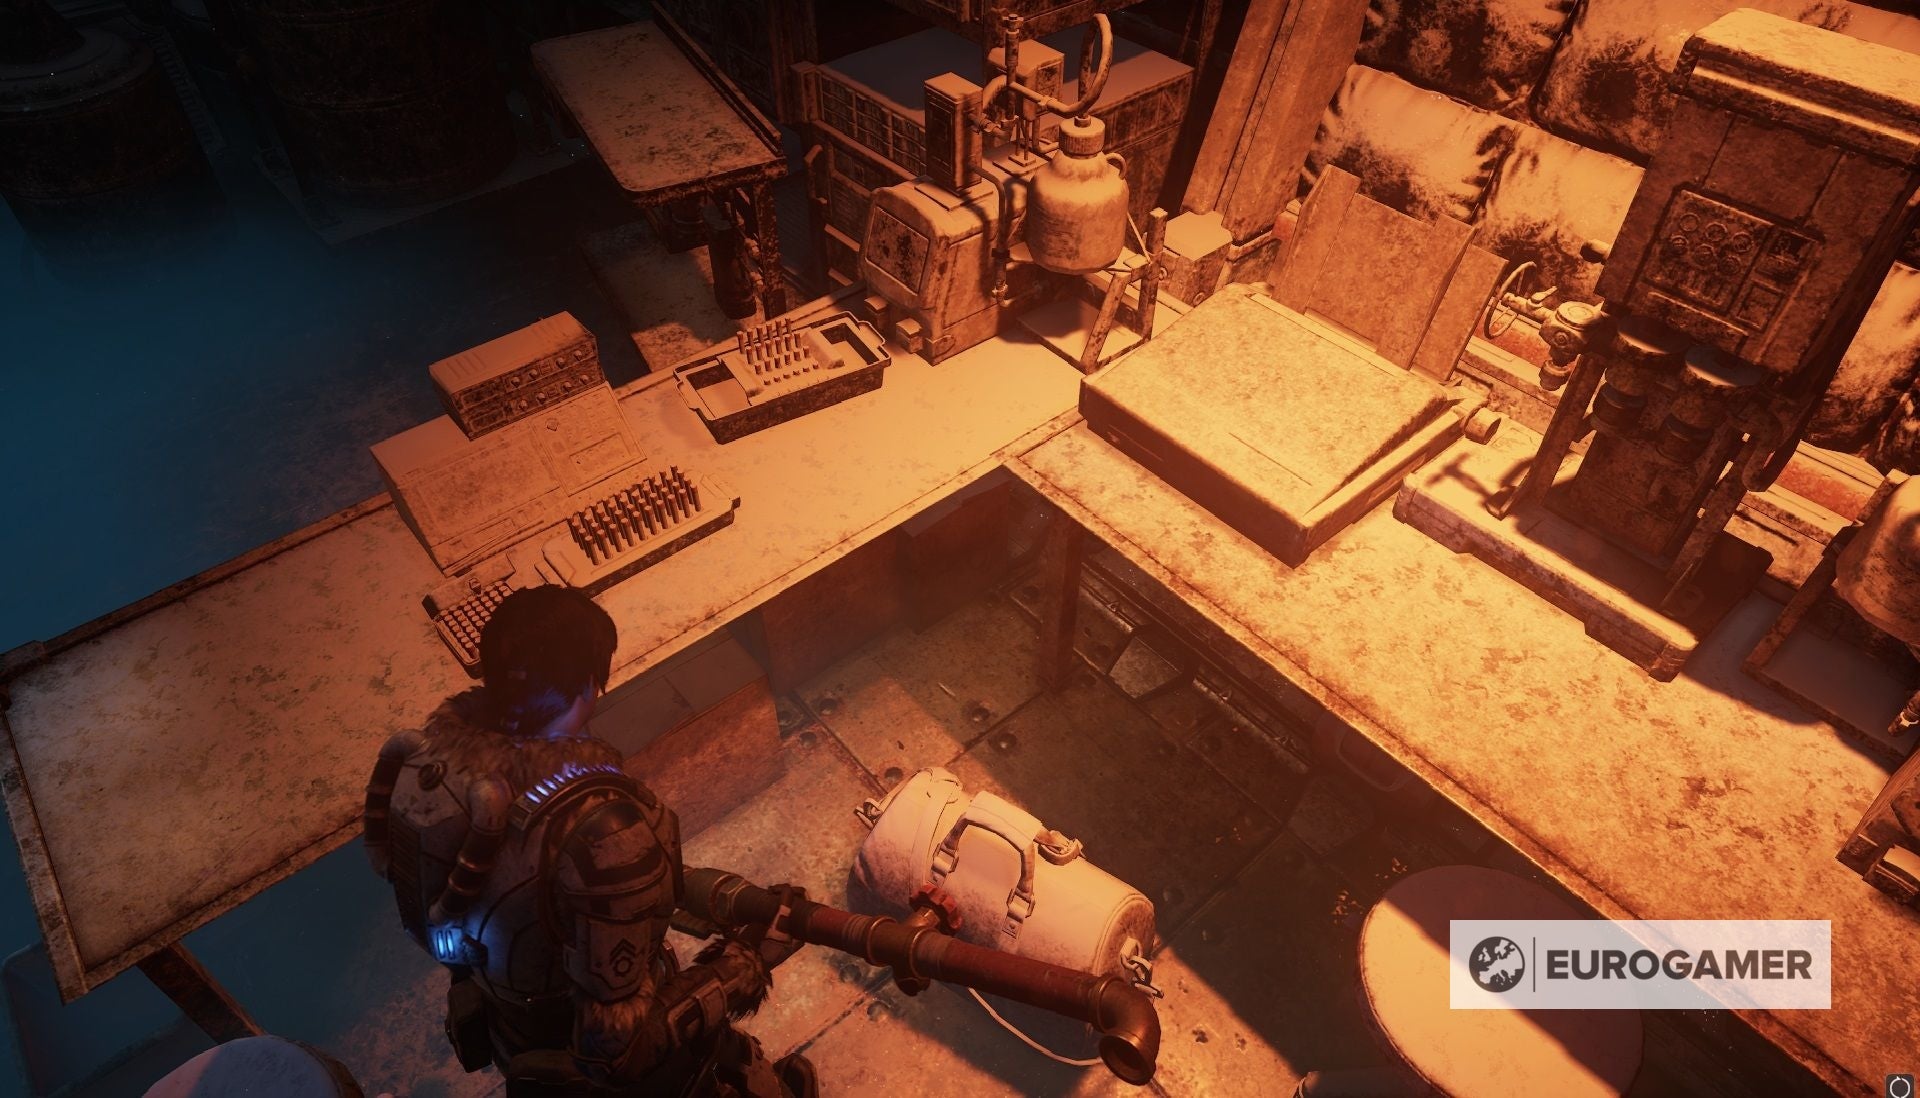
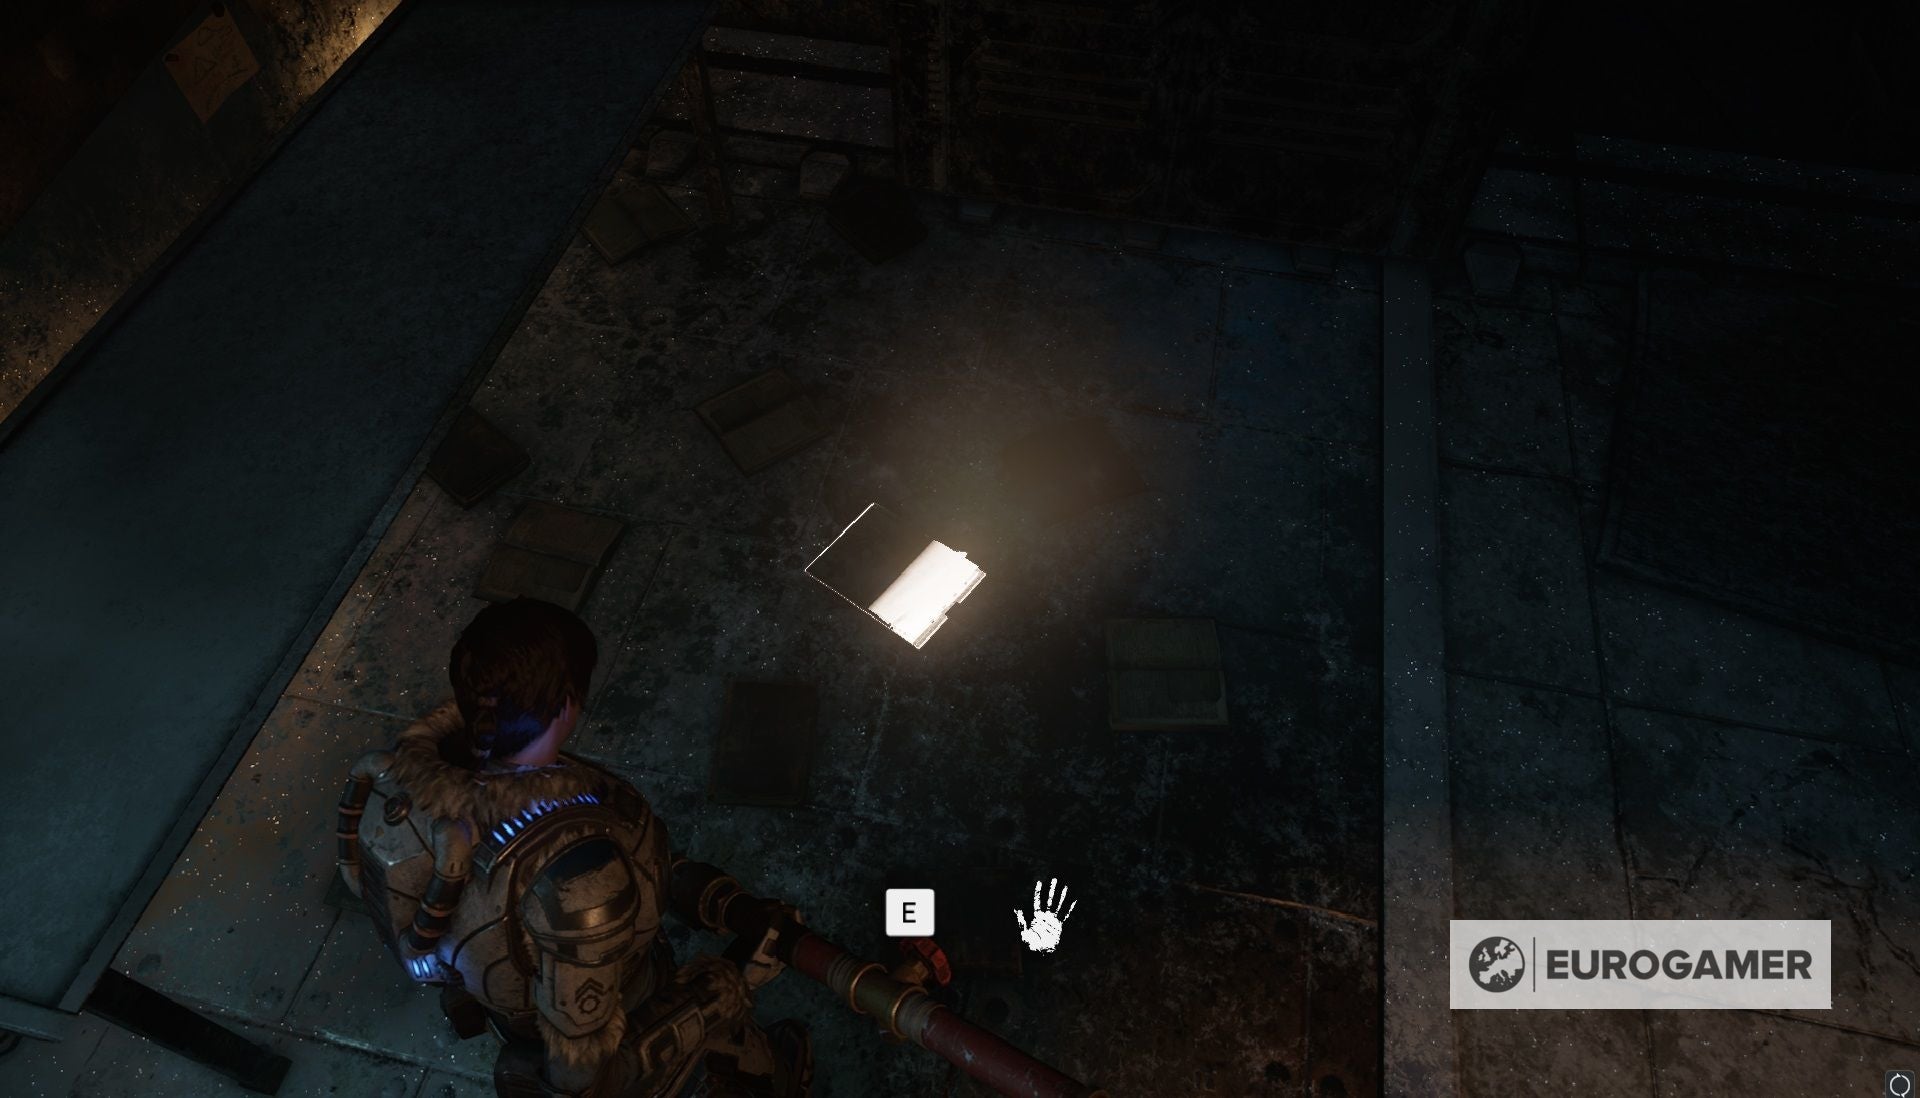
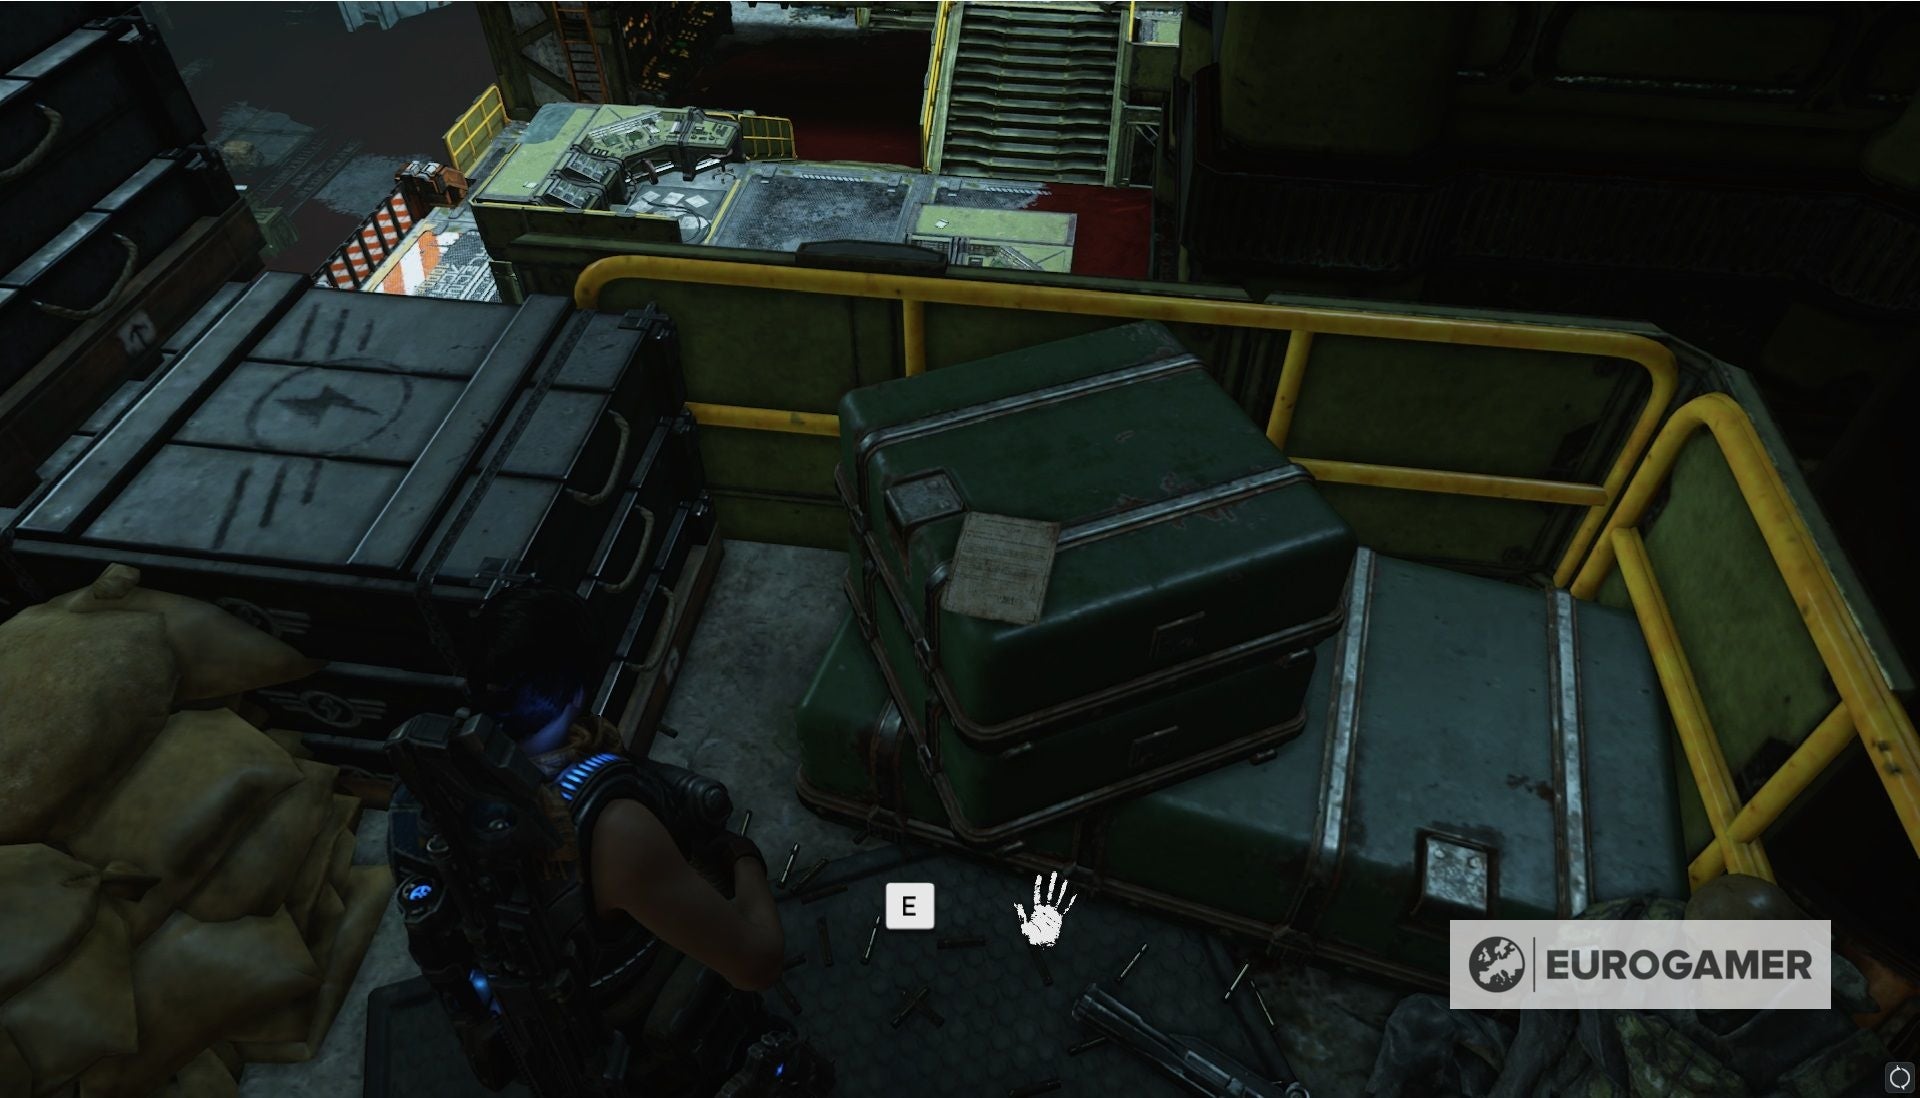
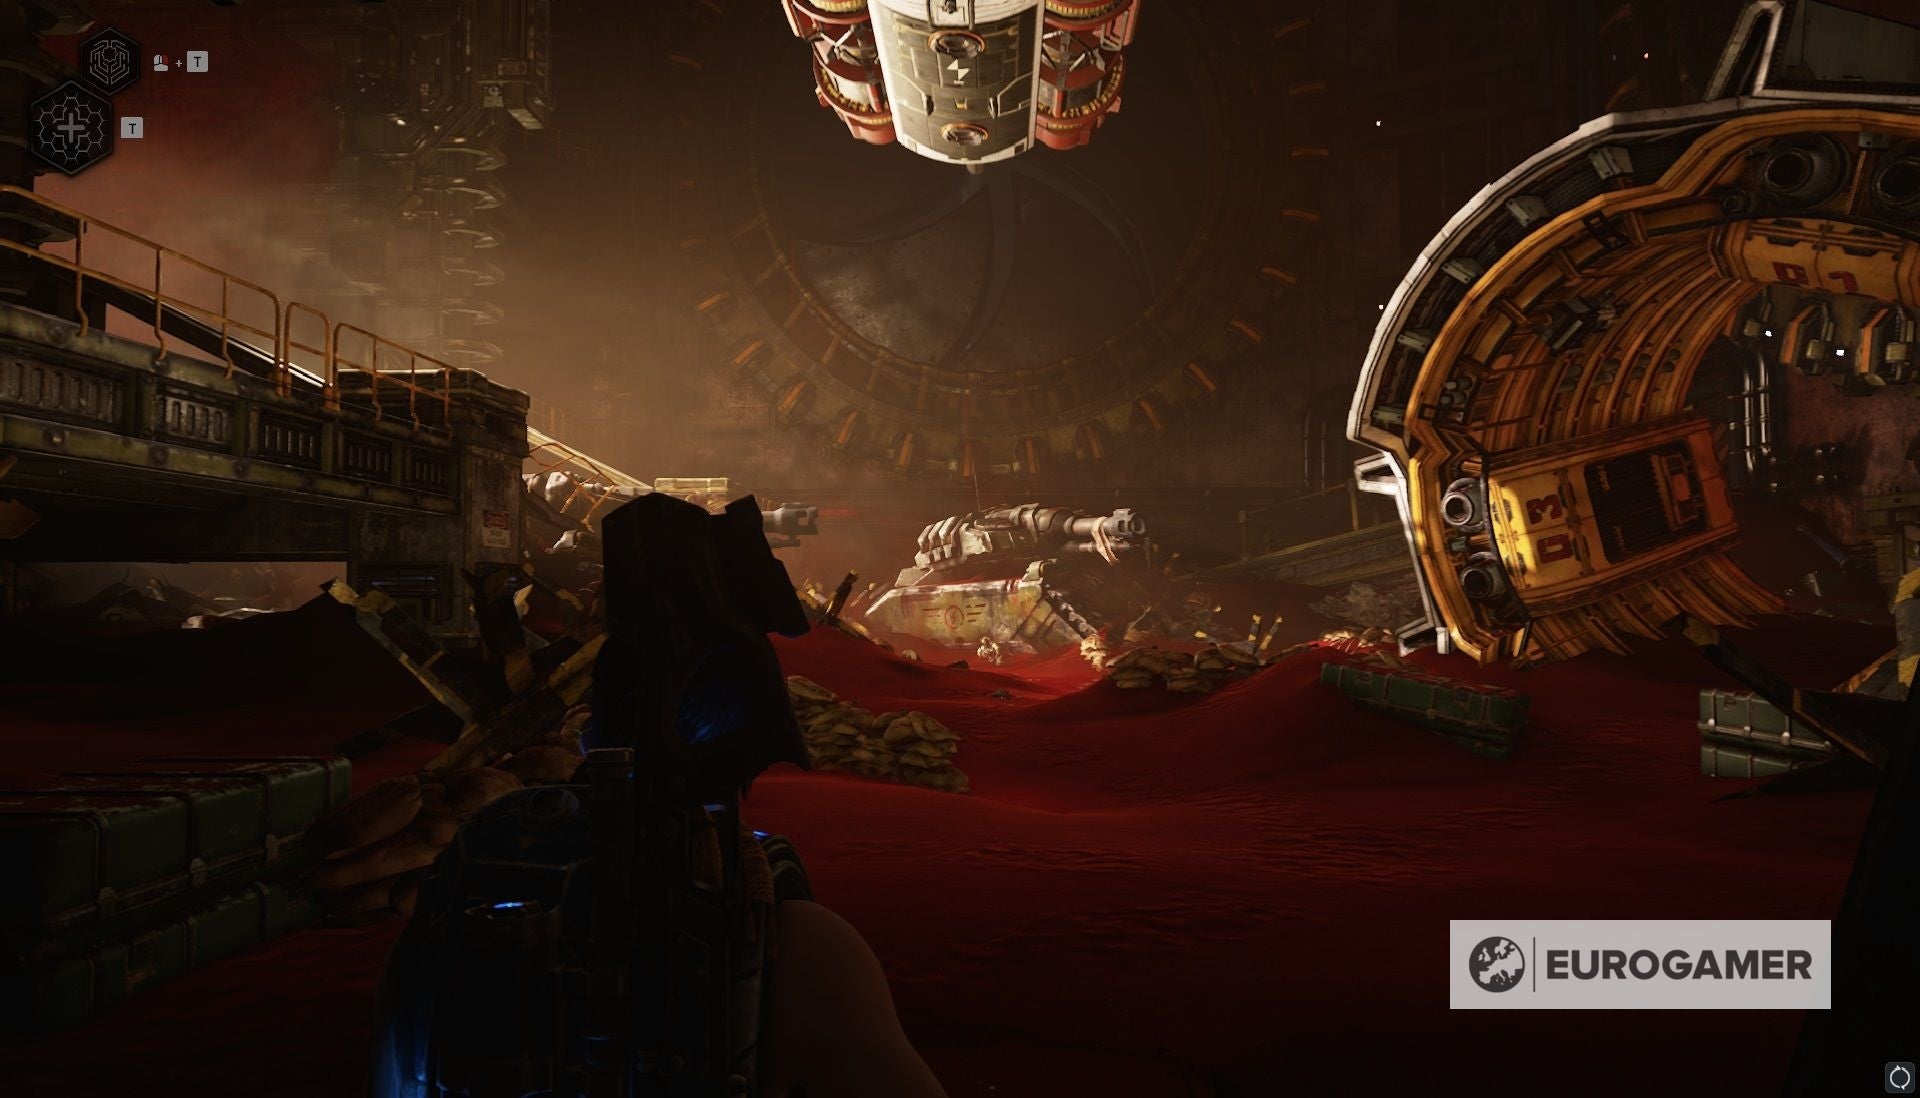
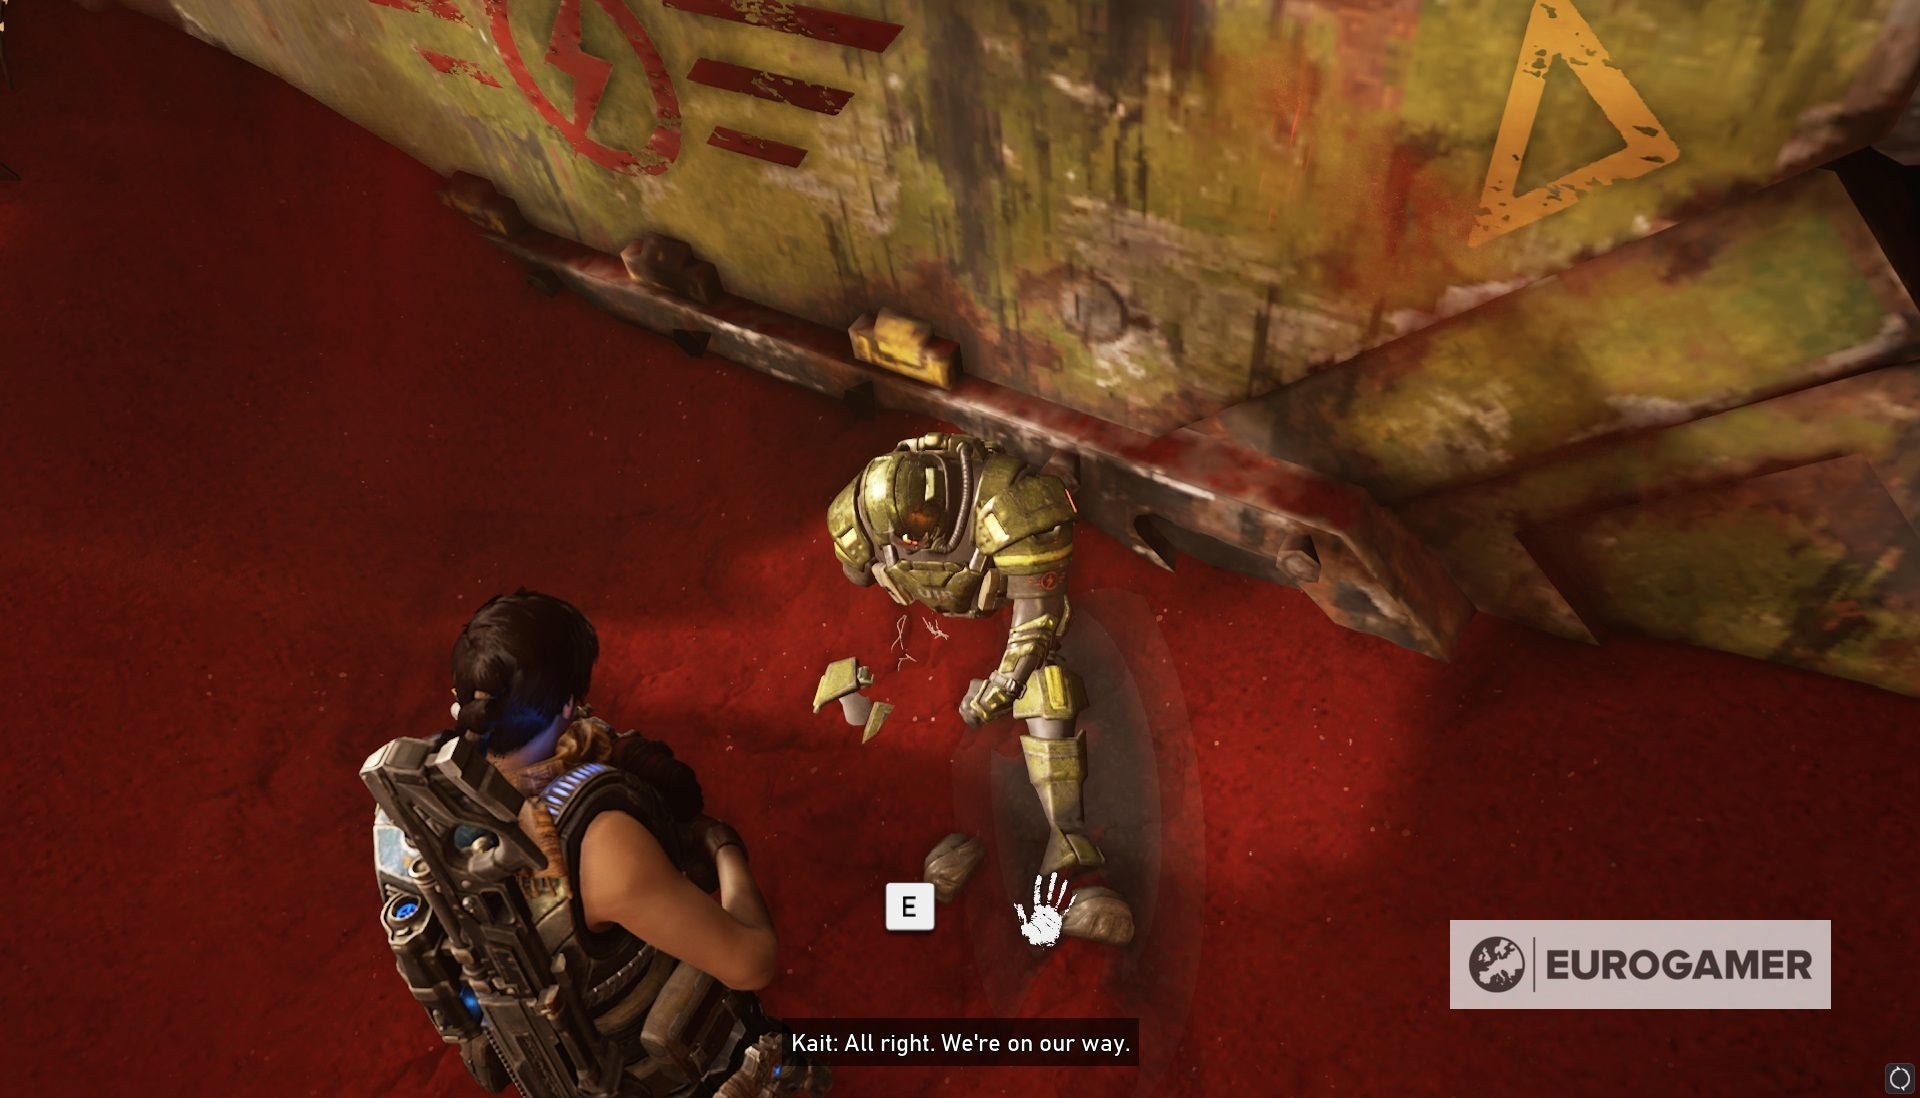
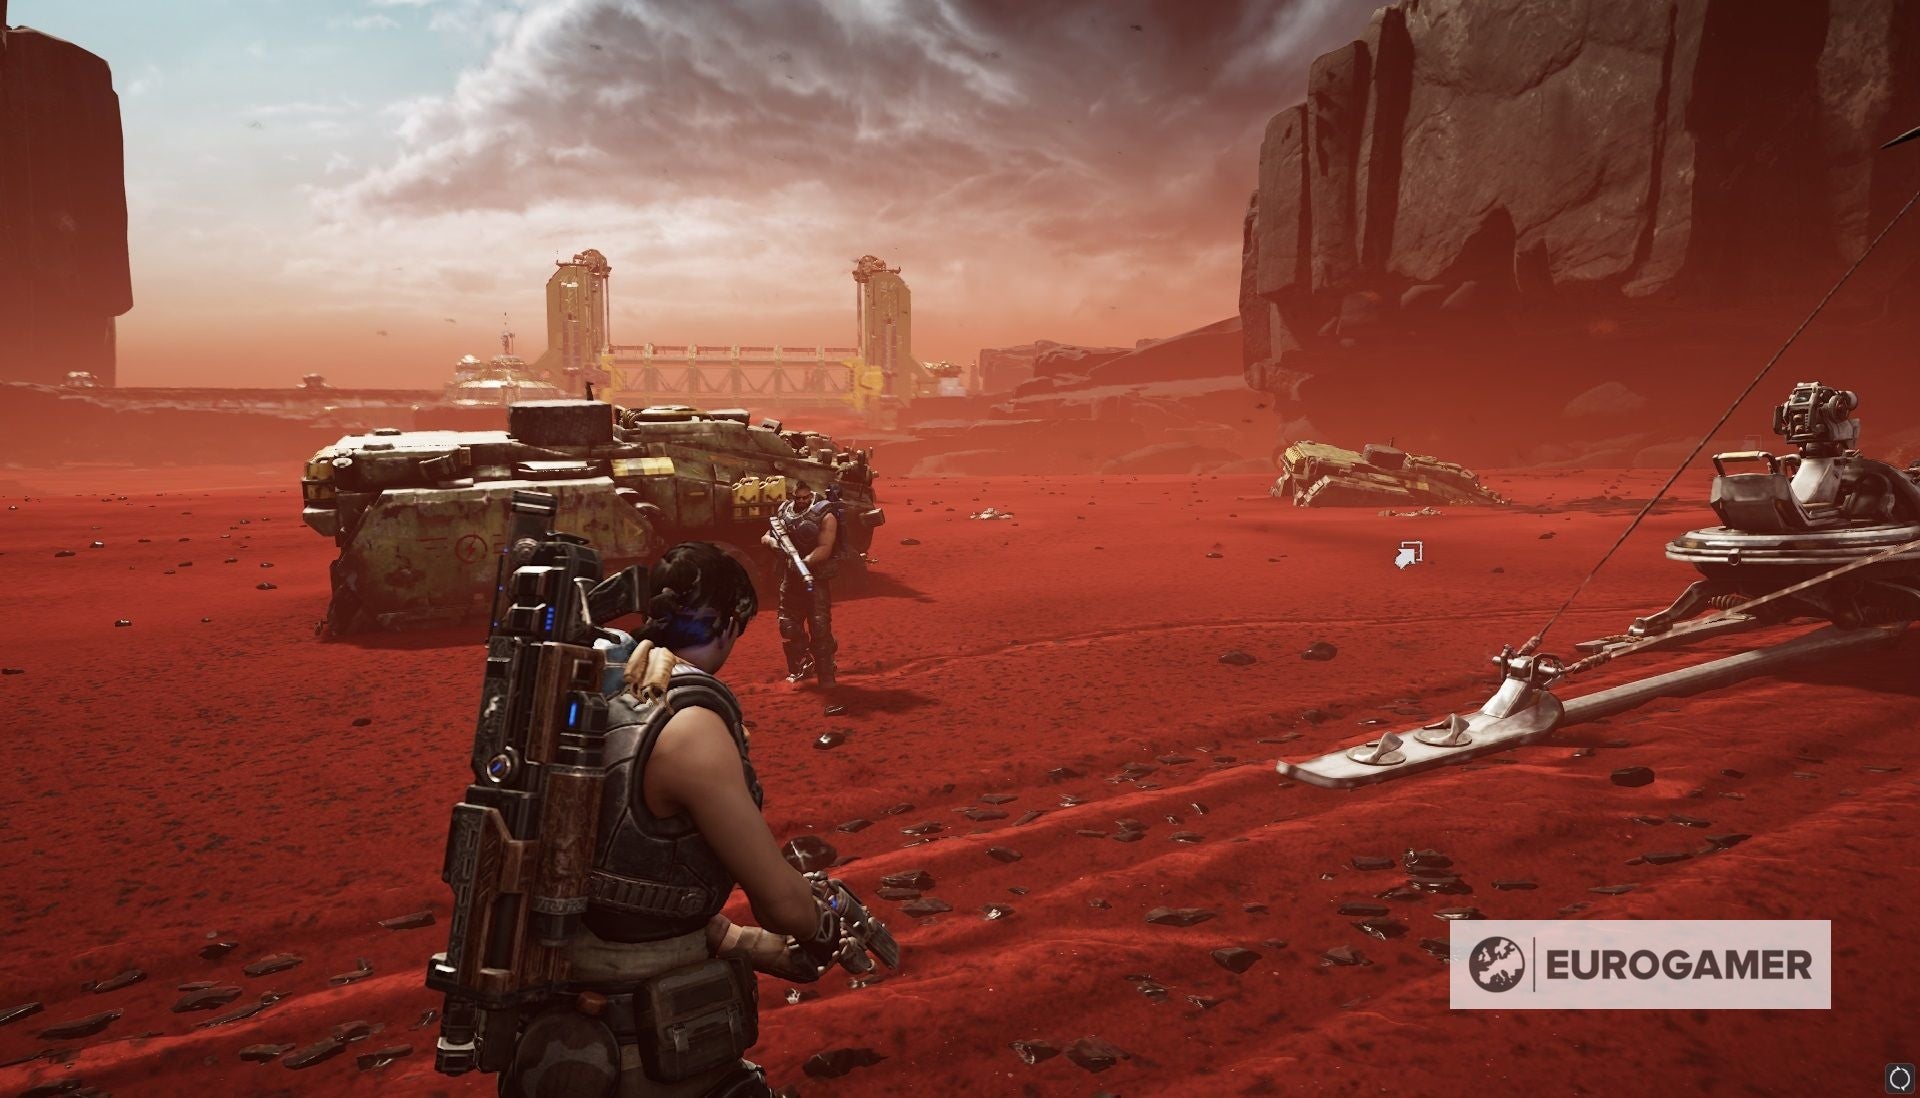
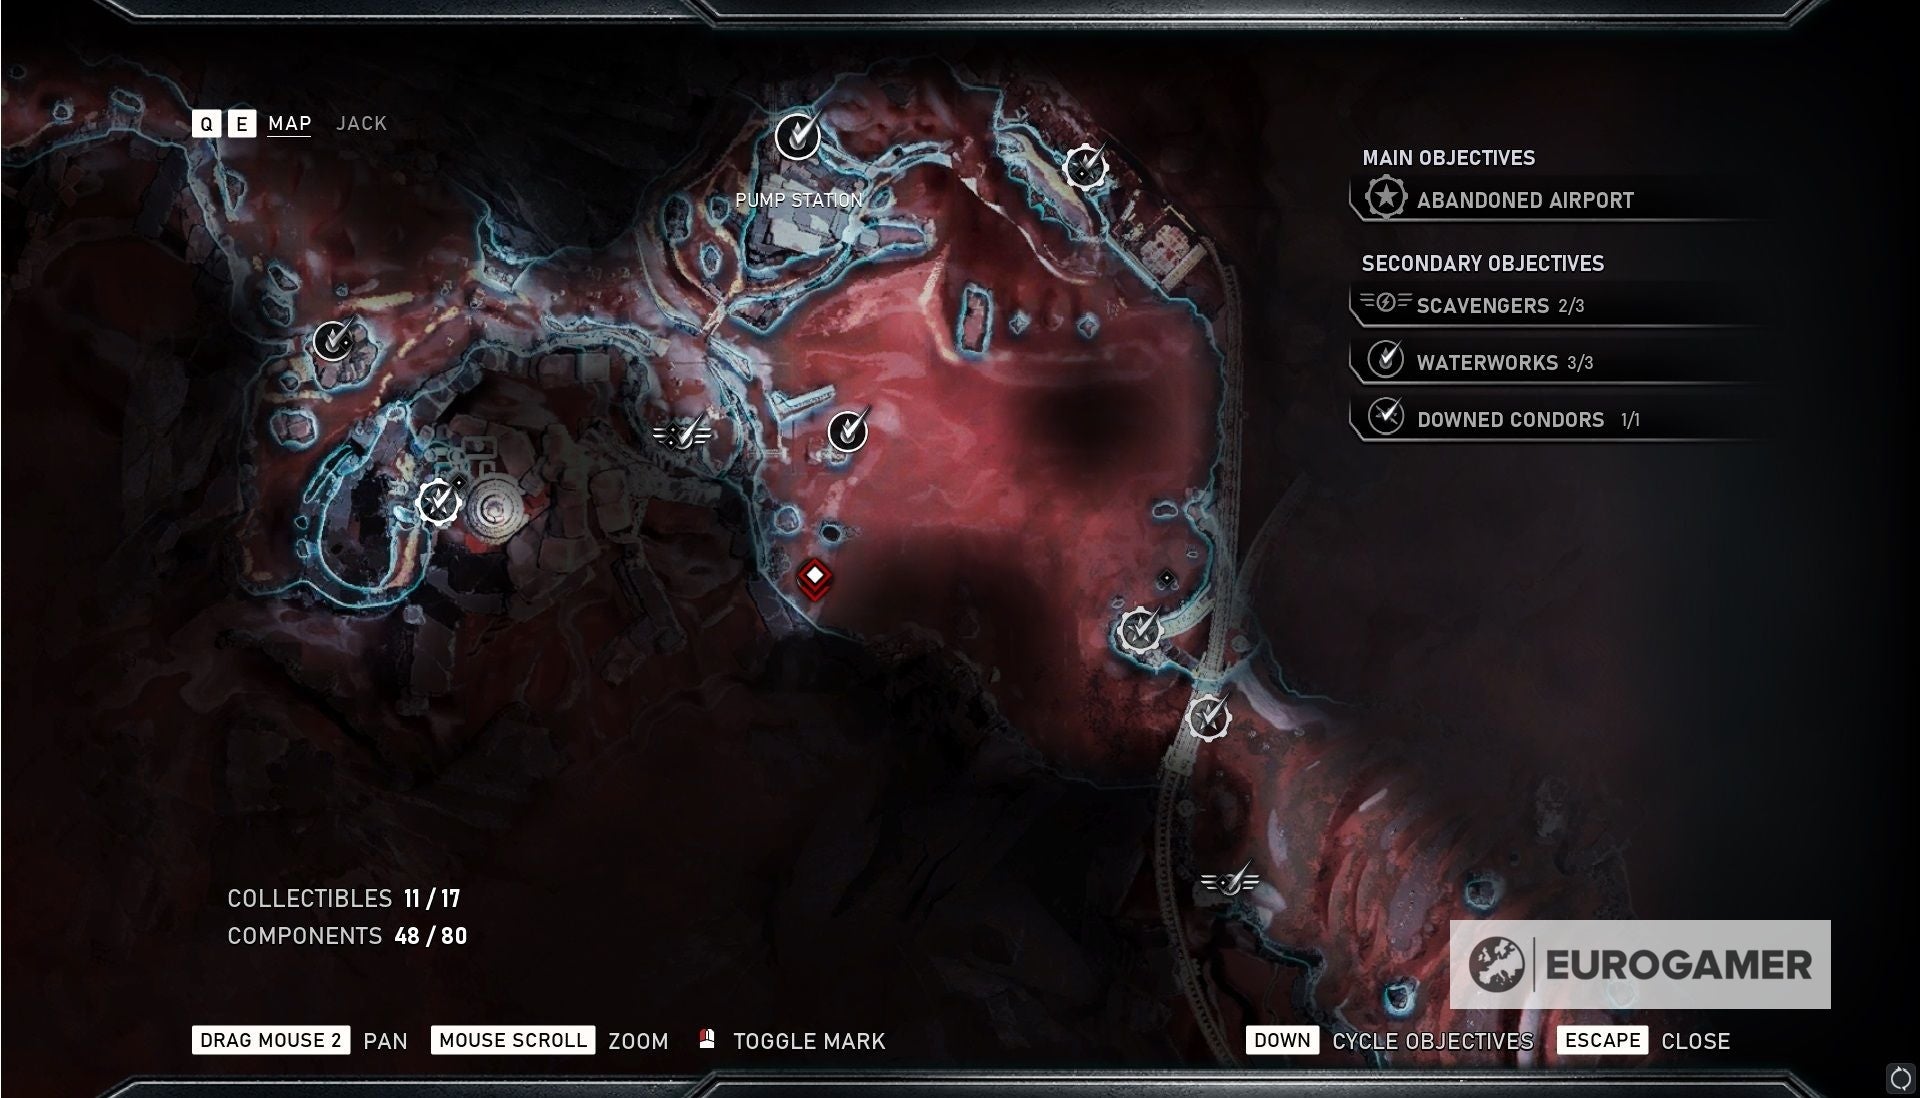
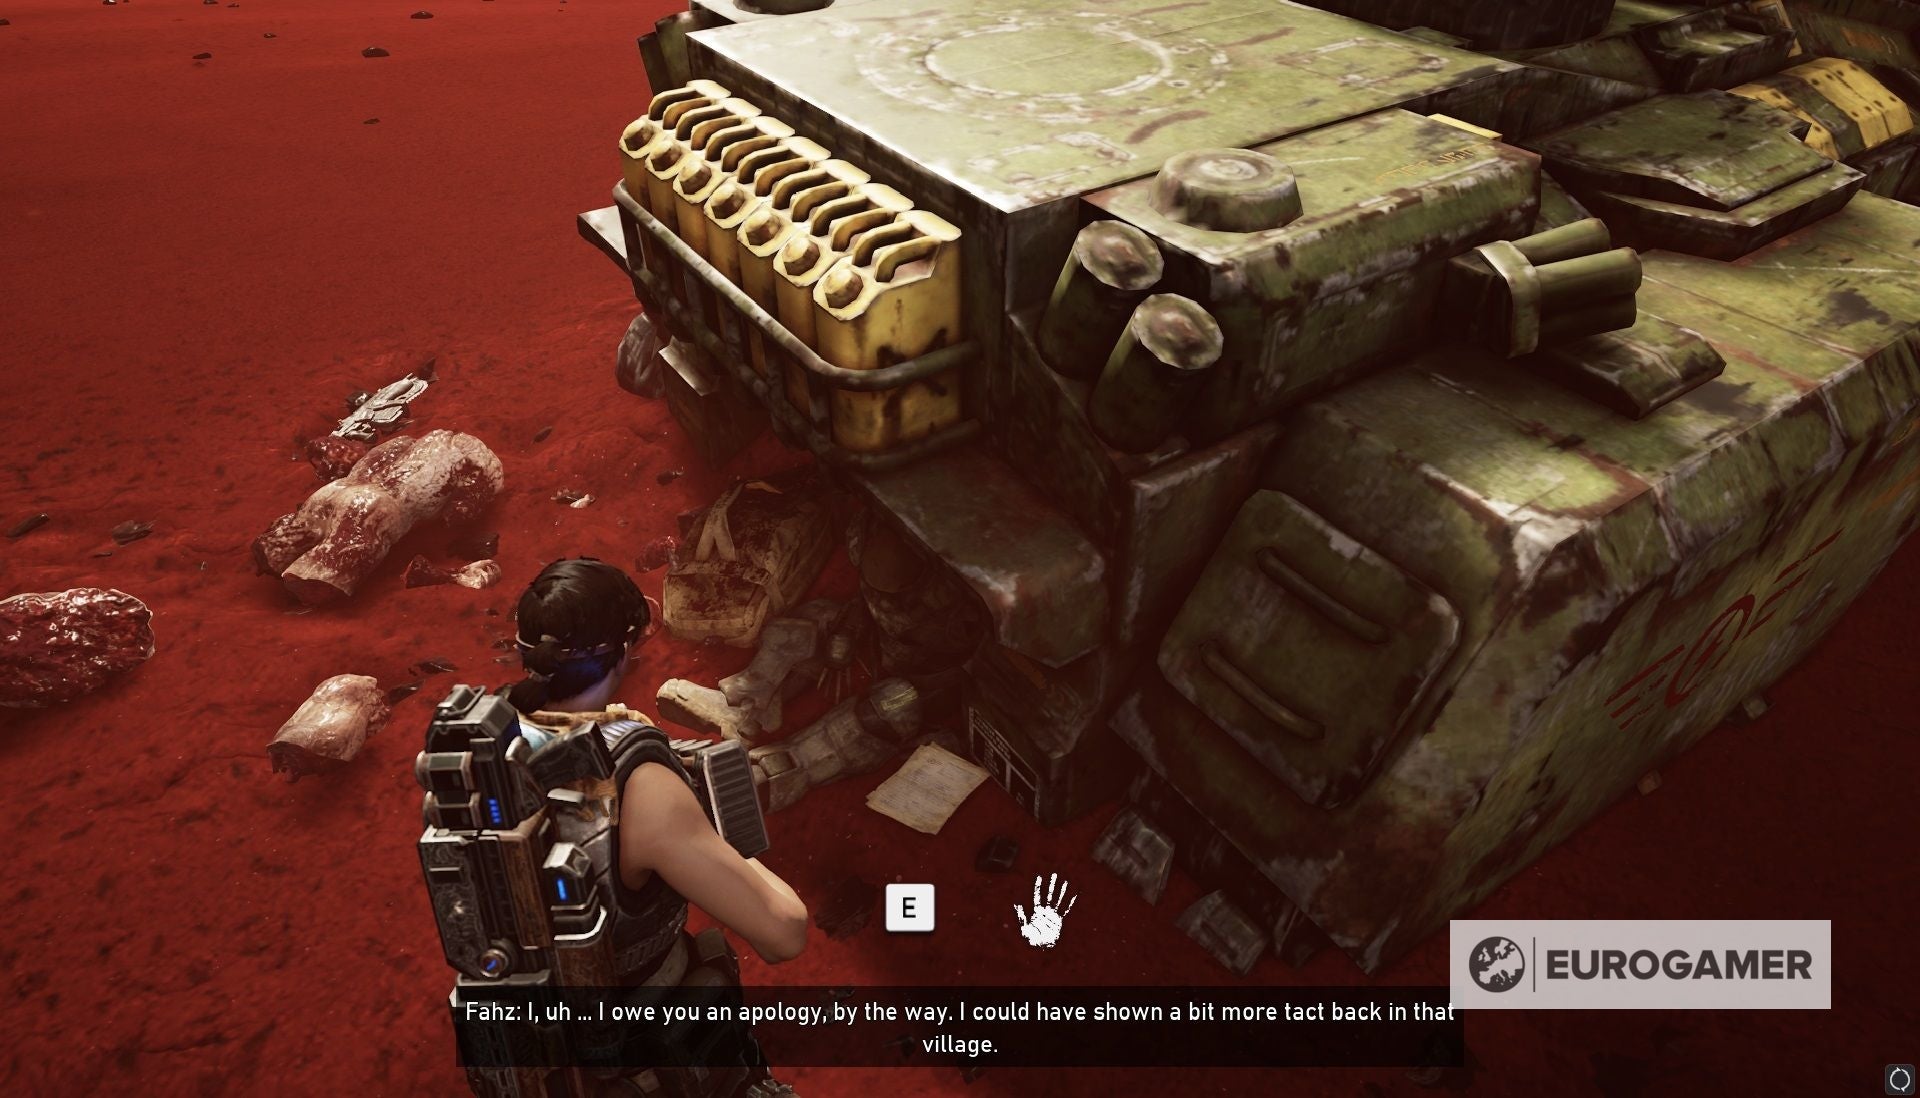
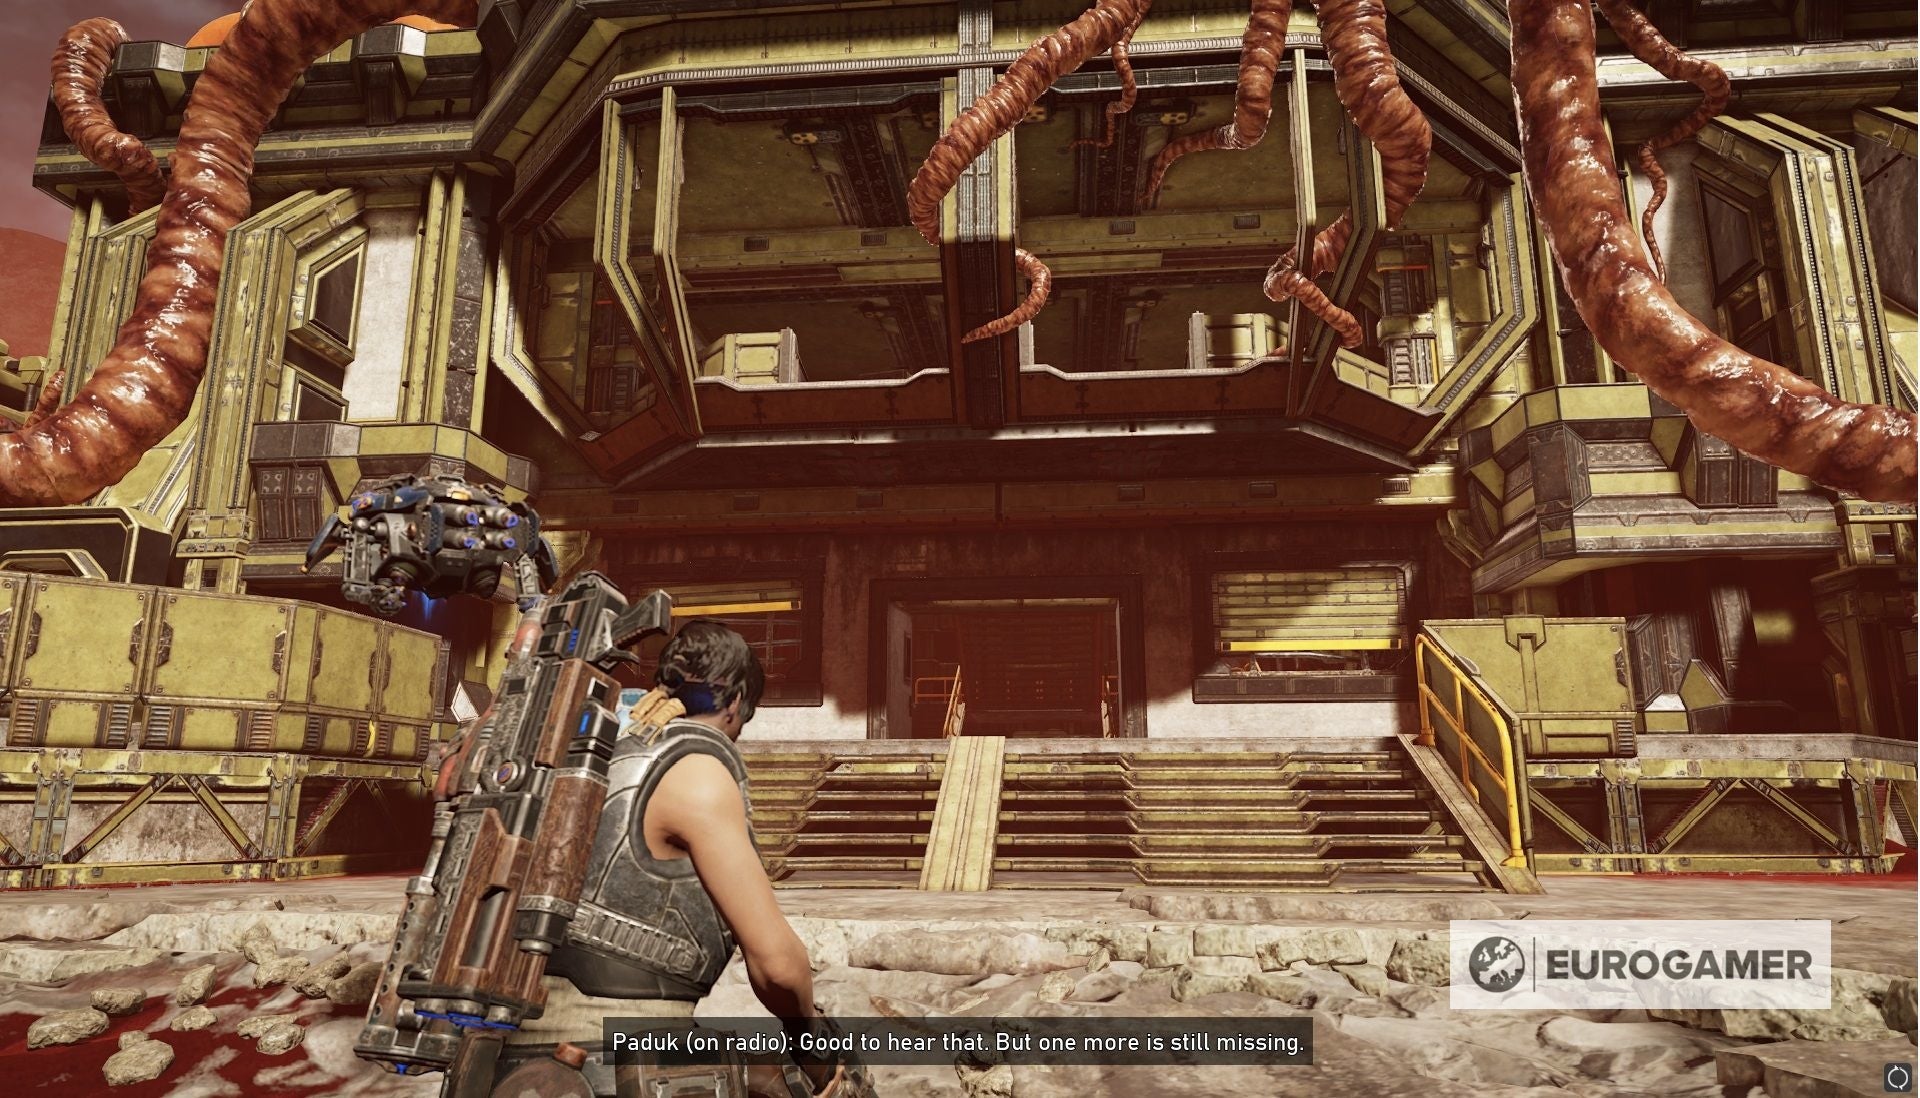
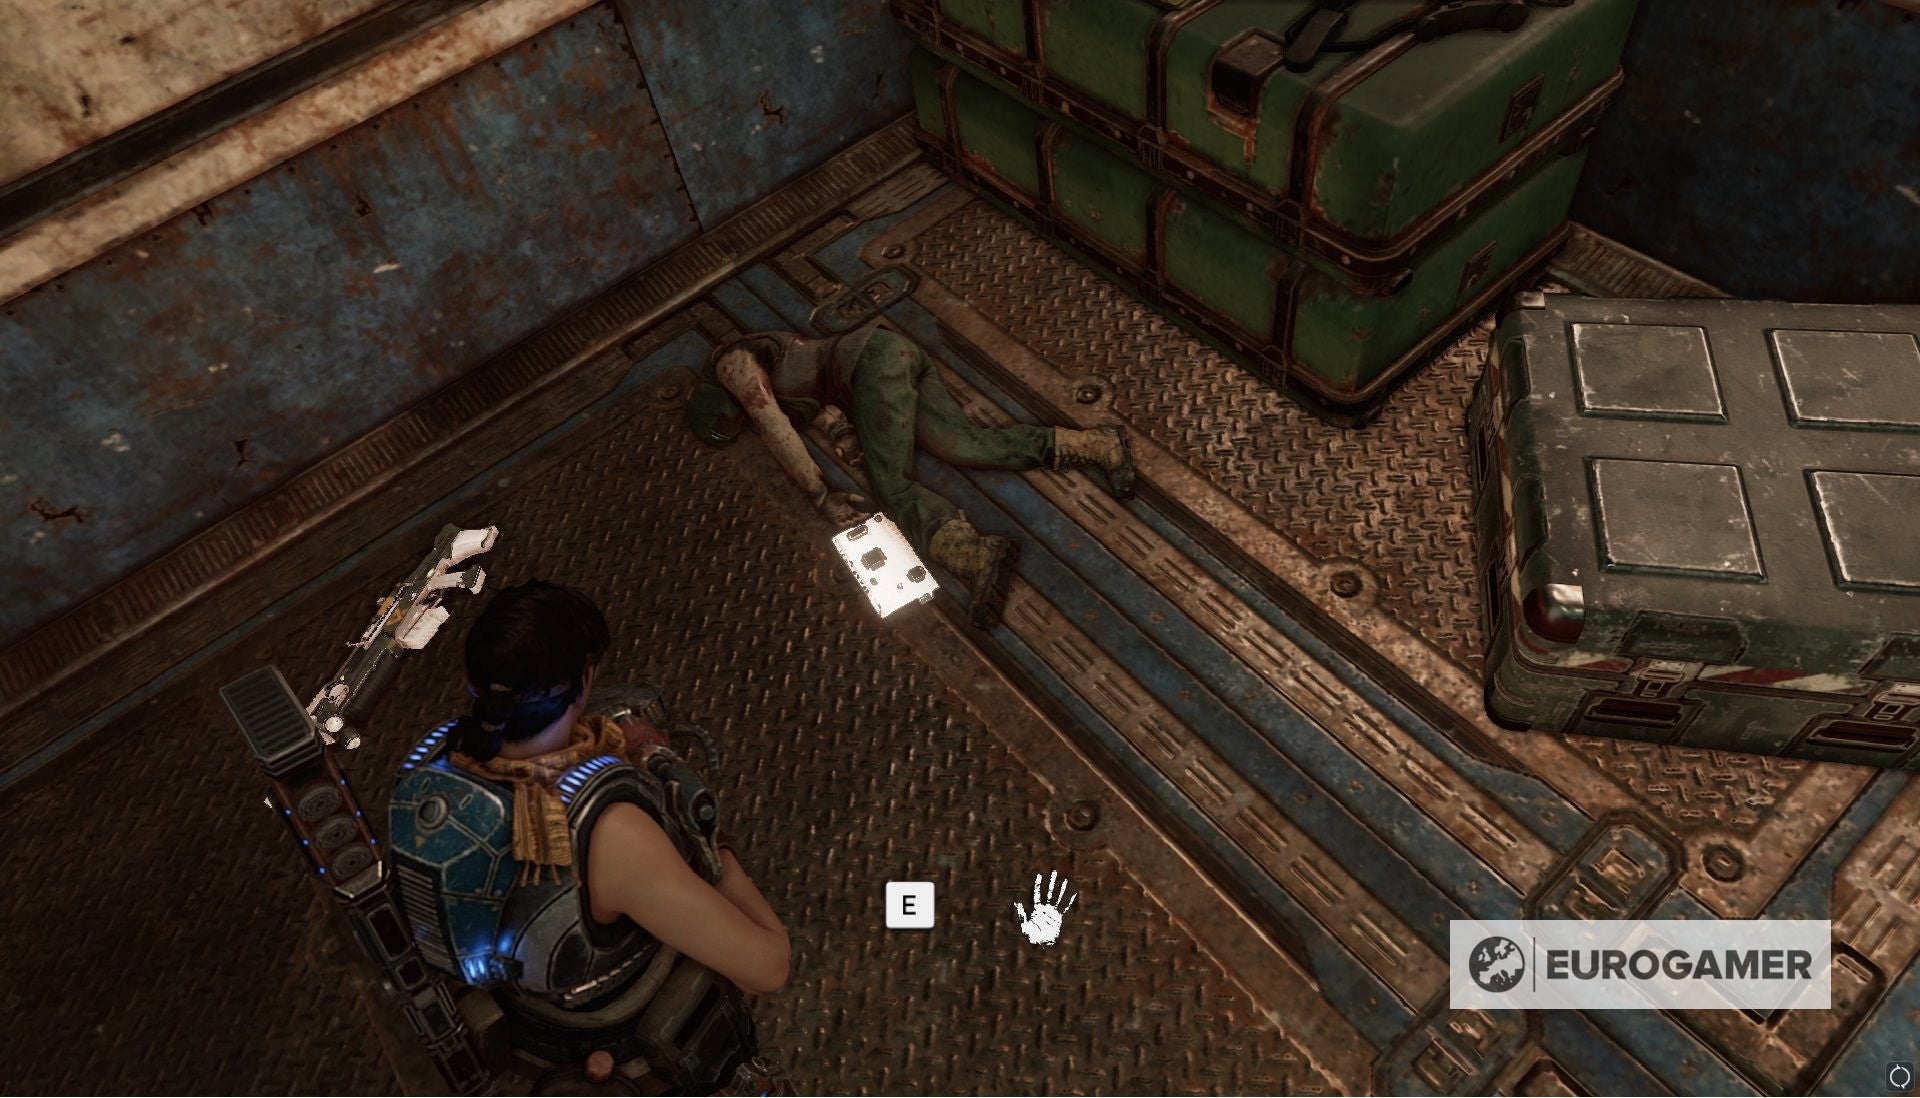
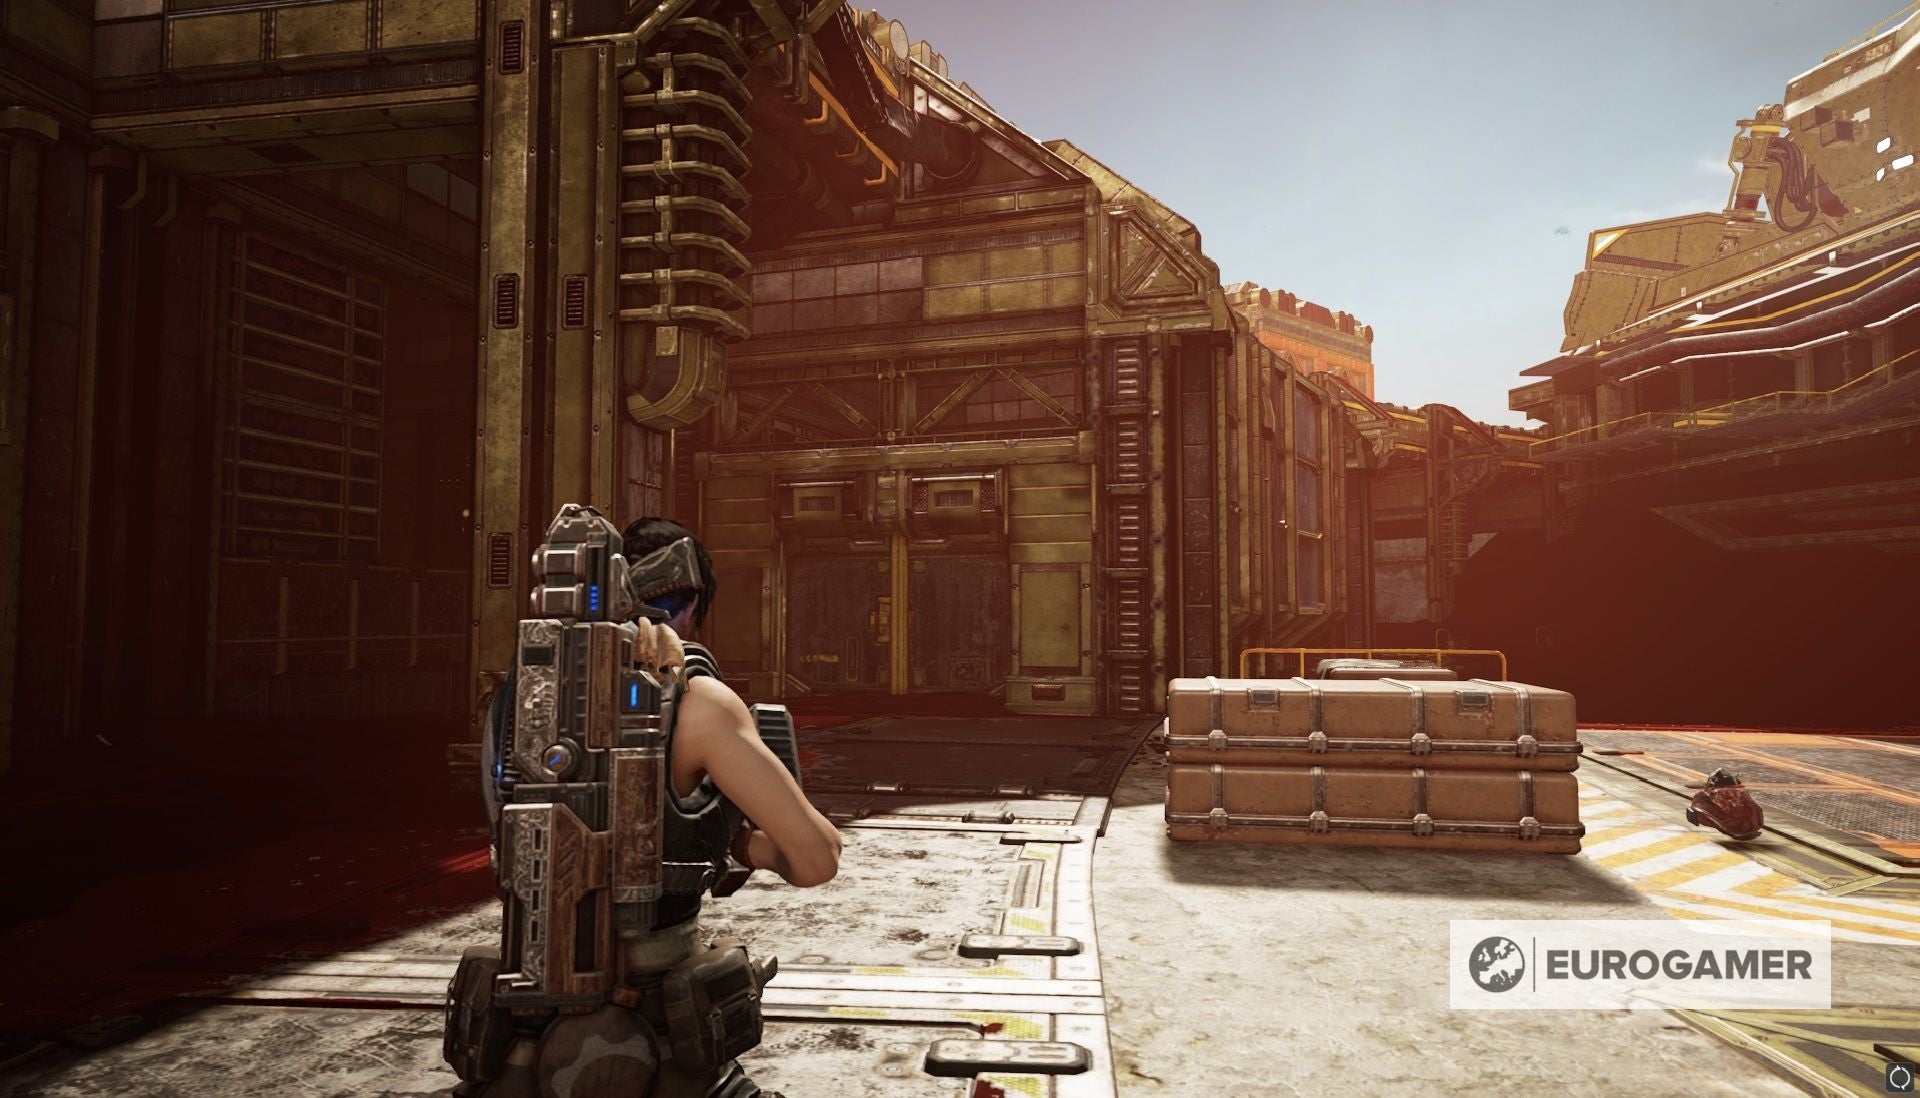
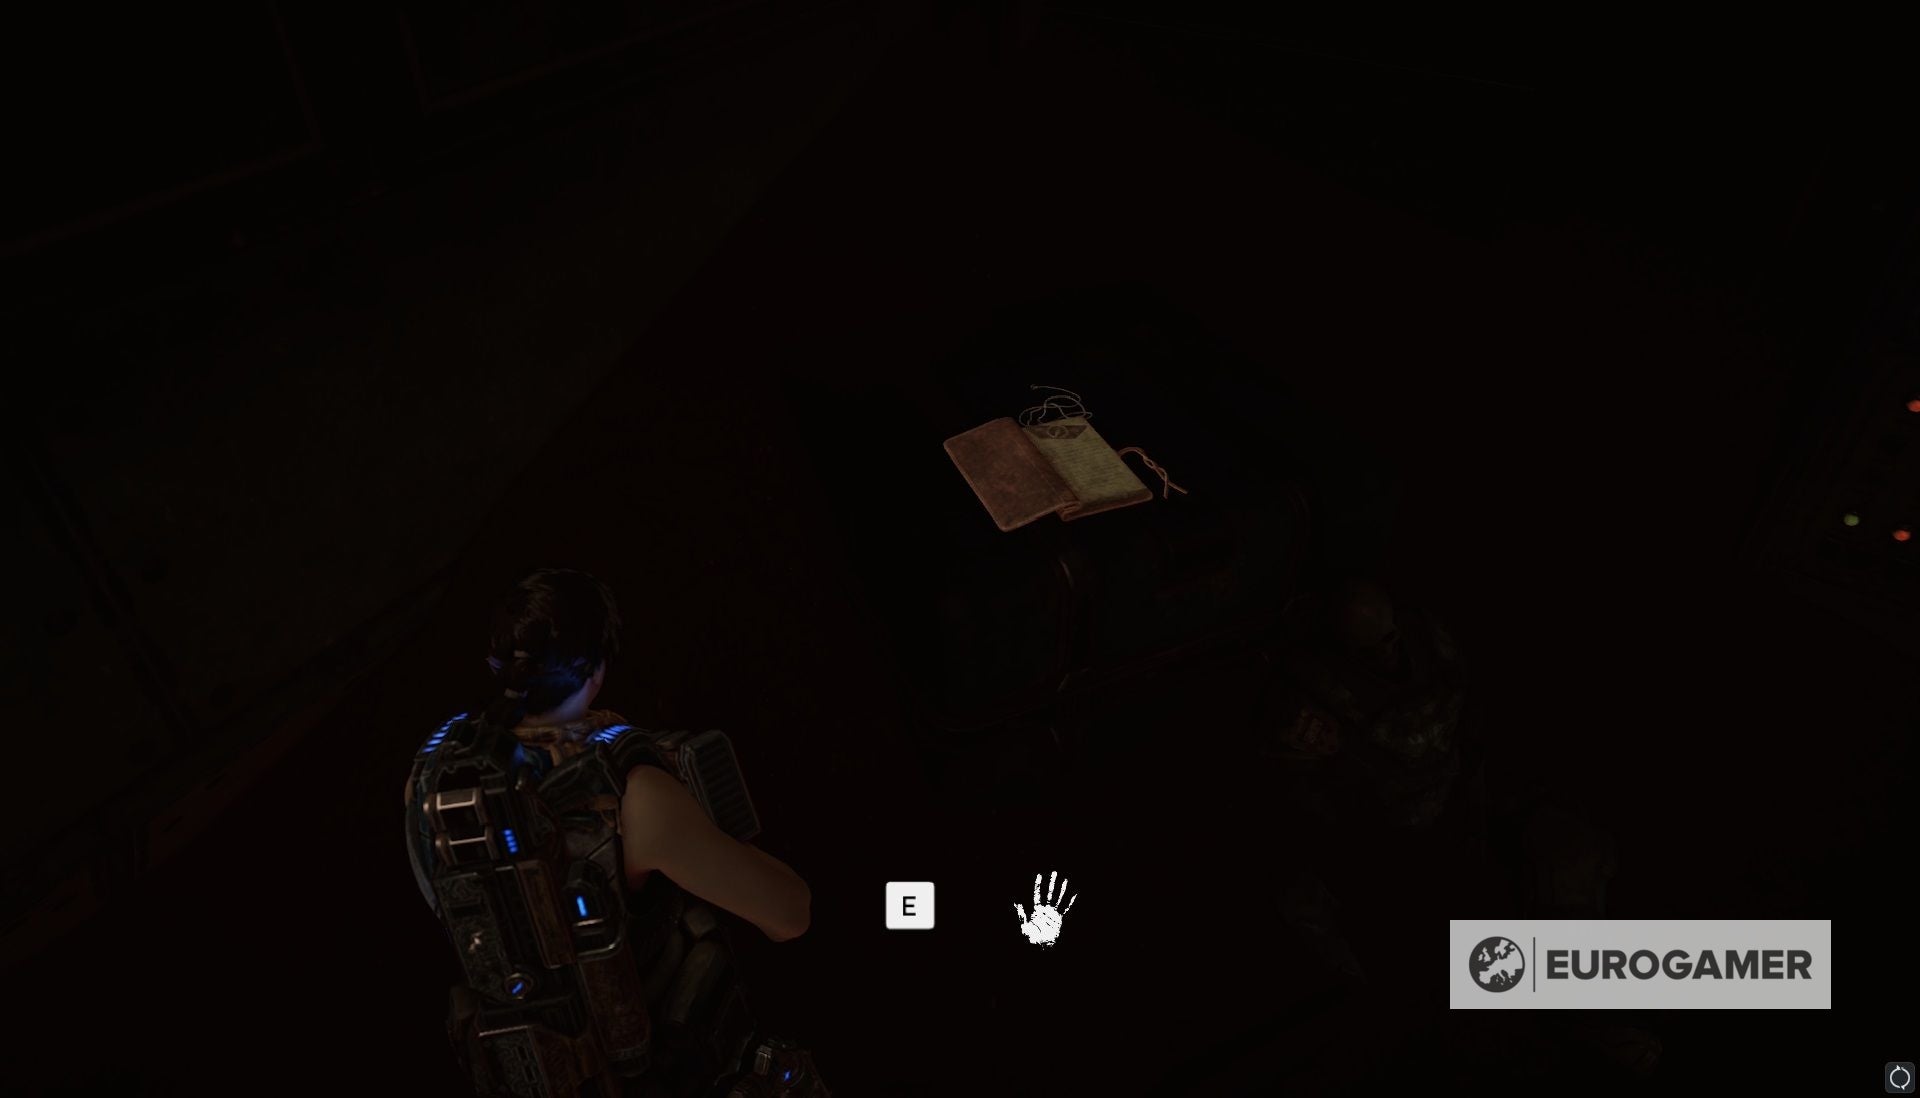
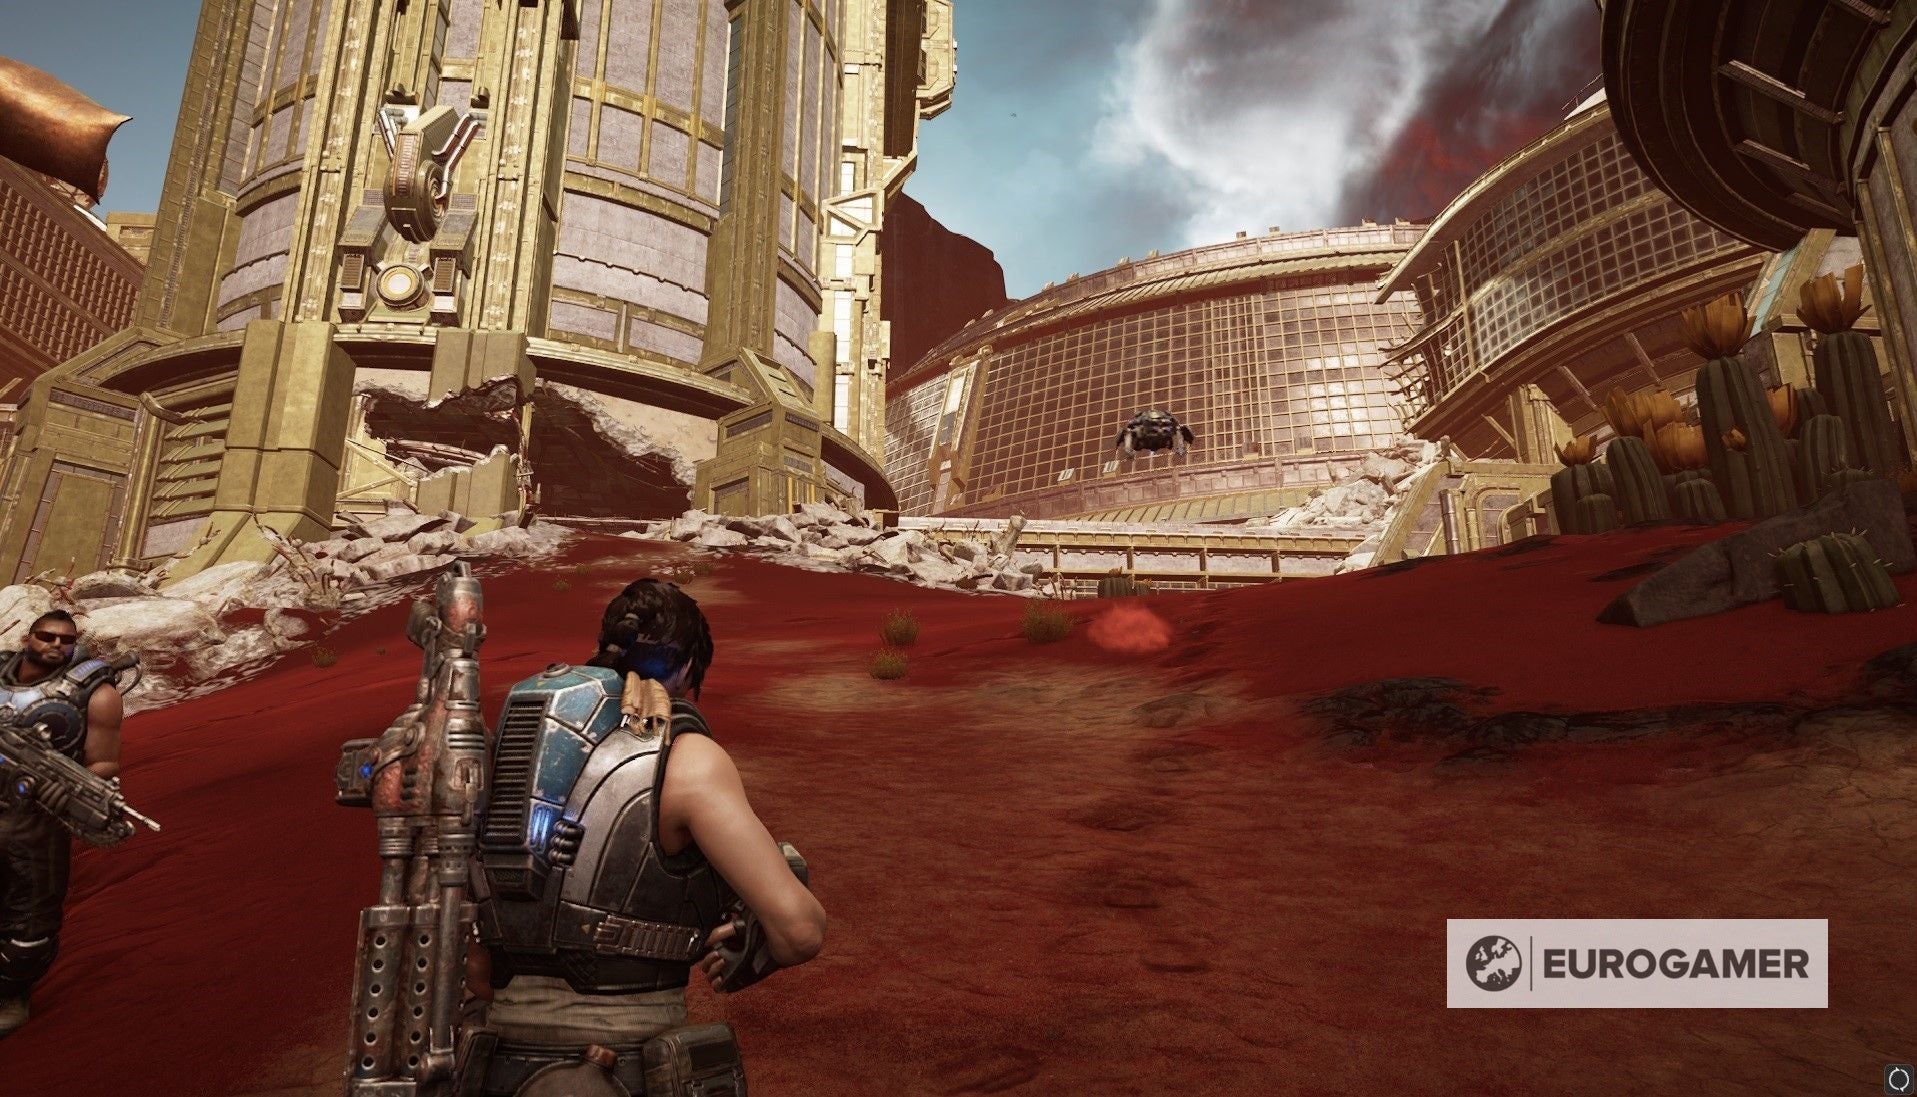
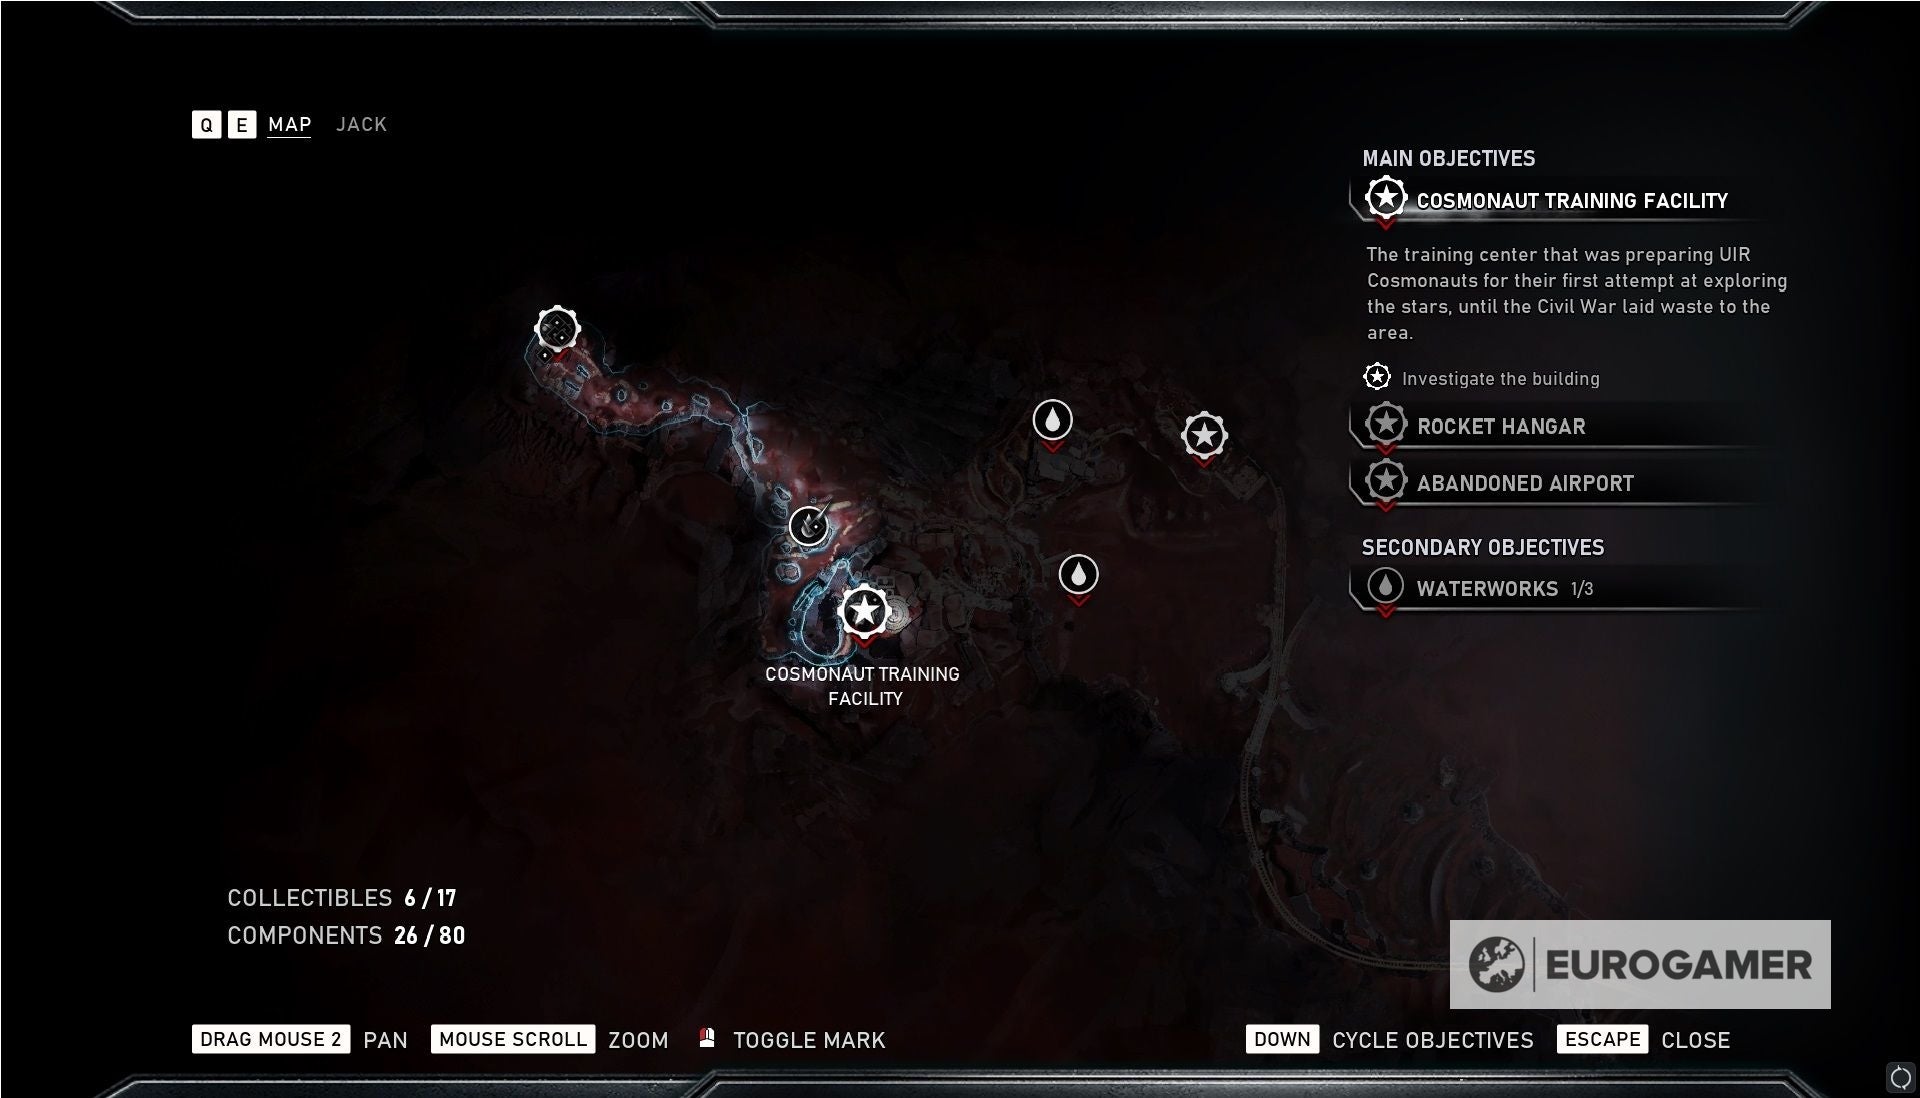
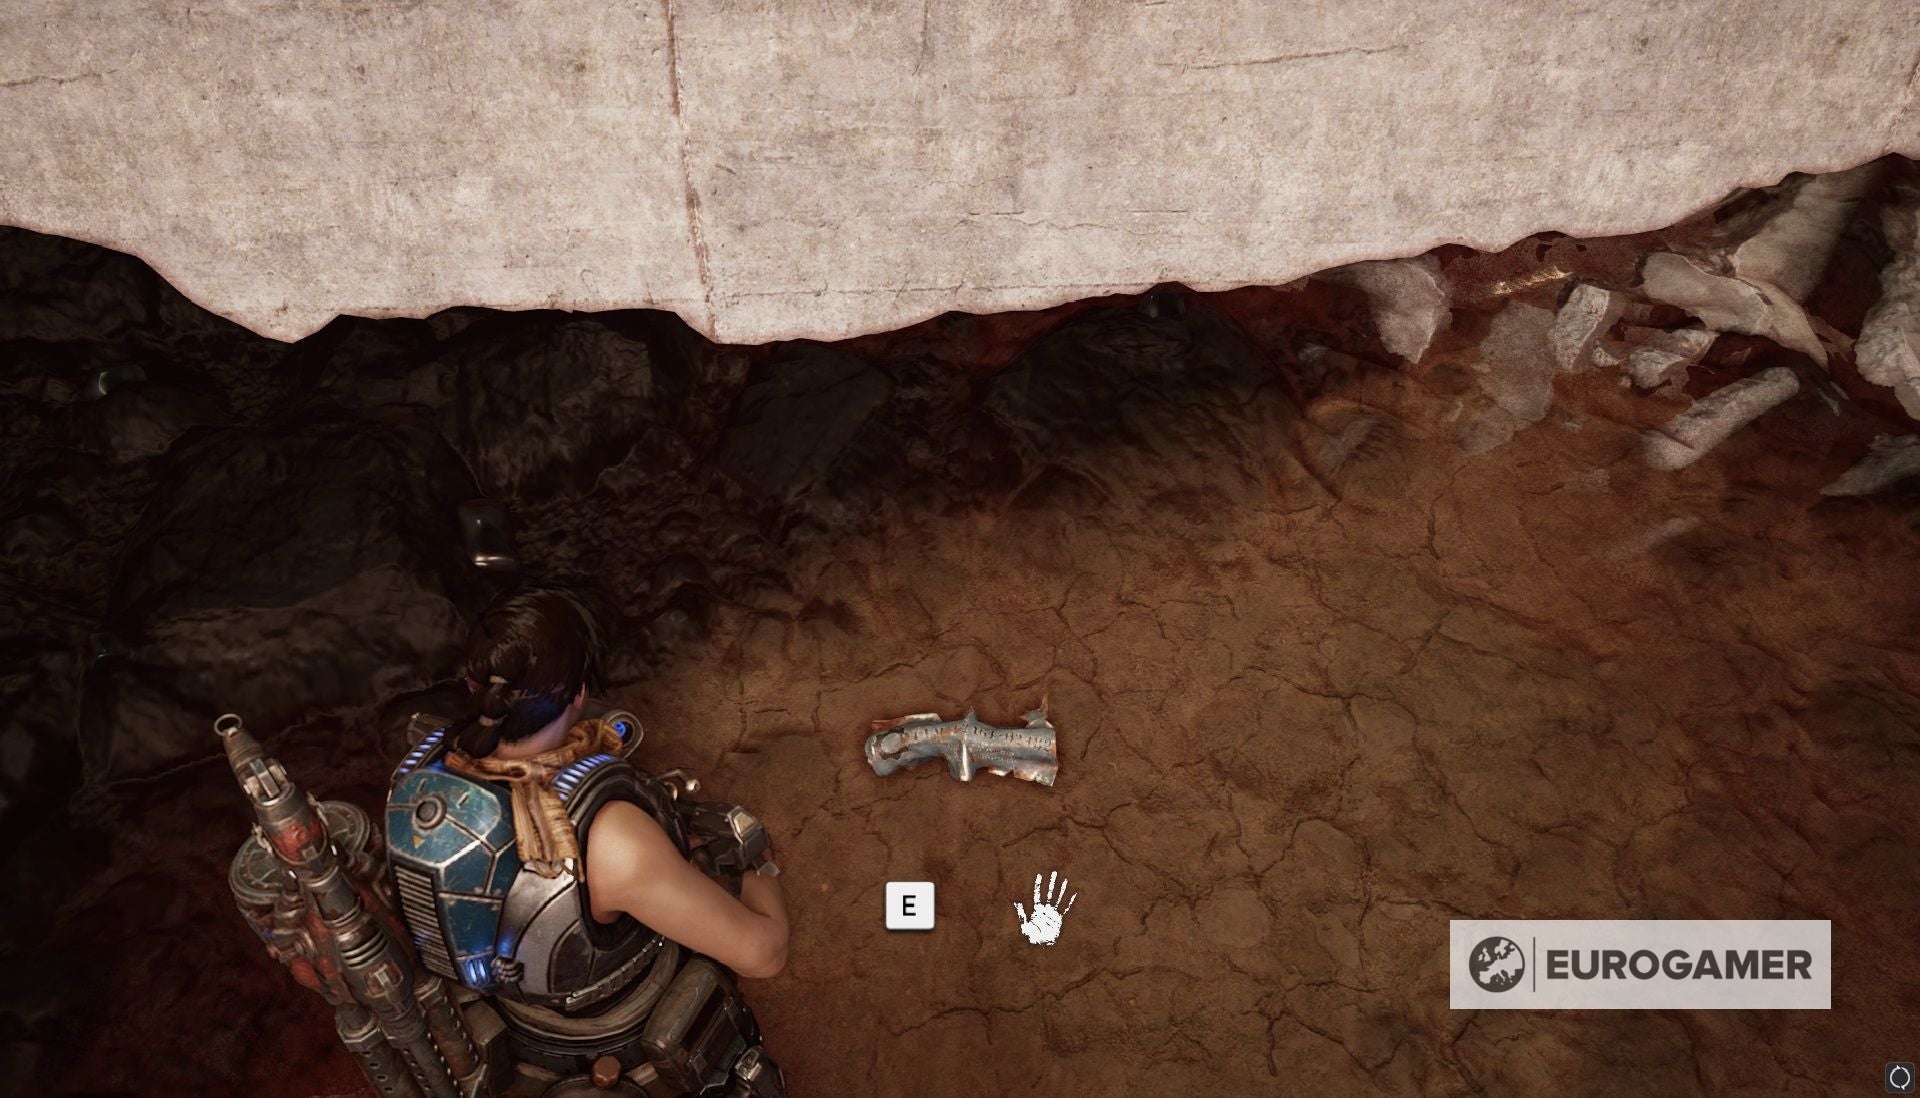
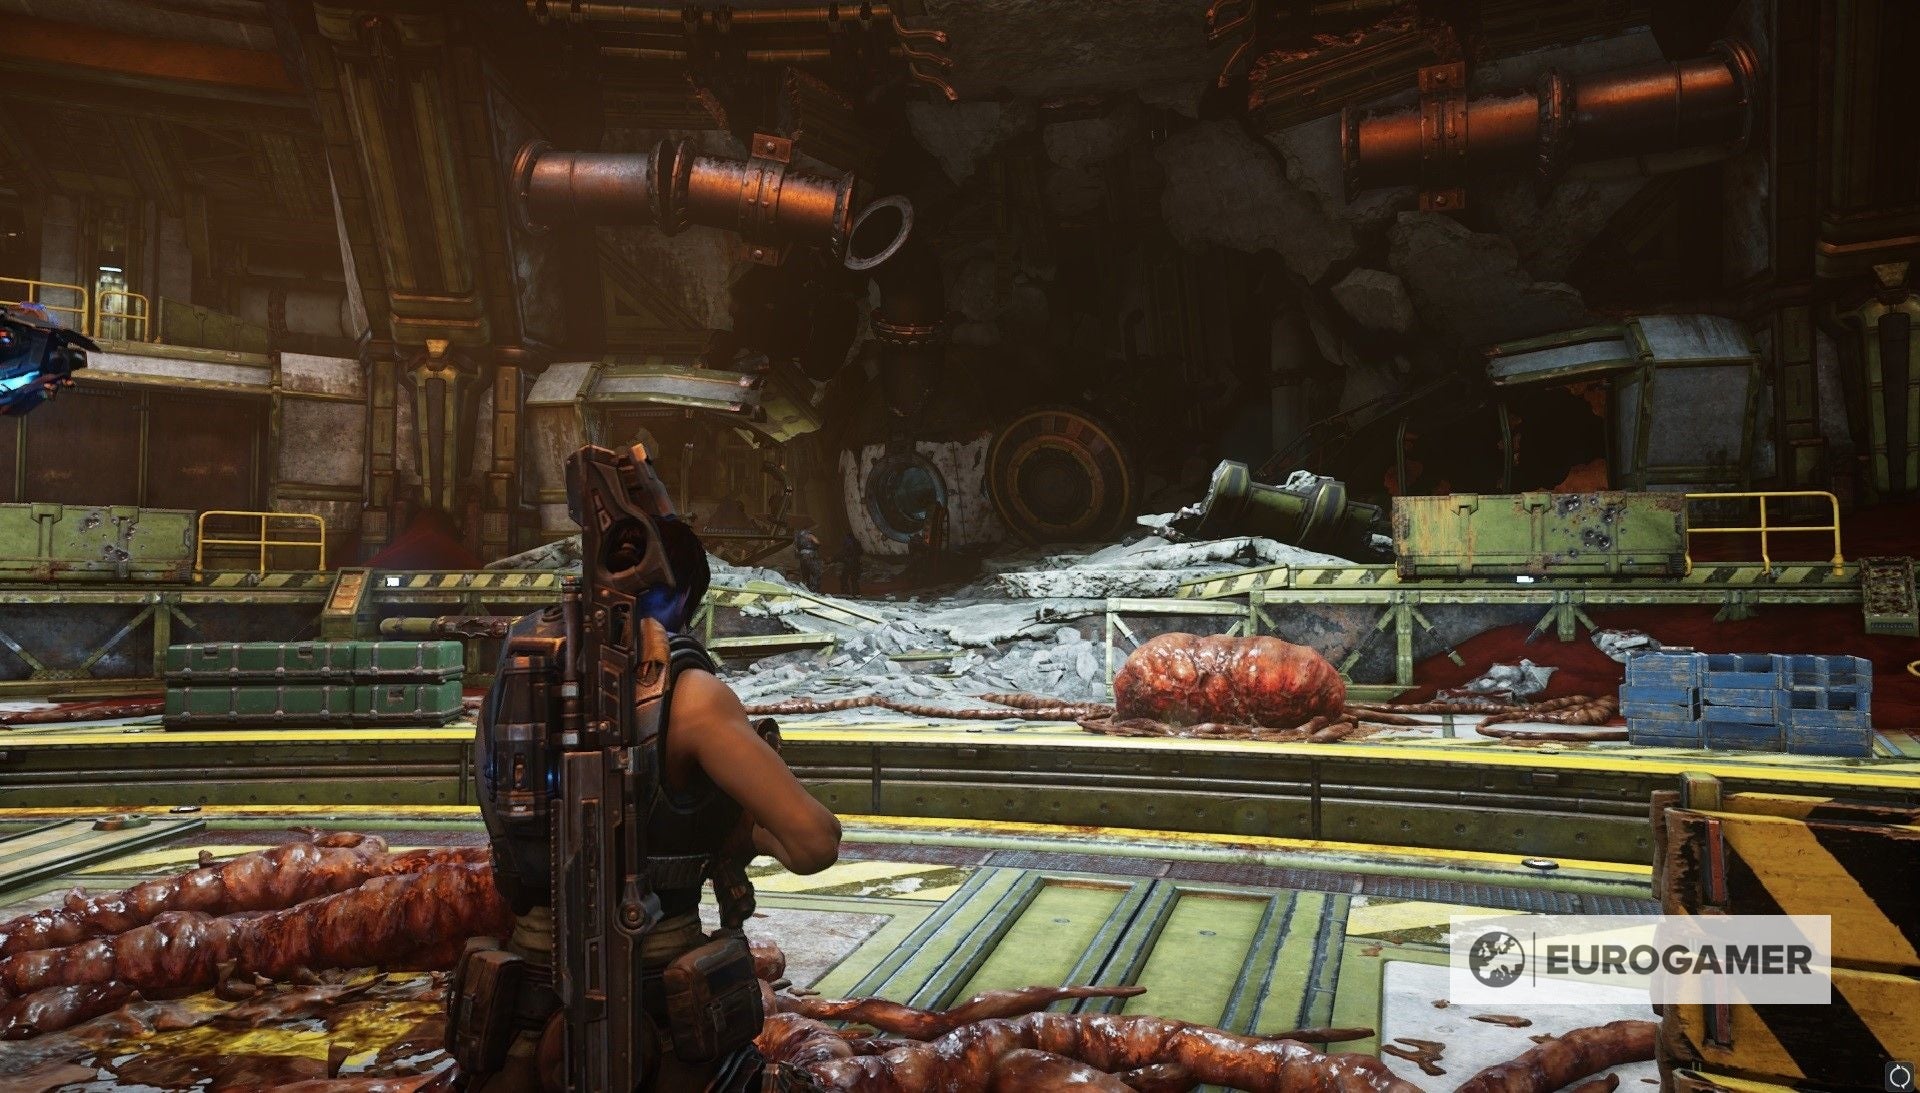
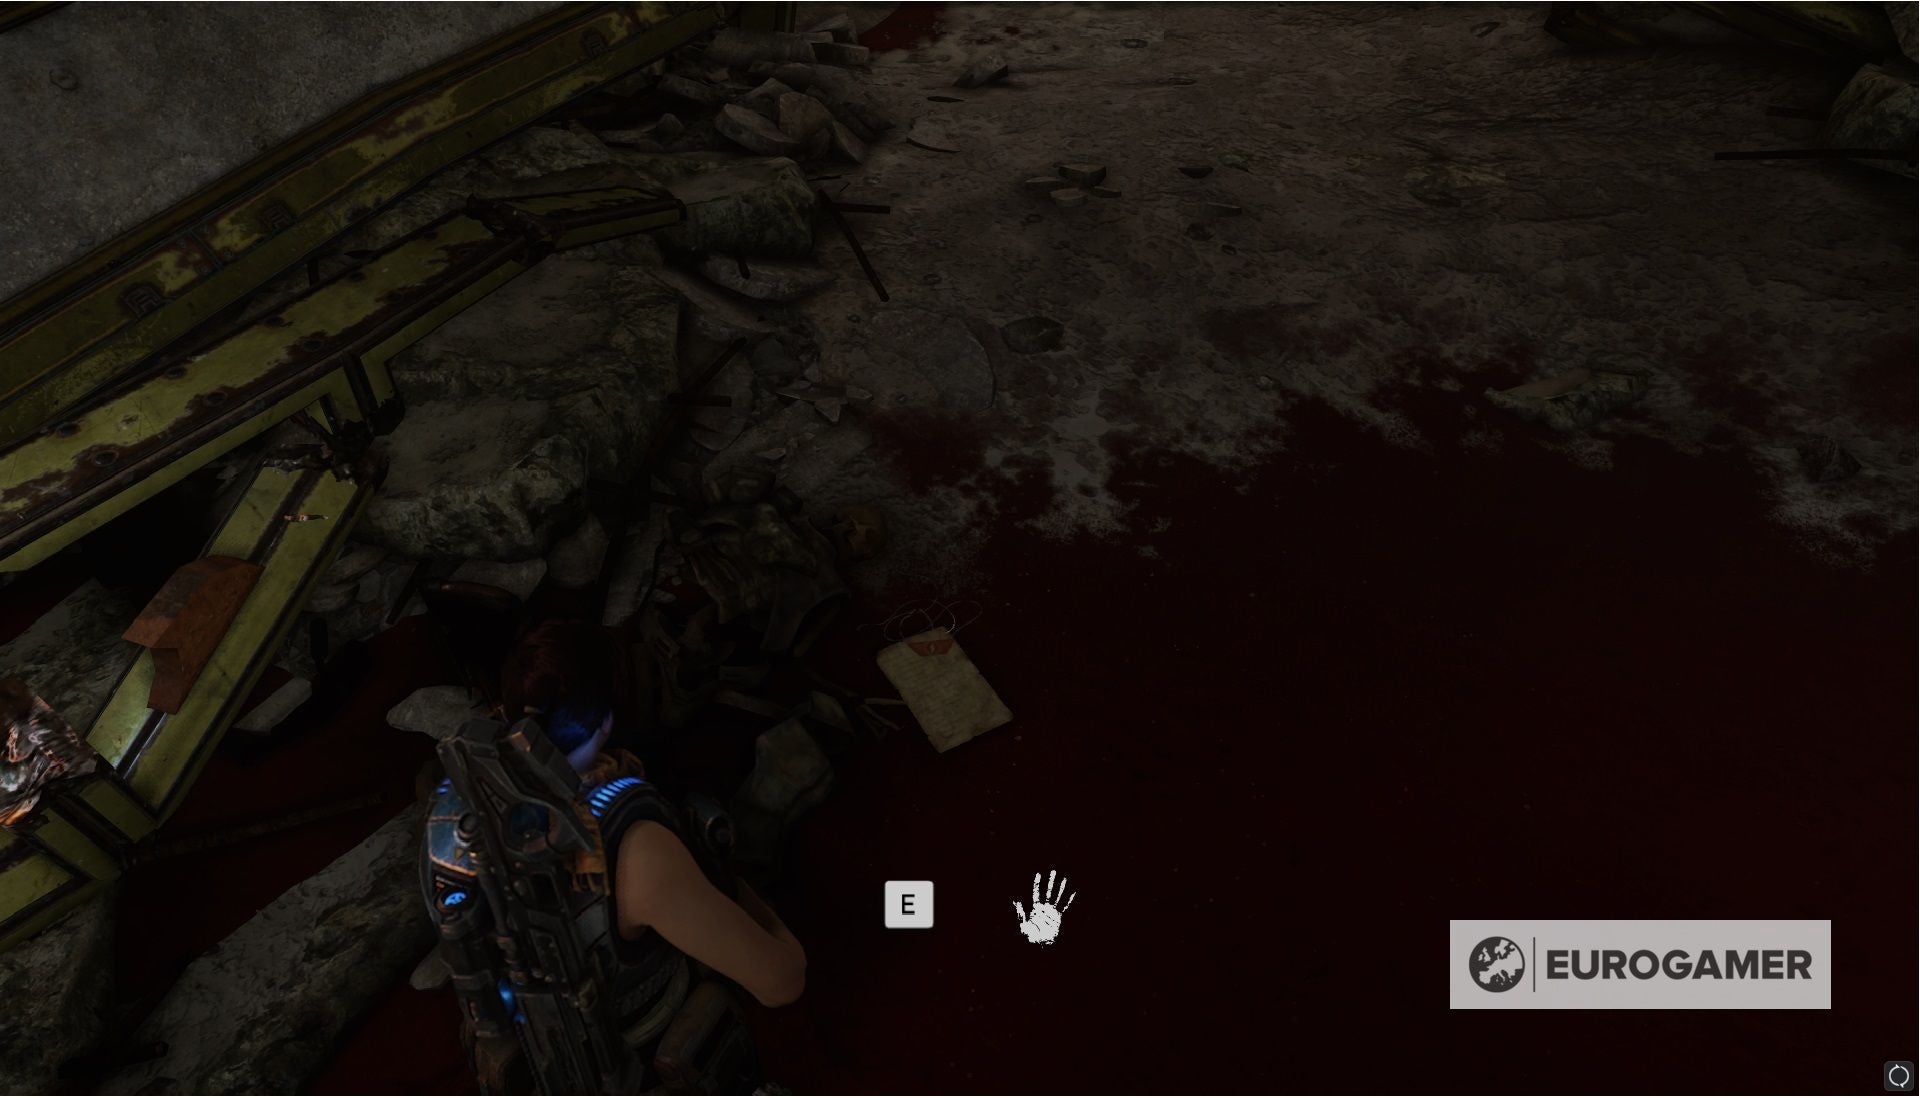
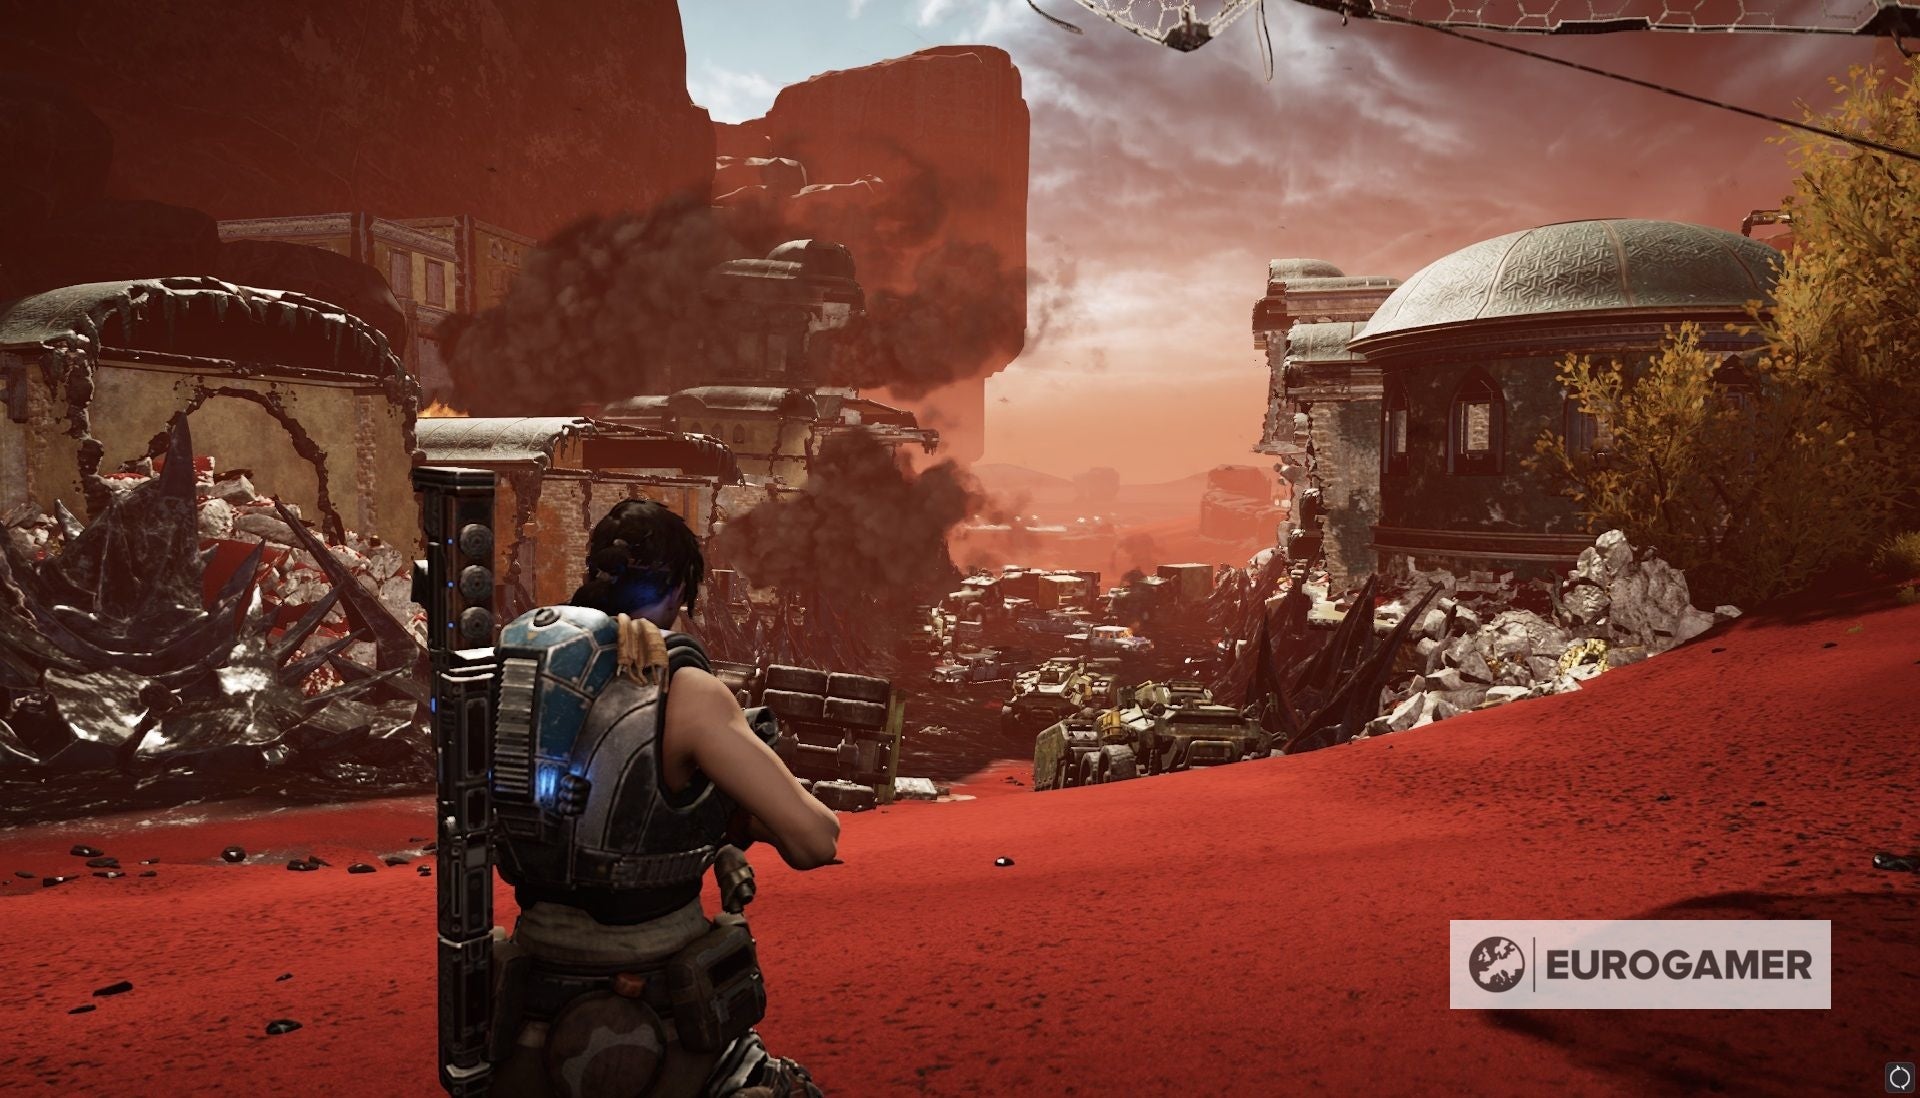
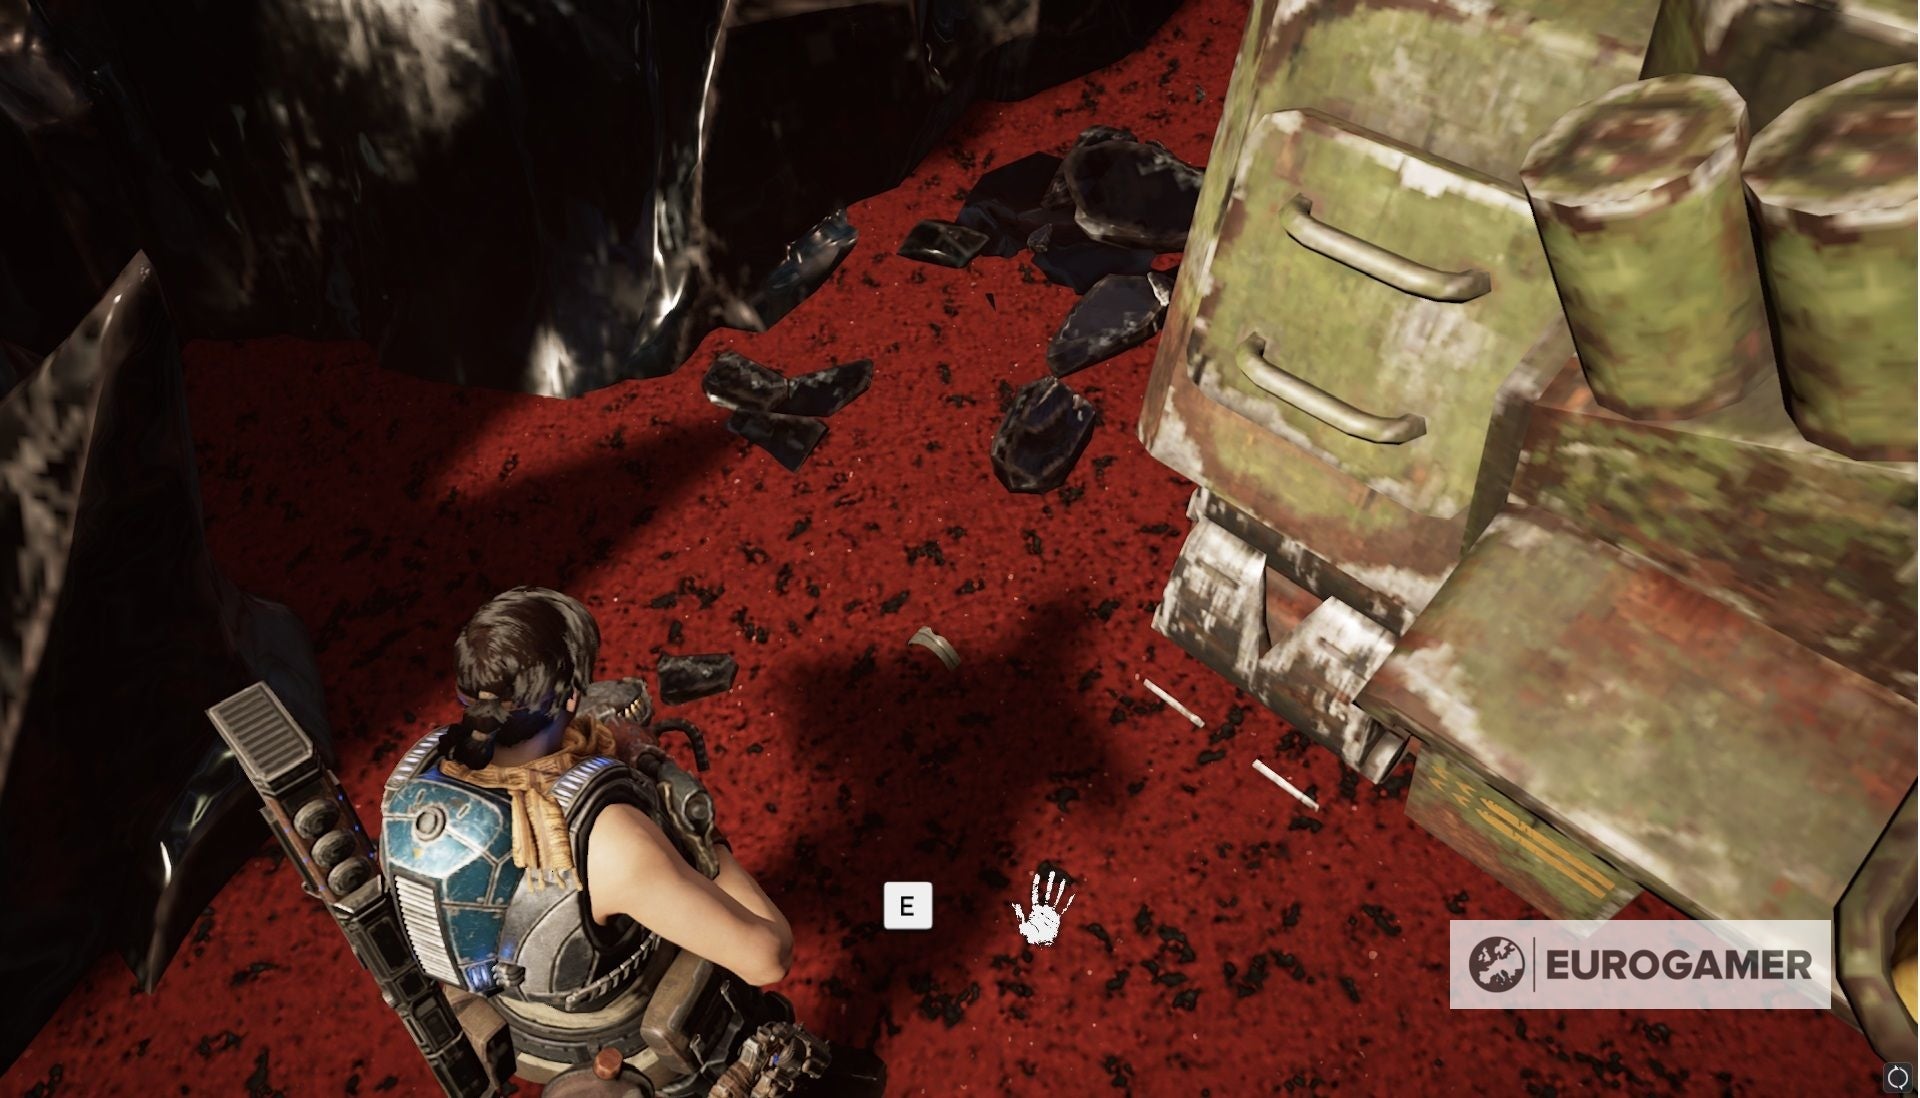
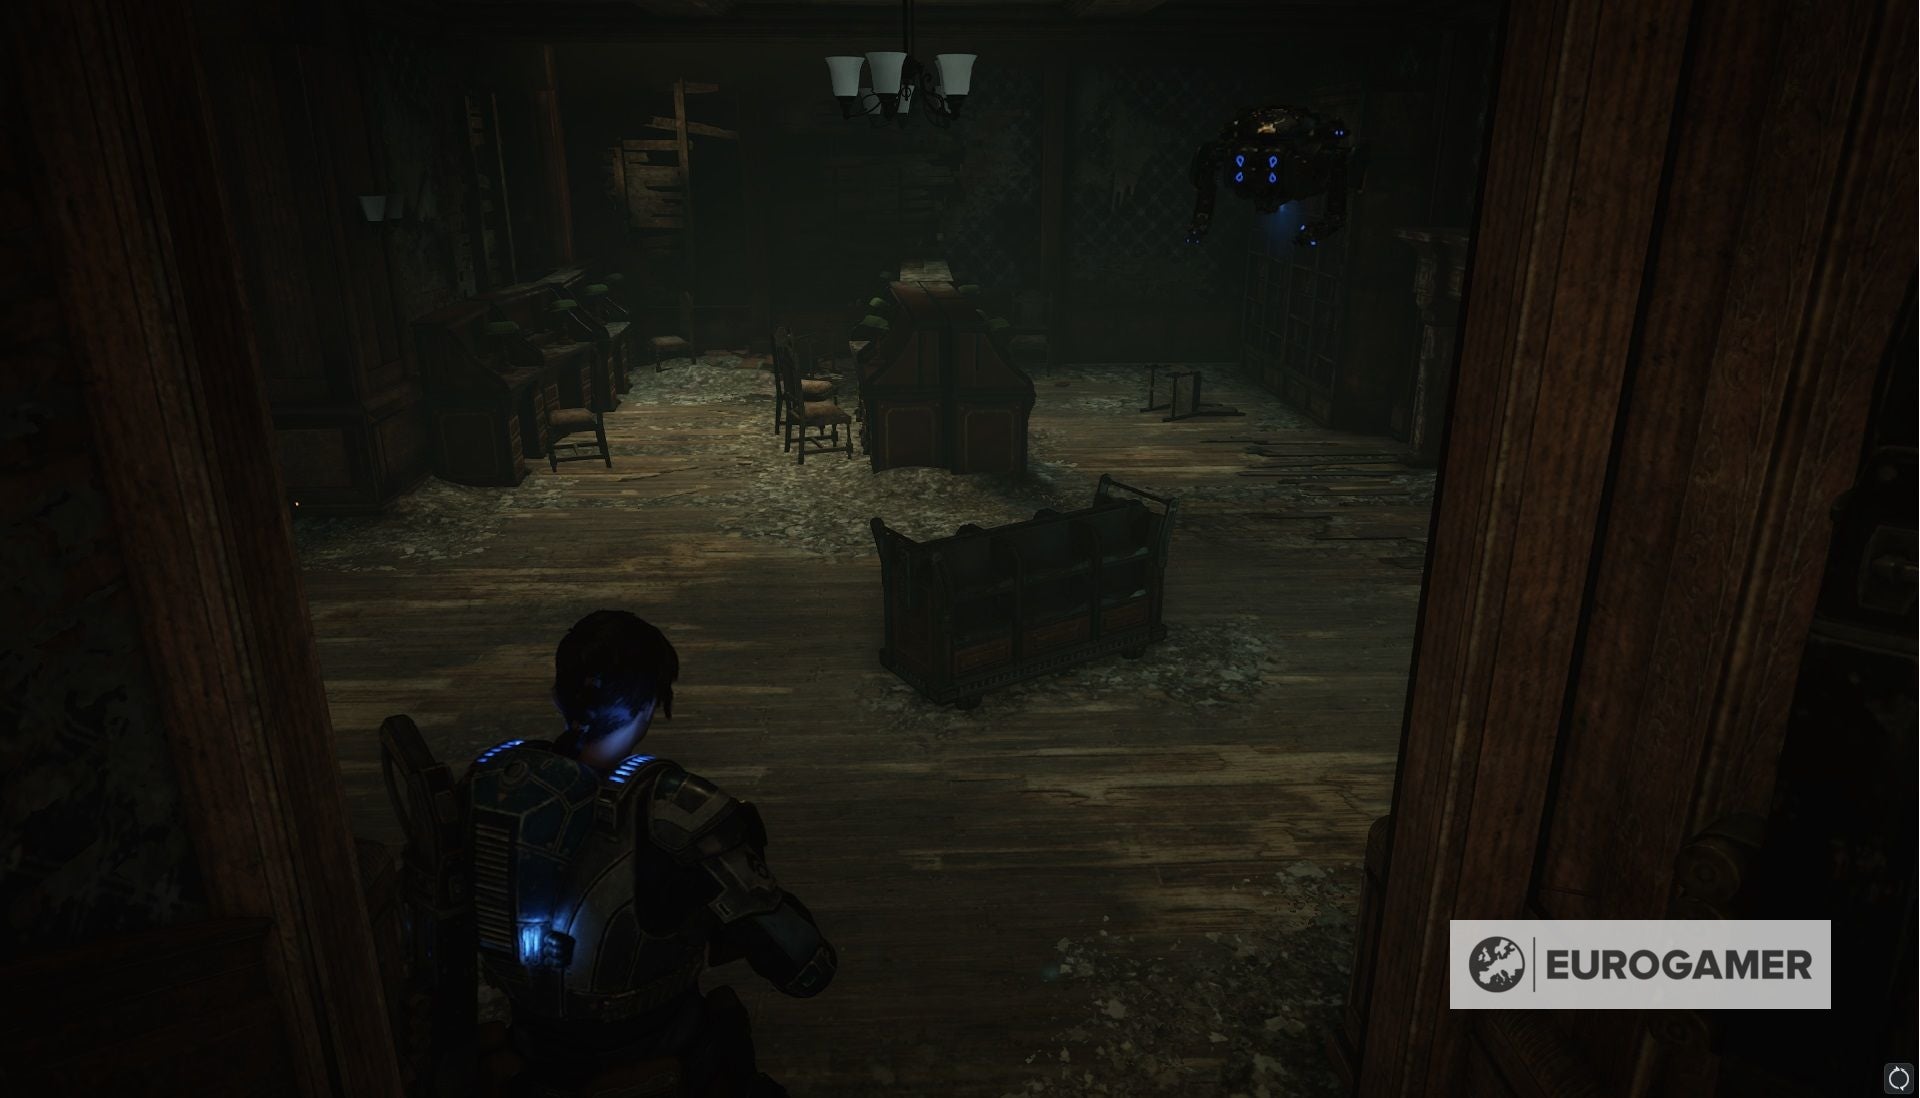
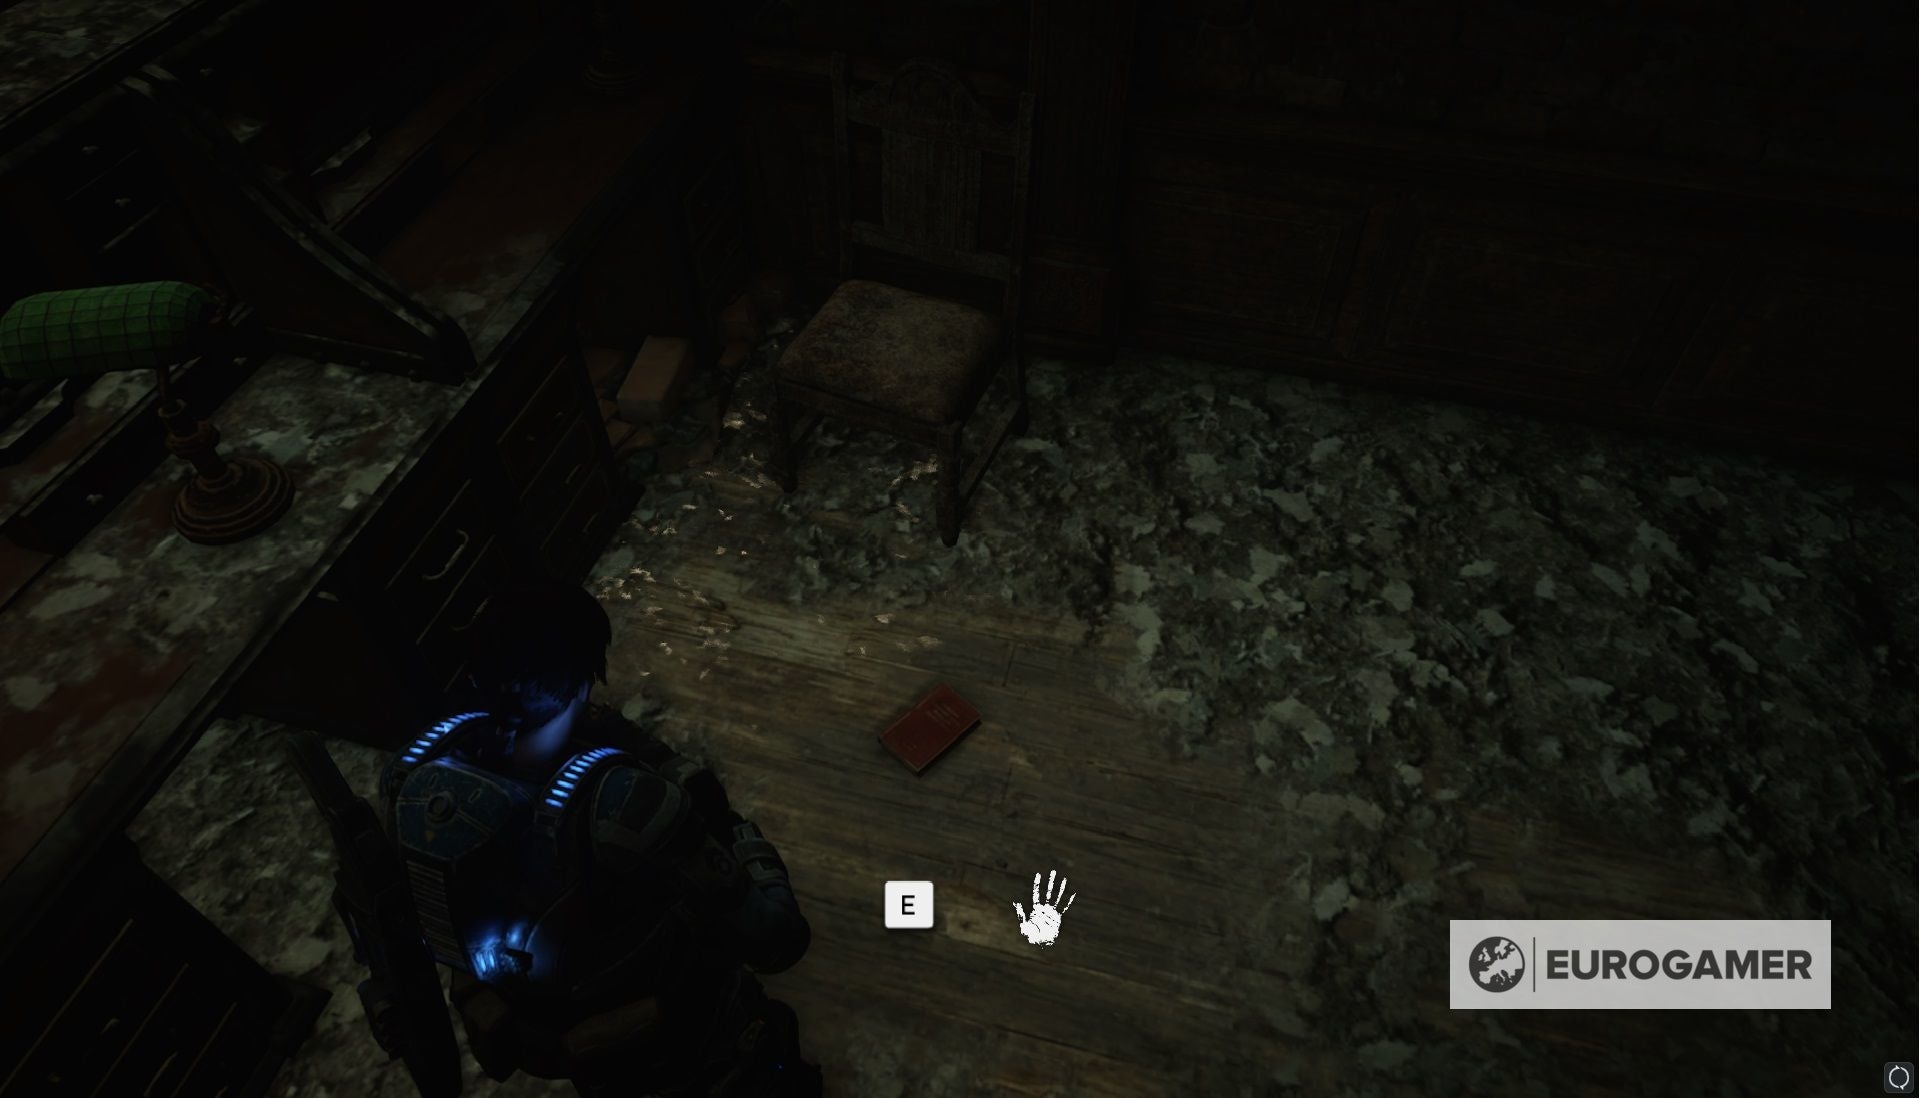
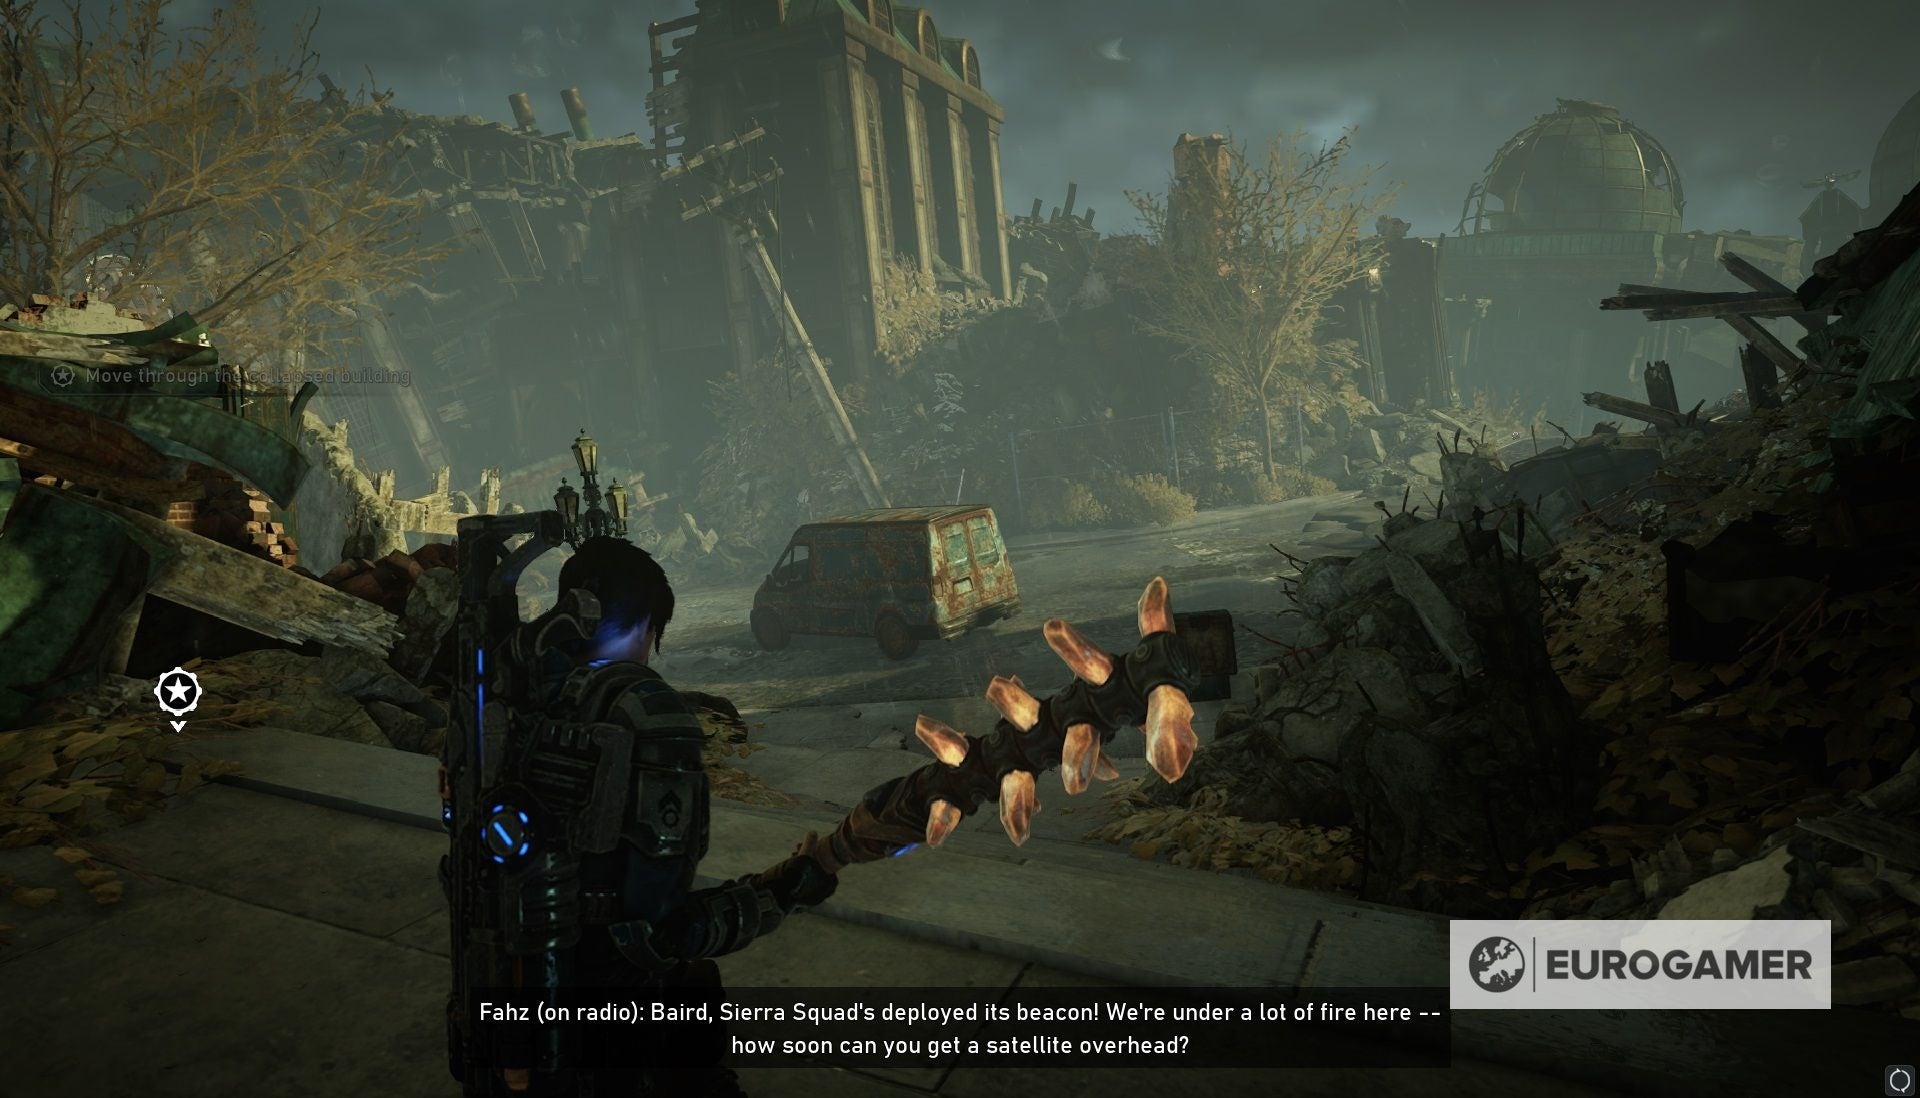
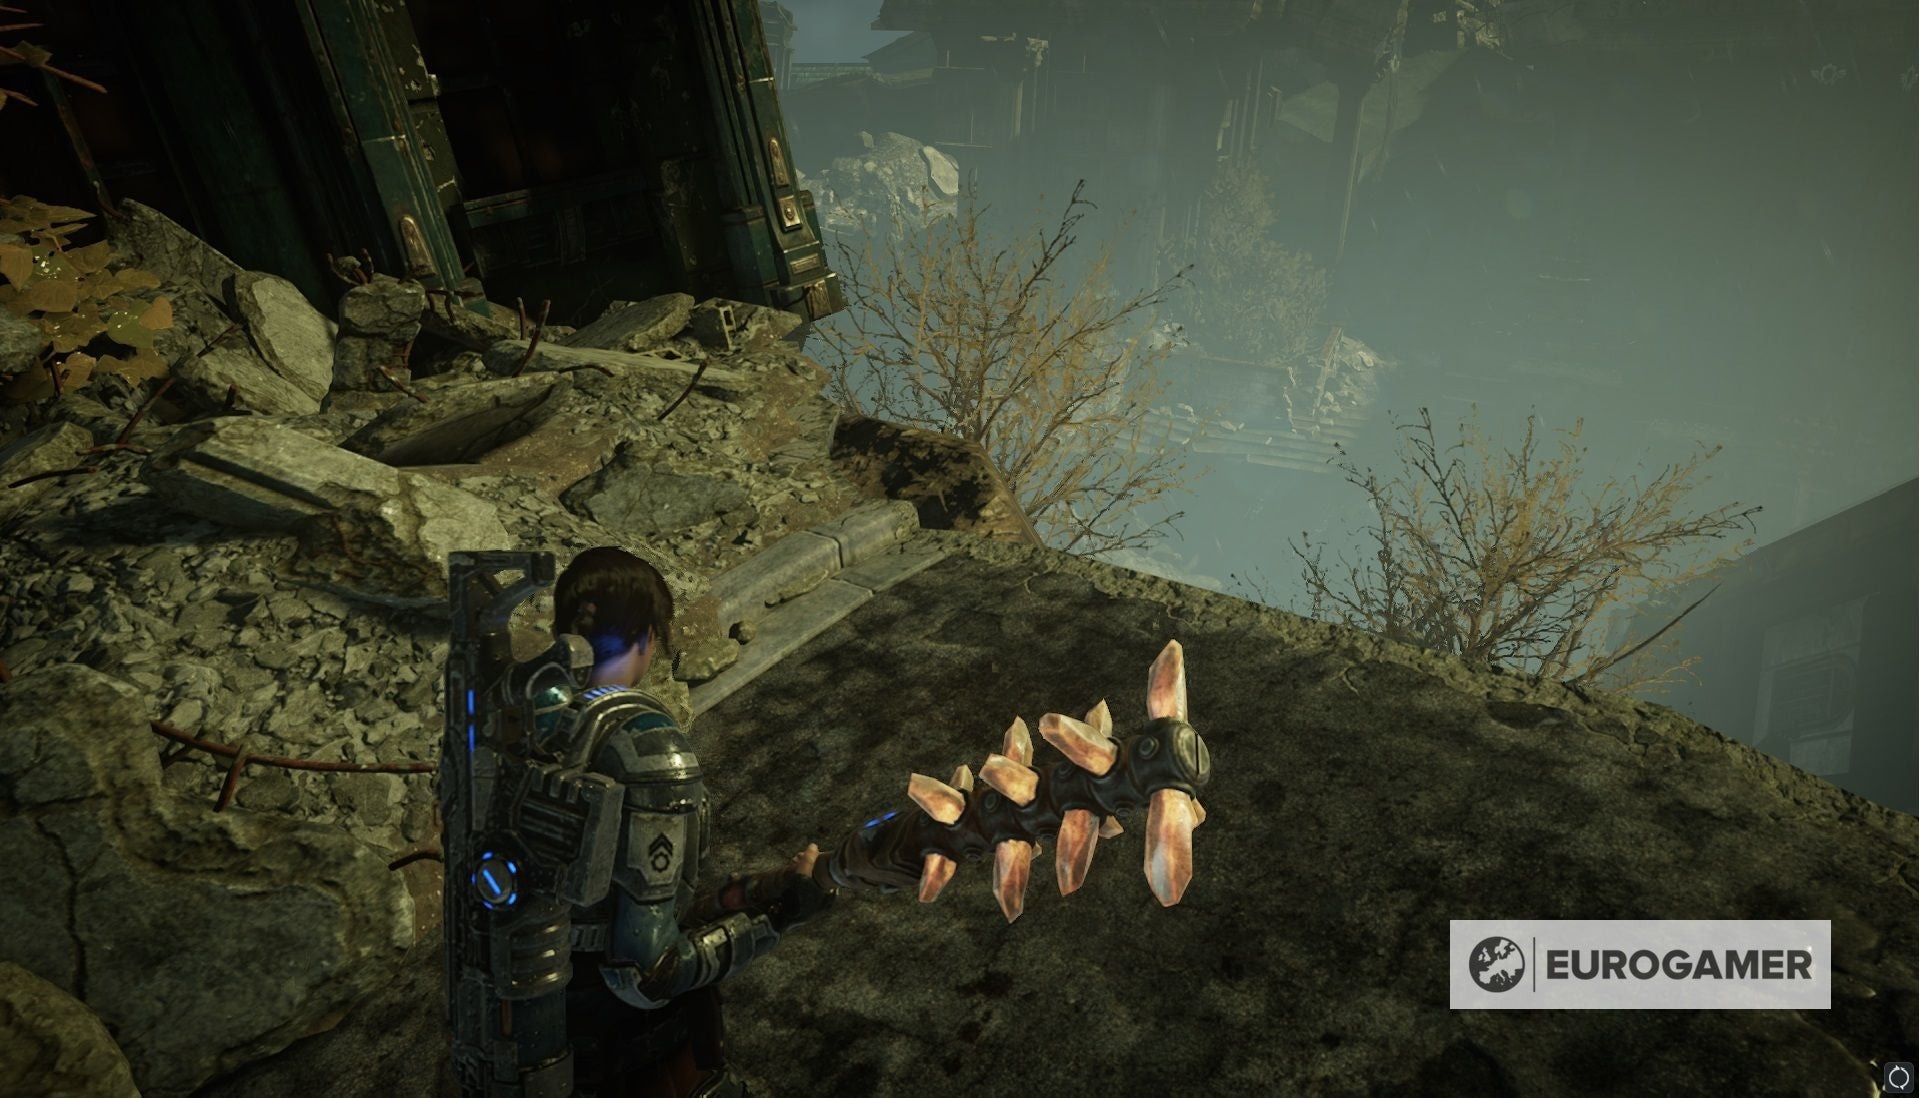
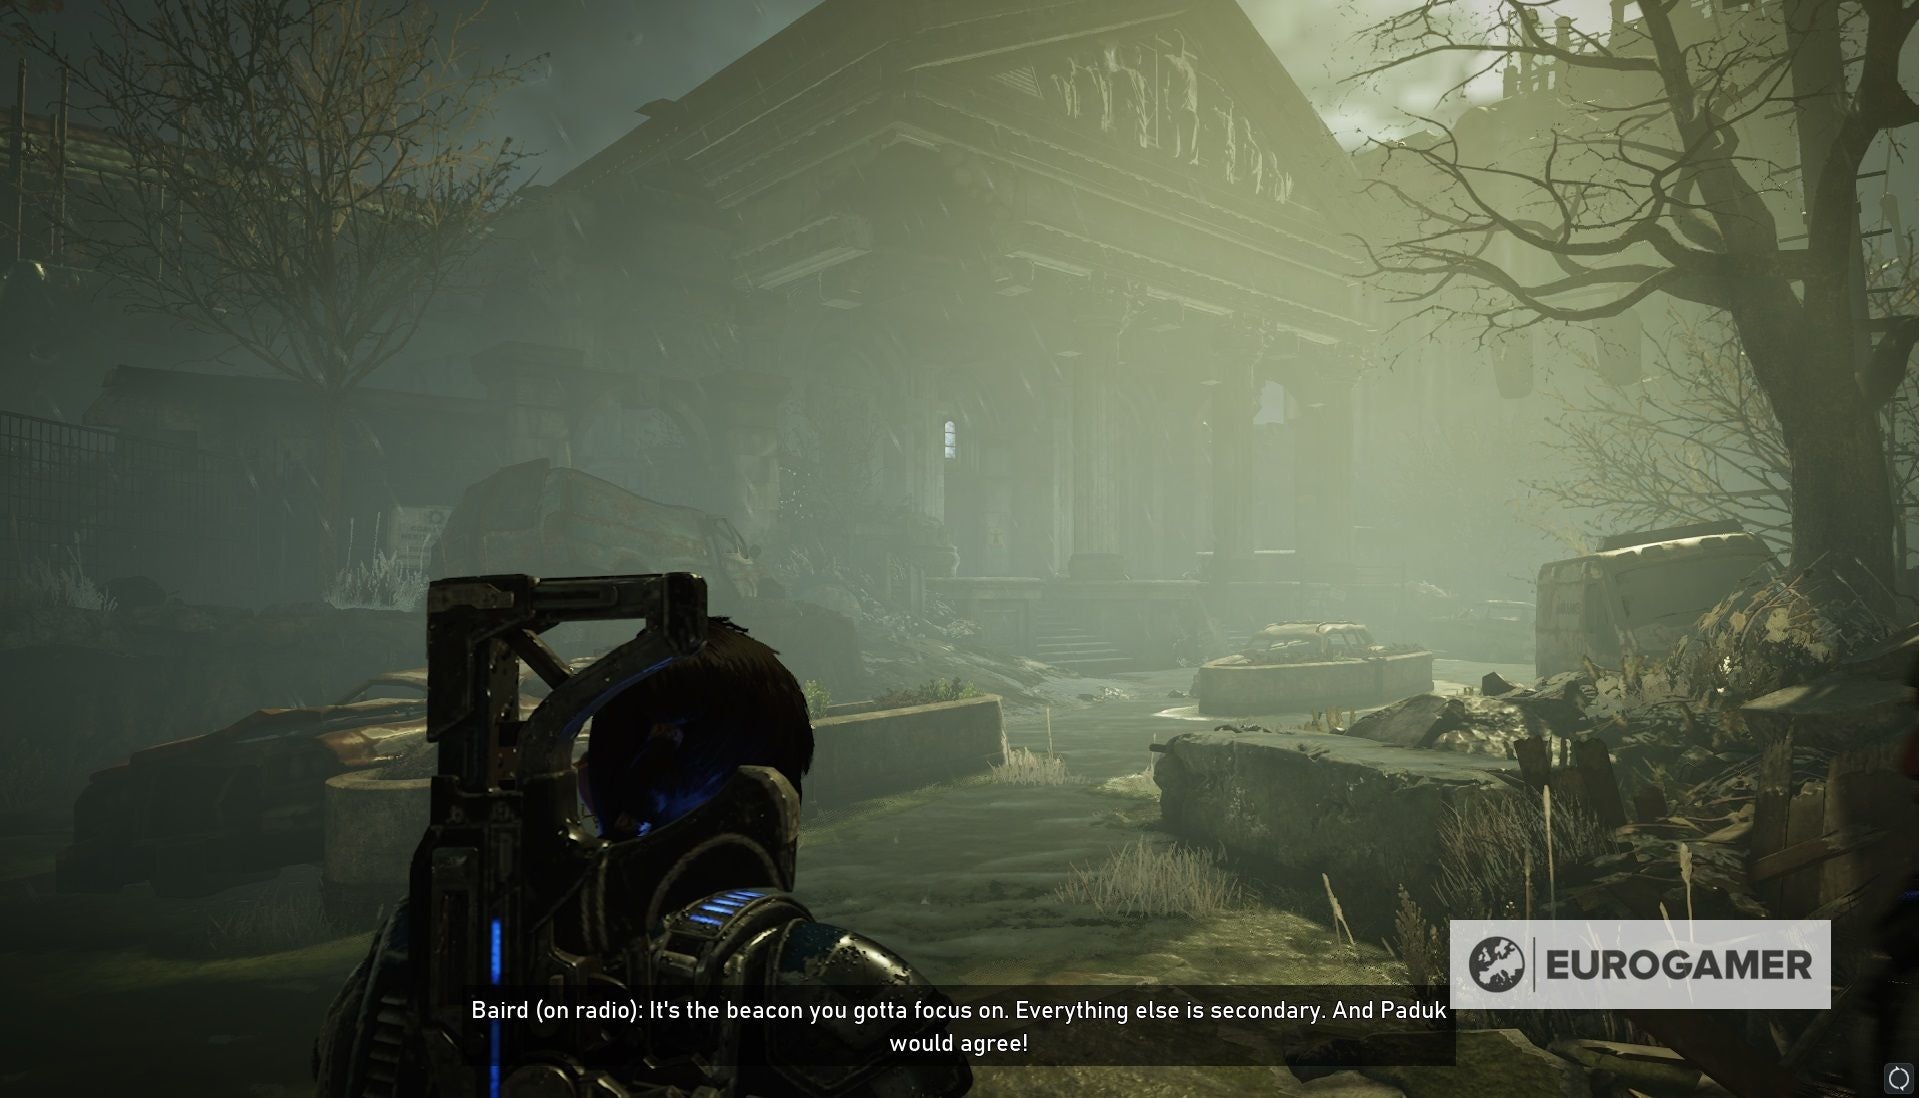
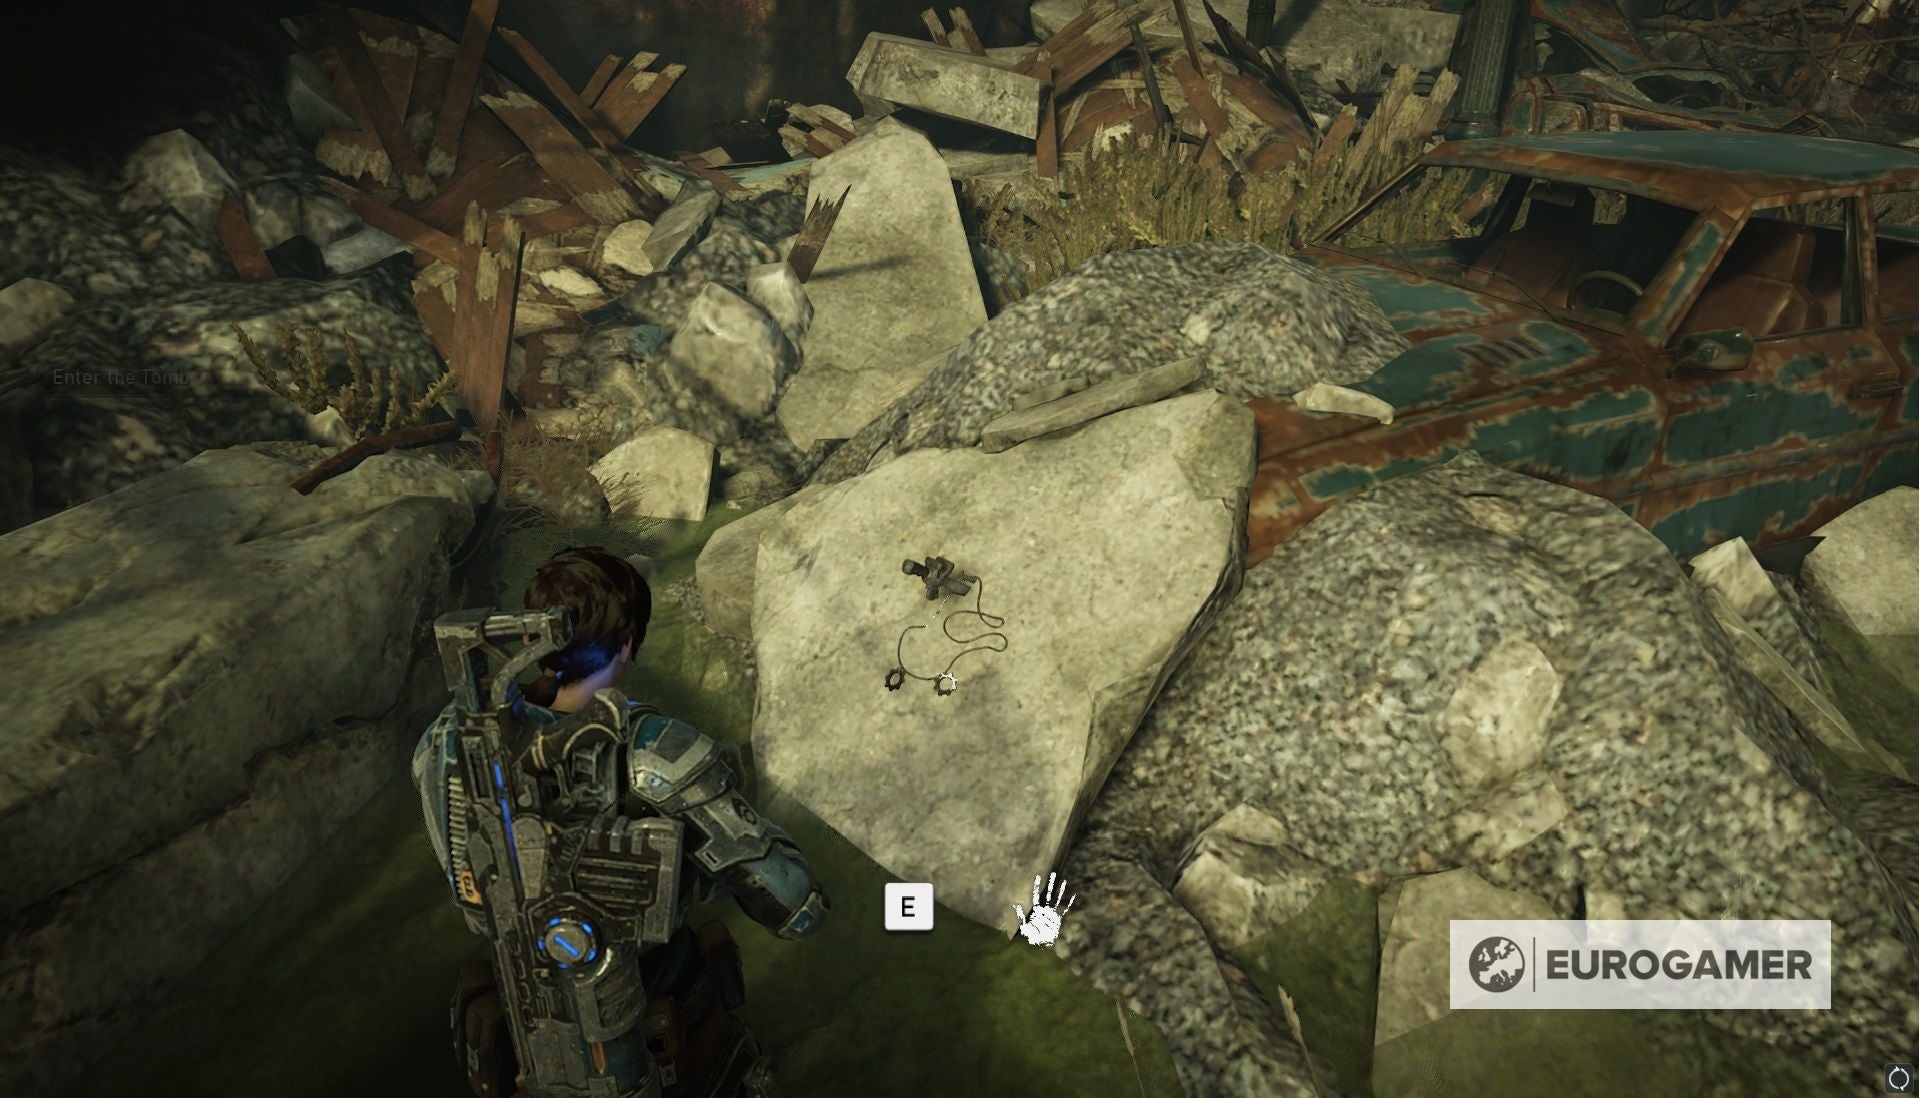
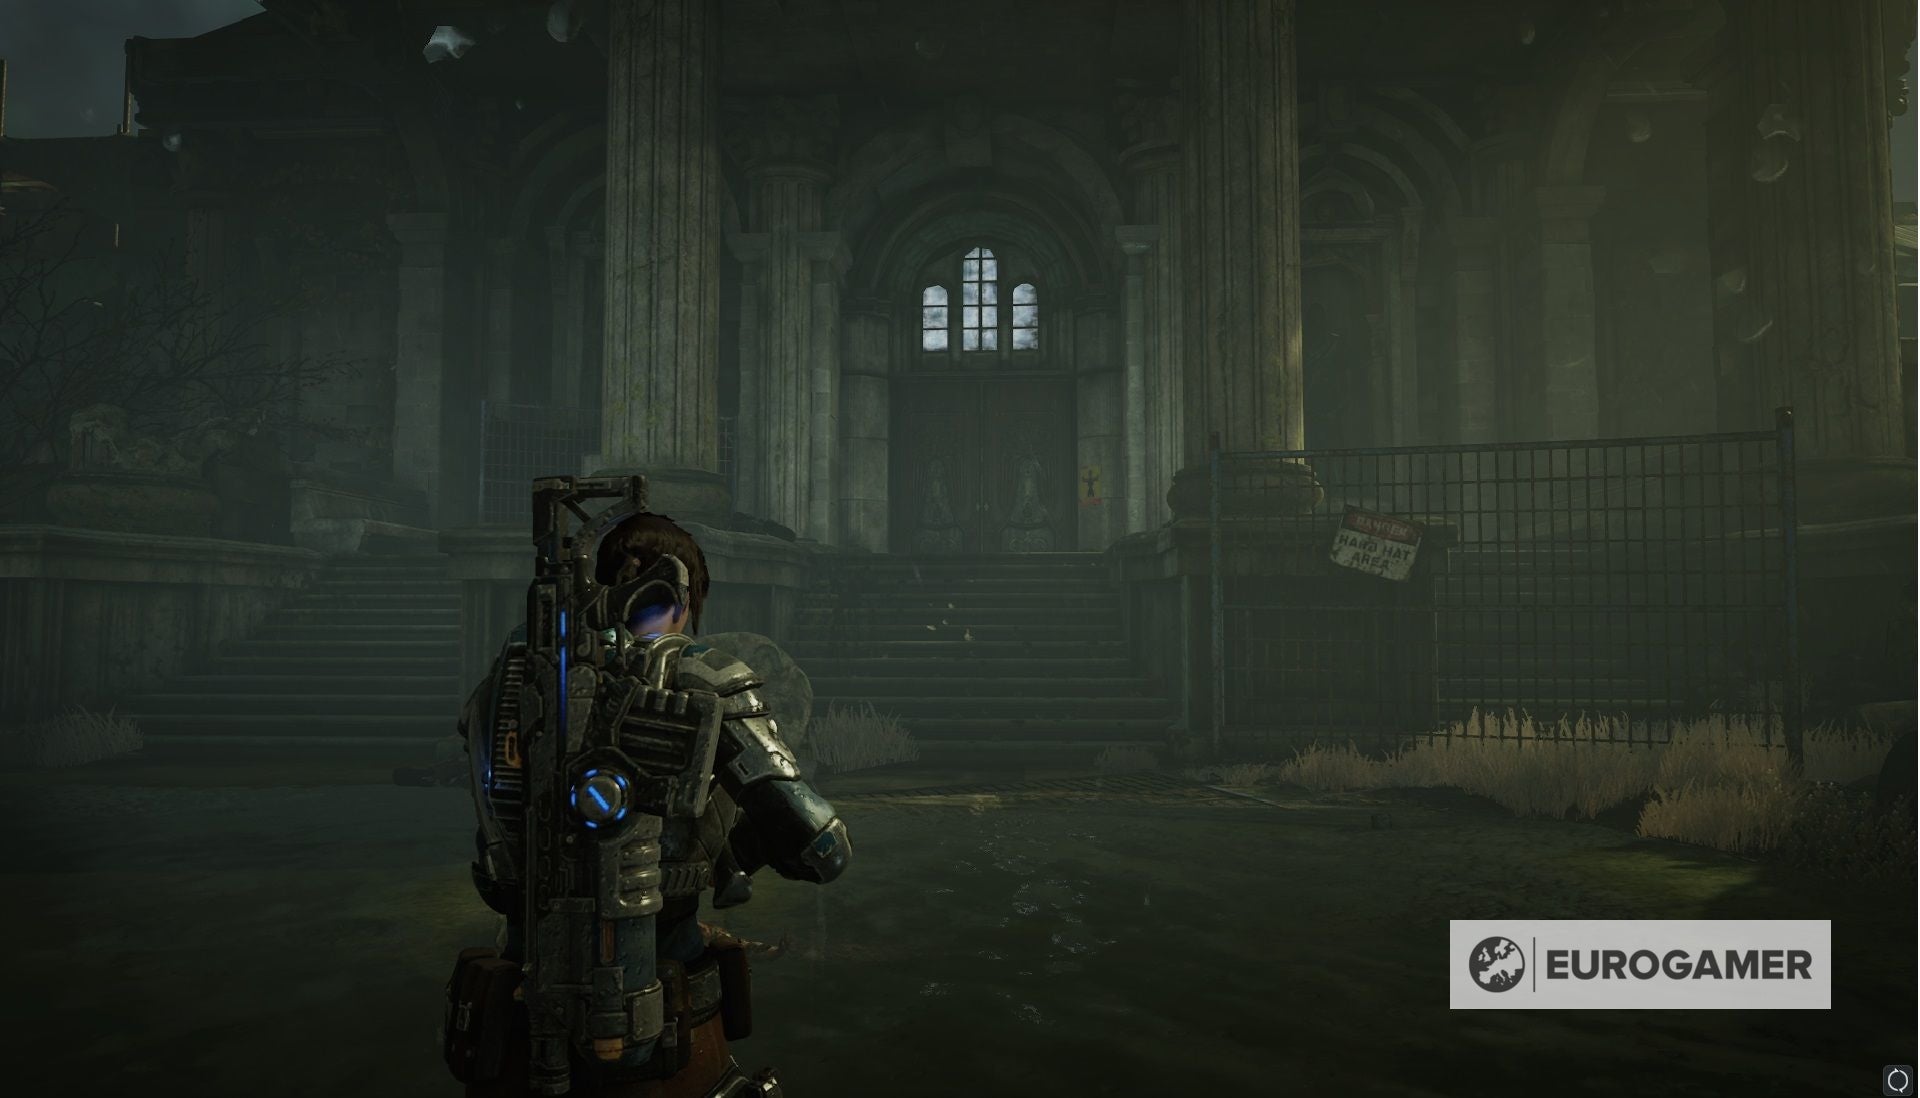
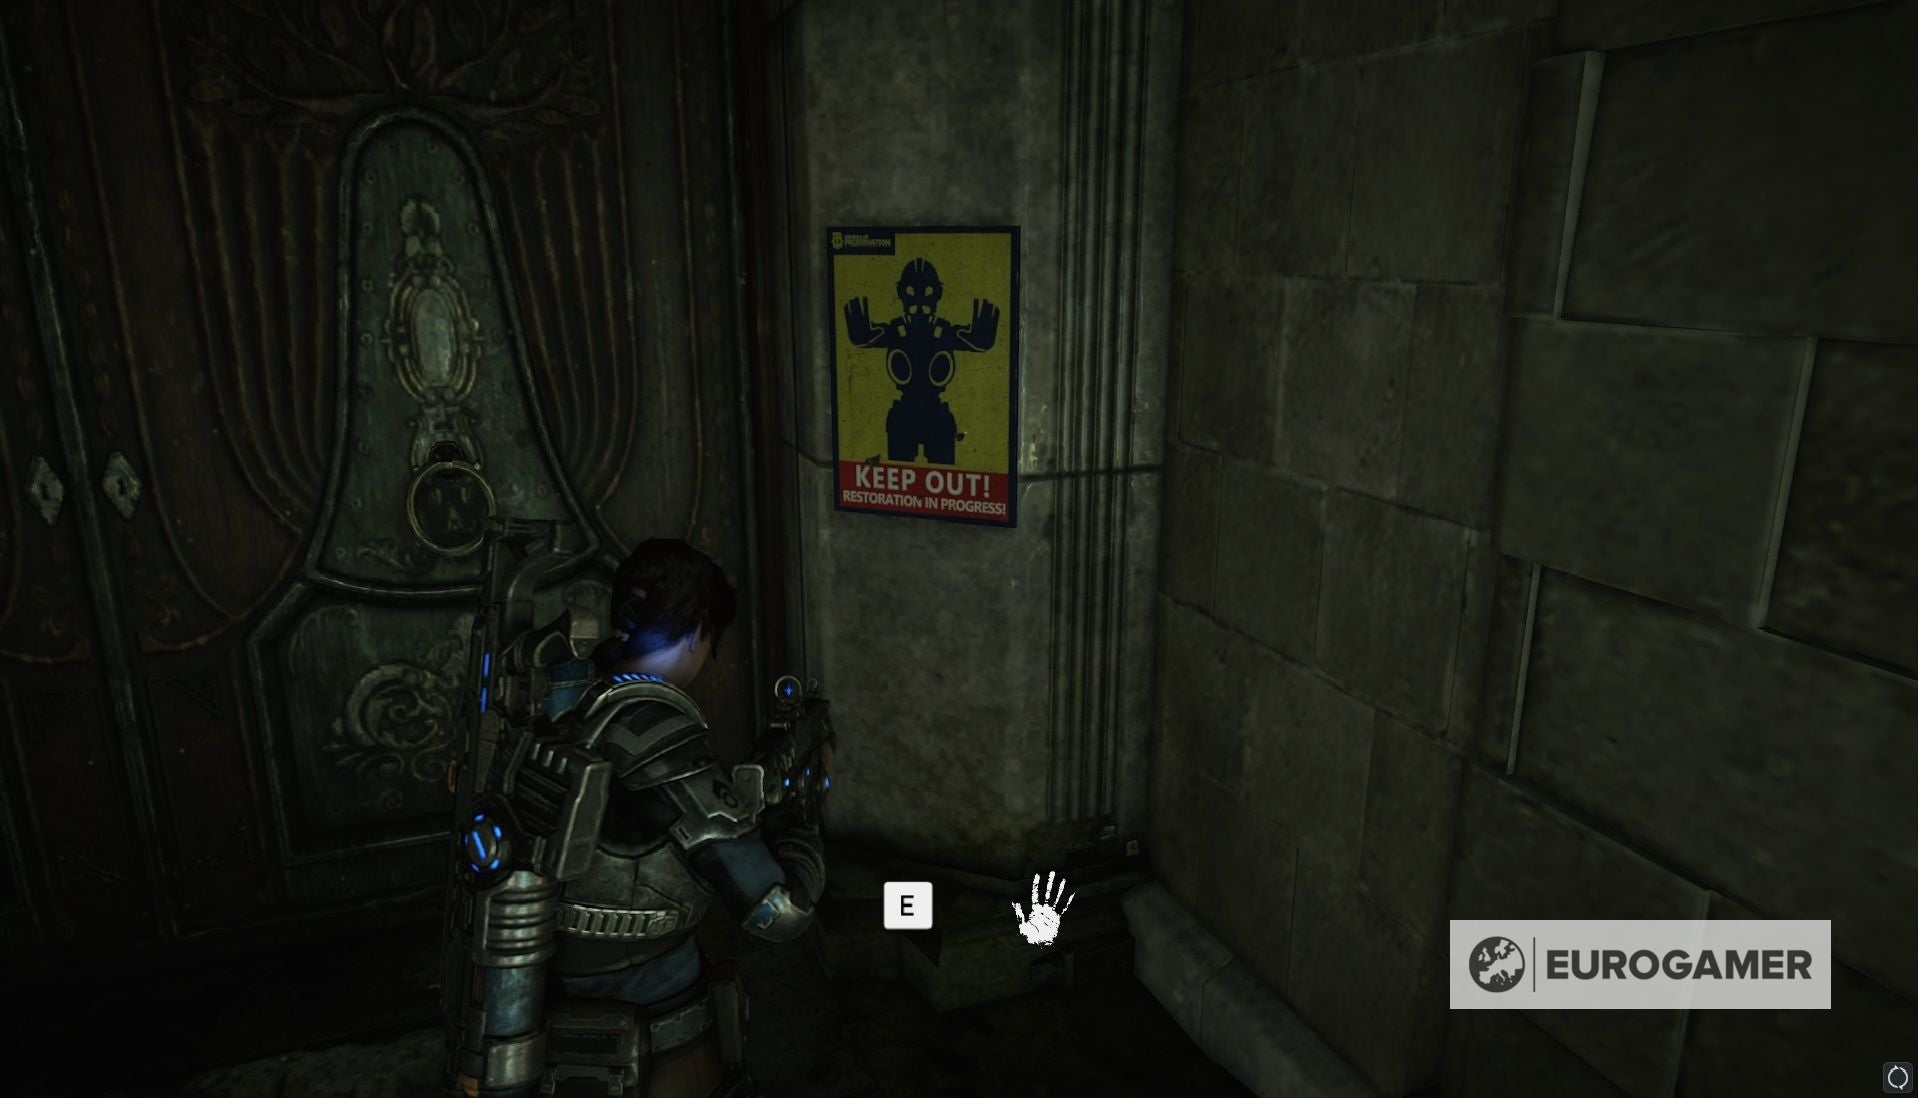
Each one gives you a little more backstory on the events since the last game and the world around you - and finding them all gives you some Achievements as an added bonus, too. Here’s our in-progress guide to finding the various Gears 5 collectable locations, describing at what point in each chapter you’ll come across them - as specific but as spoiler-free as possible - with some images to help. Here are all Gears 5 collectable locations: Act 2:
Gears 5 Act 1 - Chapter 1: Shot in the Dark collectable locations Gears 5 Act 1 - Chapter 2: Diplomacy collectable locations Gears 5 Act 1 - Chapter 3: This Is War Collectable Locations Gears 5 Act 1 - Chapter 4: The Tide Turns Collectable Locations
Gears 5 Act 2 - Chapter 1: Recruitment Drive Collectable locations Gears 5 Act 2 - Chapter 2: Into The Wild Collectable Locations Gears 5 Act 2 - Chapter 3: Forest For The Trees Collectable Locations Gears 5 Act 2 Chapter 4: The Source Of It All Collectable Locations Gears 5 Act 2 - Chapter 5: Dirtier Little Secrets Collectable Locations
Act 3:
Gears 5 Act 3 - Chapter 1: Fighting Chance Collectable Locations Gears 5 Act 3 - Chapter 2: Rocket Plan Collectable Locations Gears 5 Act 3 - Chapter 3: Some Assembly Required Collectable Locations
Act 4:
Gears 5 Act 4 - Chapter 1: Homefront Collectable Locations
After more on Gears 5? Our Gears 5 Relic Weapon locations, Gears 5 Achievements list and pages on the Gears 5 Bautista skin and Gears 5 ending can help.
While are technically no missable collectables since you can revisit each individual act, it’s often the case most areas are locked off to you as you are playing through a section. And since some are found a fair way through a location and around areas of combat that are easy to miss, finding them all as you go will save you some time! To help track them as you go, use this guide (of course!) or pause and look at the collectables list on the main menu. By and large each collectable is listed in chronological order - if not, they are very close to being in the location they are listed in-game - so you know if you’ve missed one along the way. Collecting every collectable in the game will unlock an Achievement - It’s Not Hording If Your Stuff is Cool - for 15G.
Assuming it works the same as previous Gears games, once you have grabbed that collectable, it’s yours - you don’t need to hit a checkpoint for it to properly ‘save’. This means you don’t have to remember to run over and pick it up if you die later in that playthrough, and if you’re replaying specifically to get that collectable, you can freely quit out to the menu. Similarly, we assume as per previous games, when playing in co-op if one person finds a collectable, everyone will pick it up. If someone had already found a collectible in a previous playthrough, then it won’t appear for then - but if will still appear for everyone else. It doesn’t matter what difficulty you pick up collectables, so it might be easiest to replay sections on the lowest difficulty to speed things along.
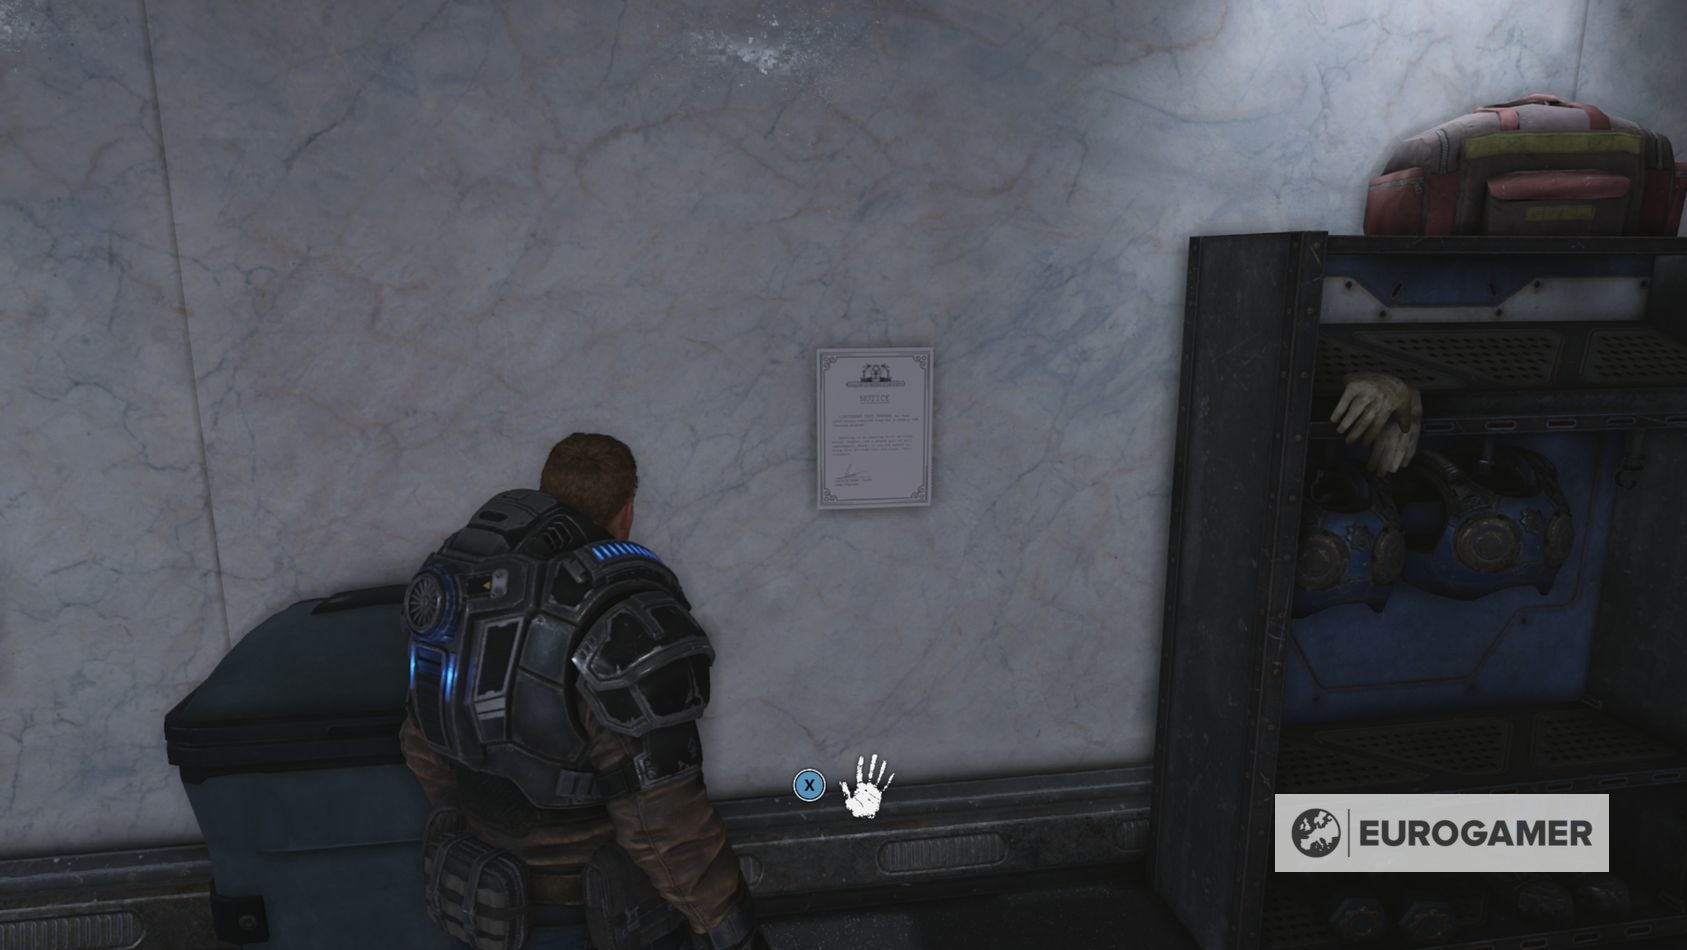
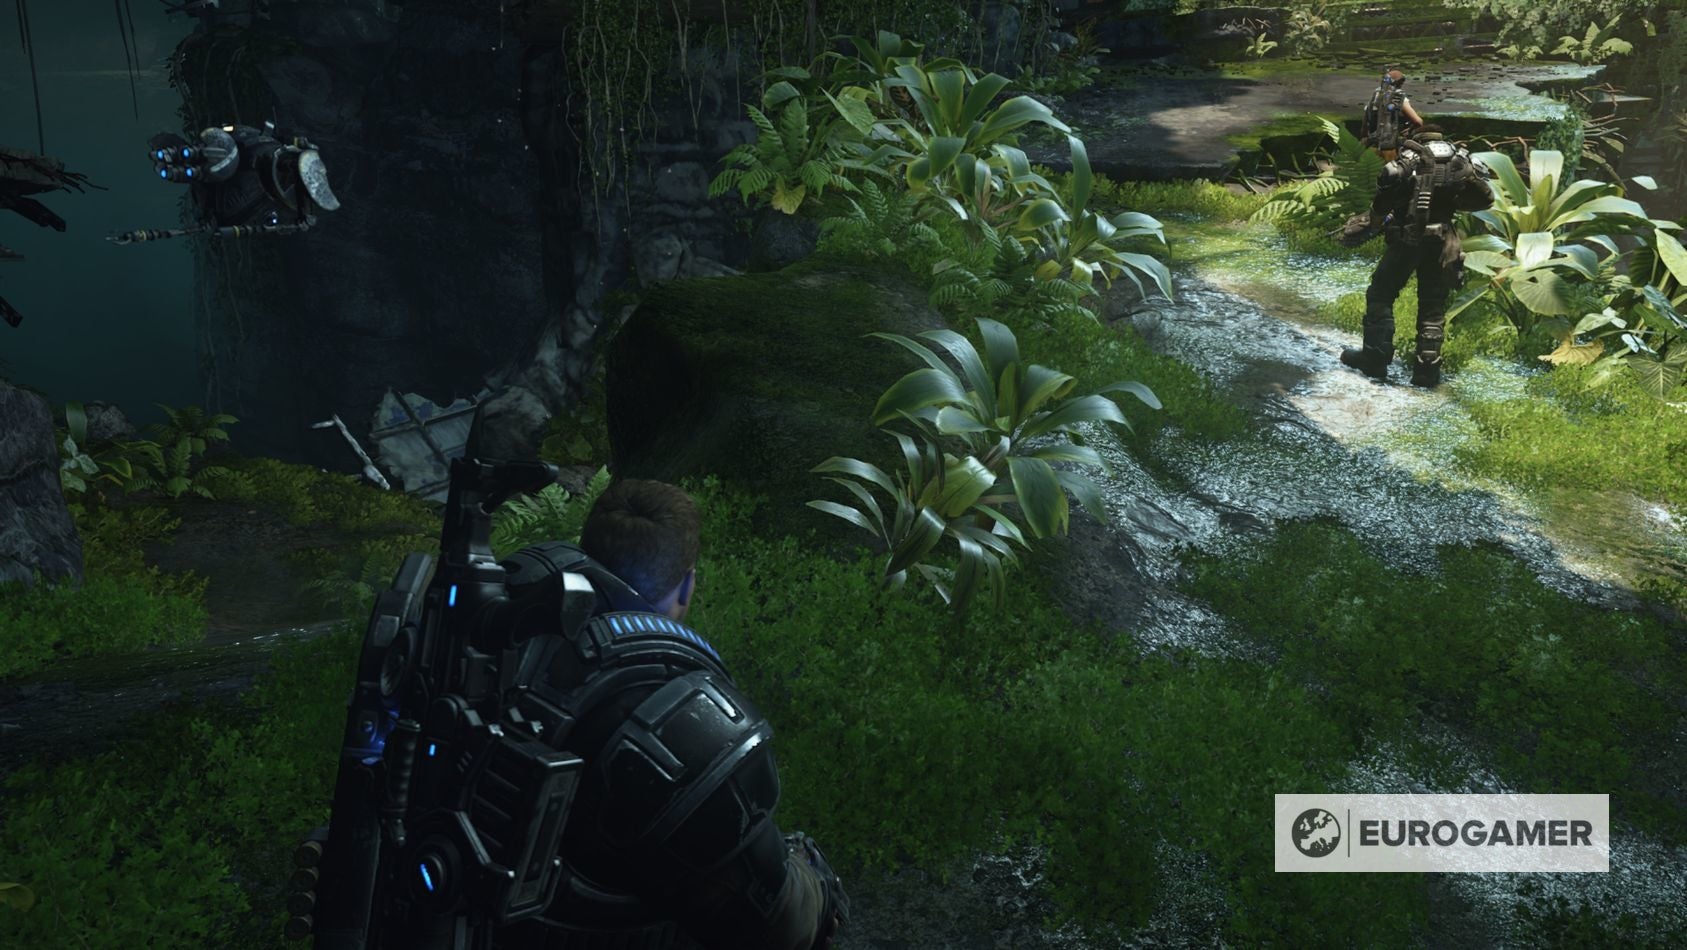
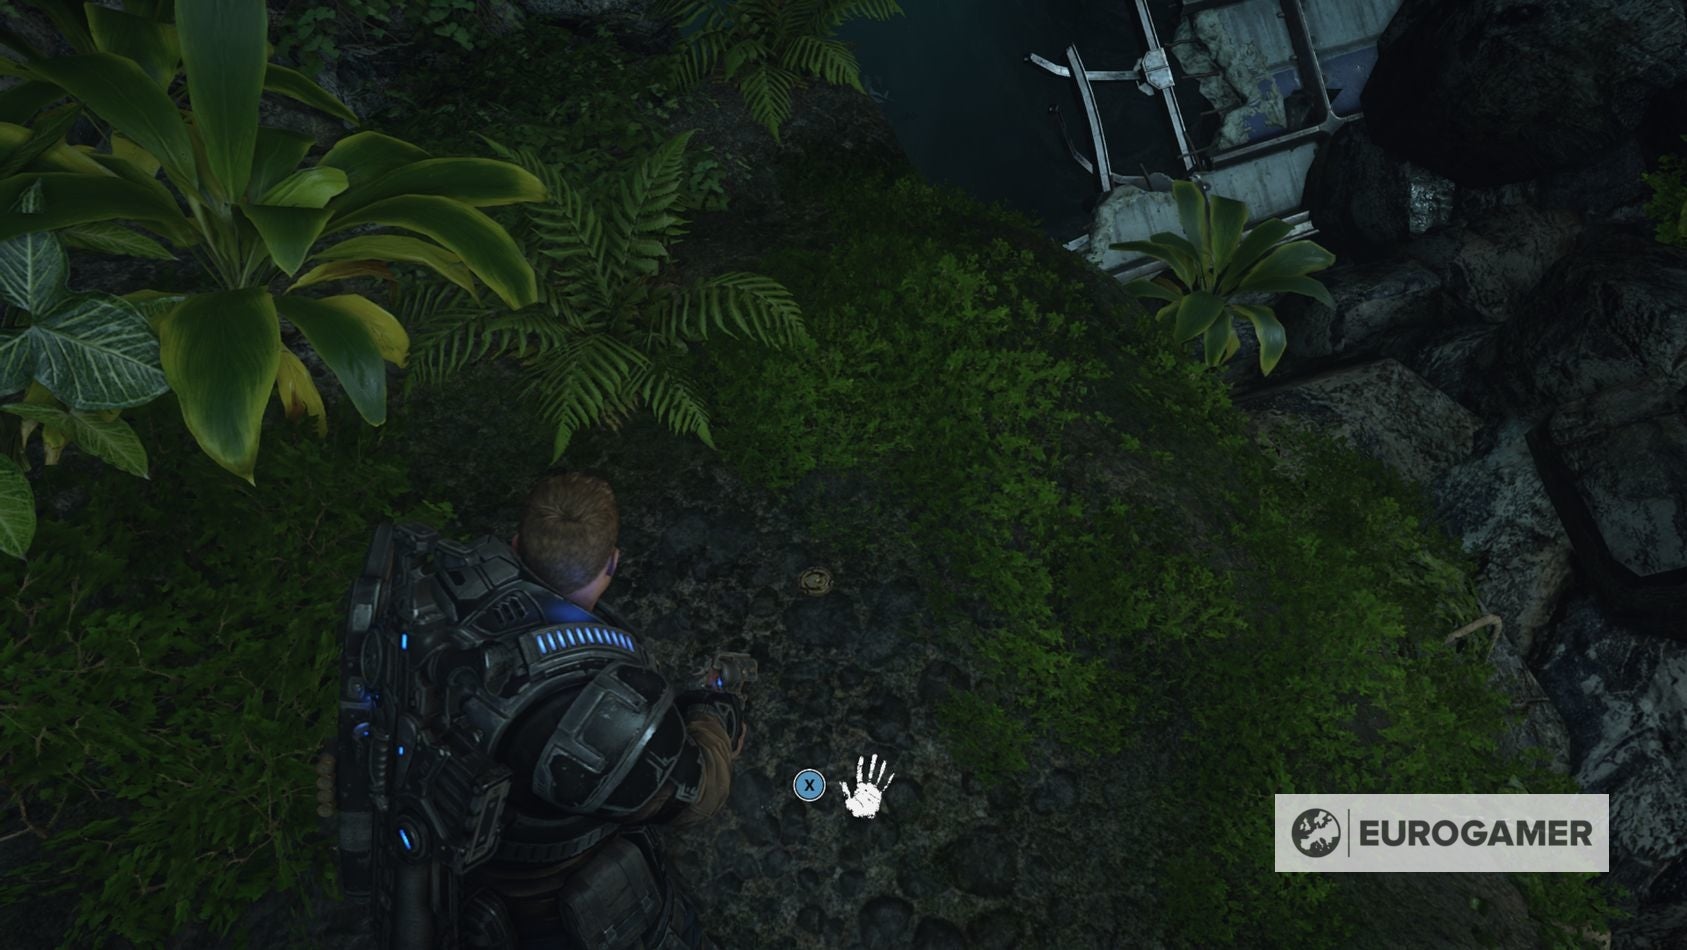
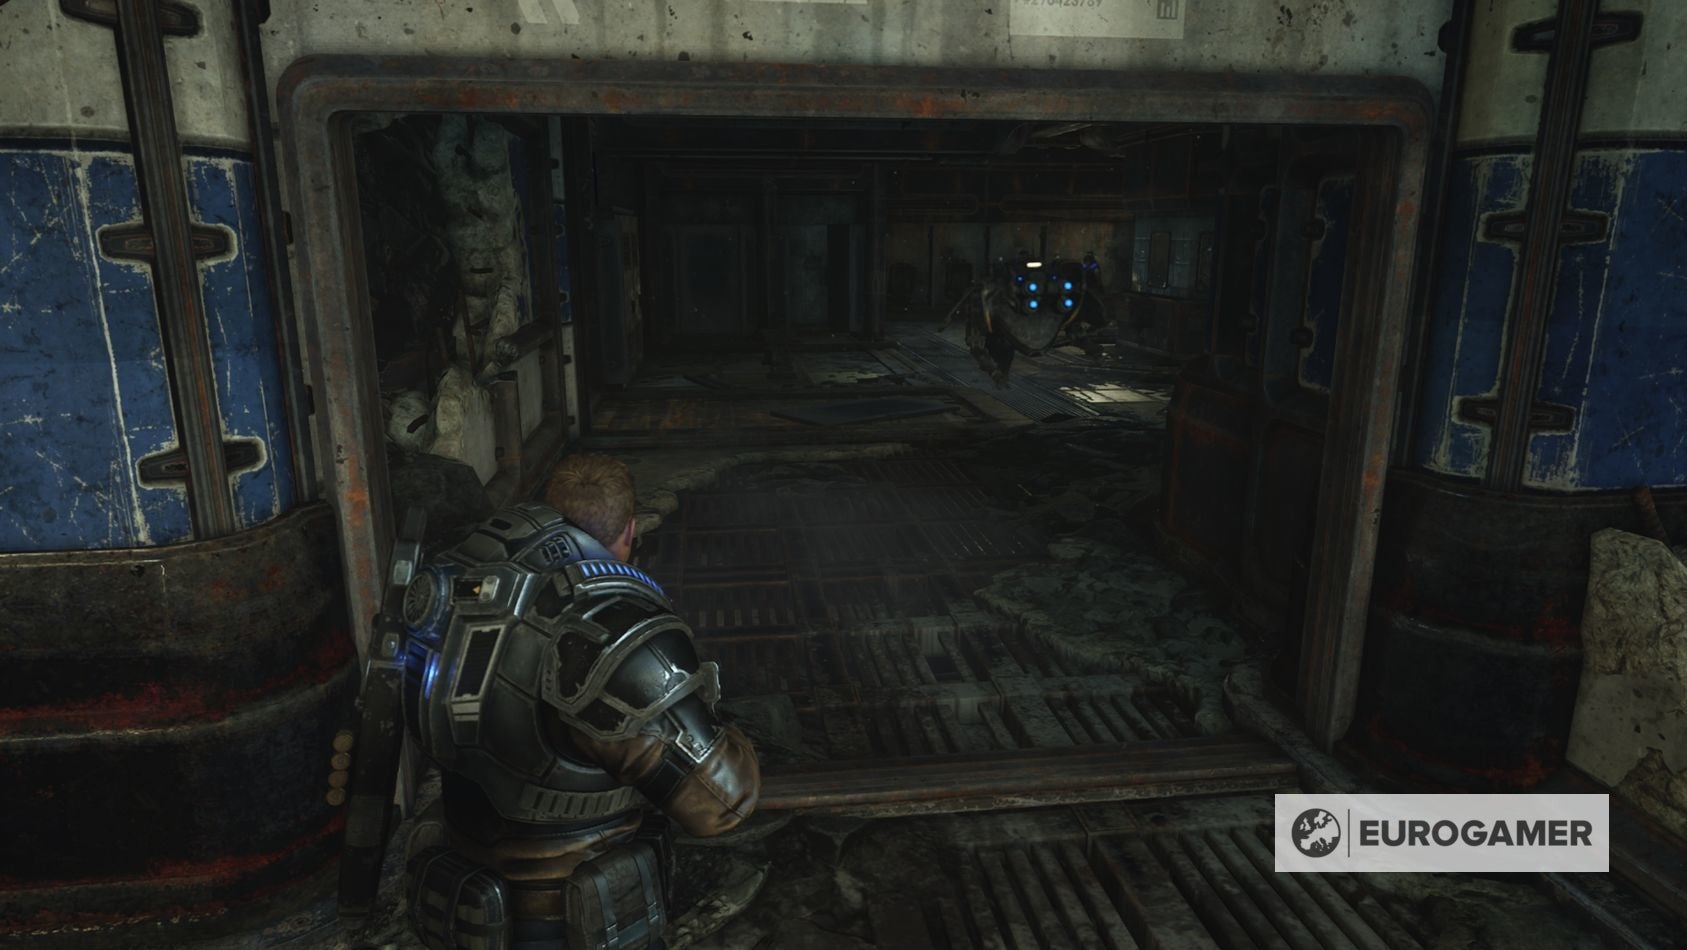
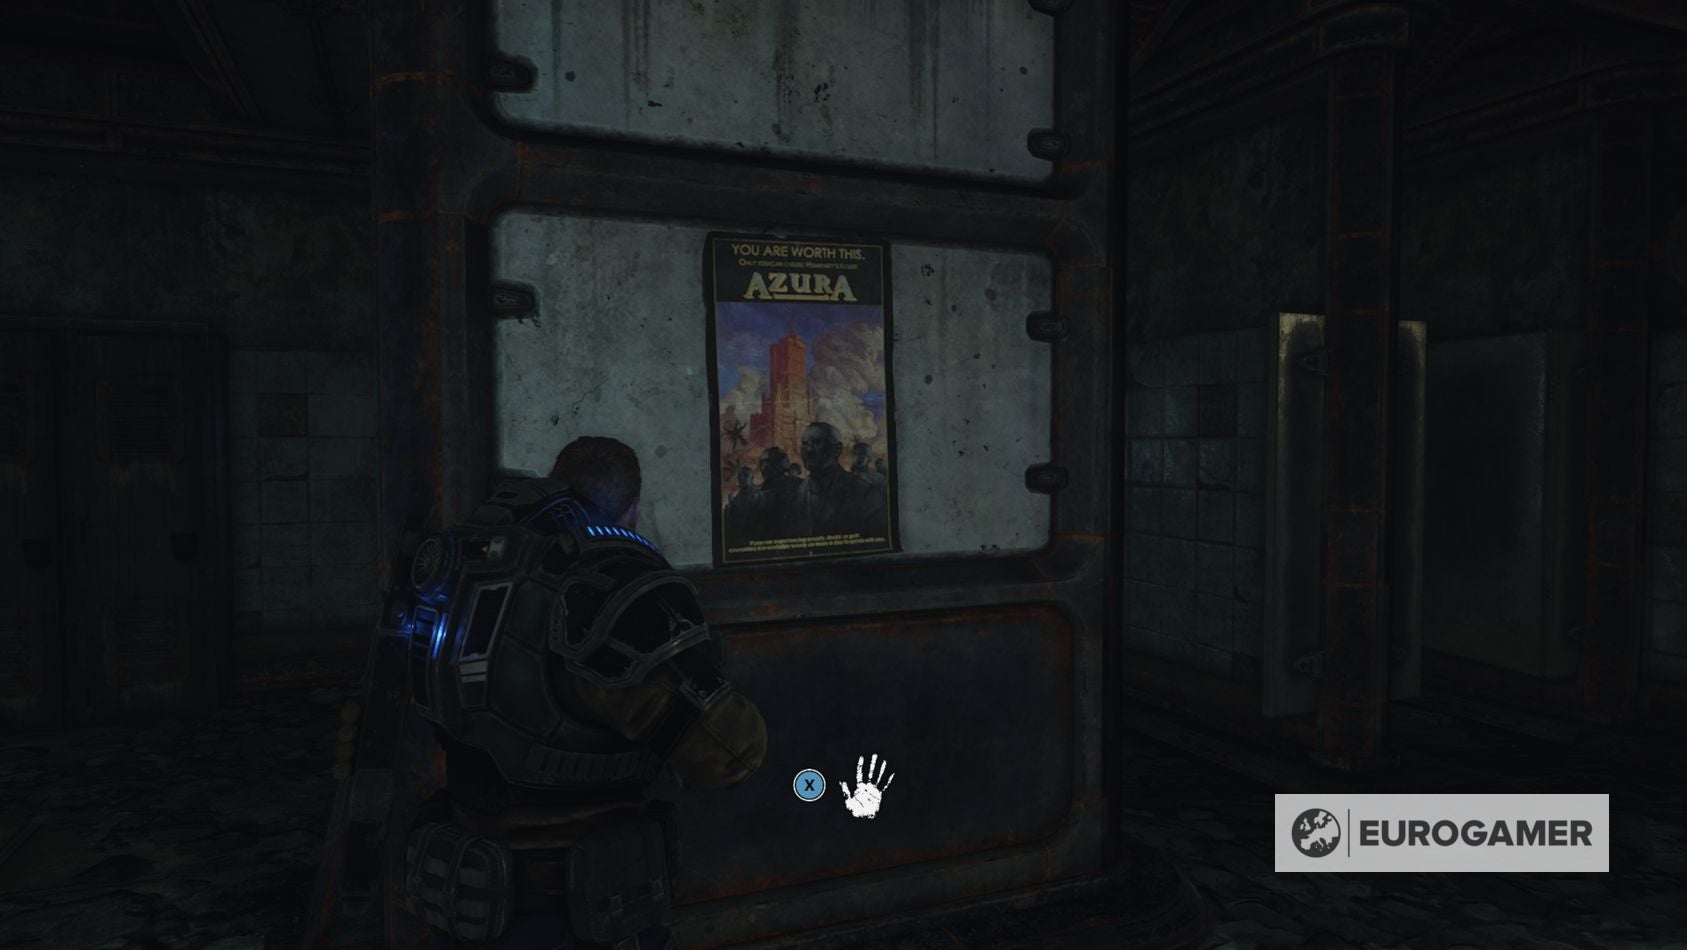
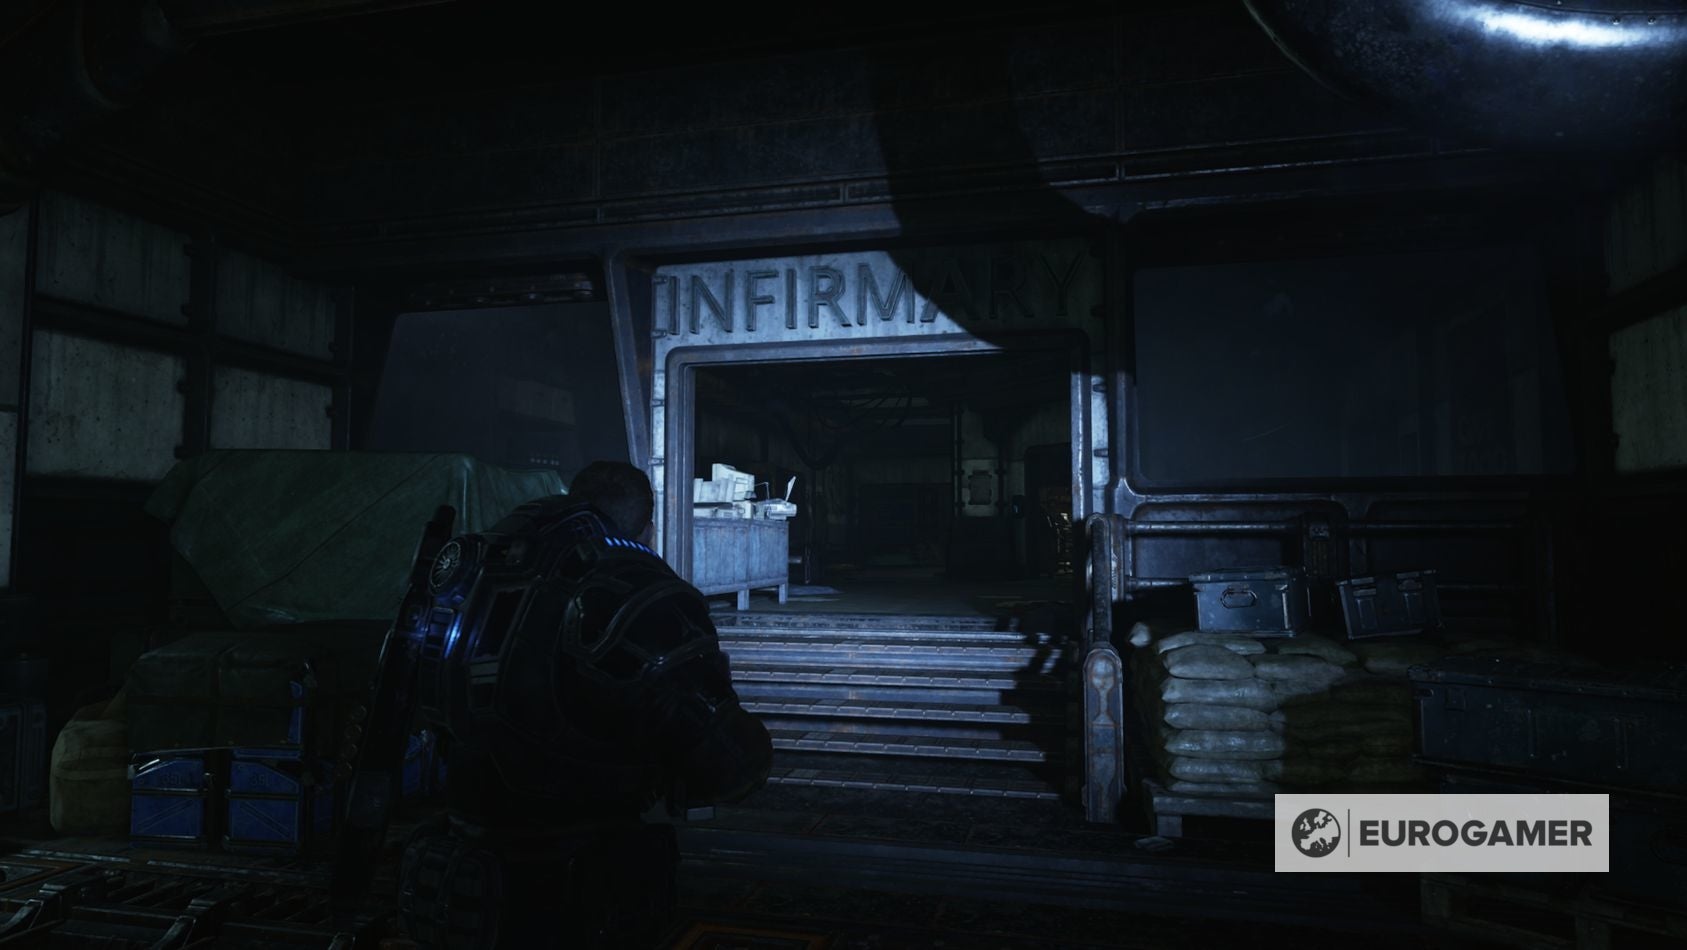
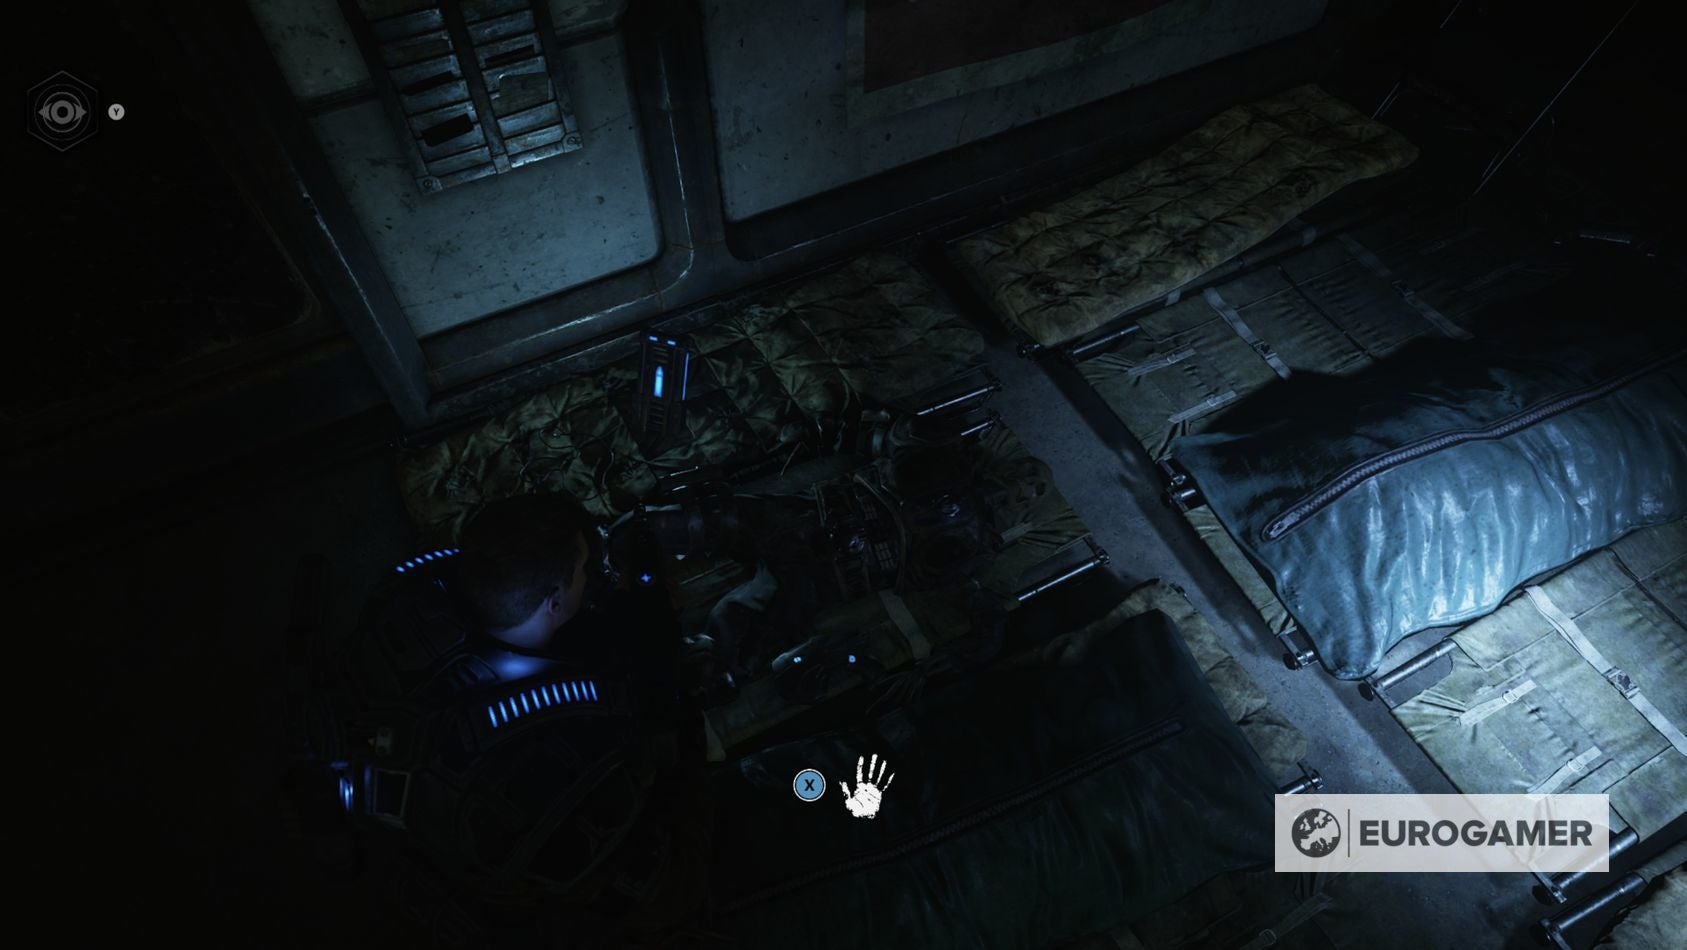
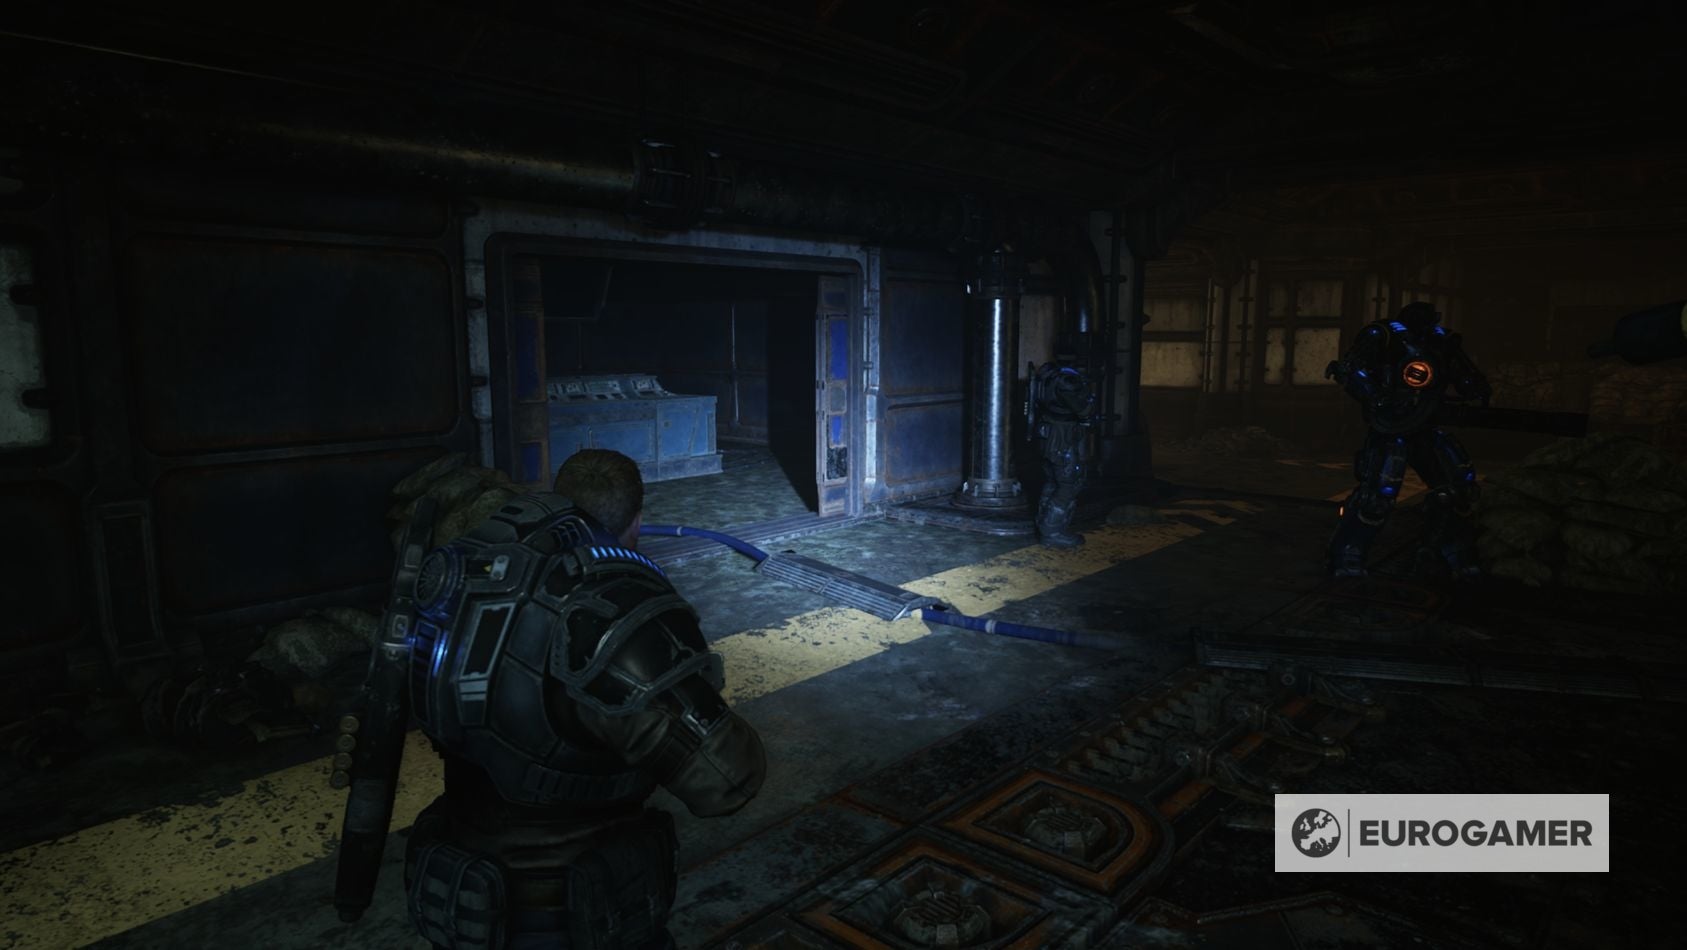
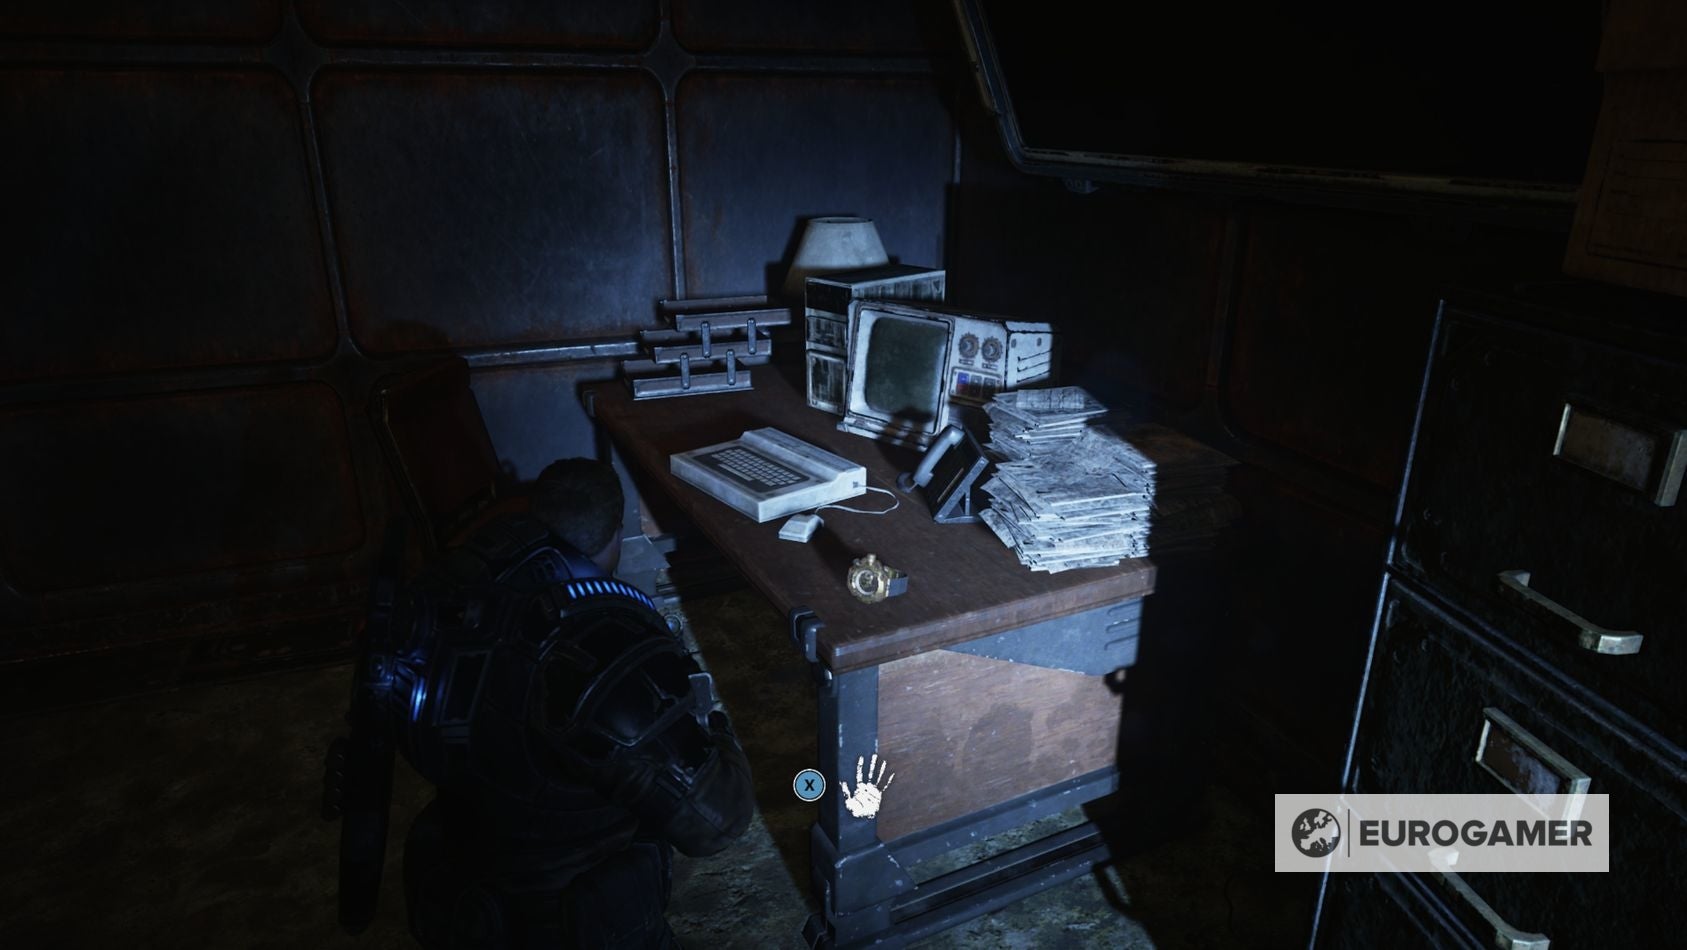
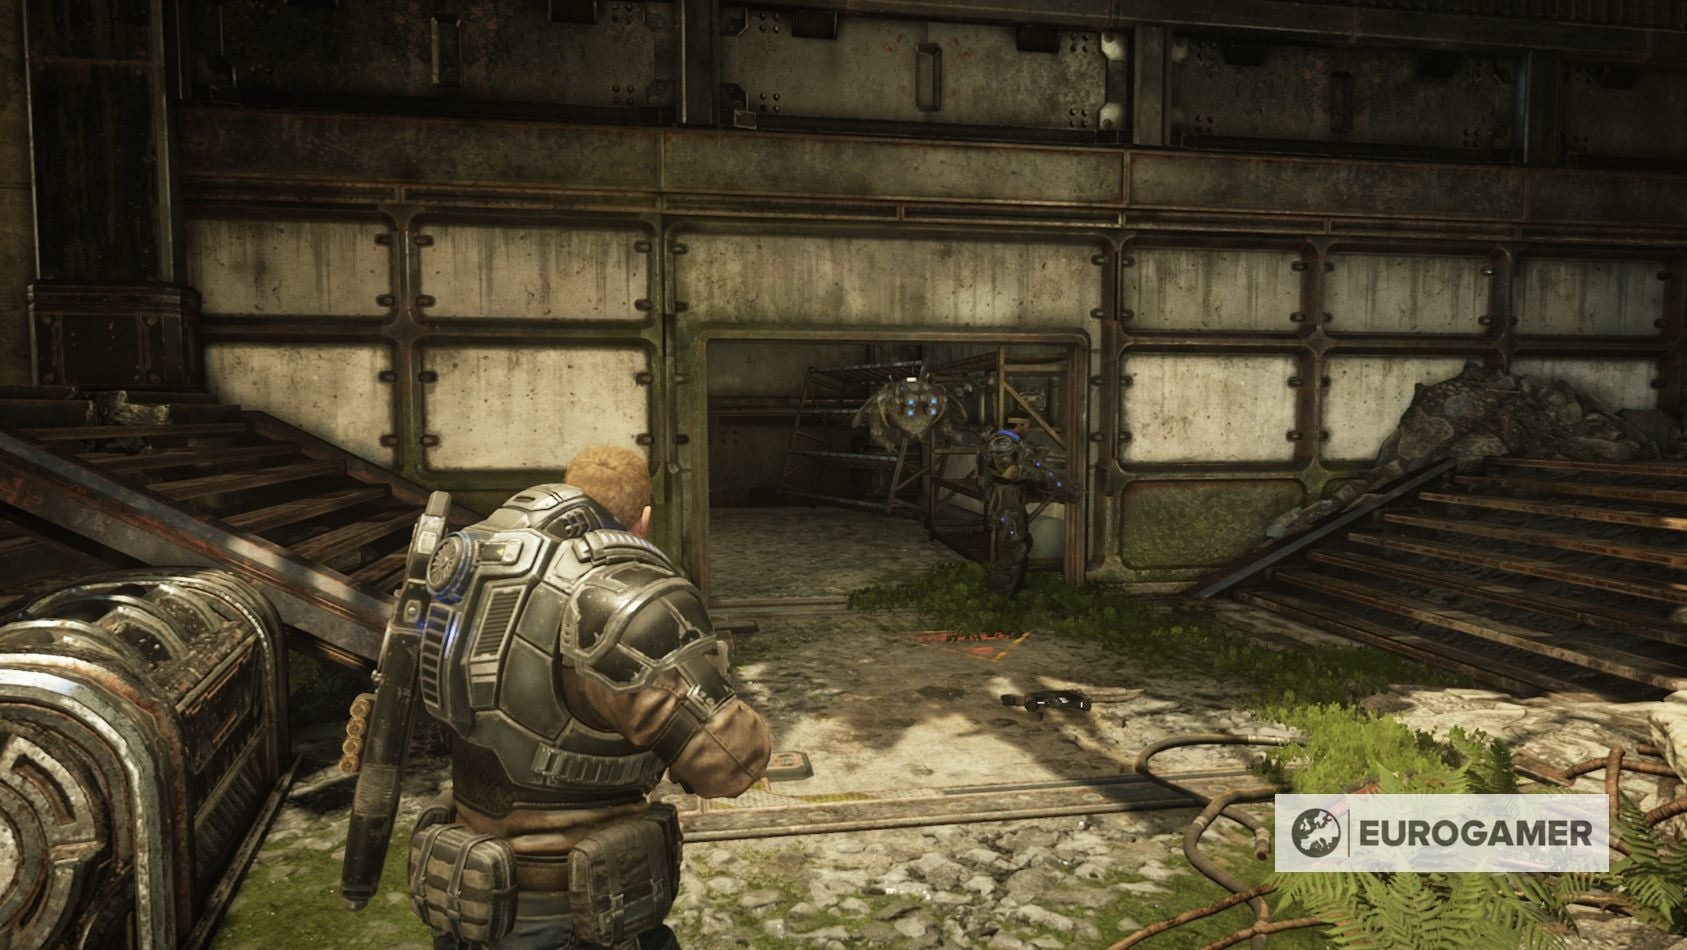
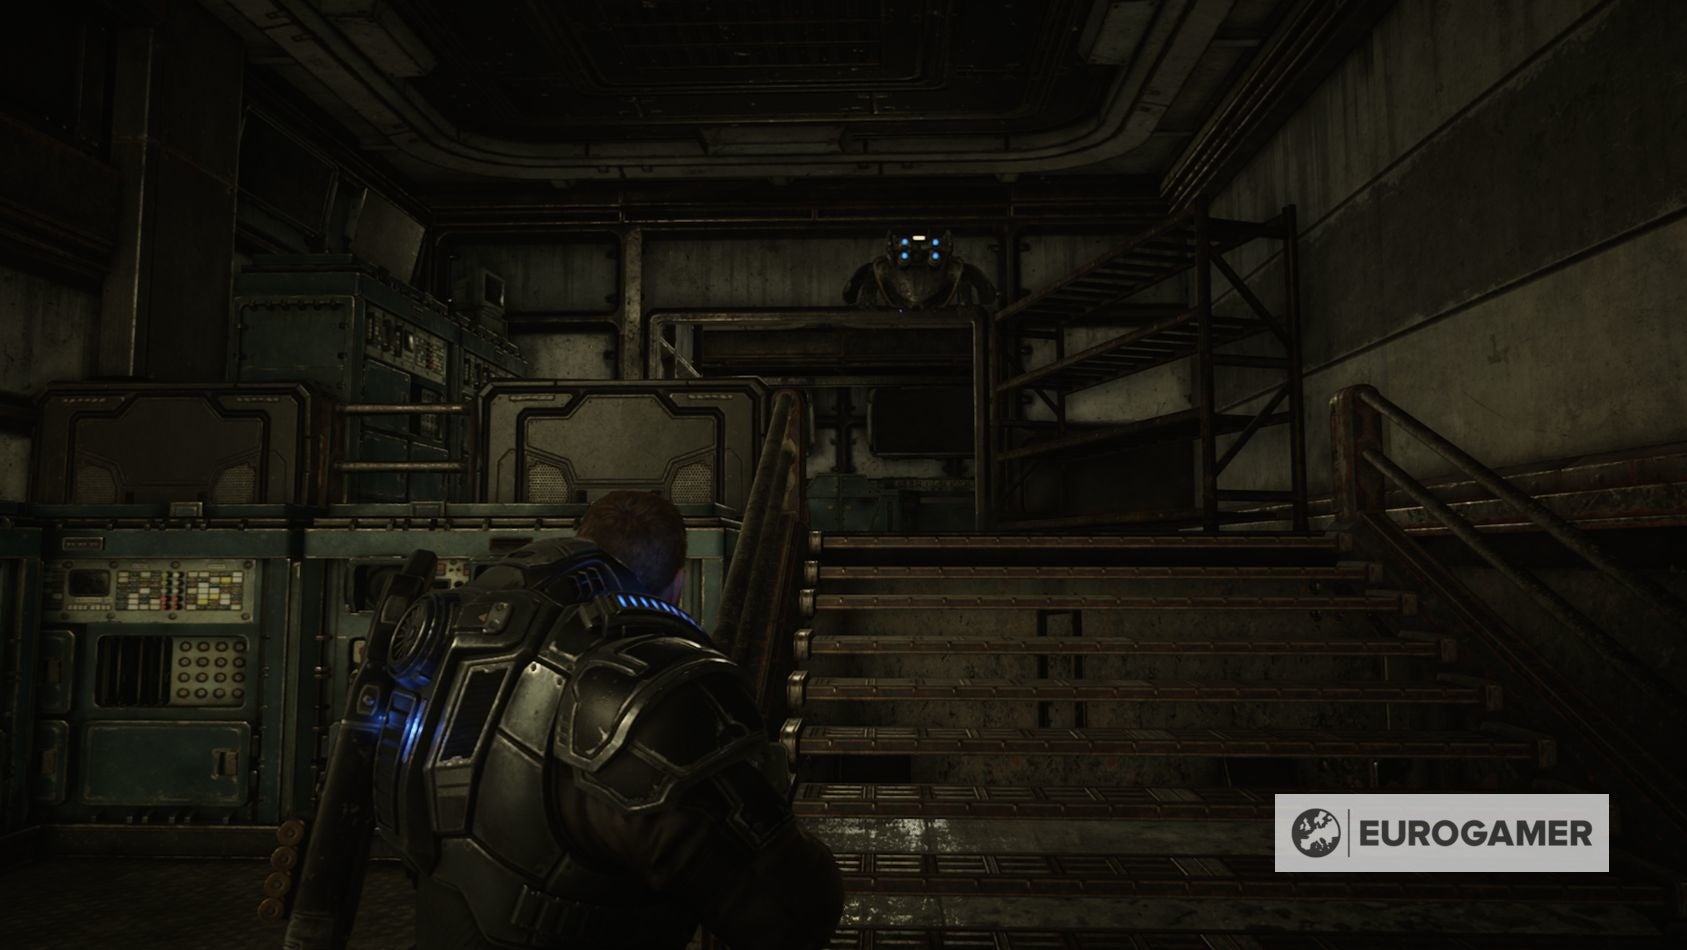
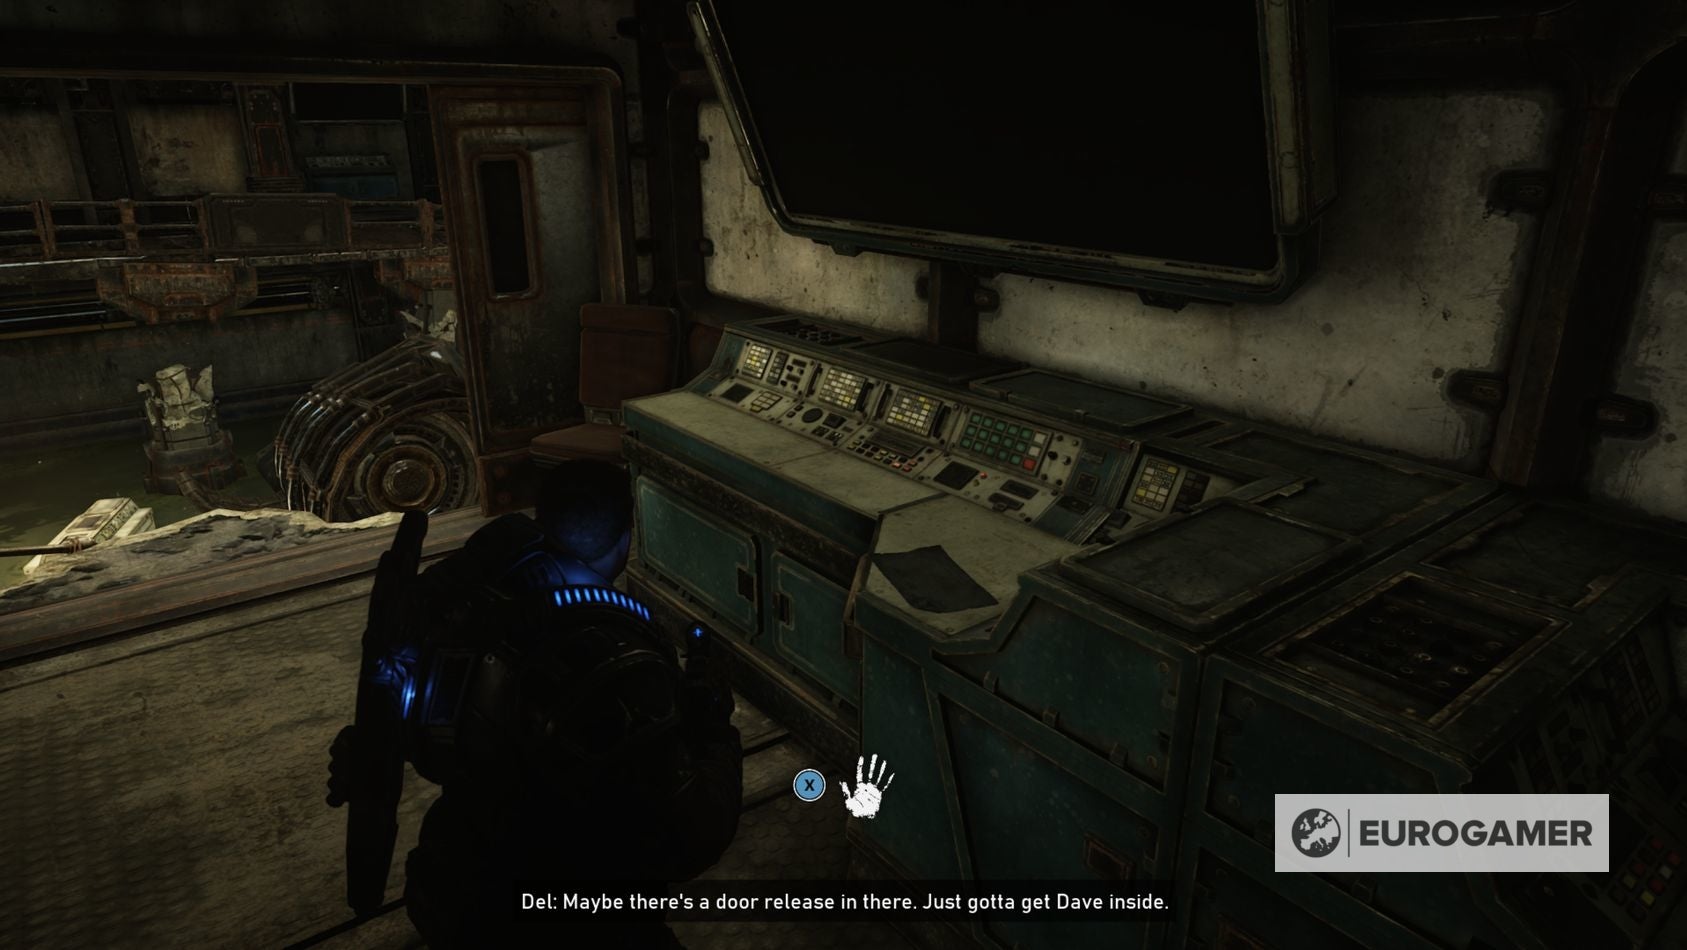
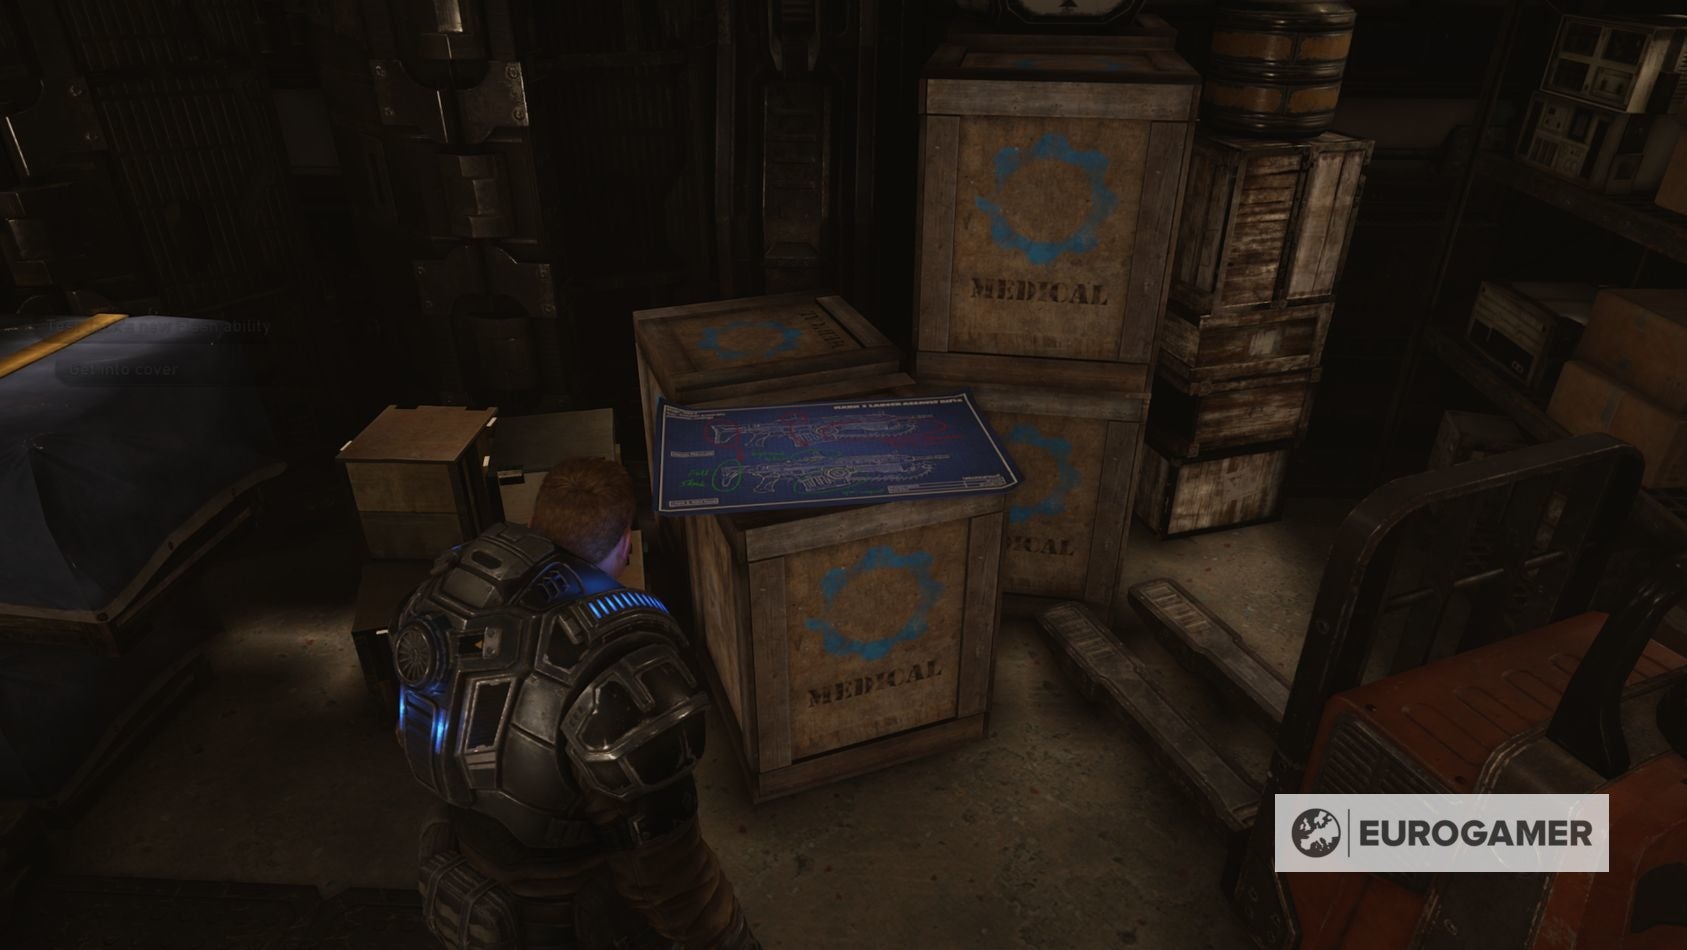
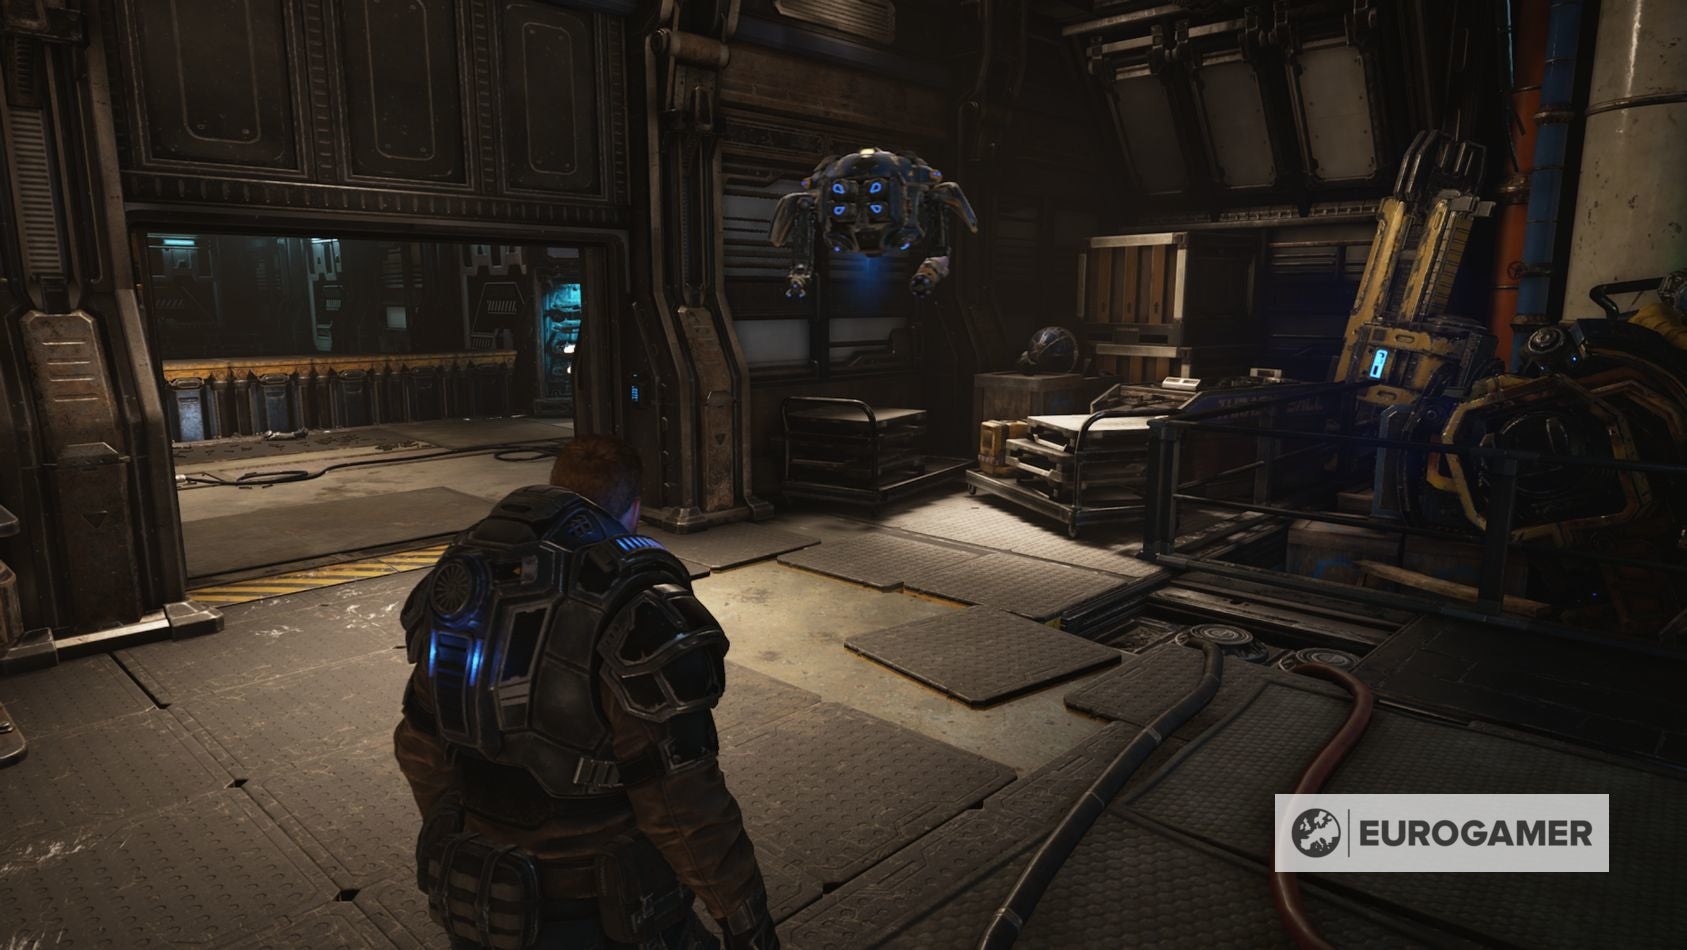
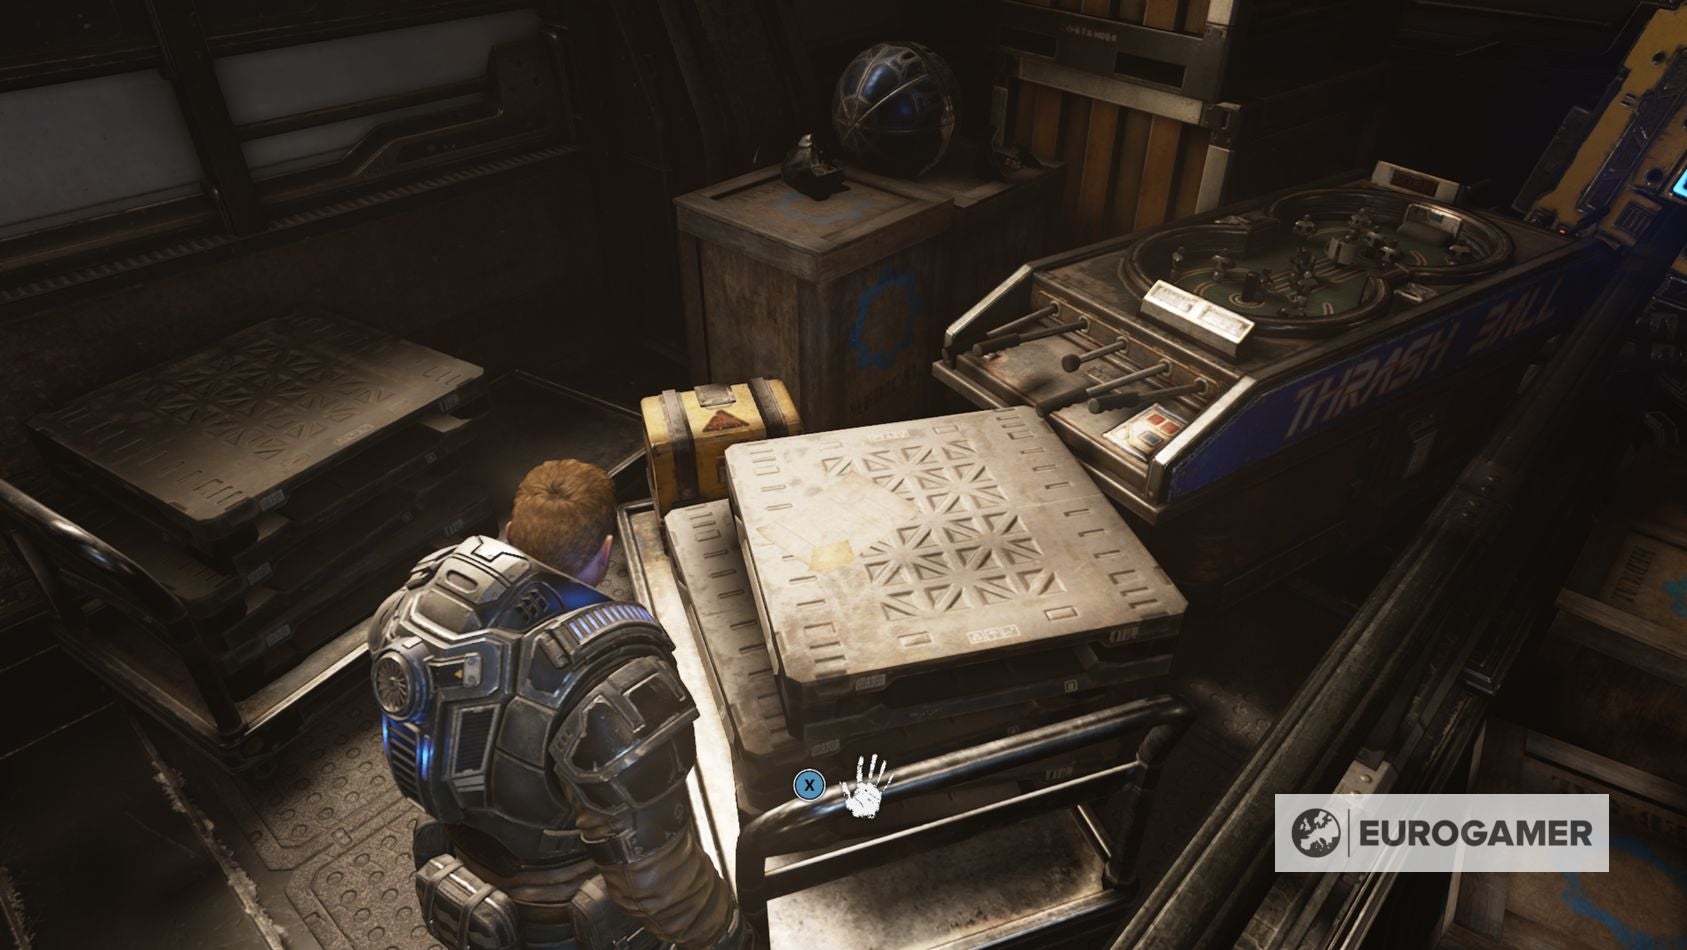
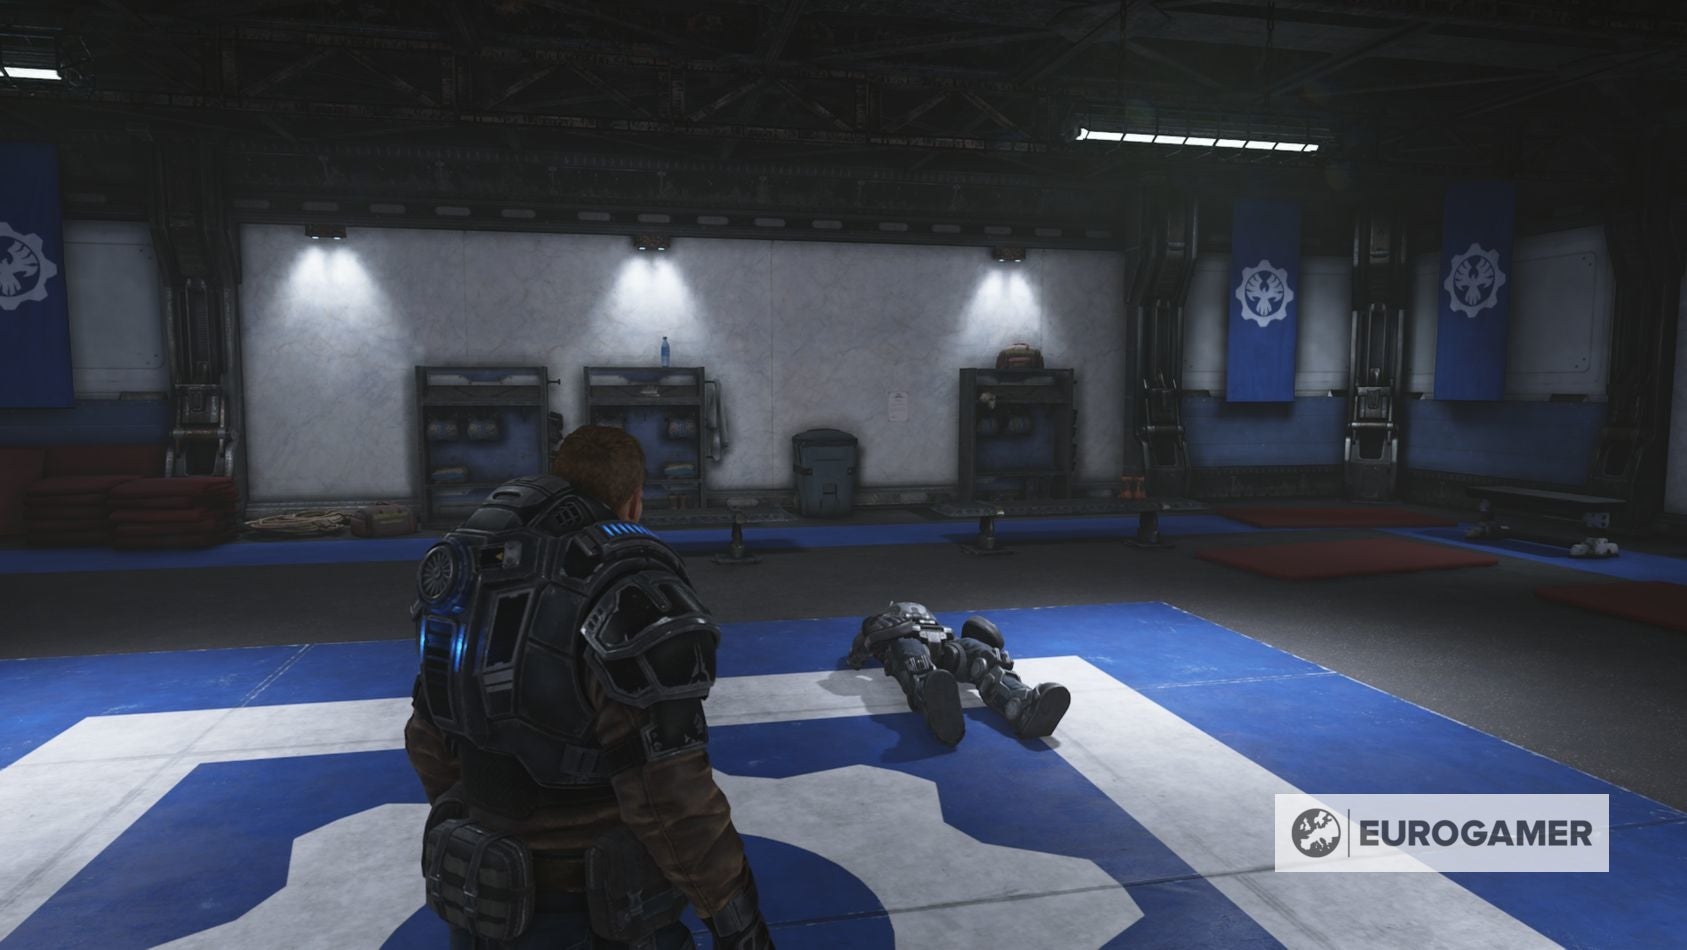
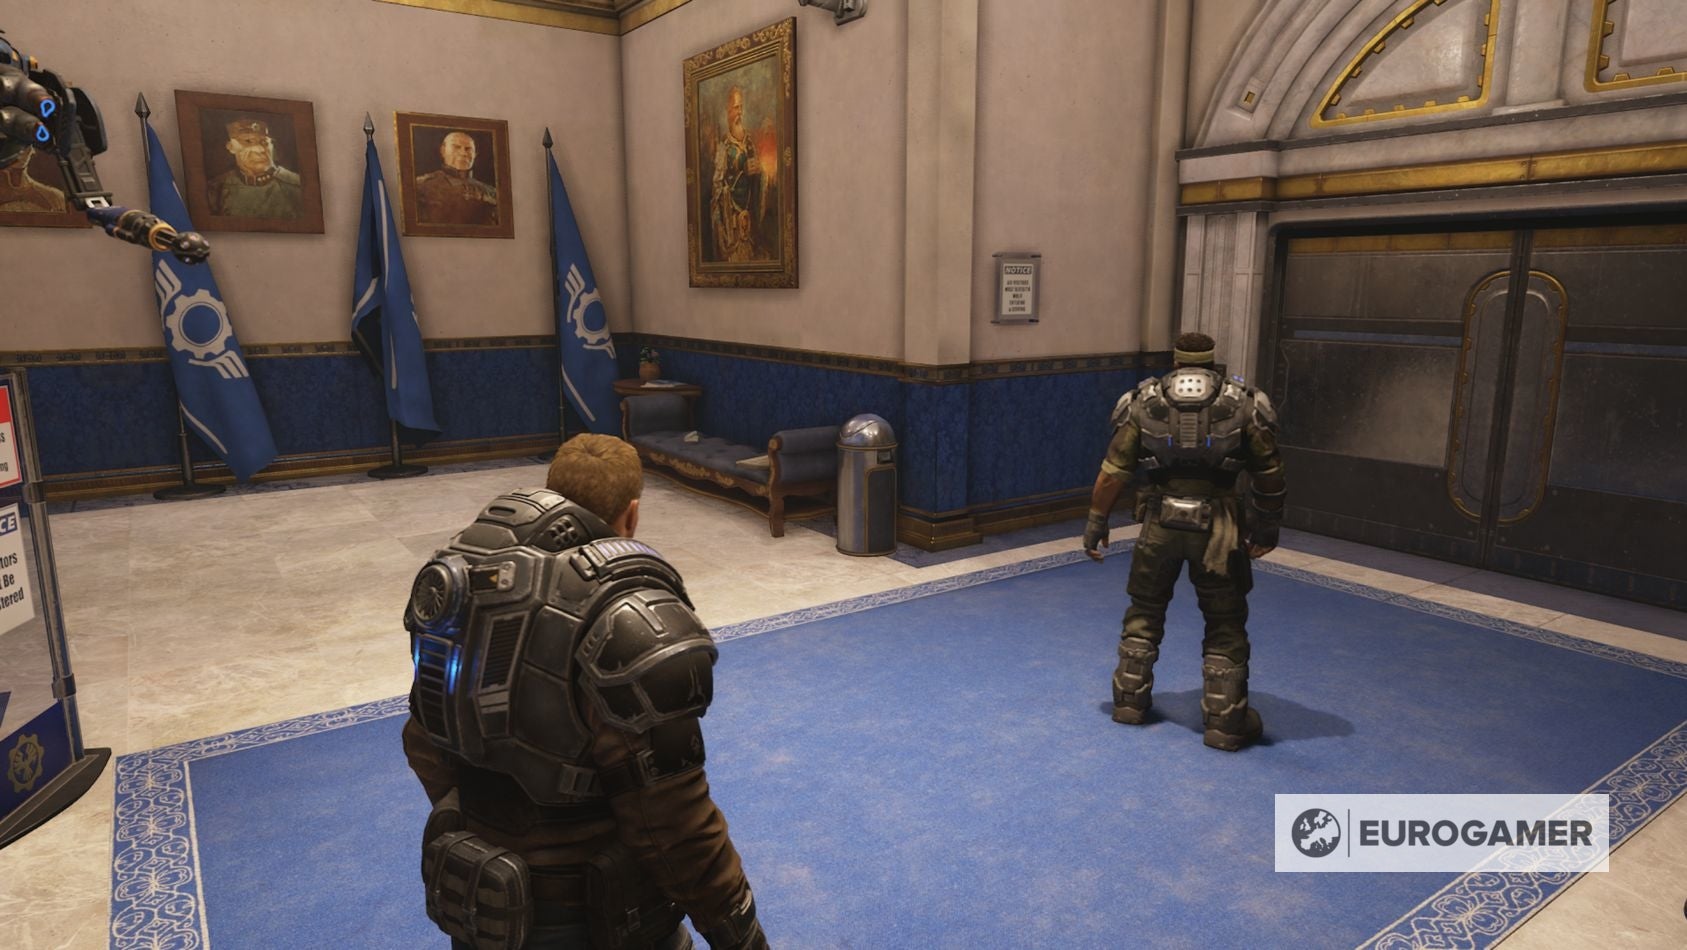
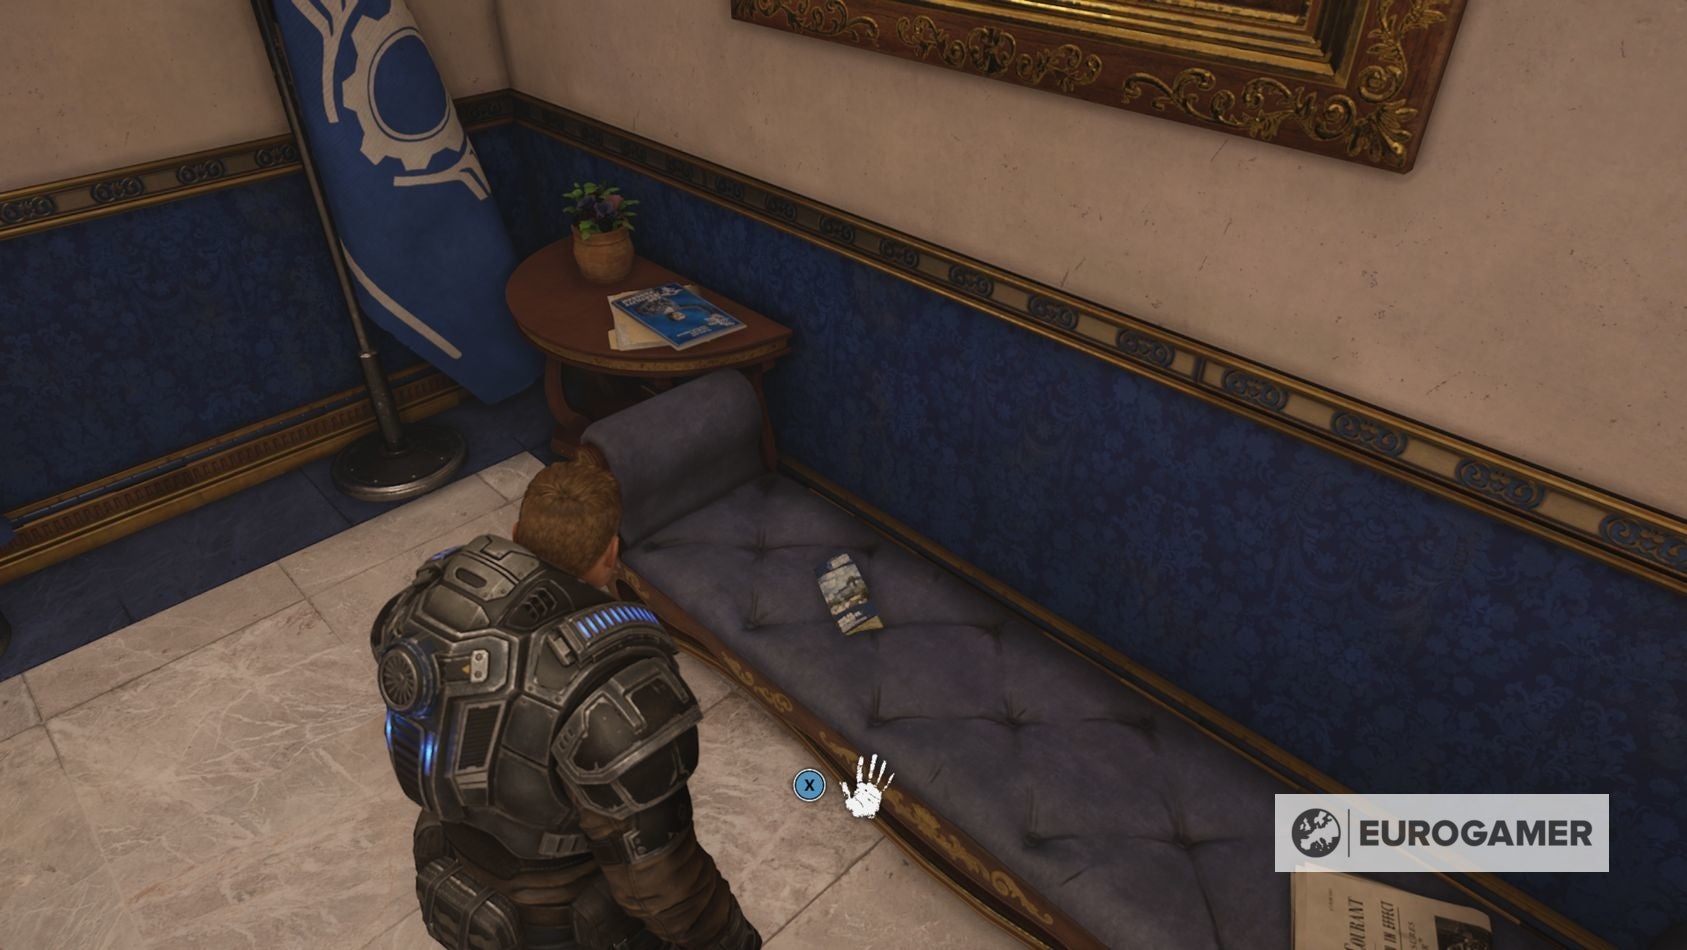
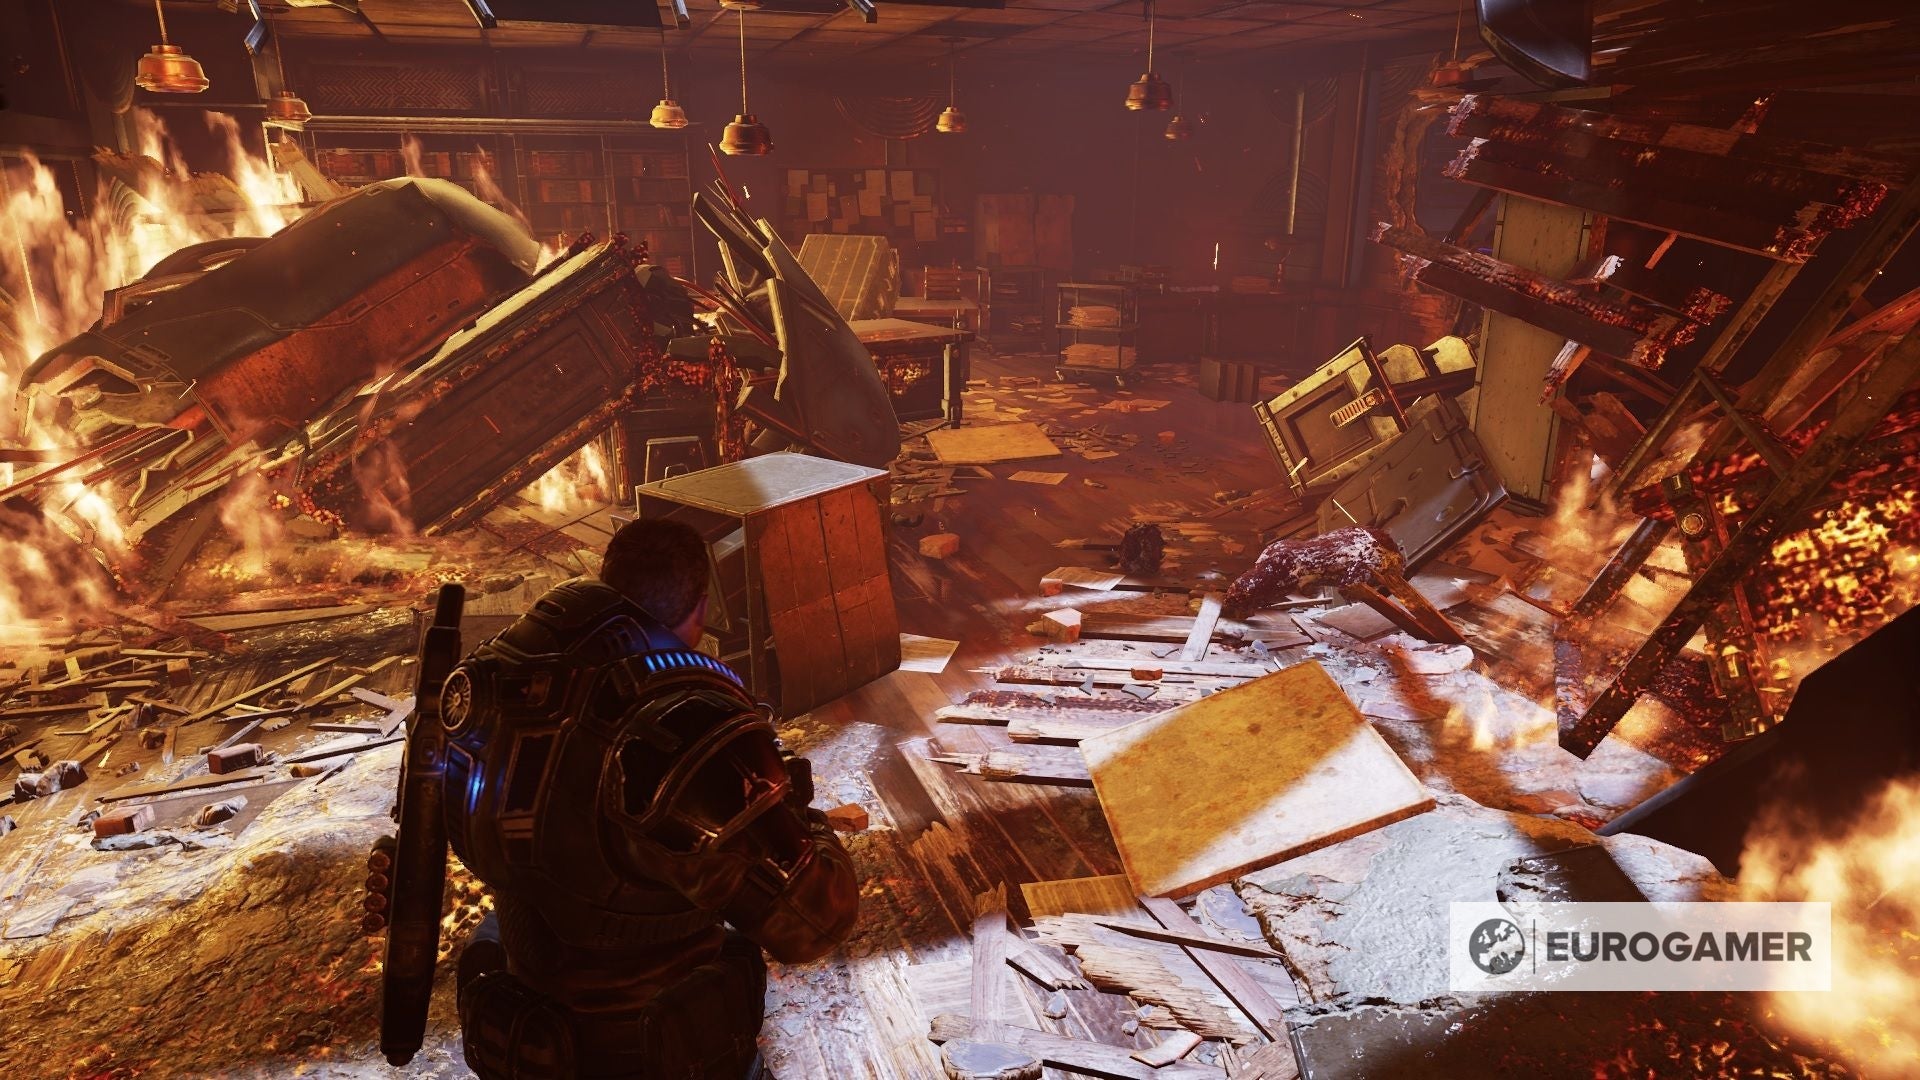
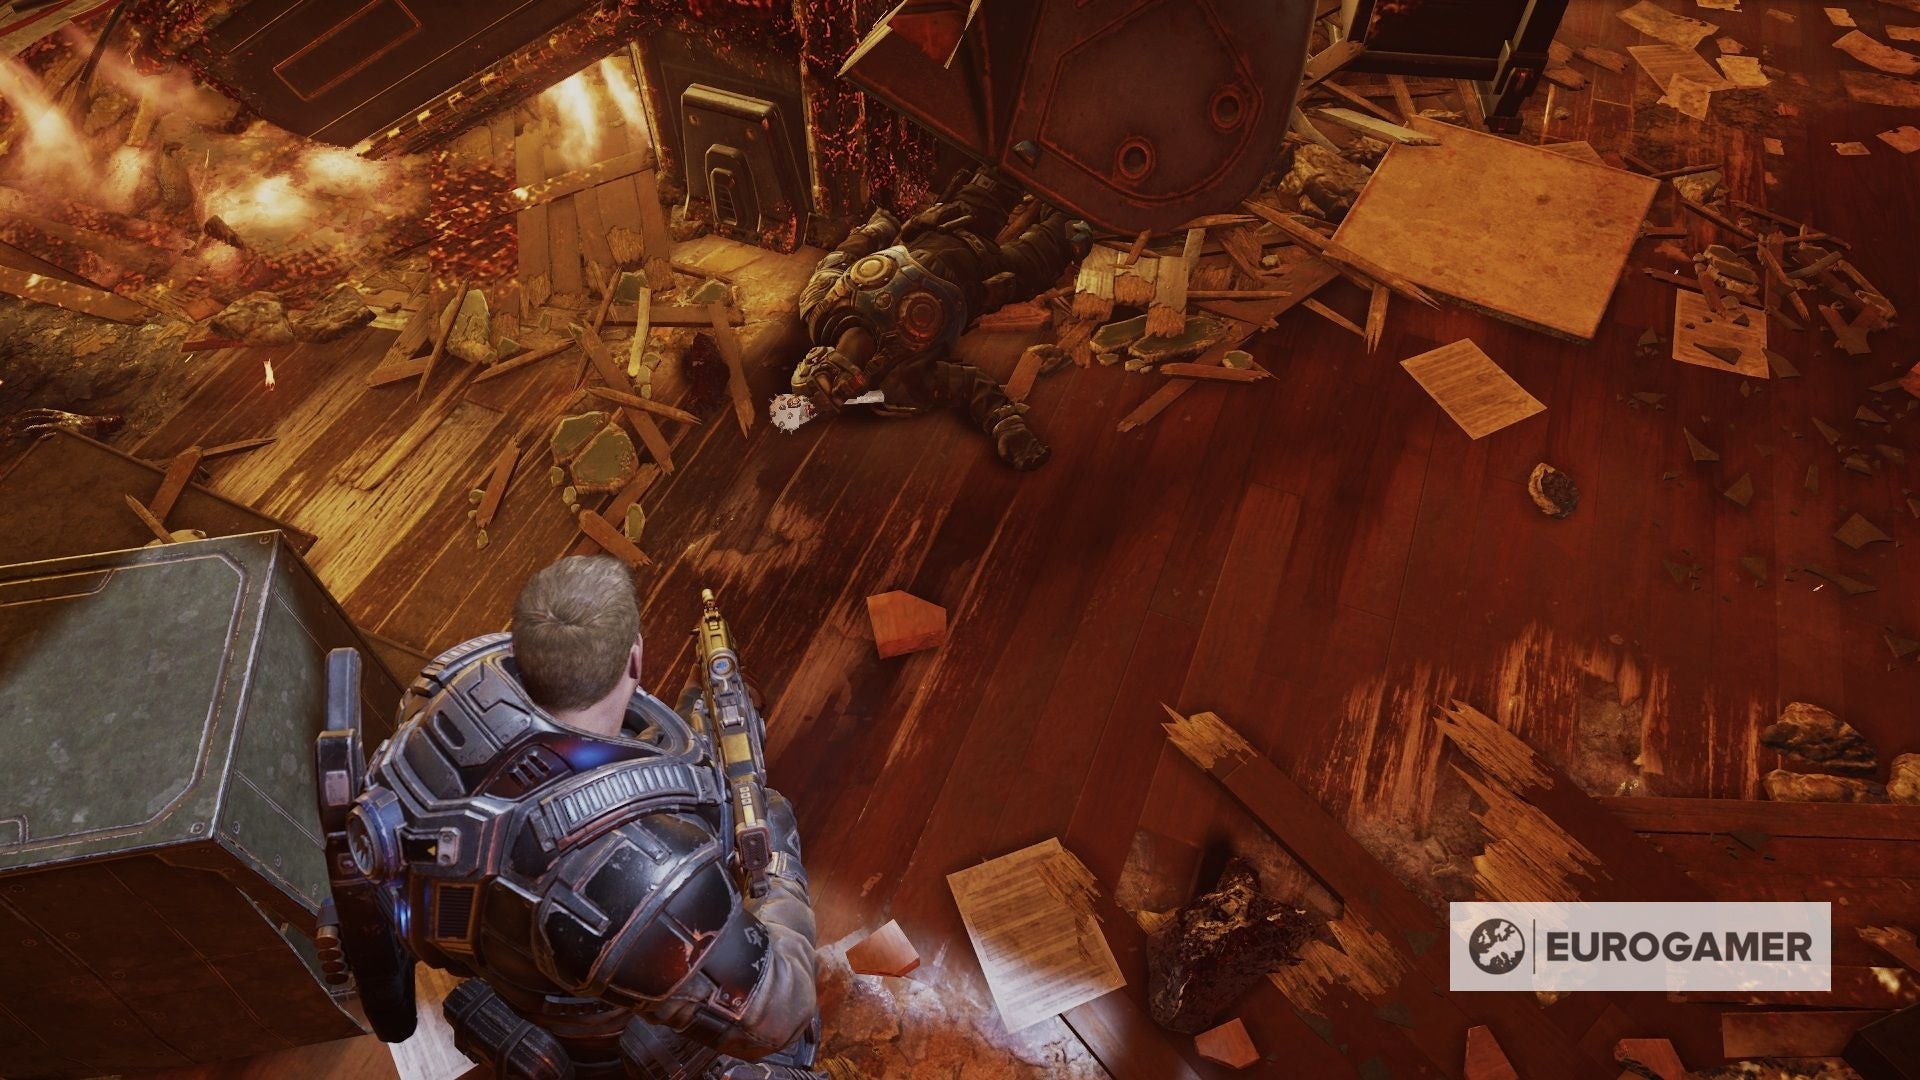
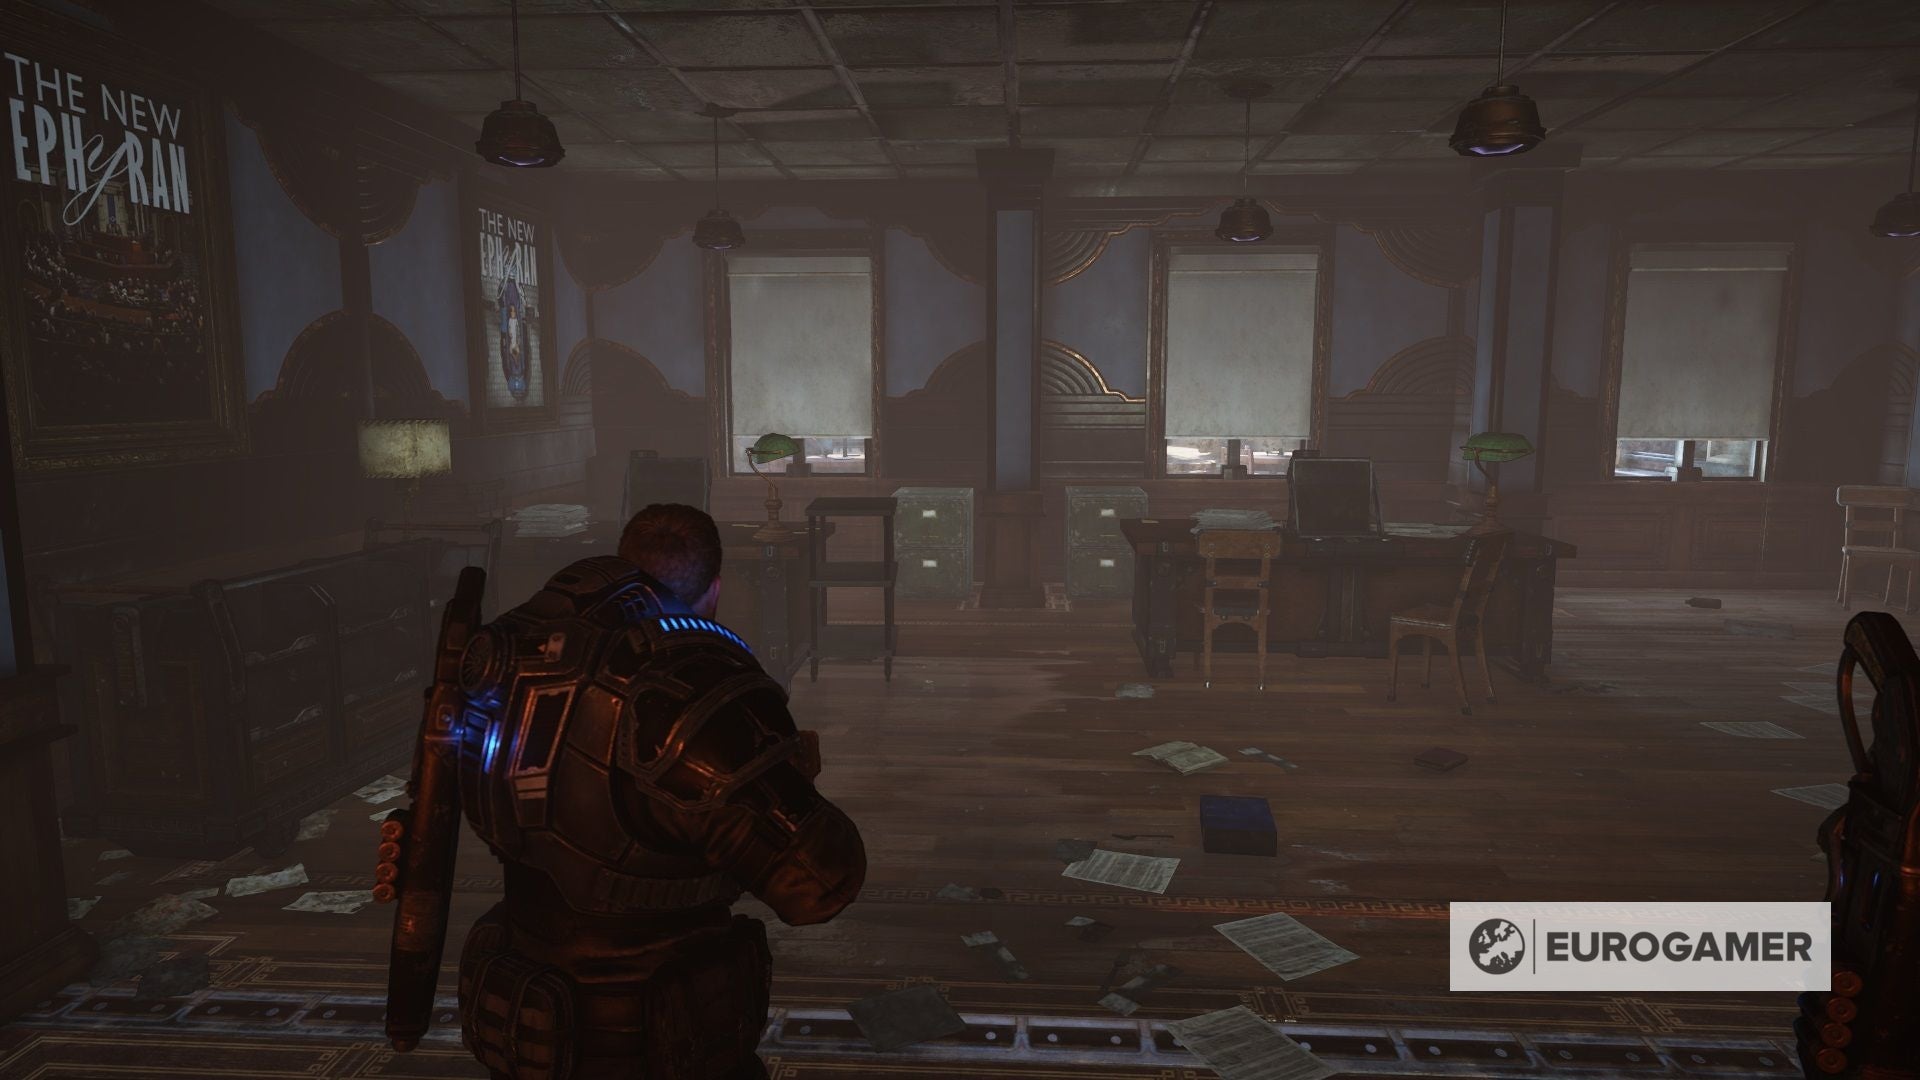
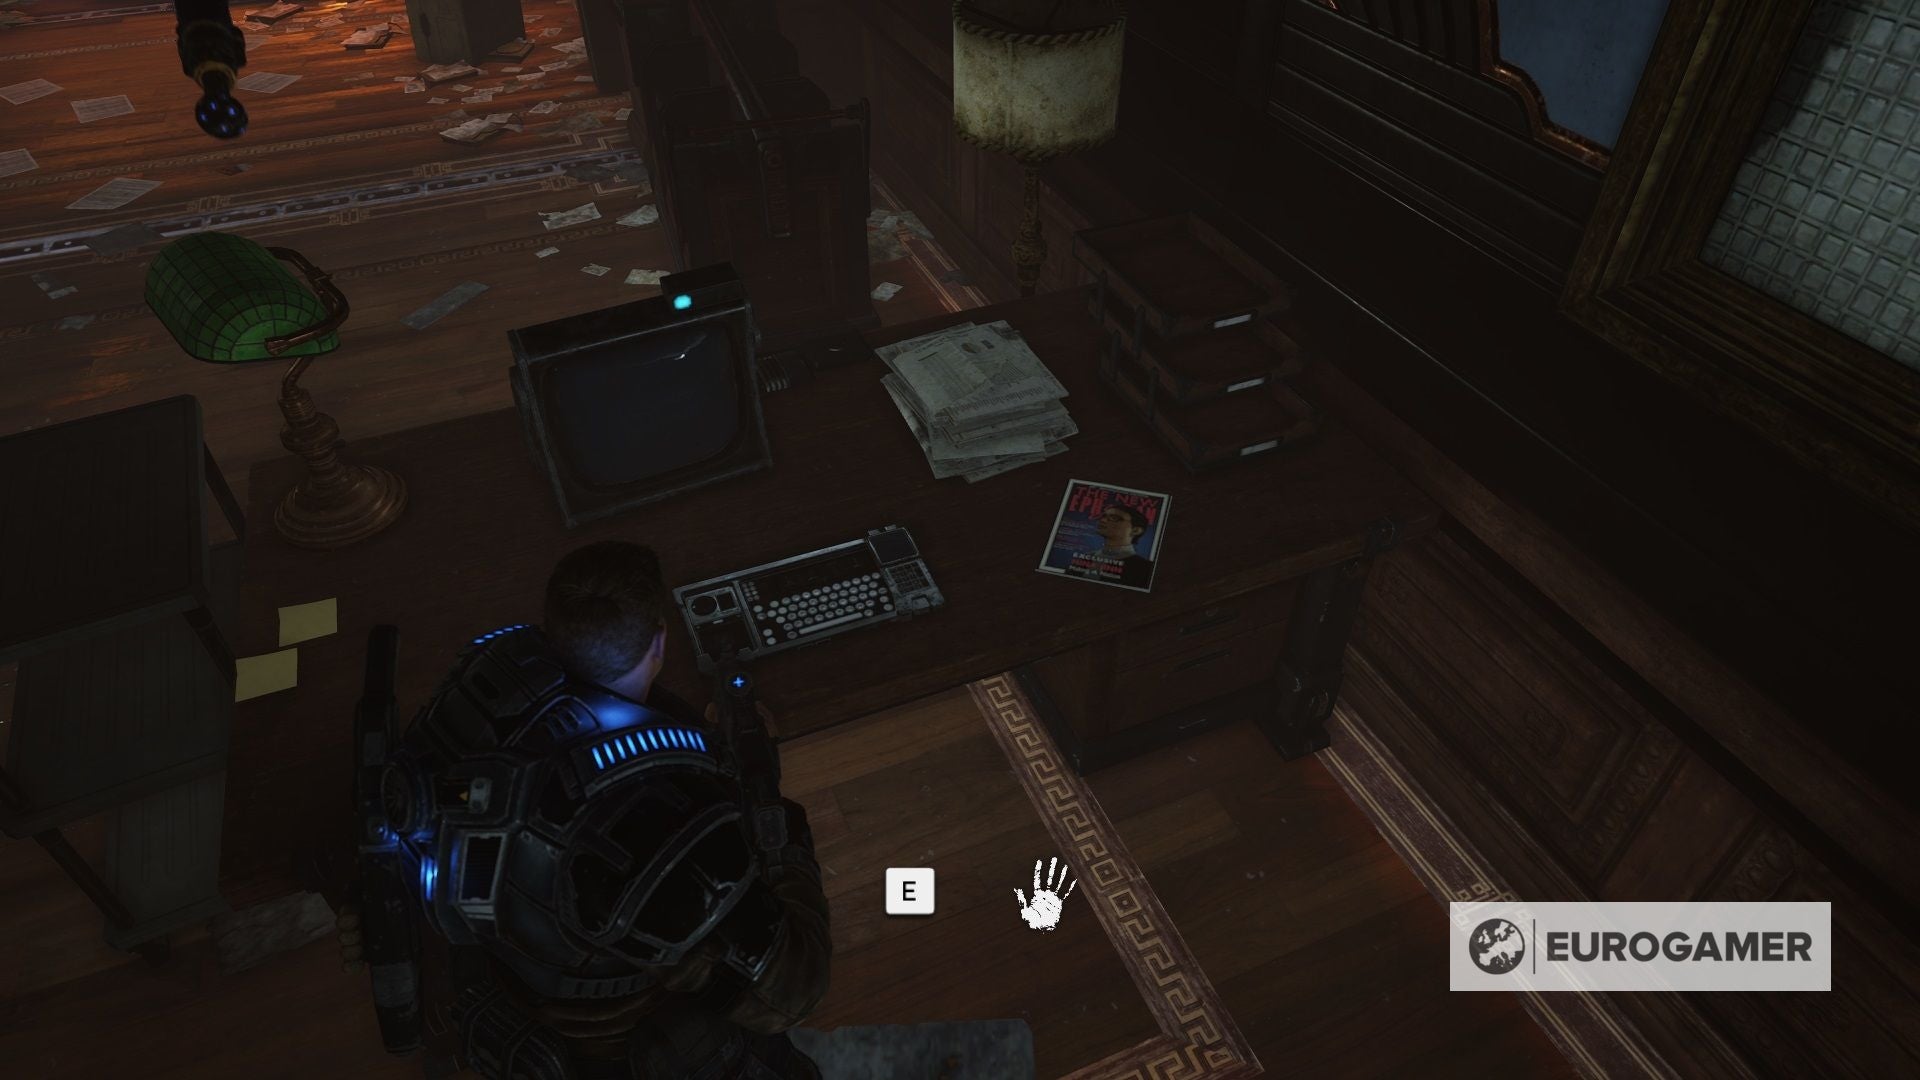
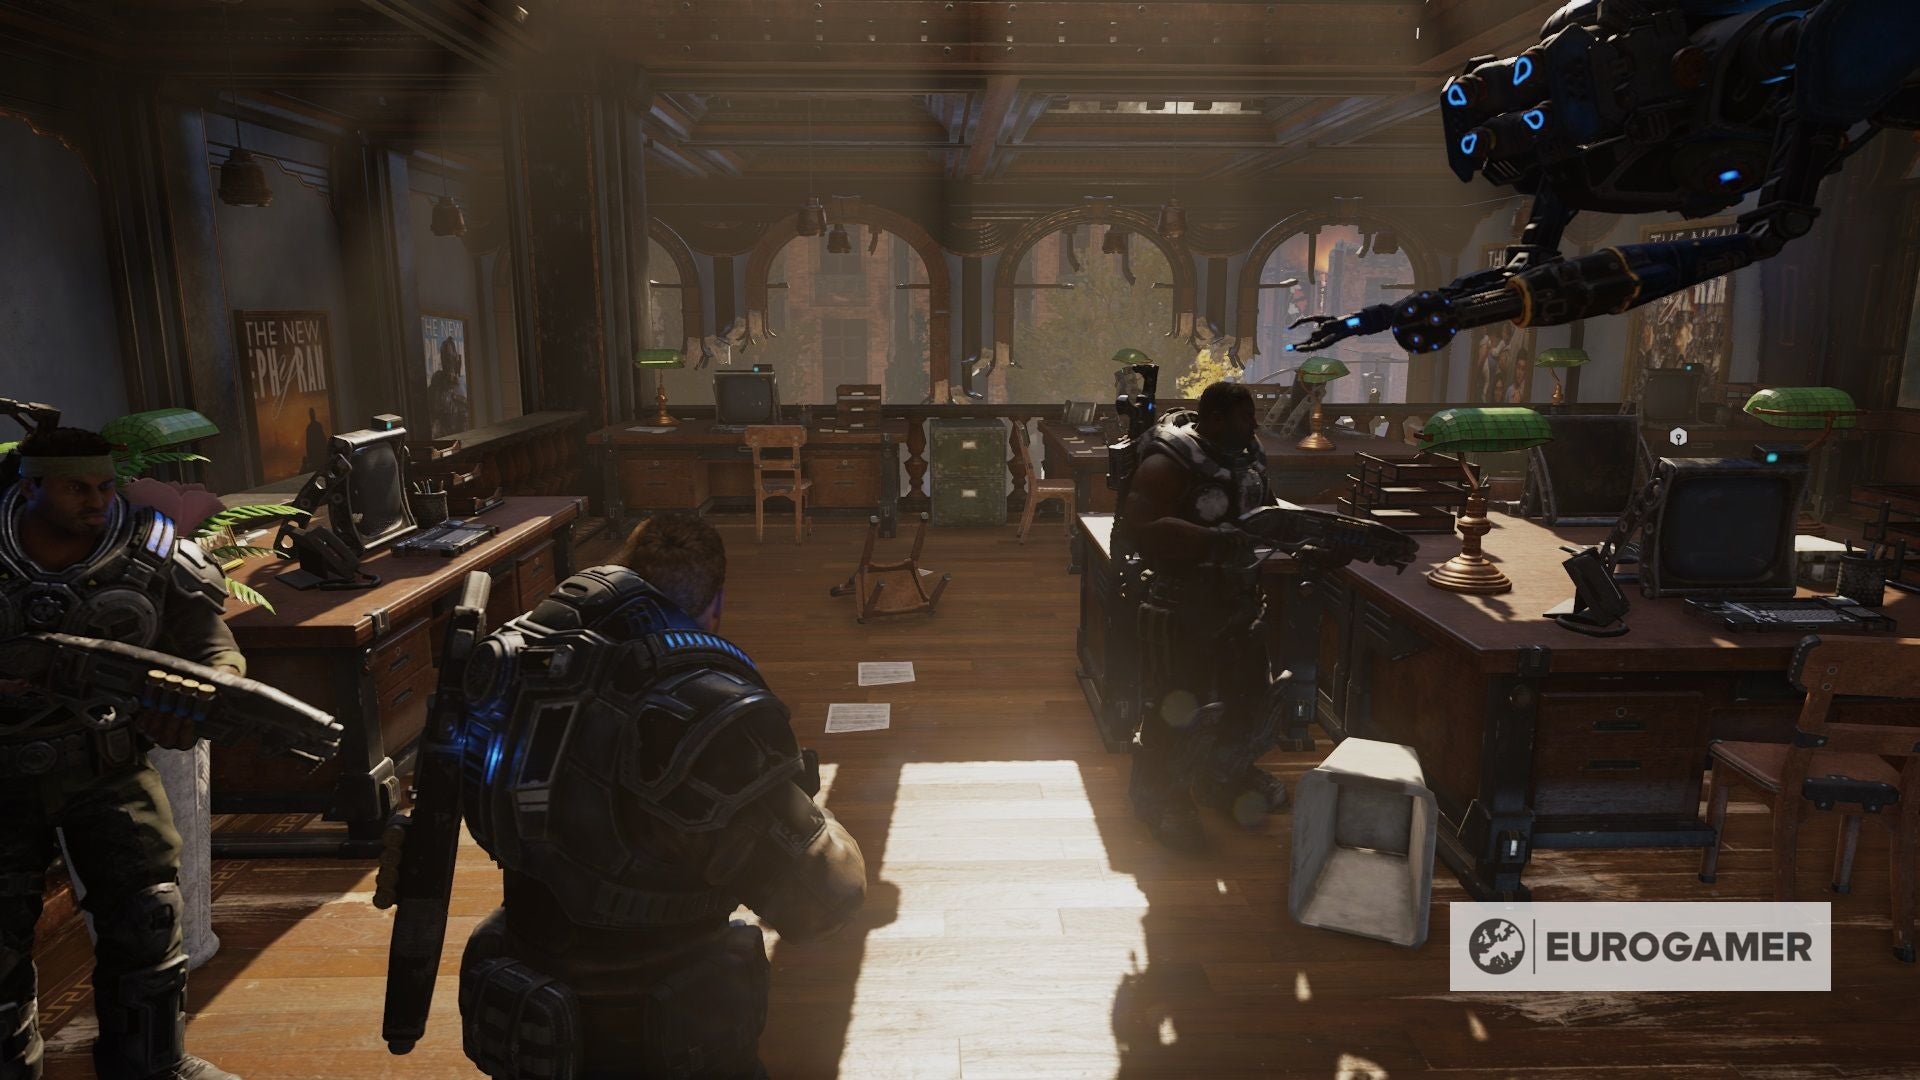
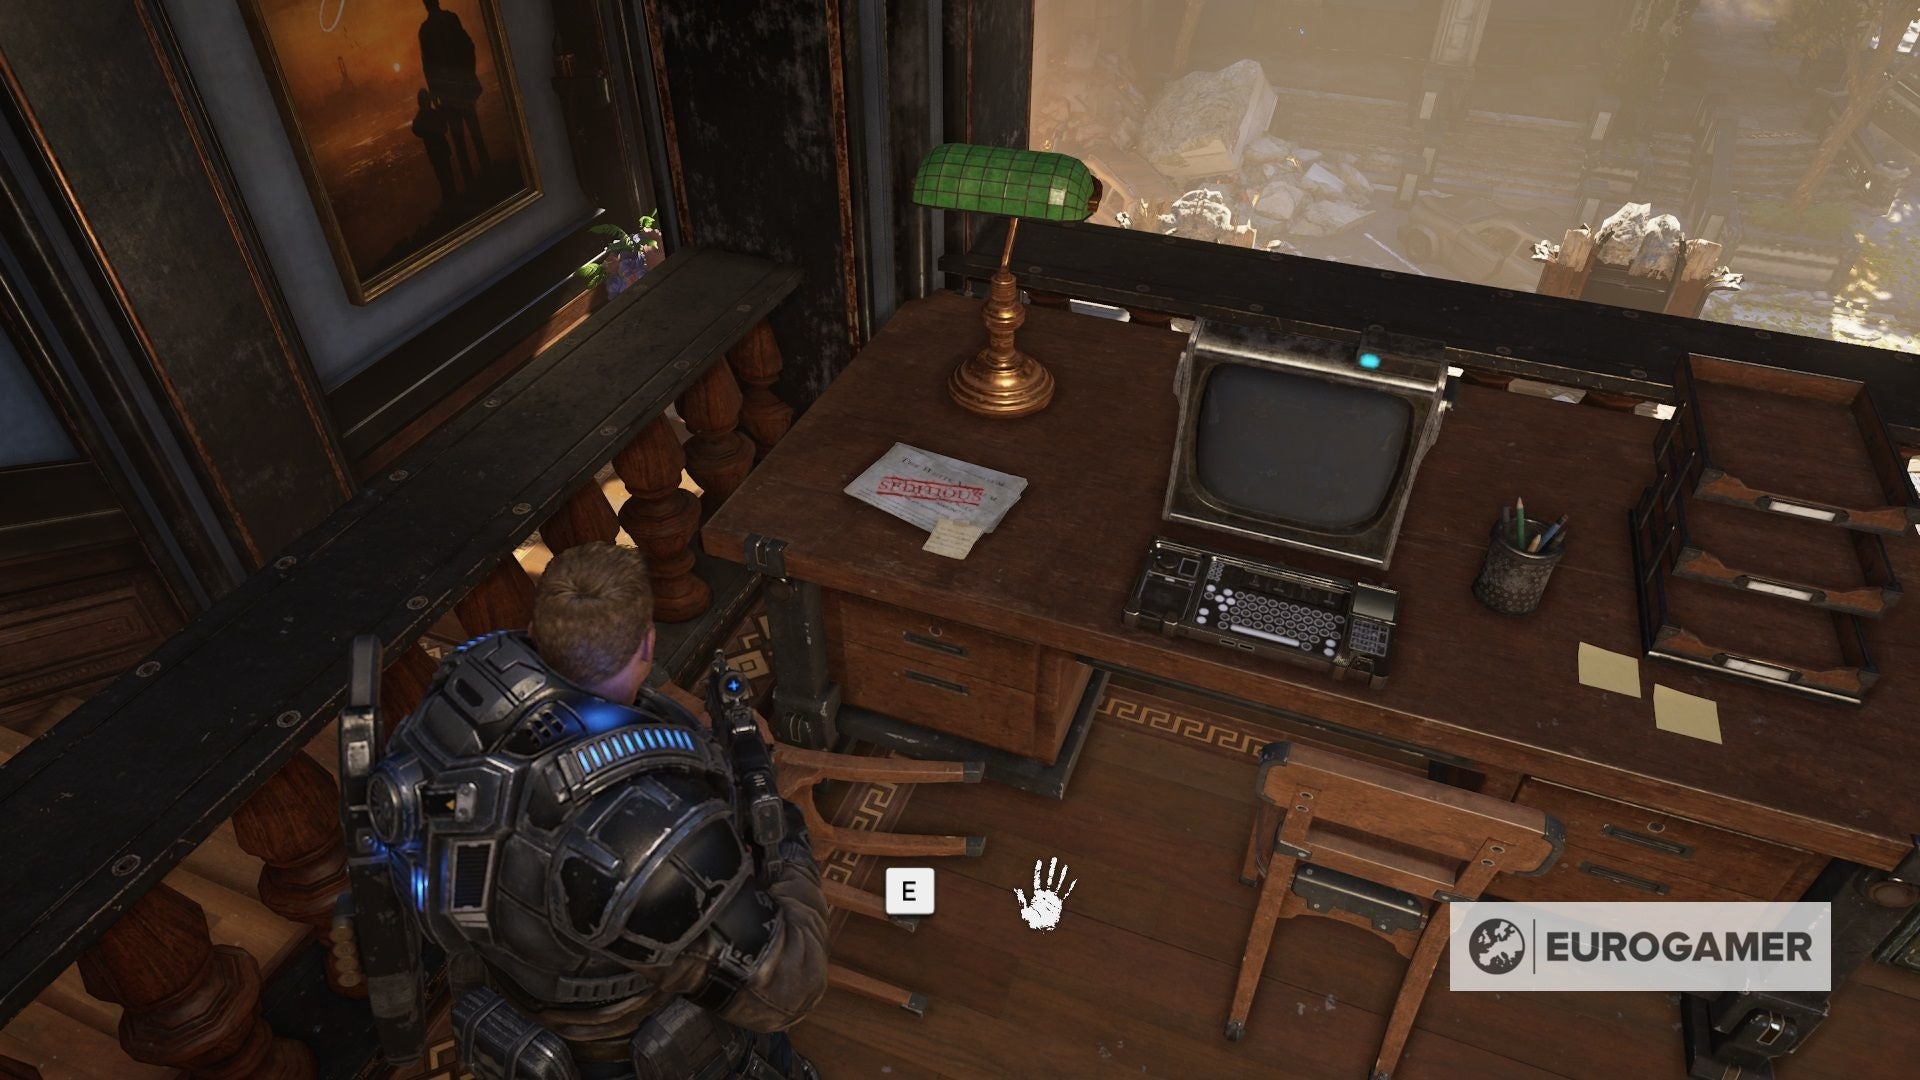
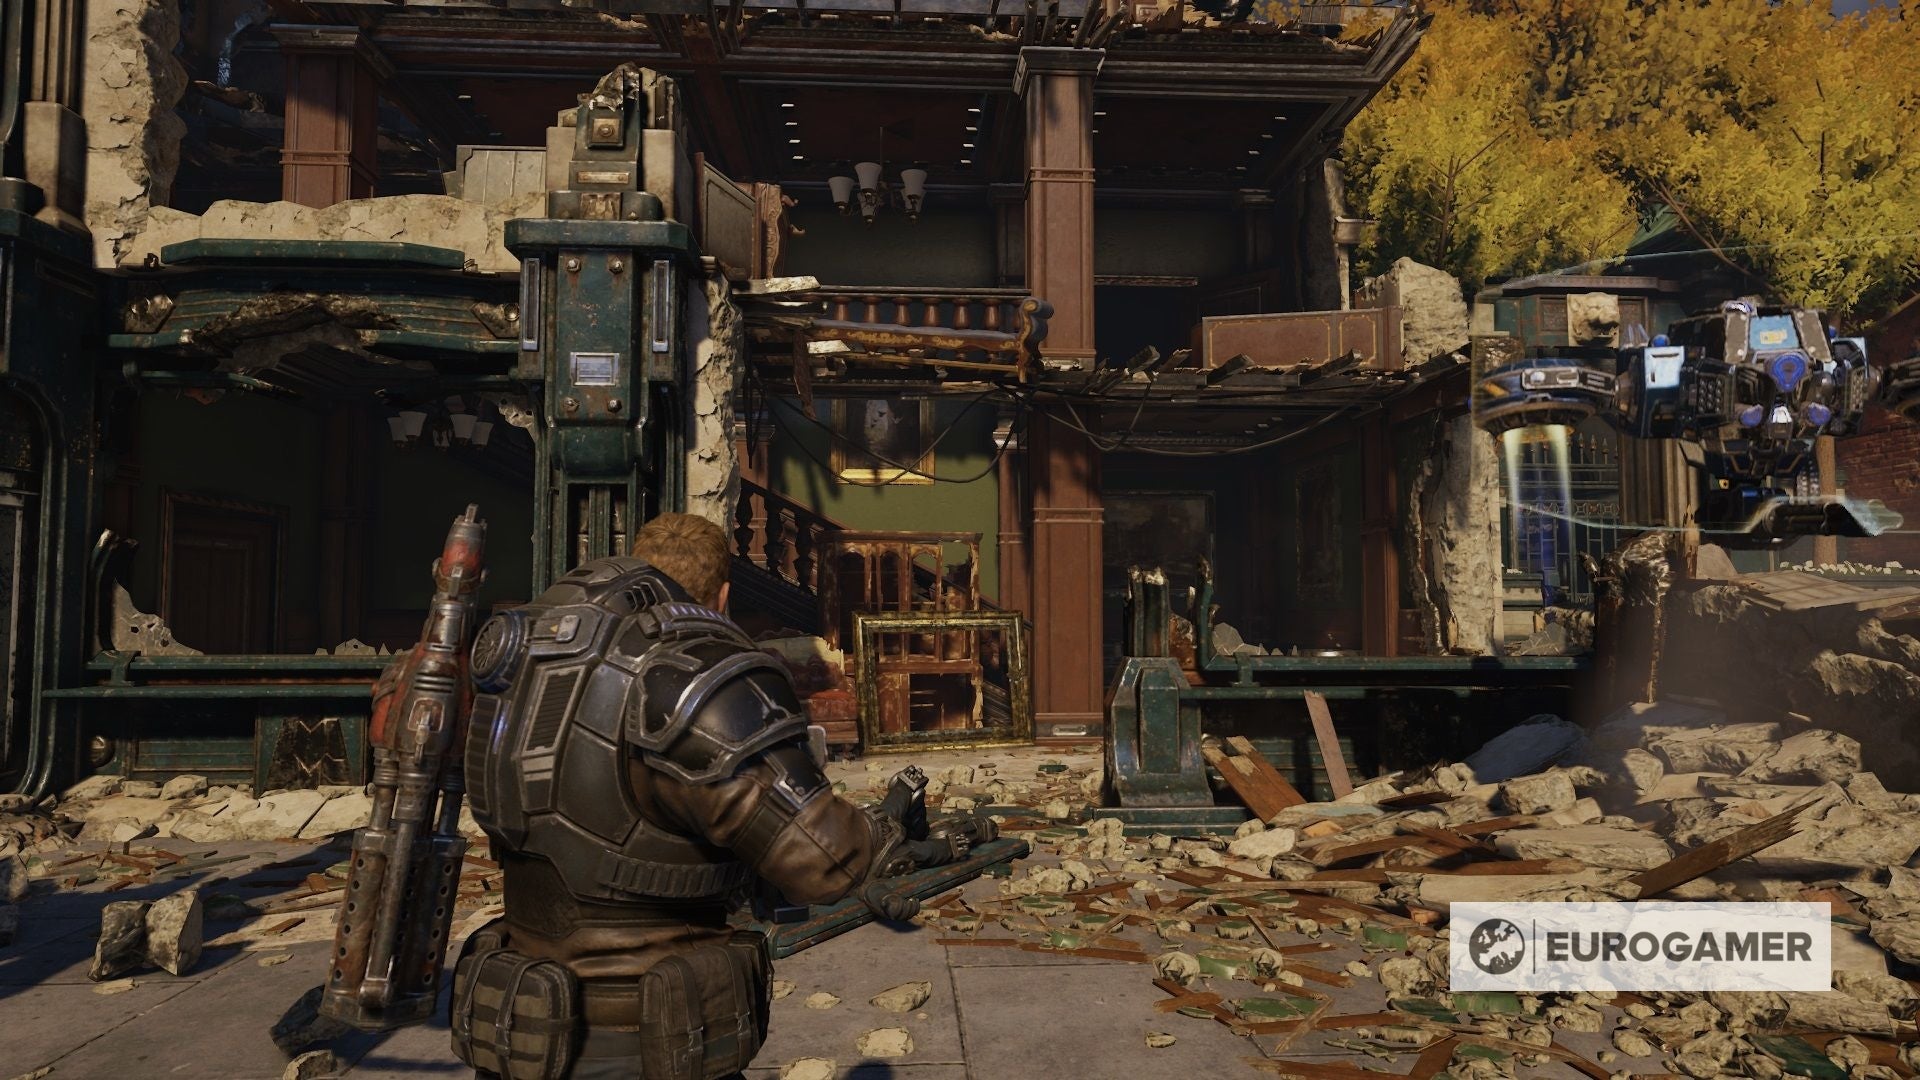
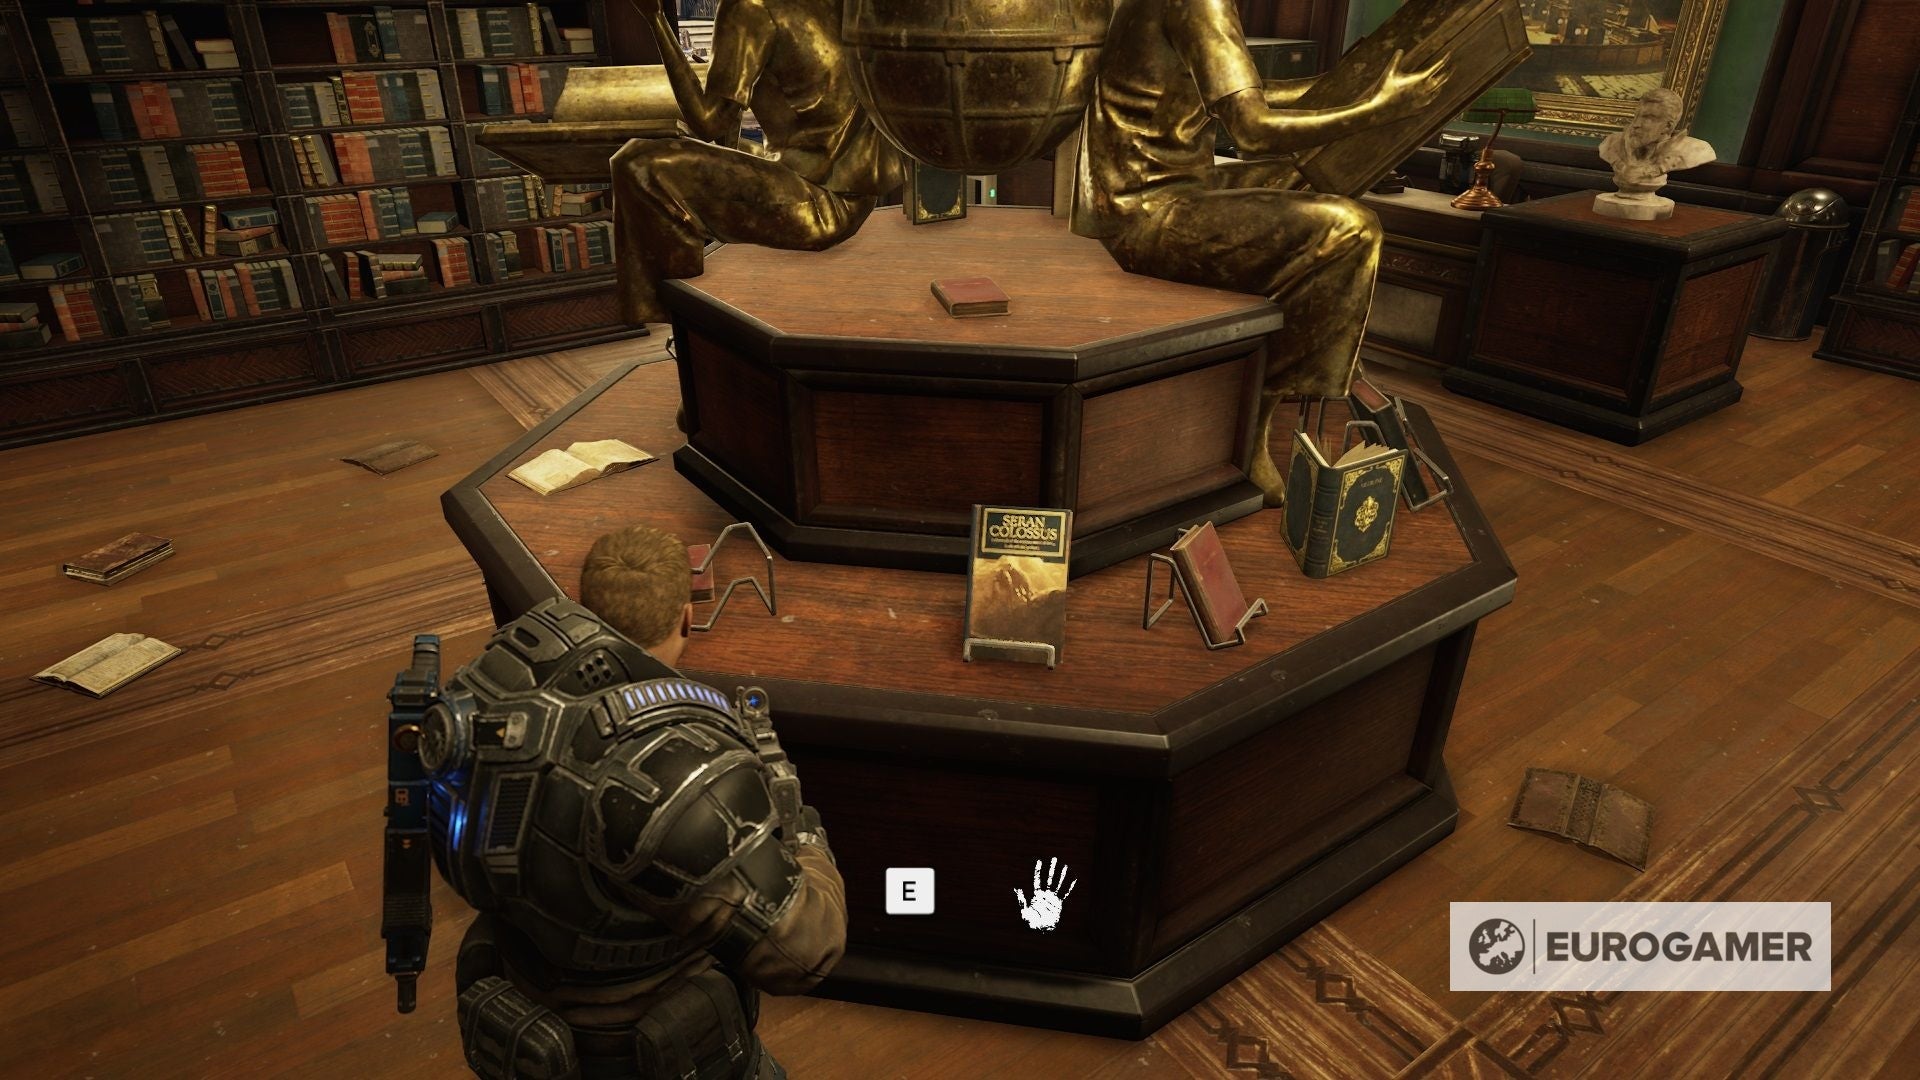
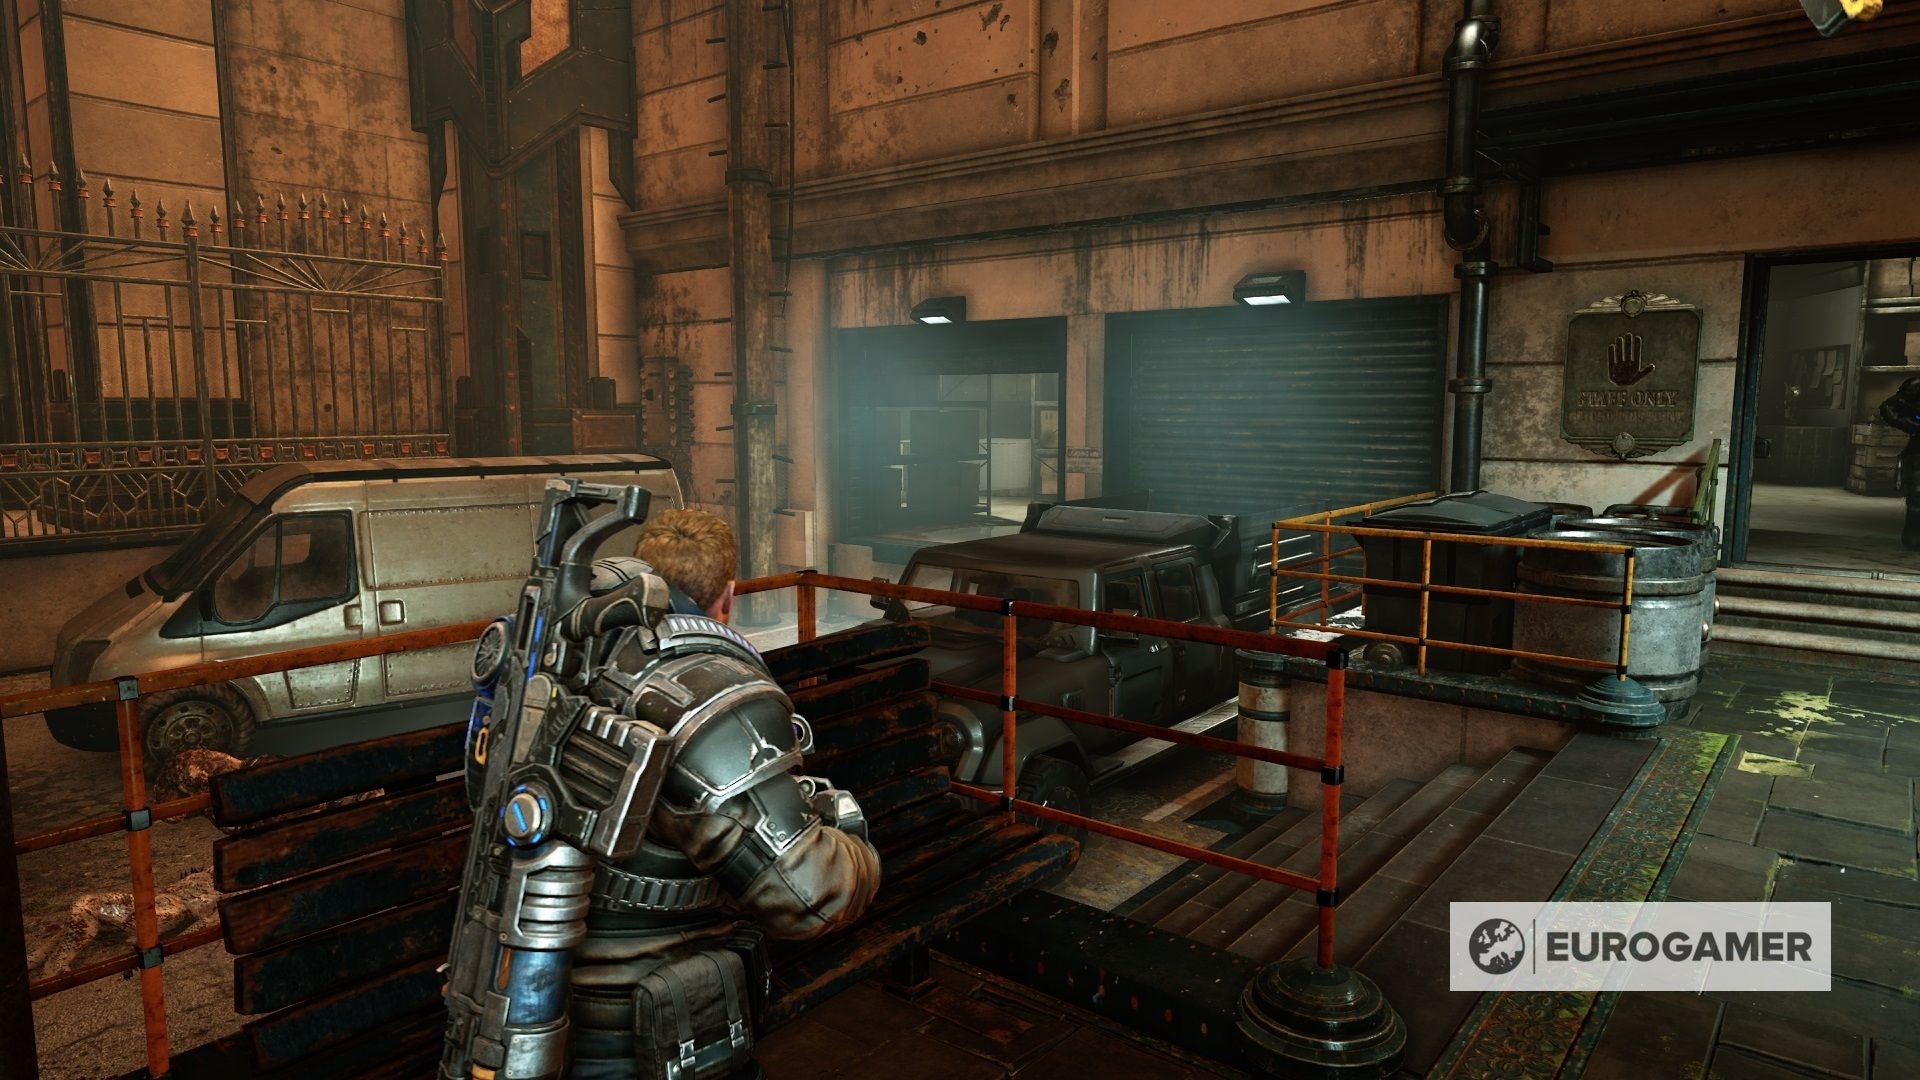
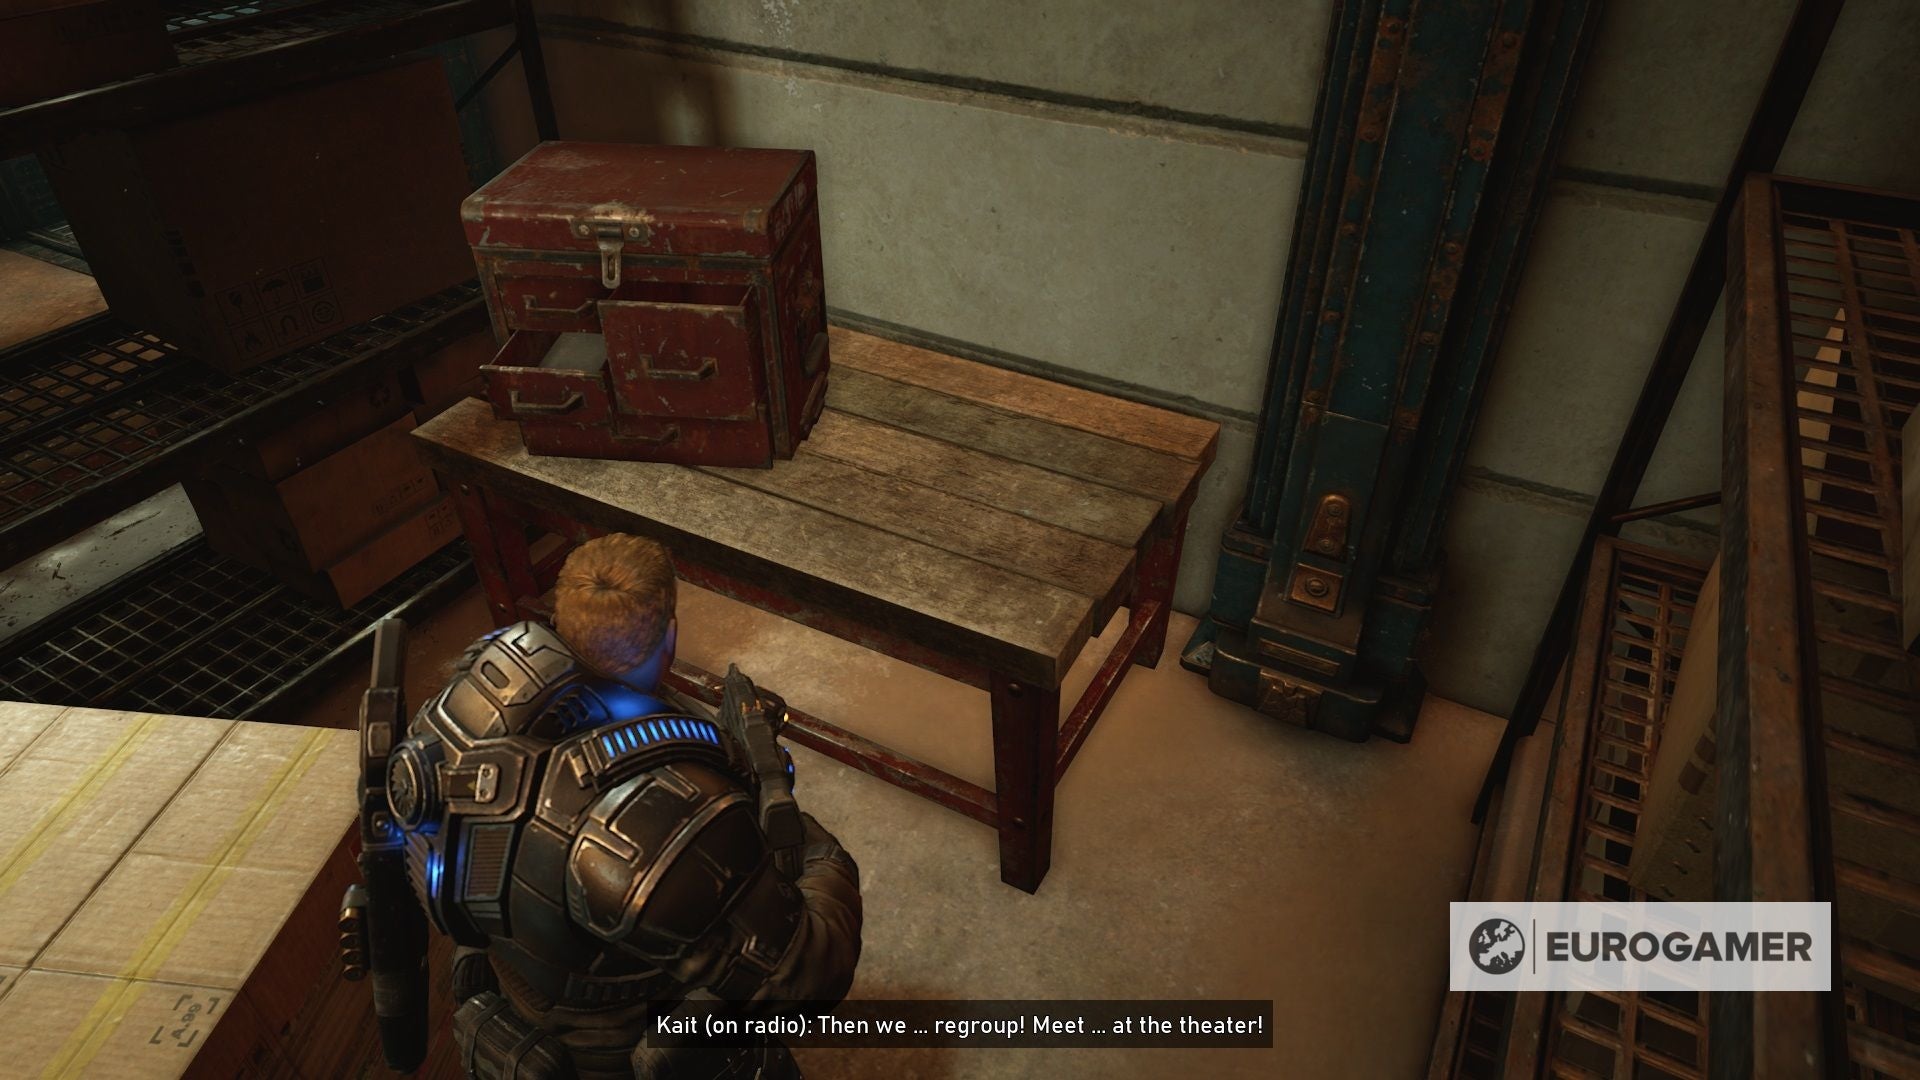
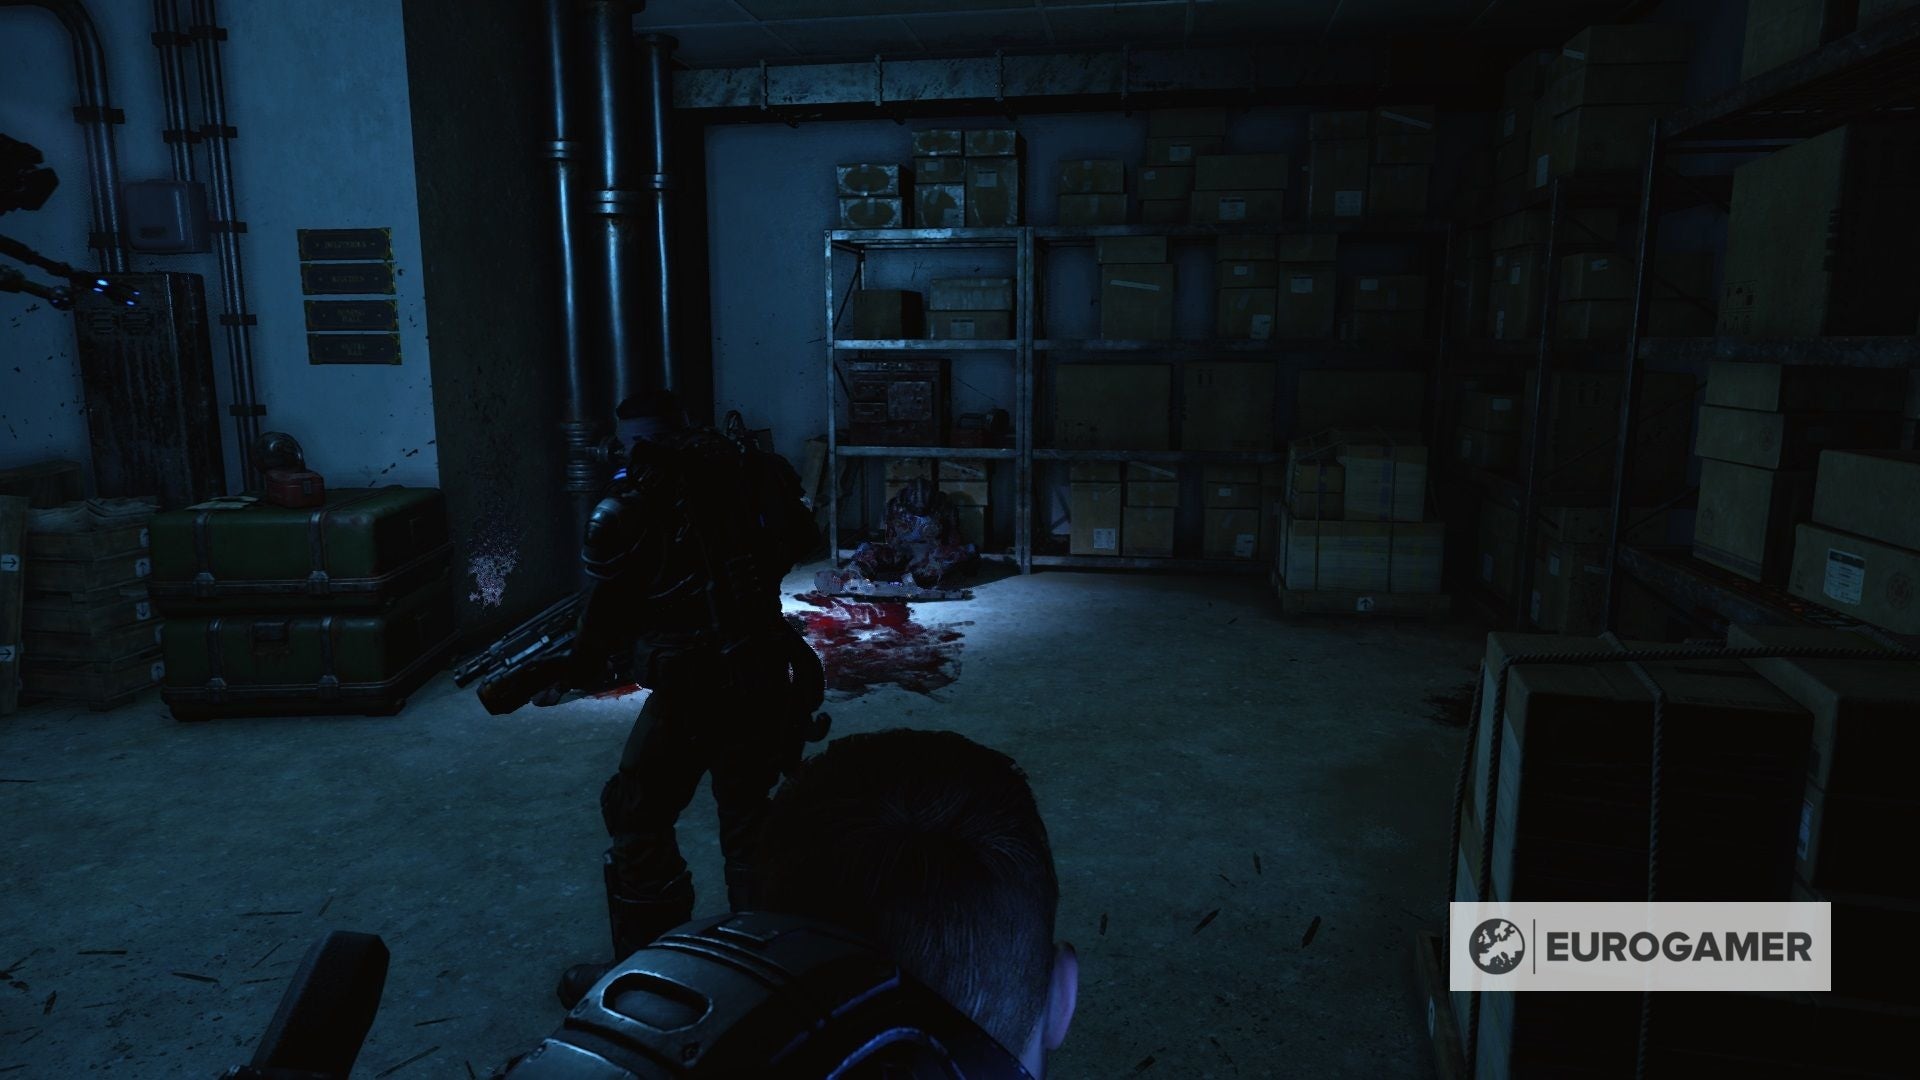
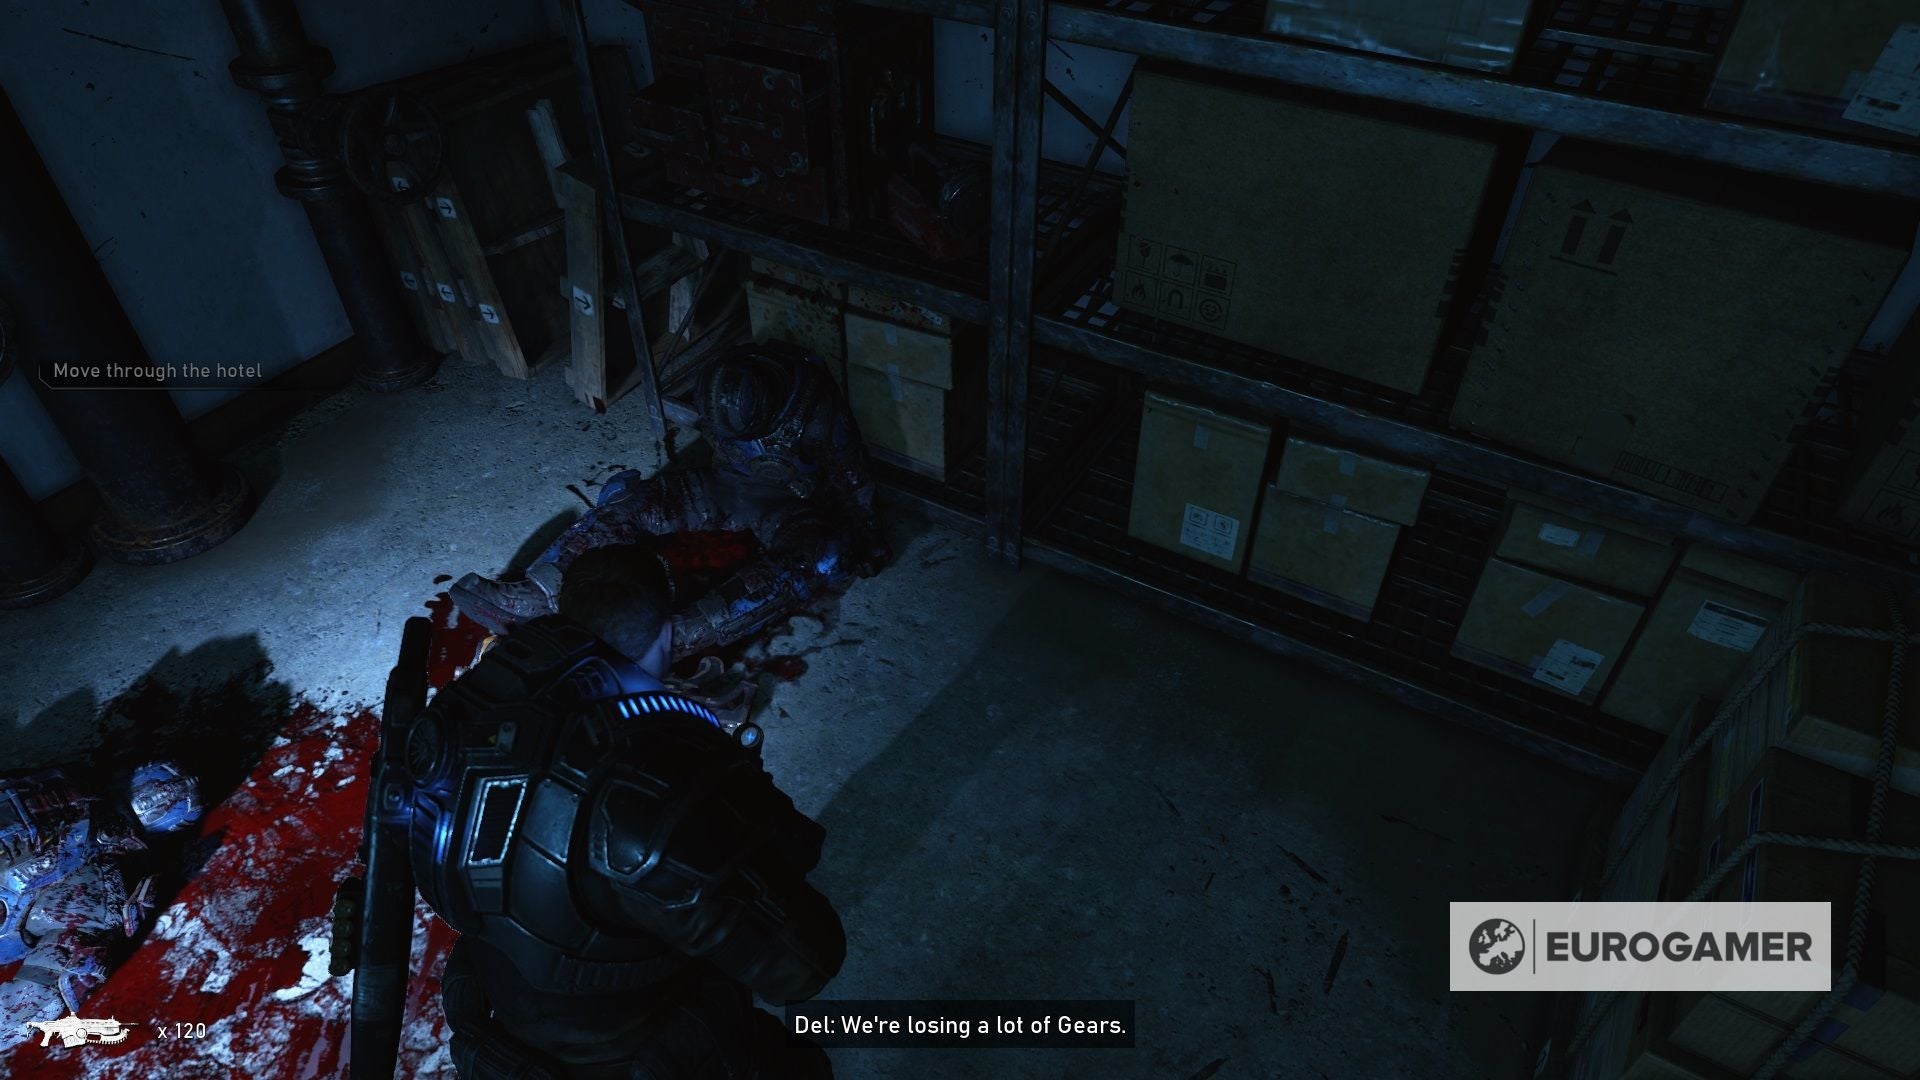
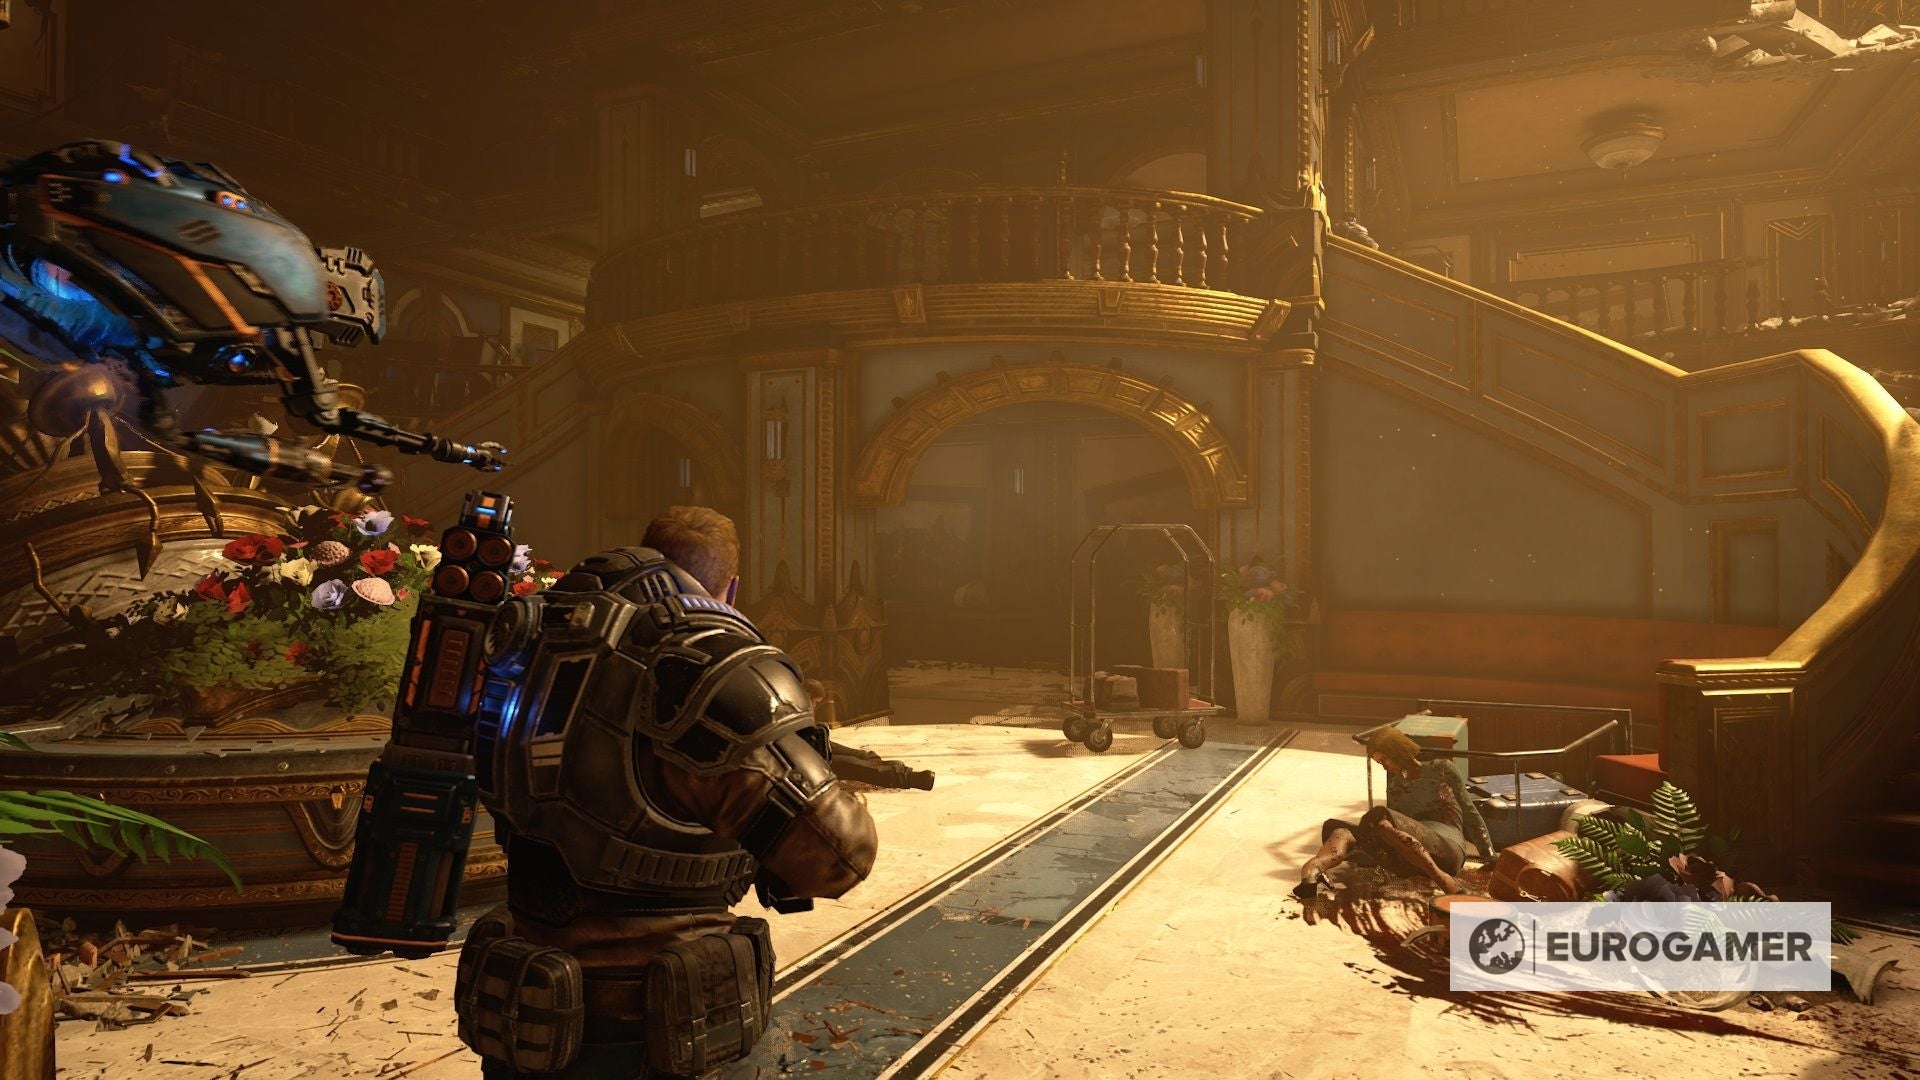
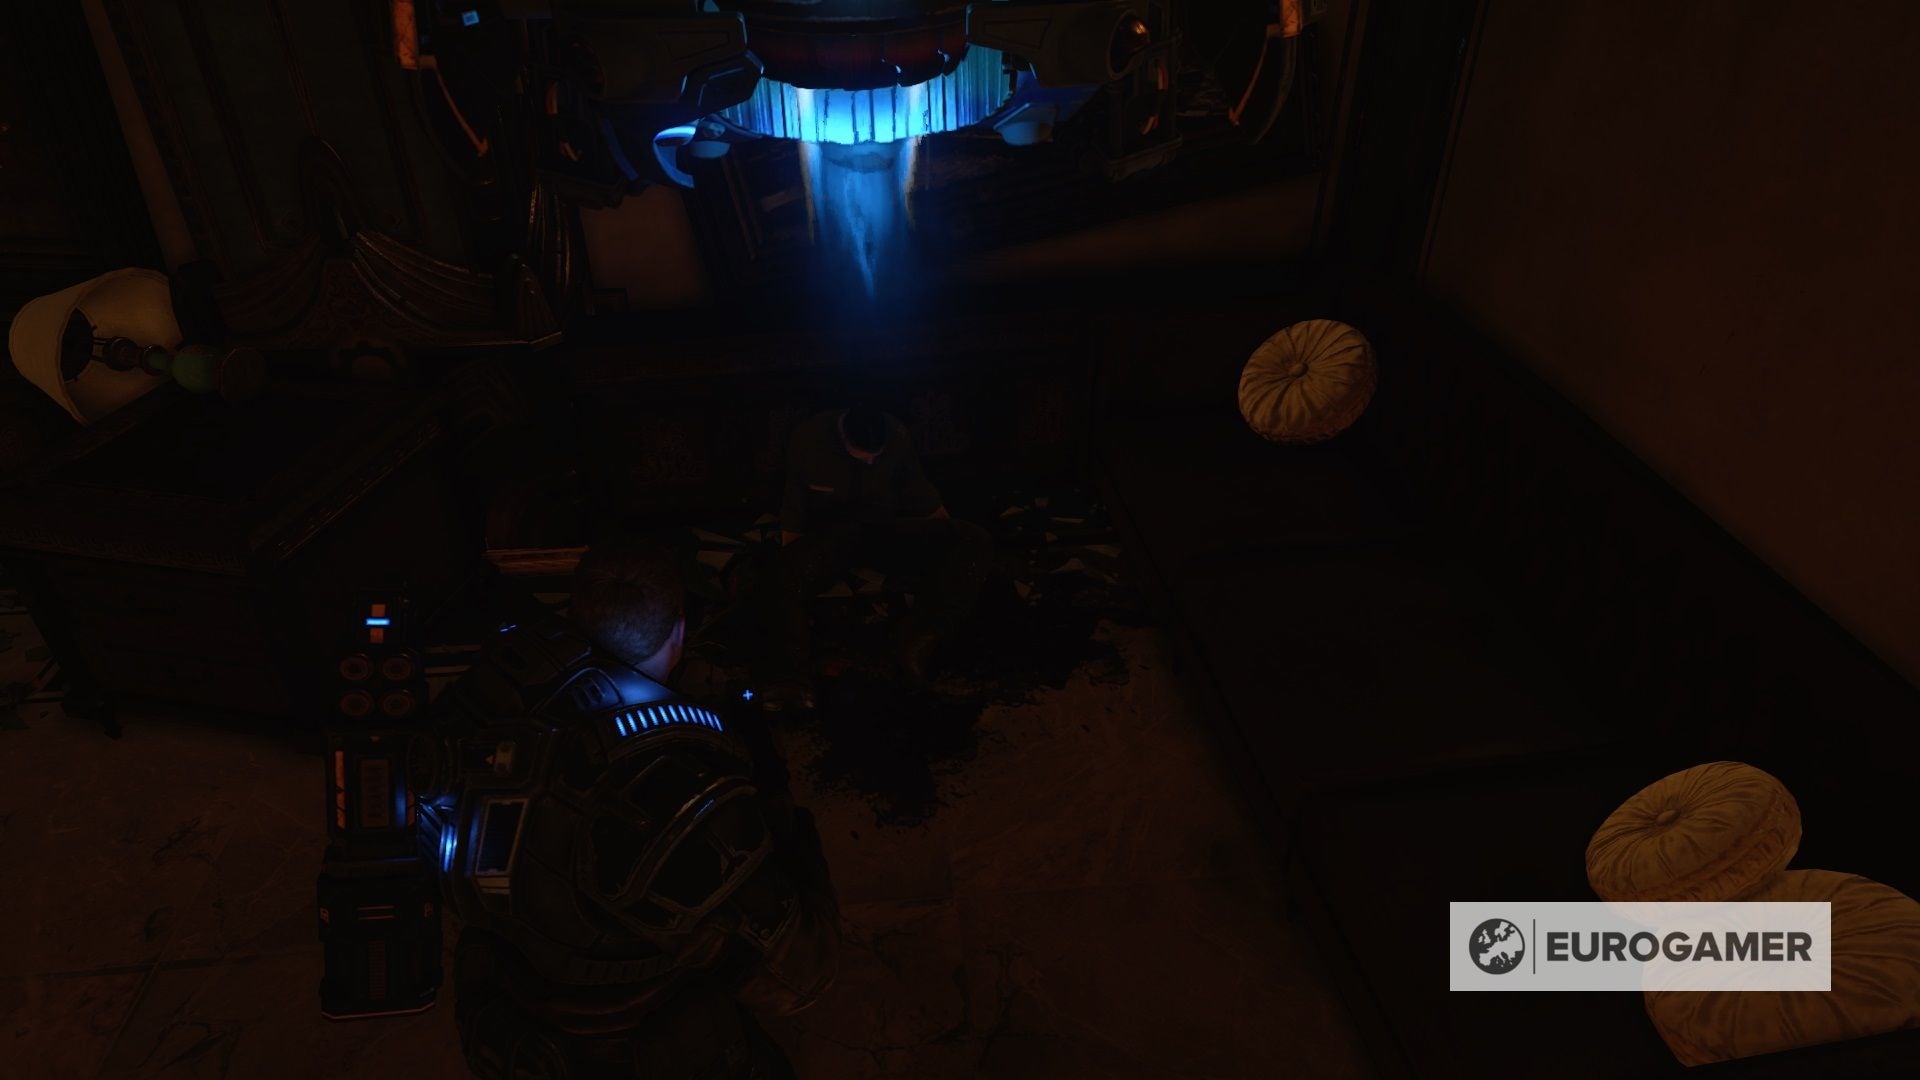
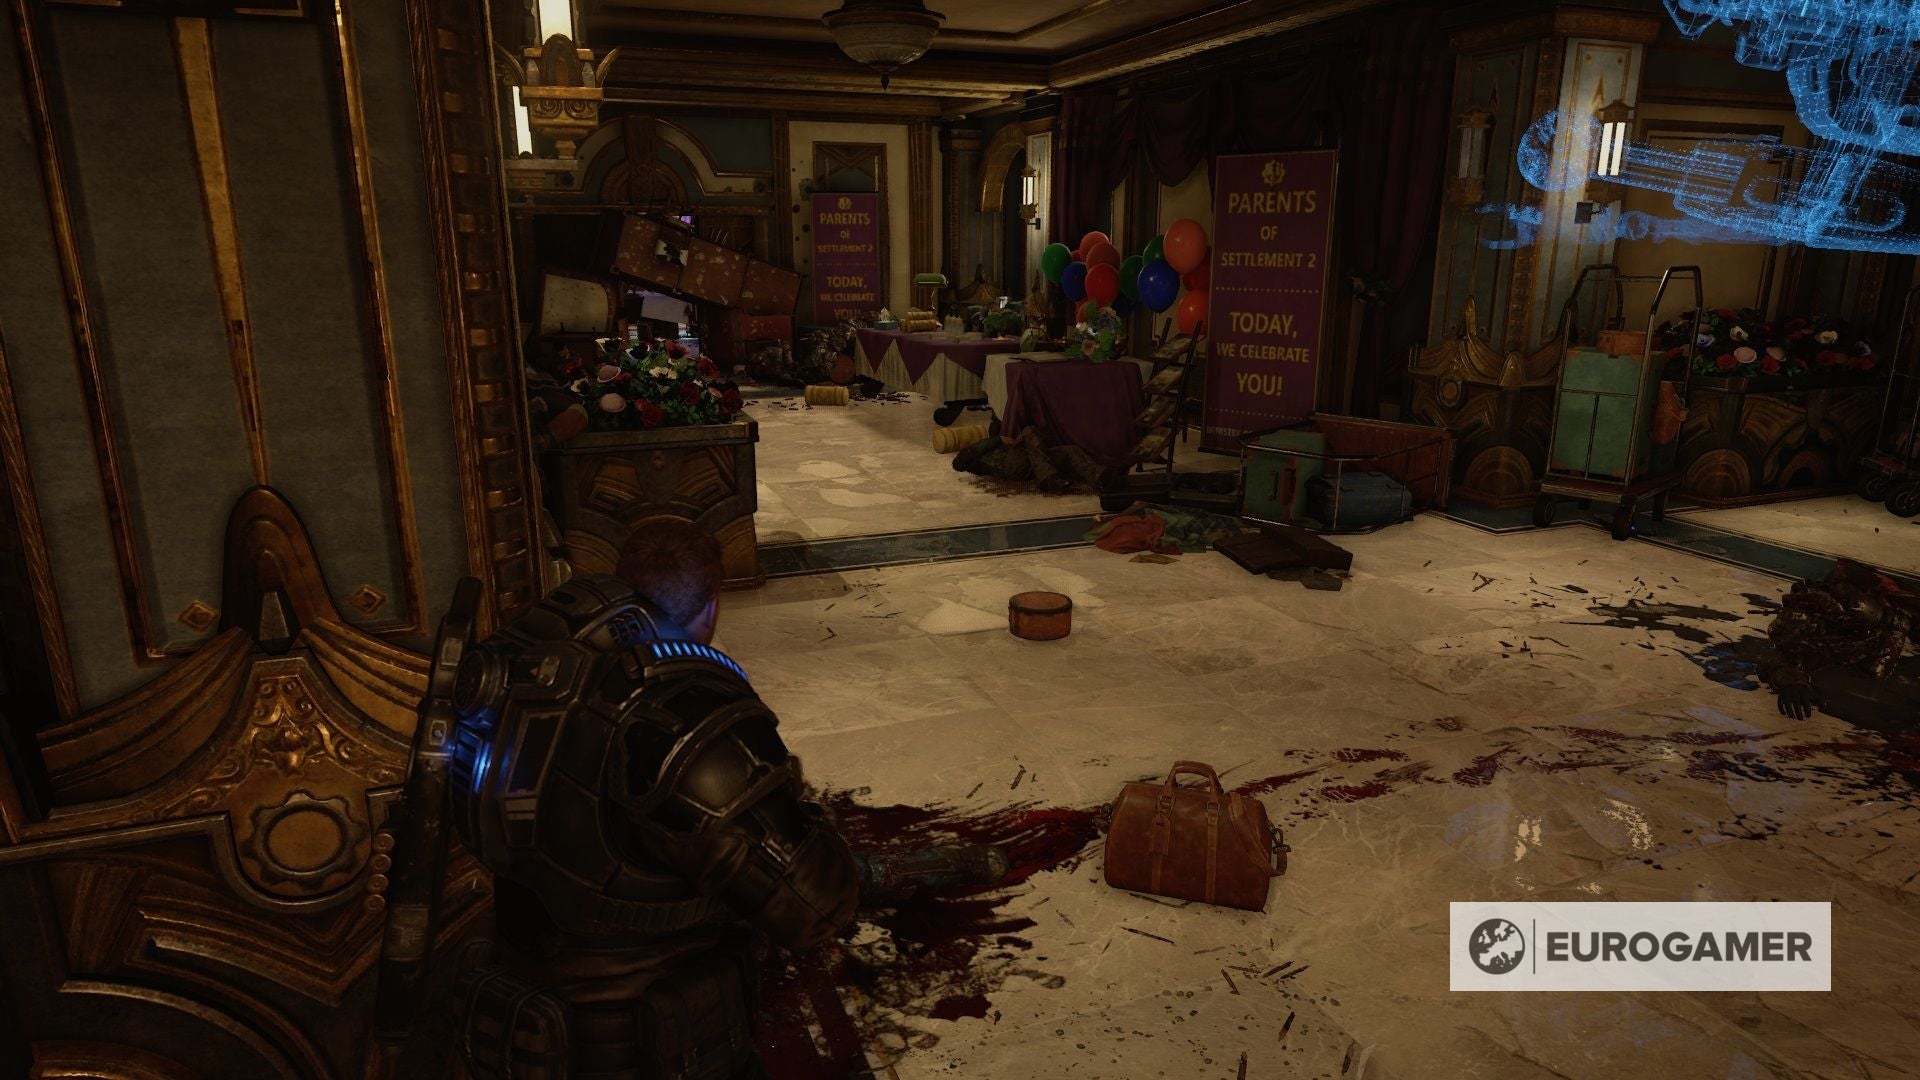
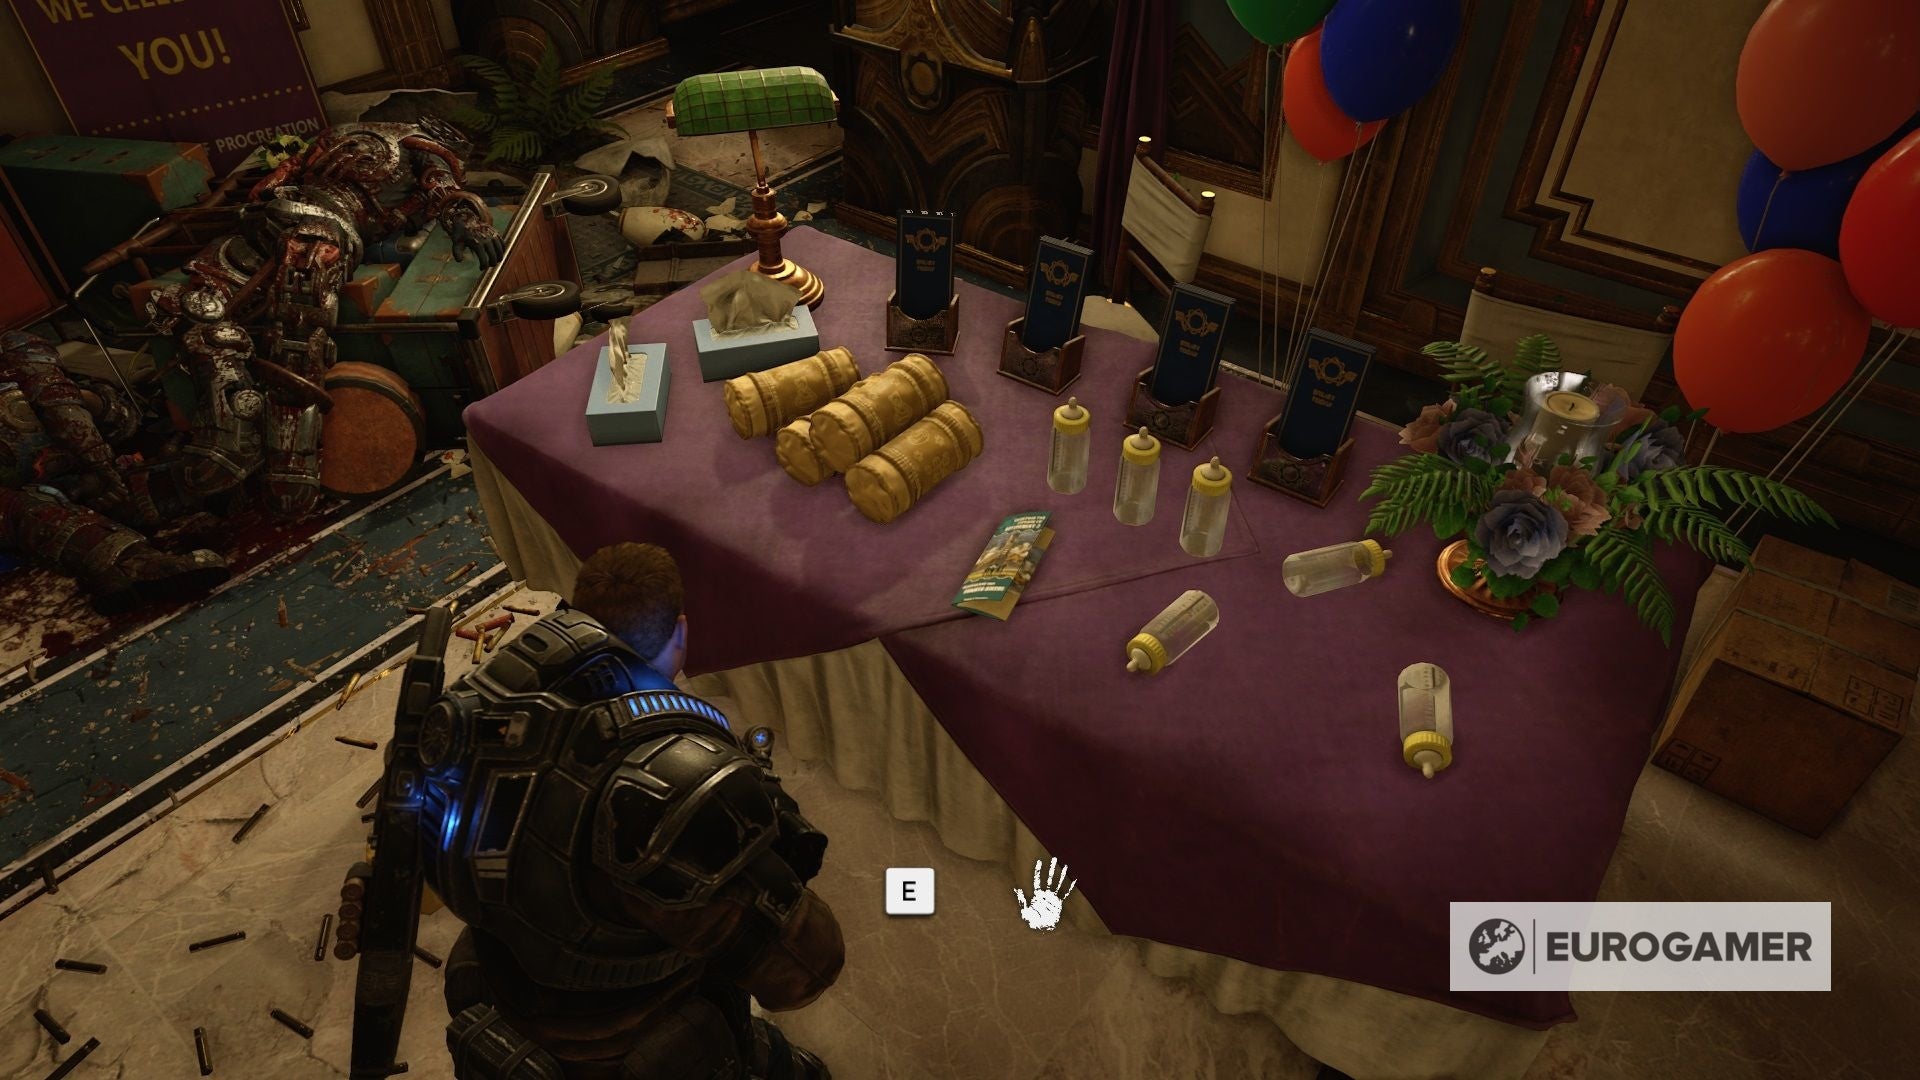
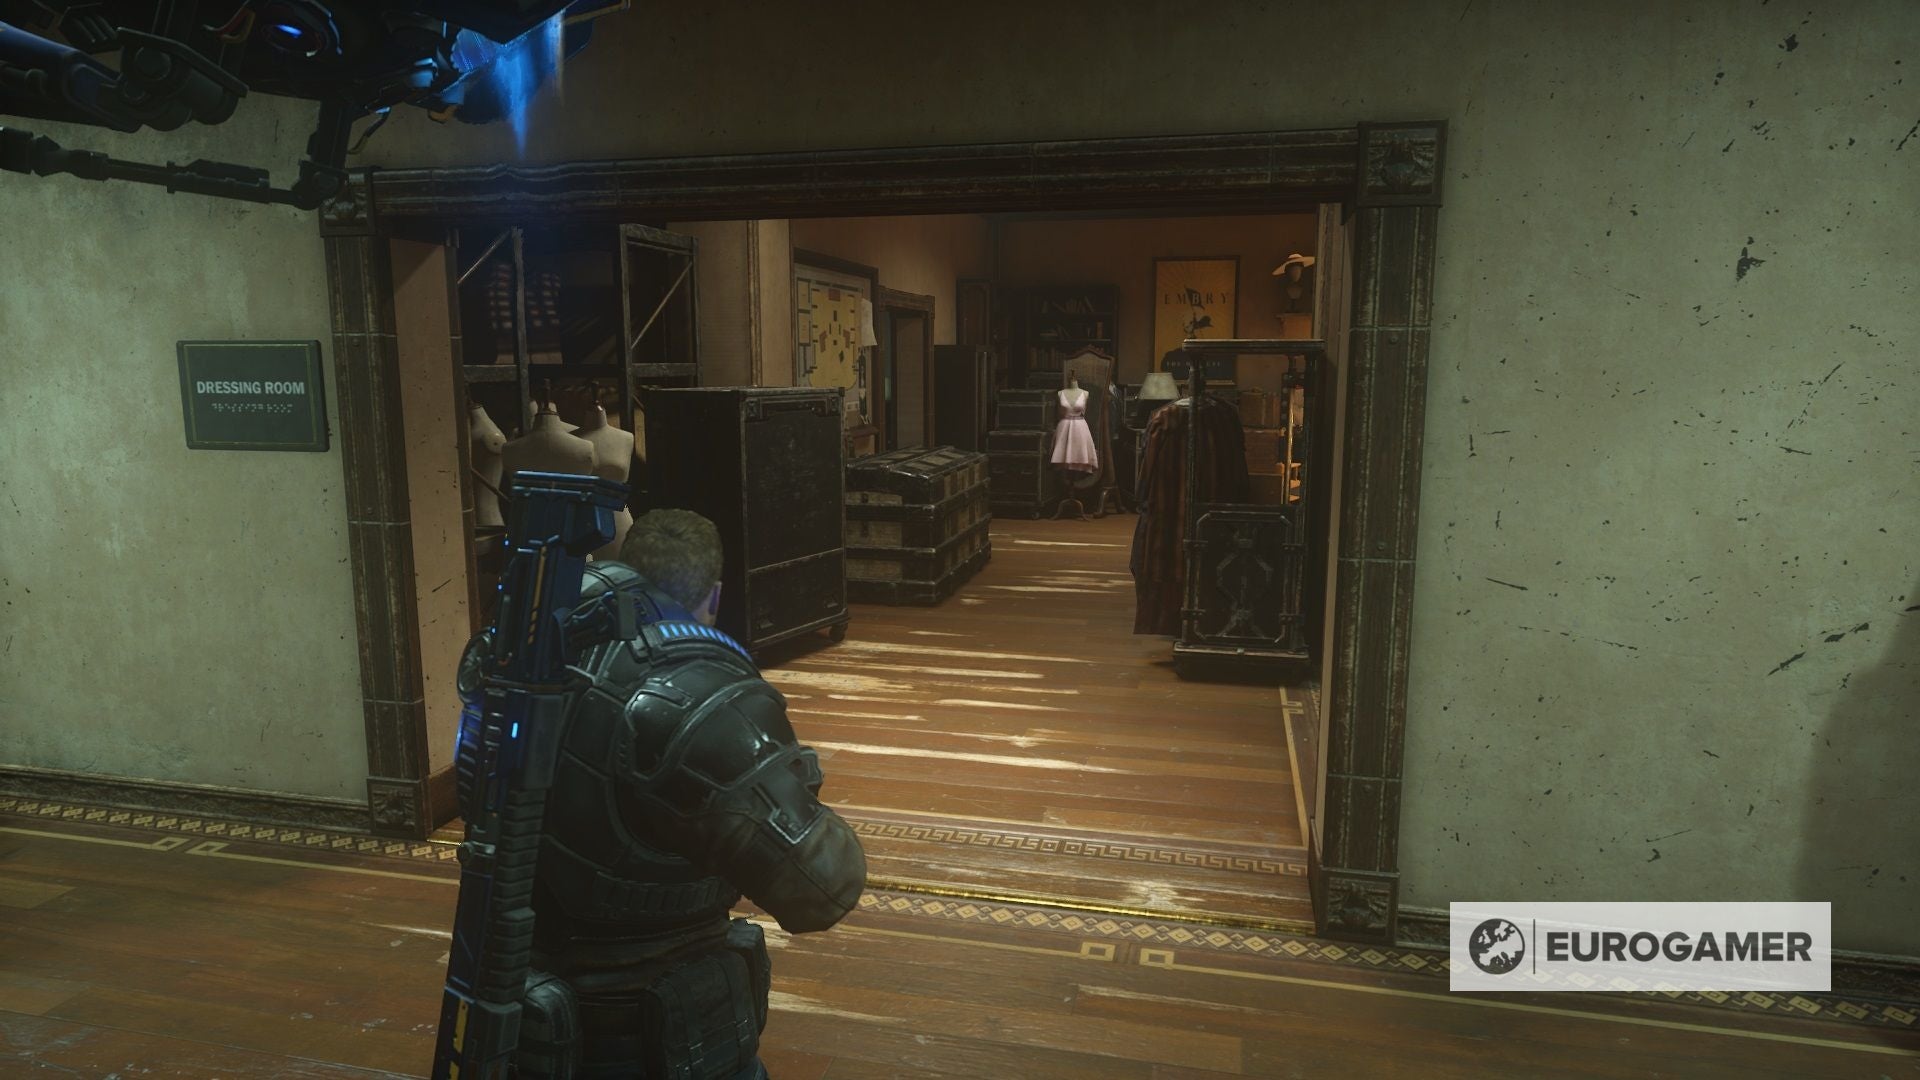
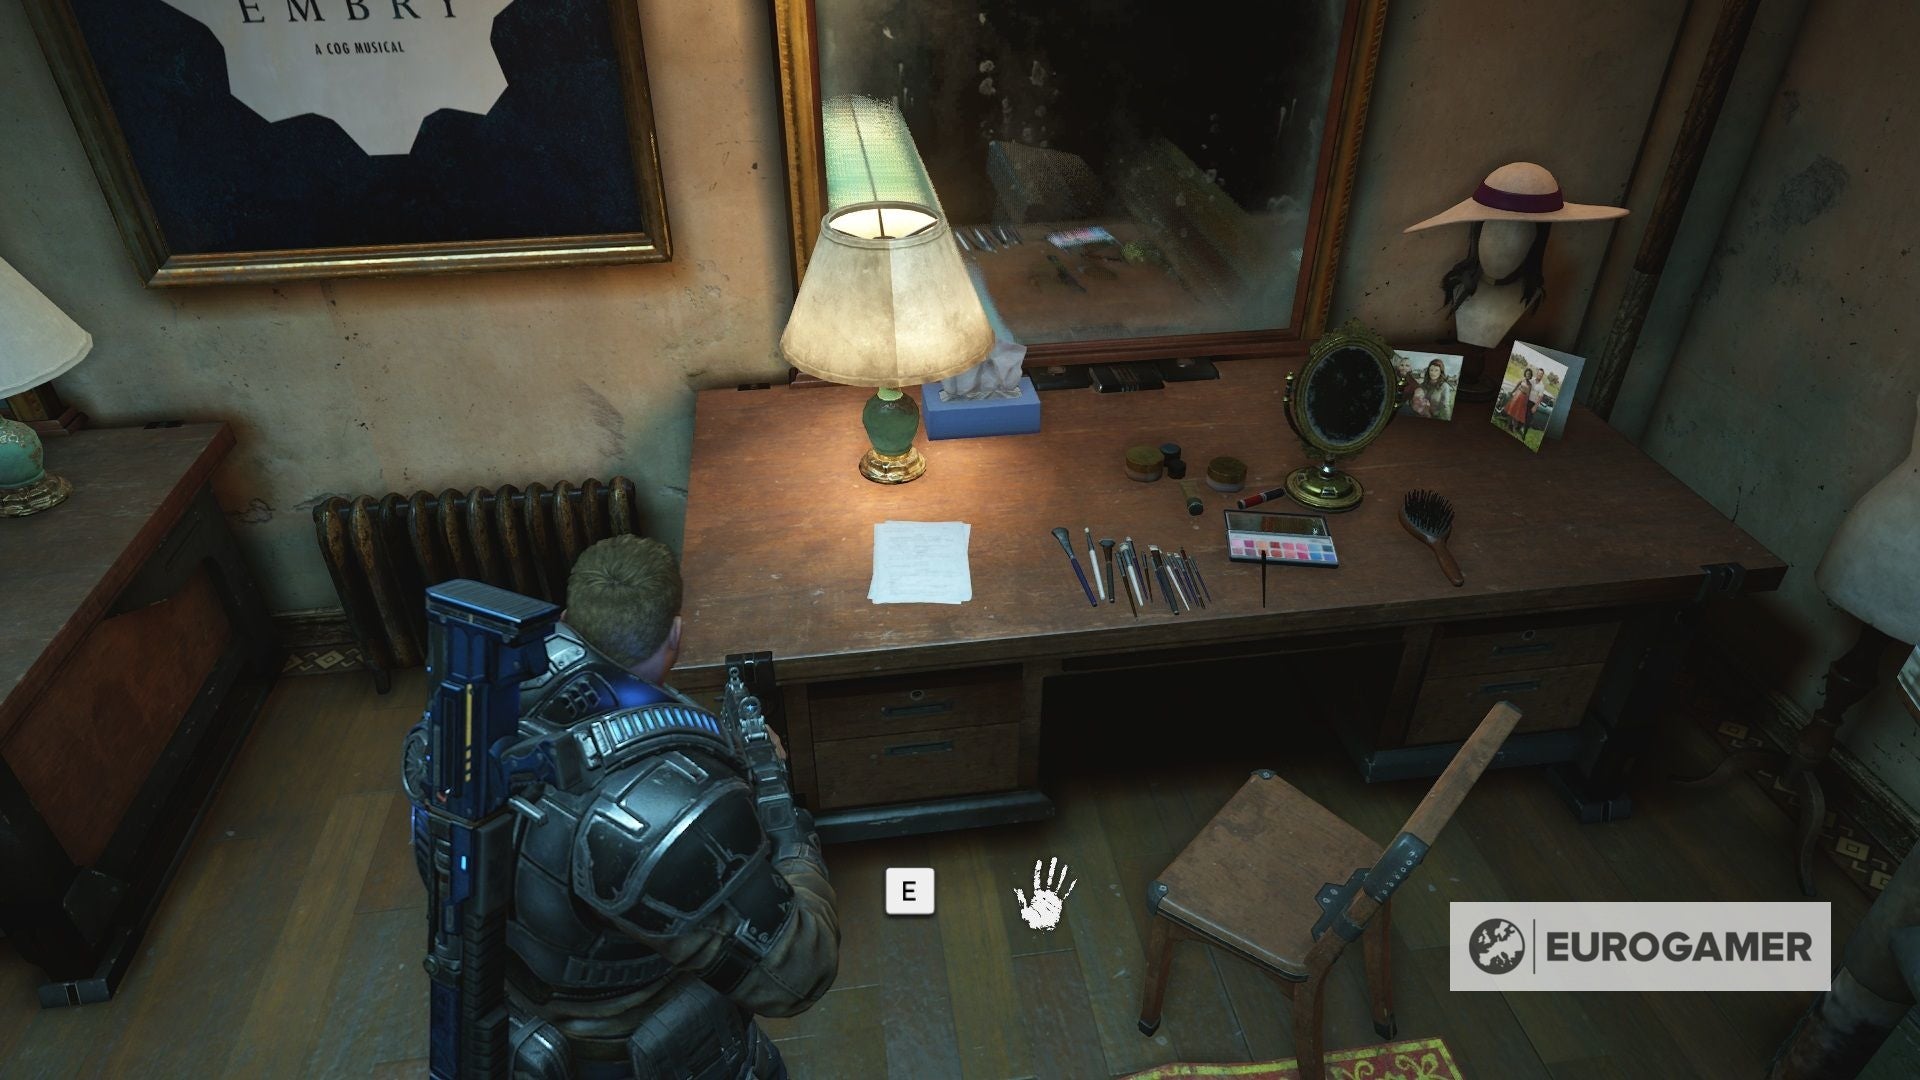
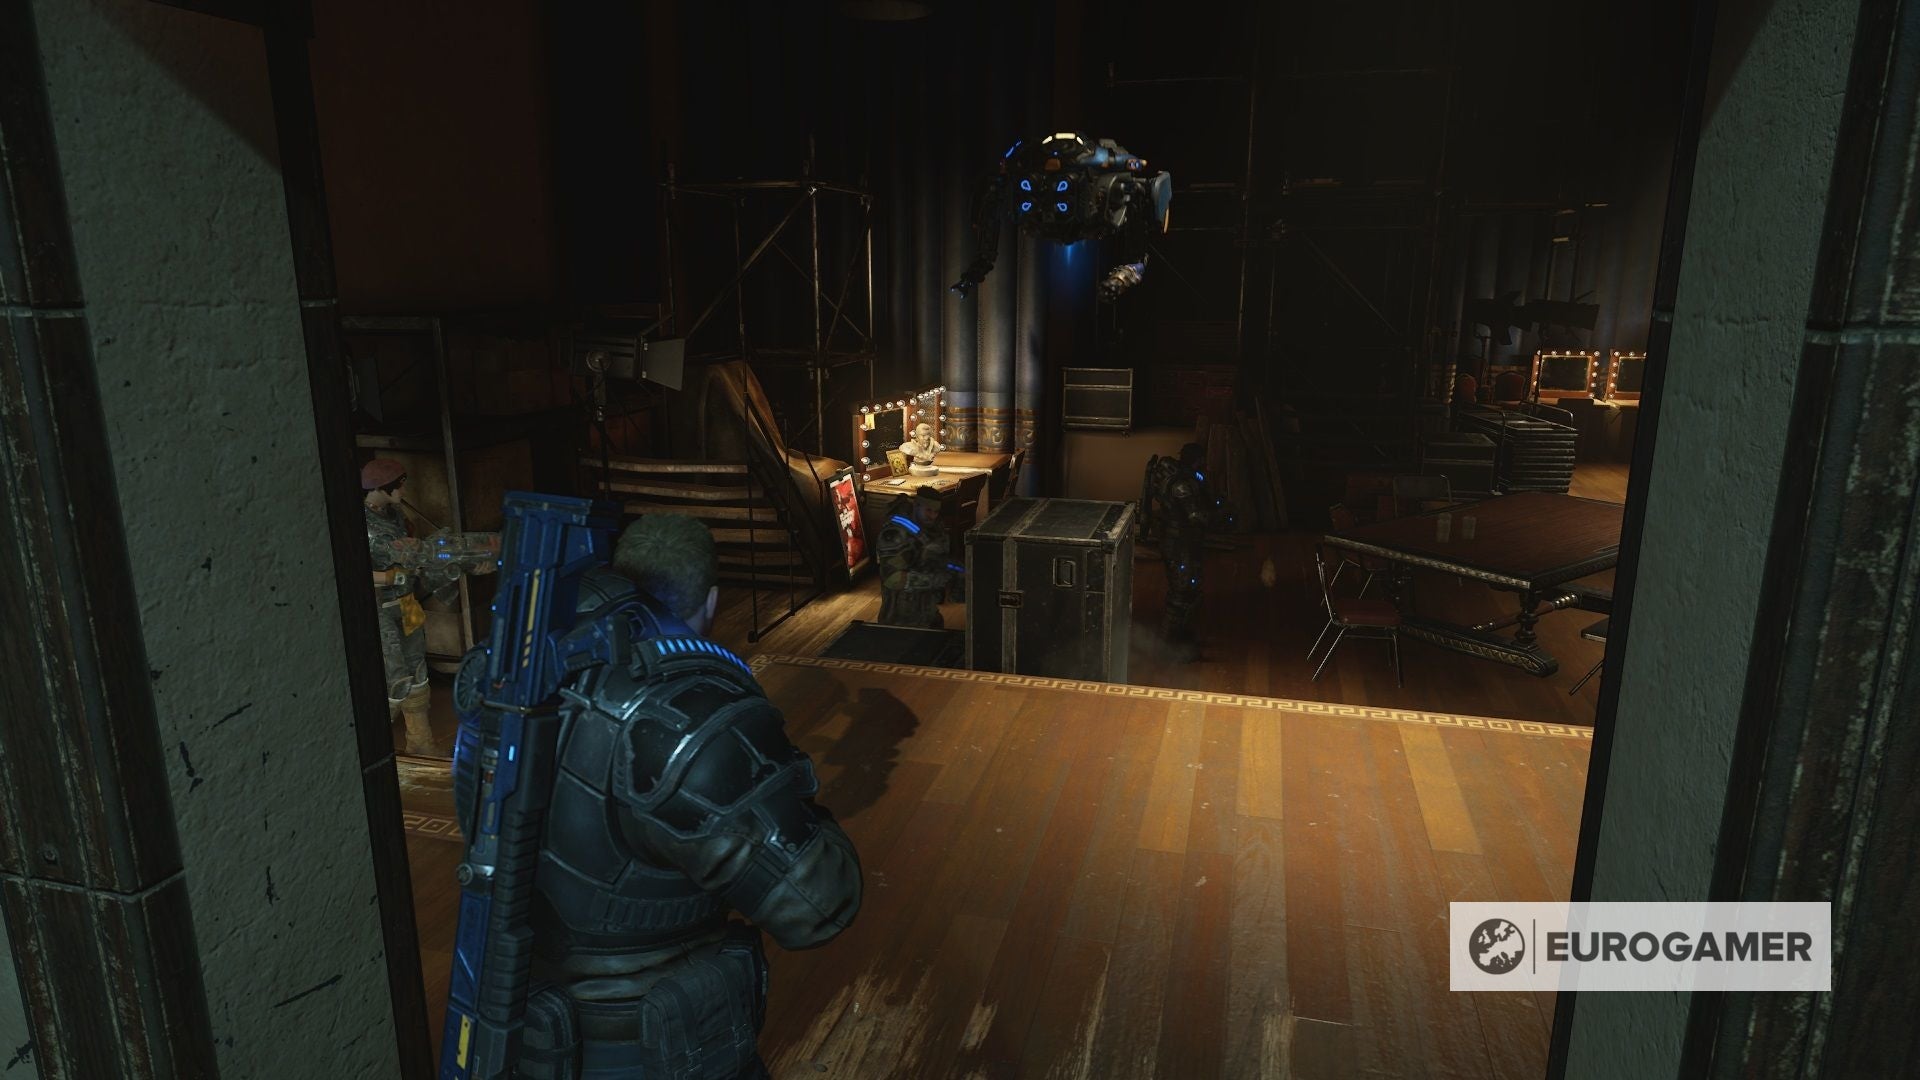
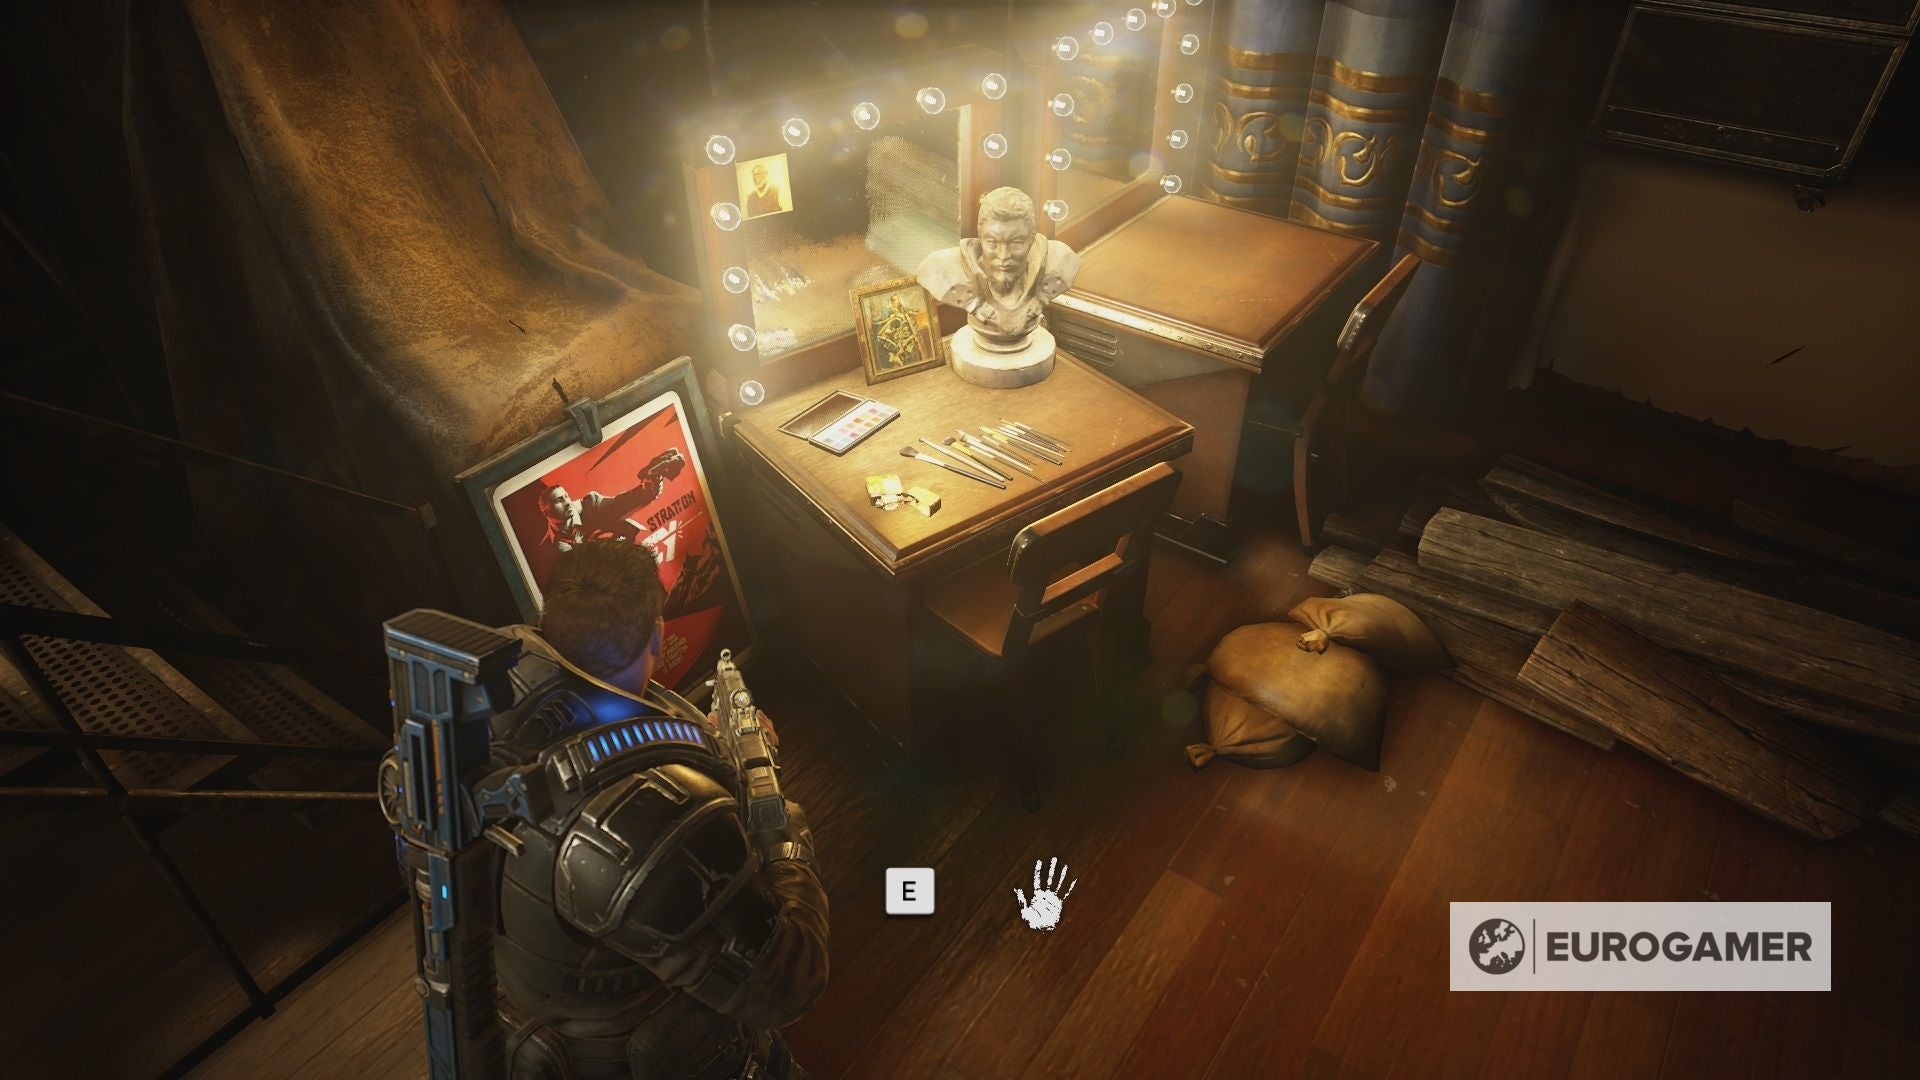
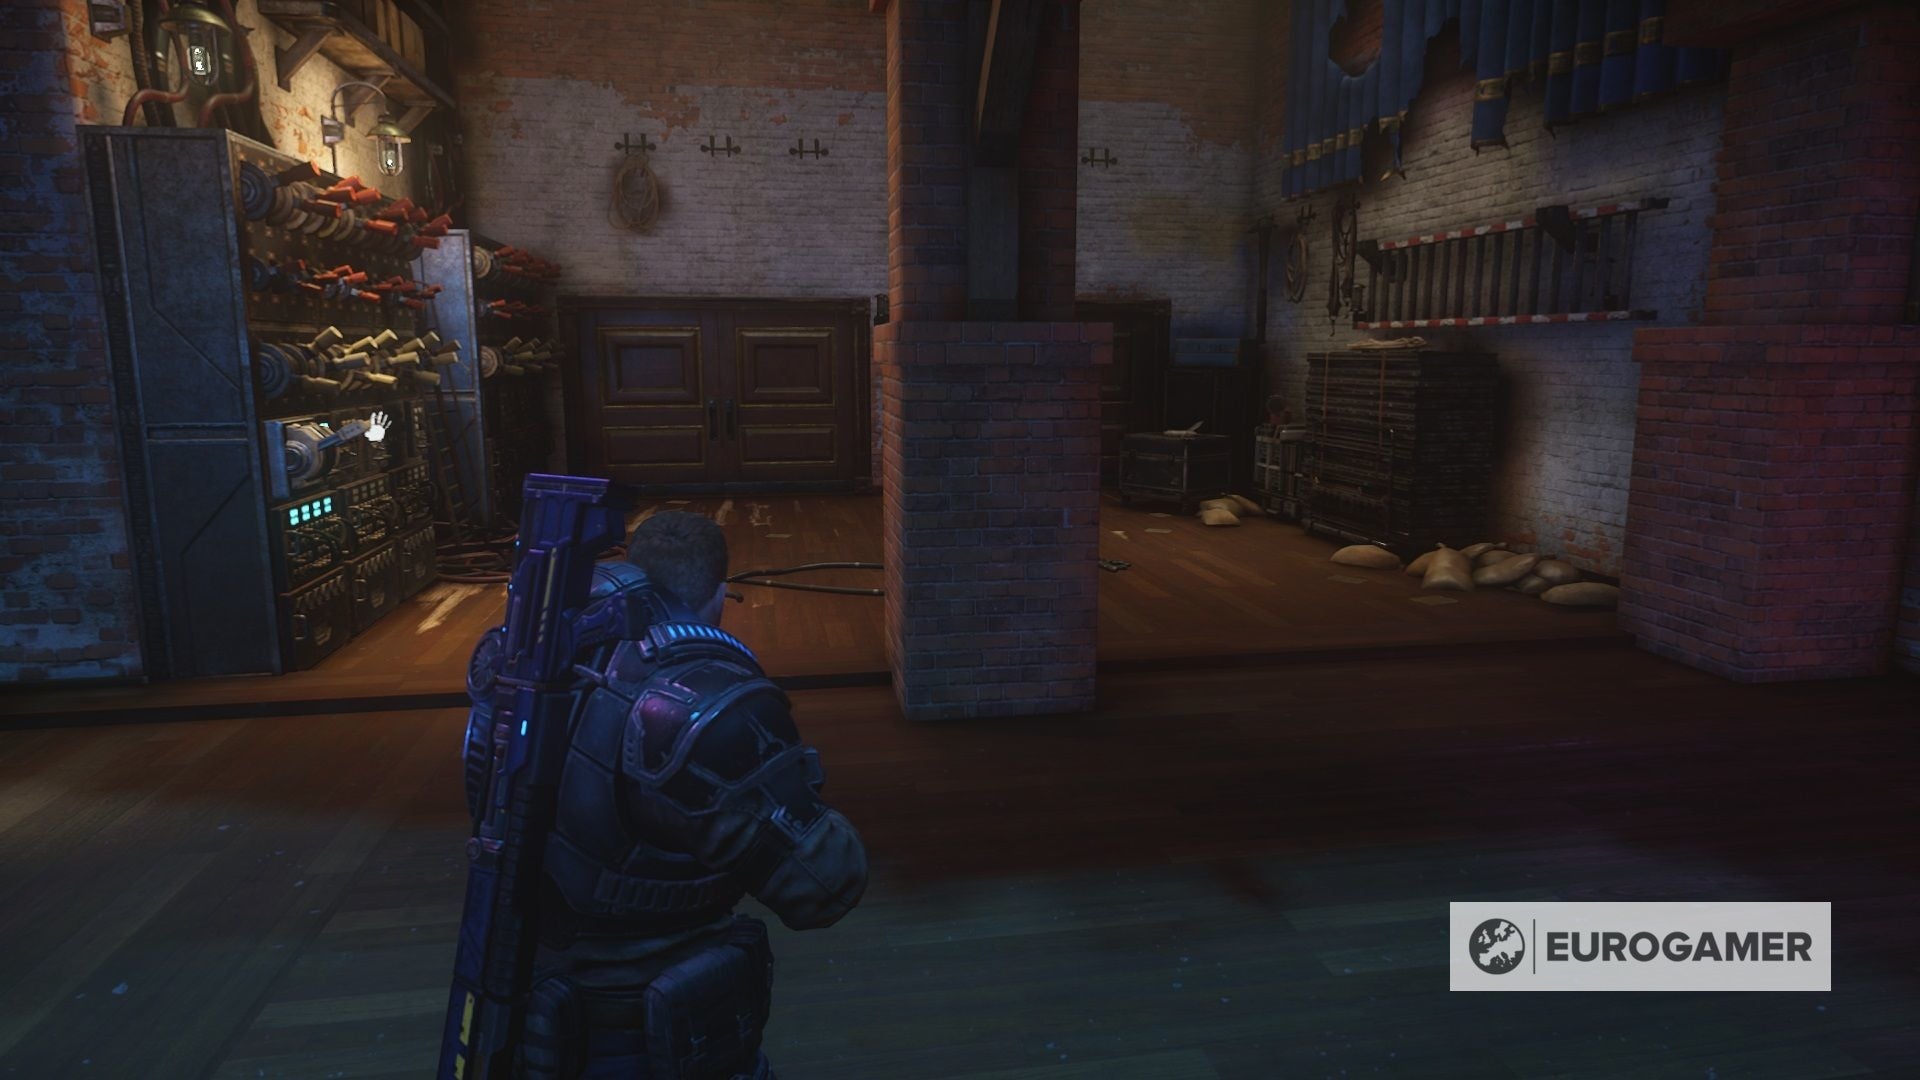
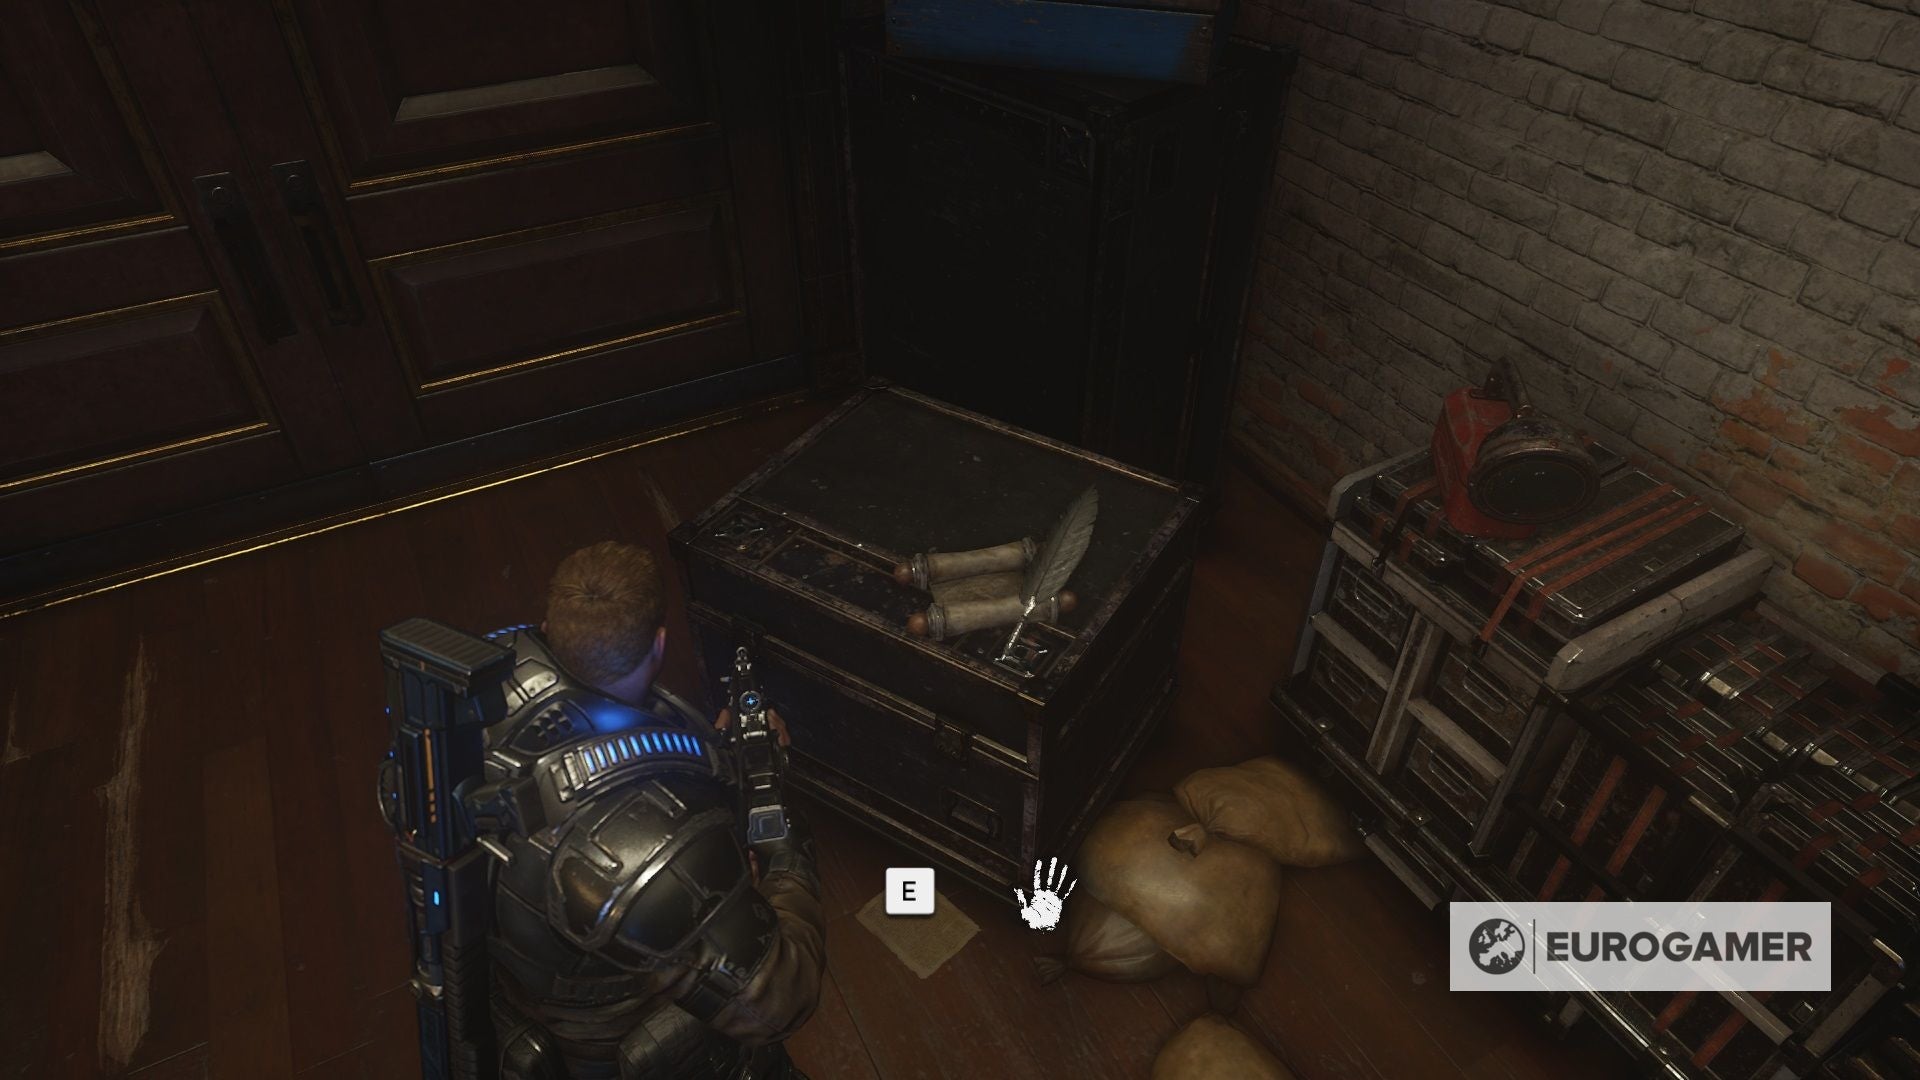
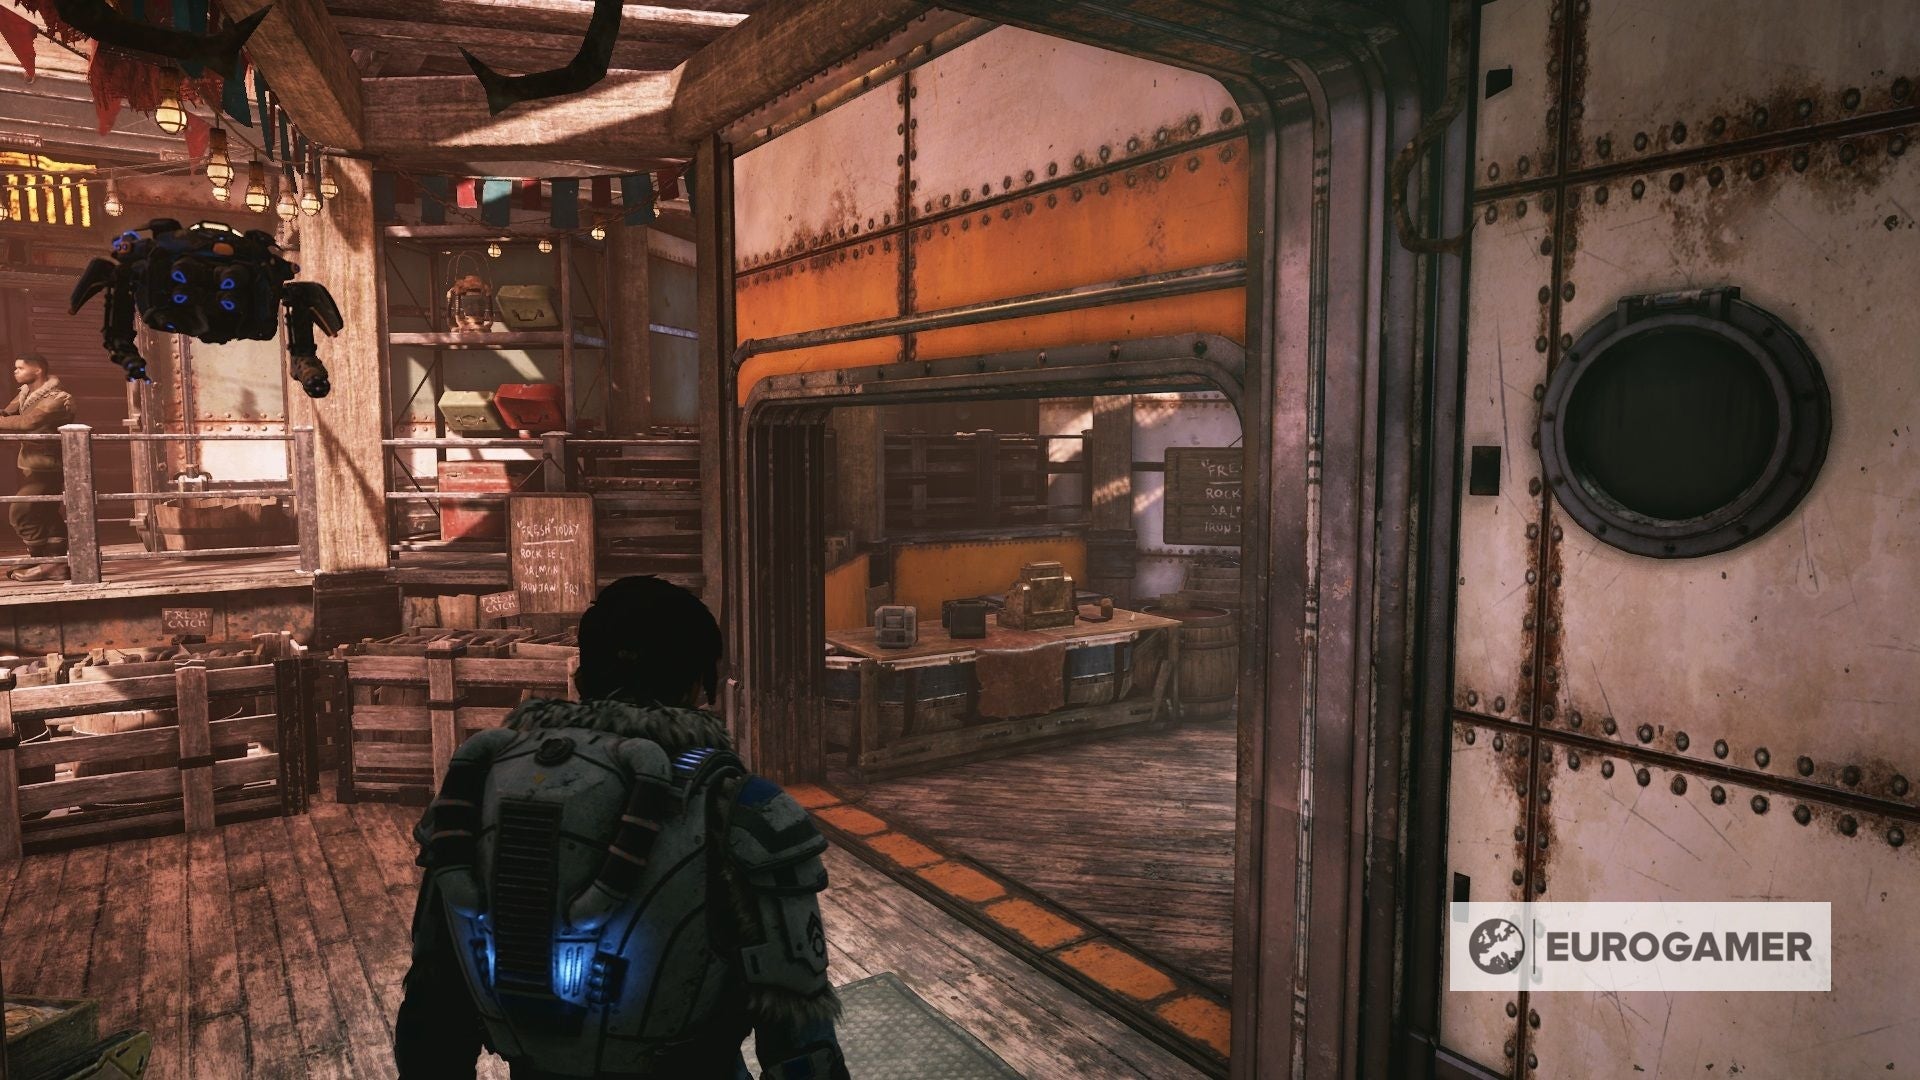
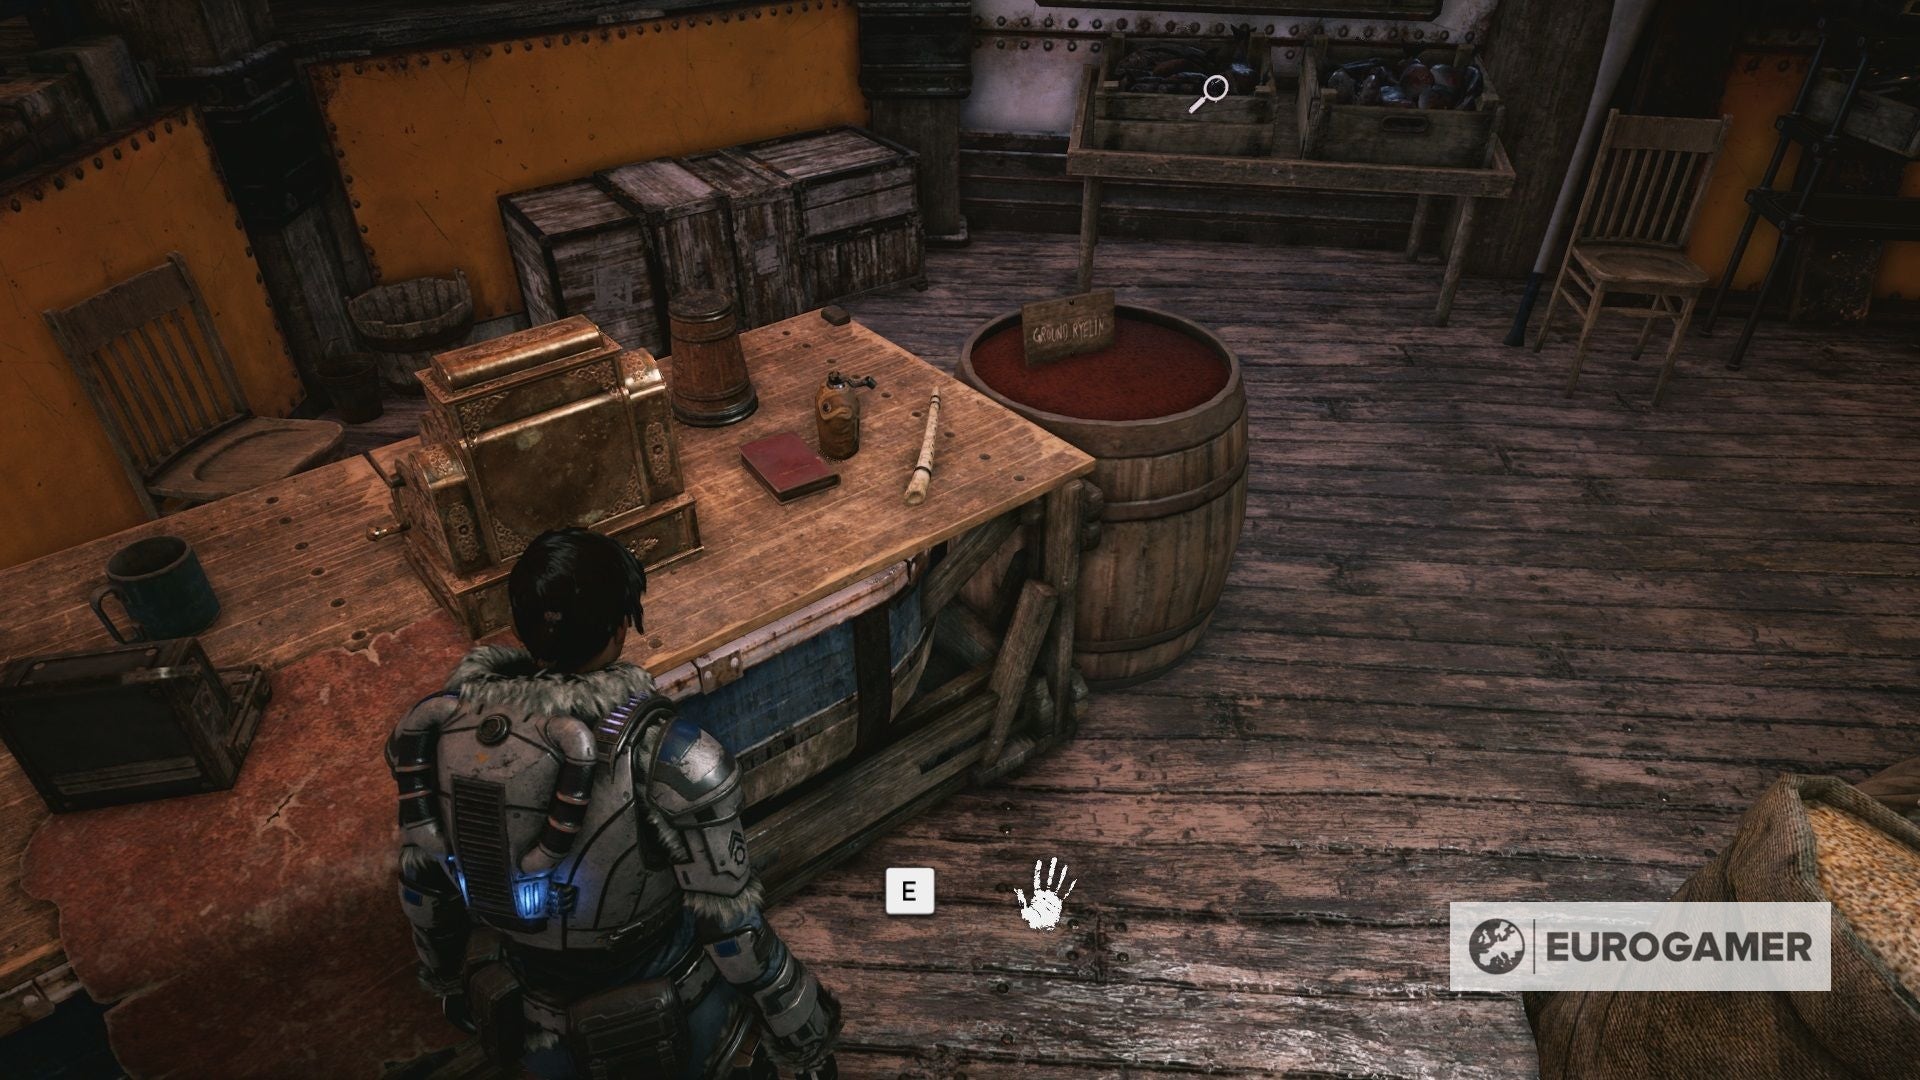
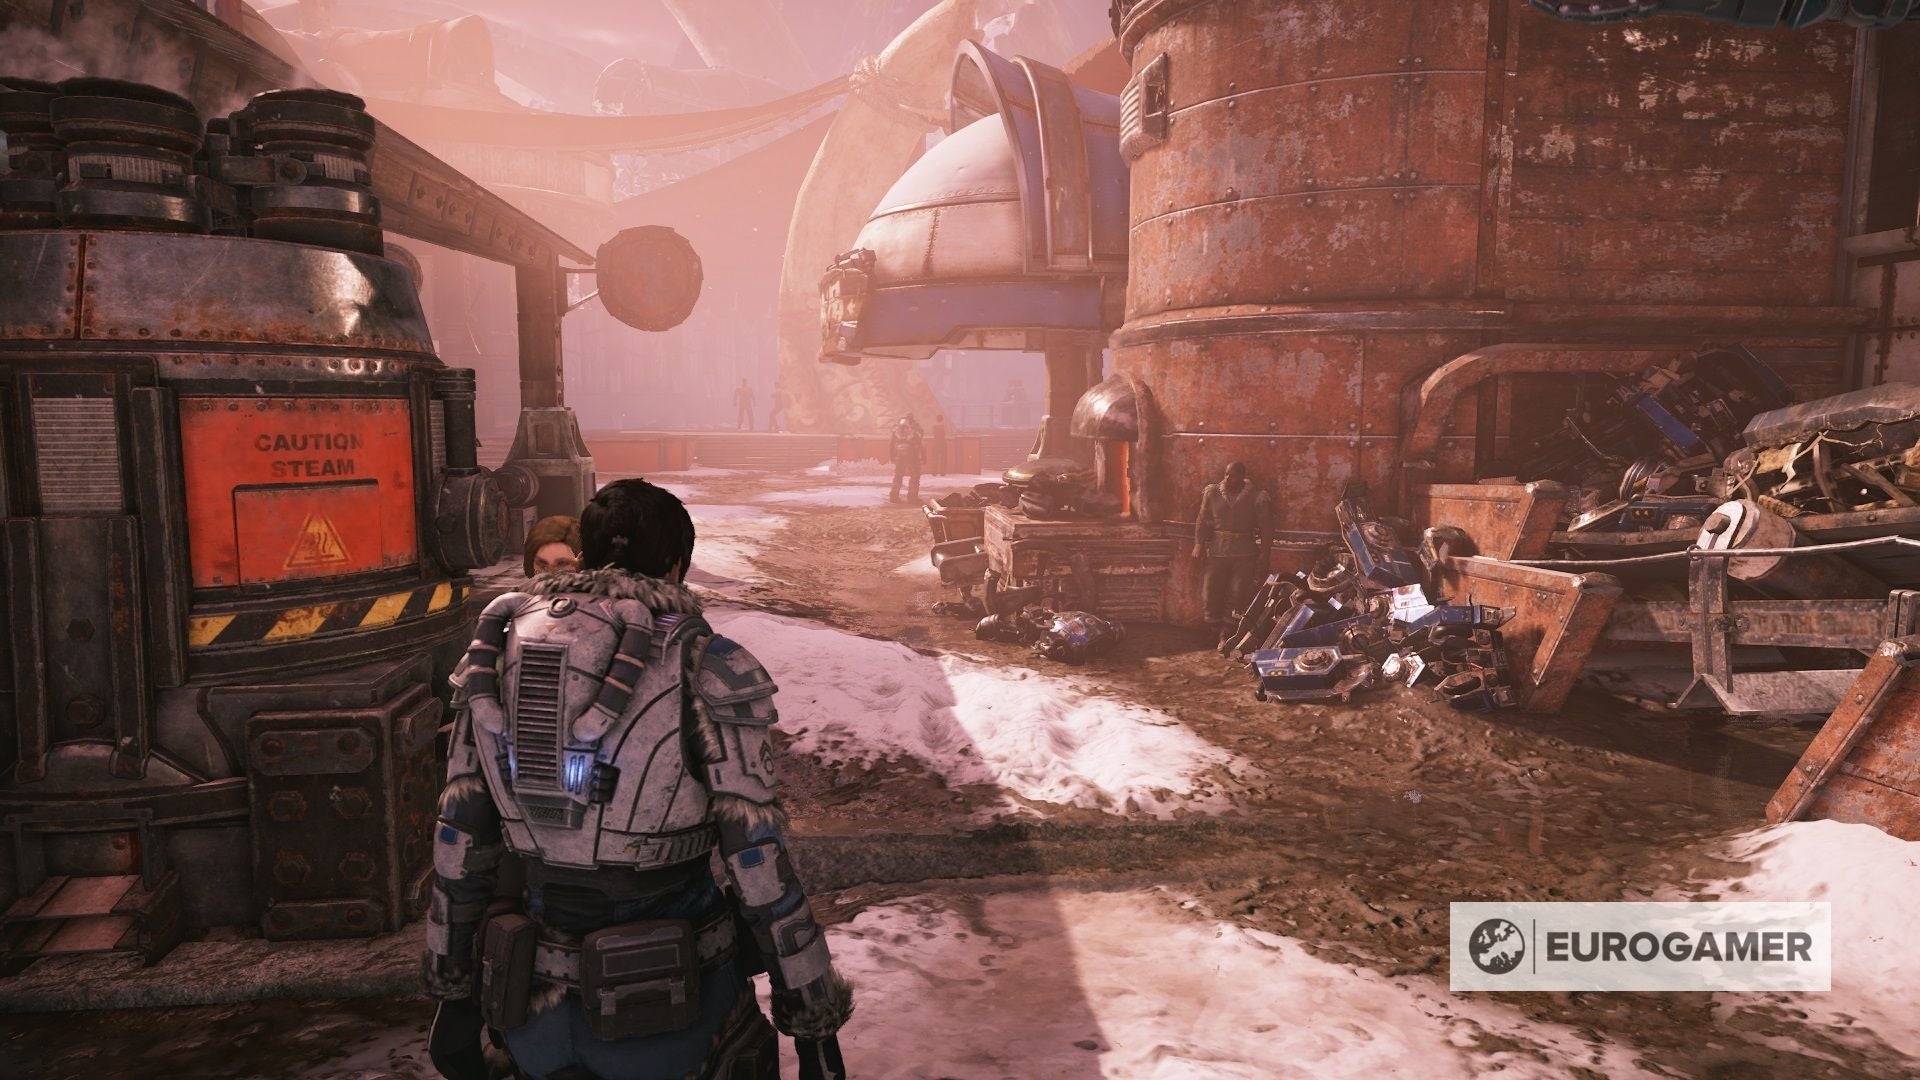
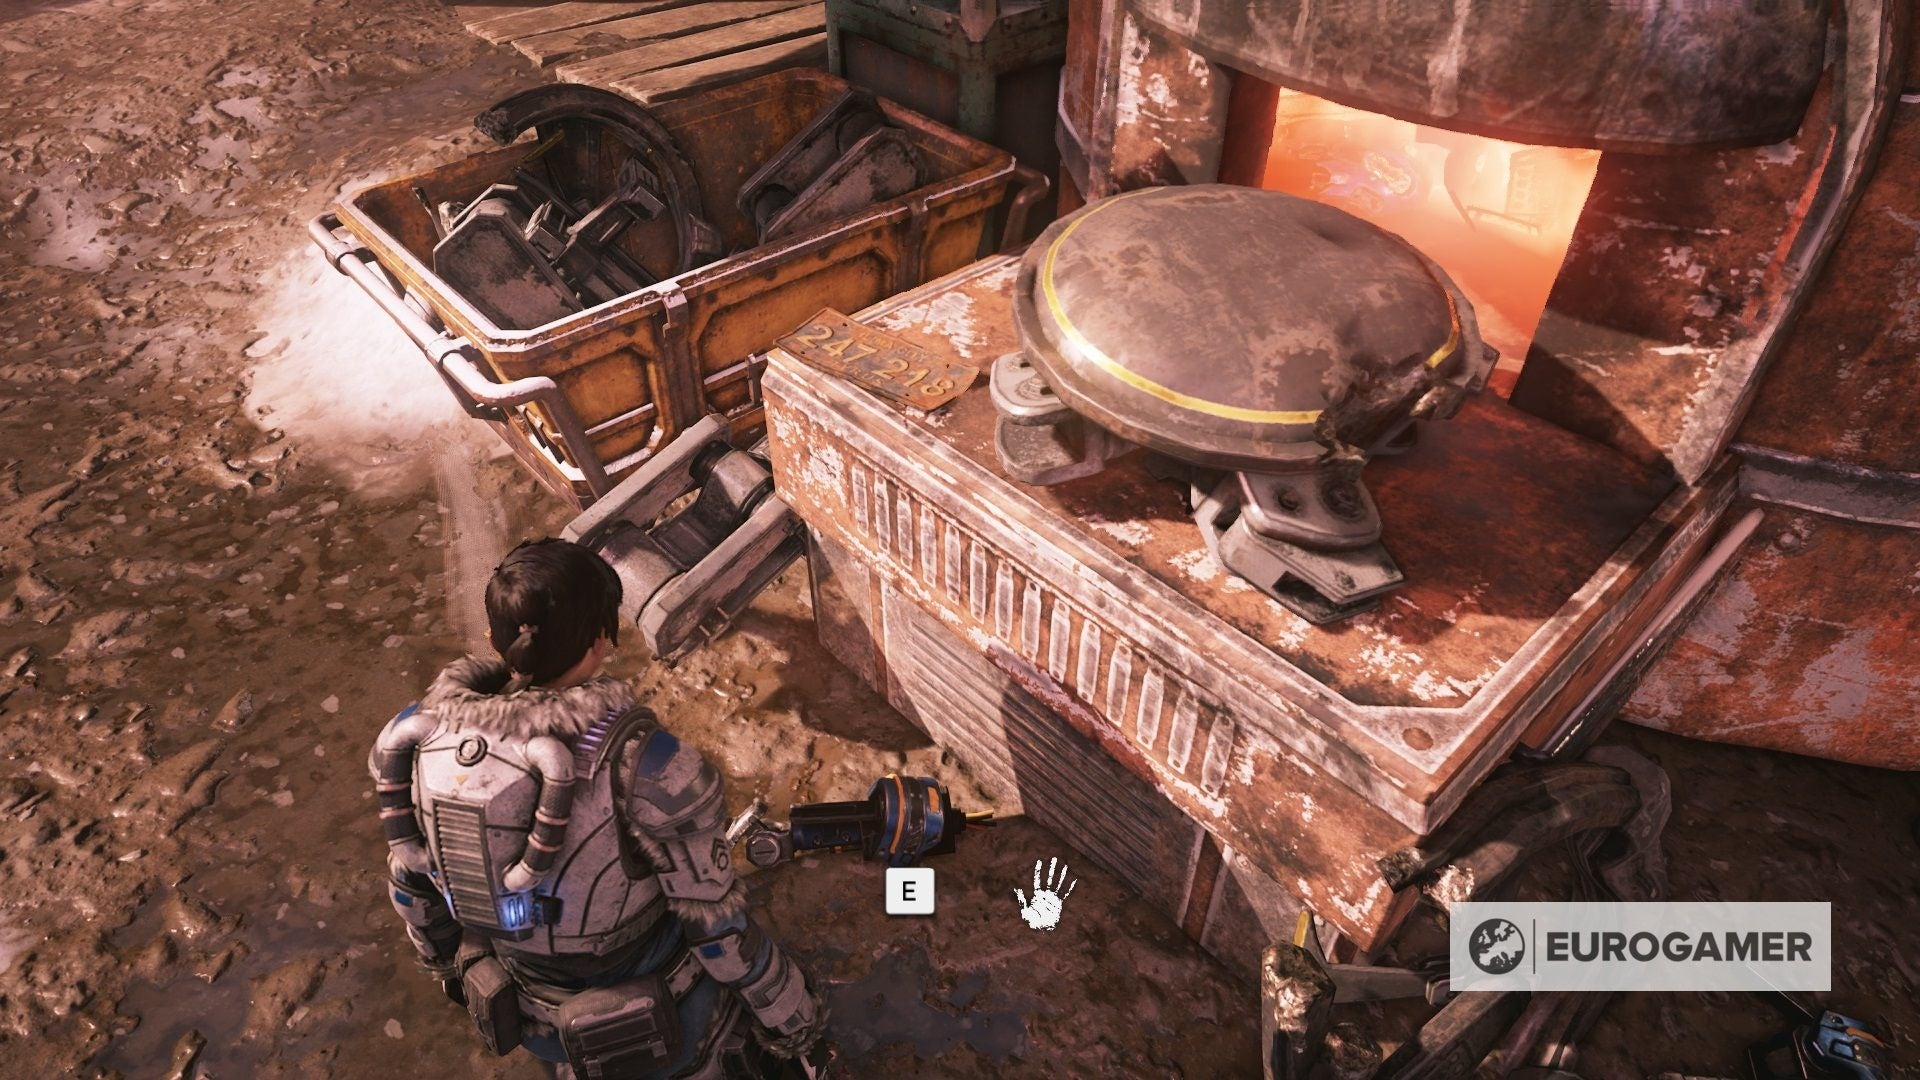
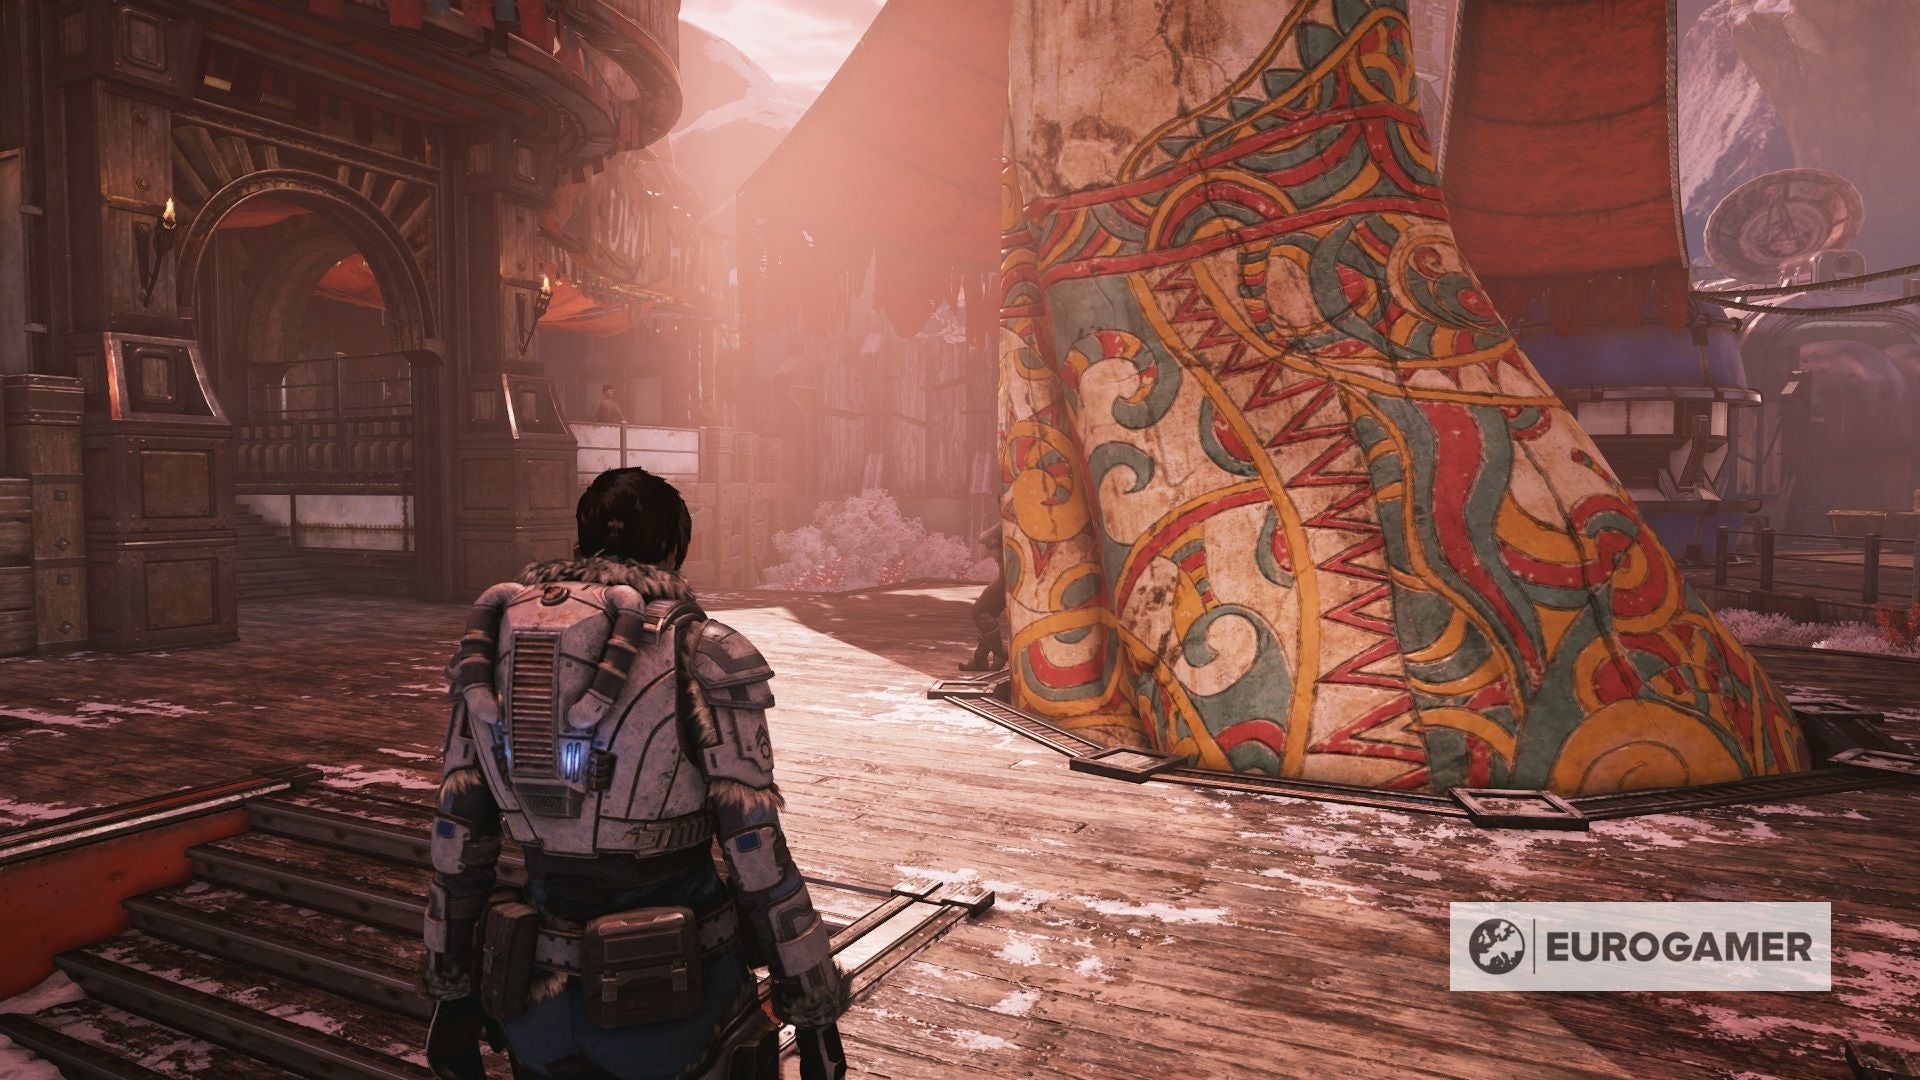
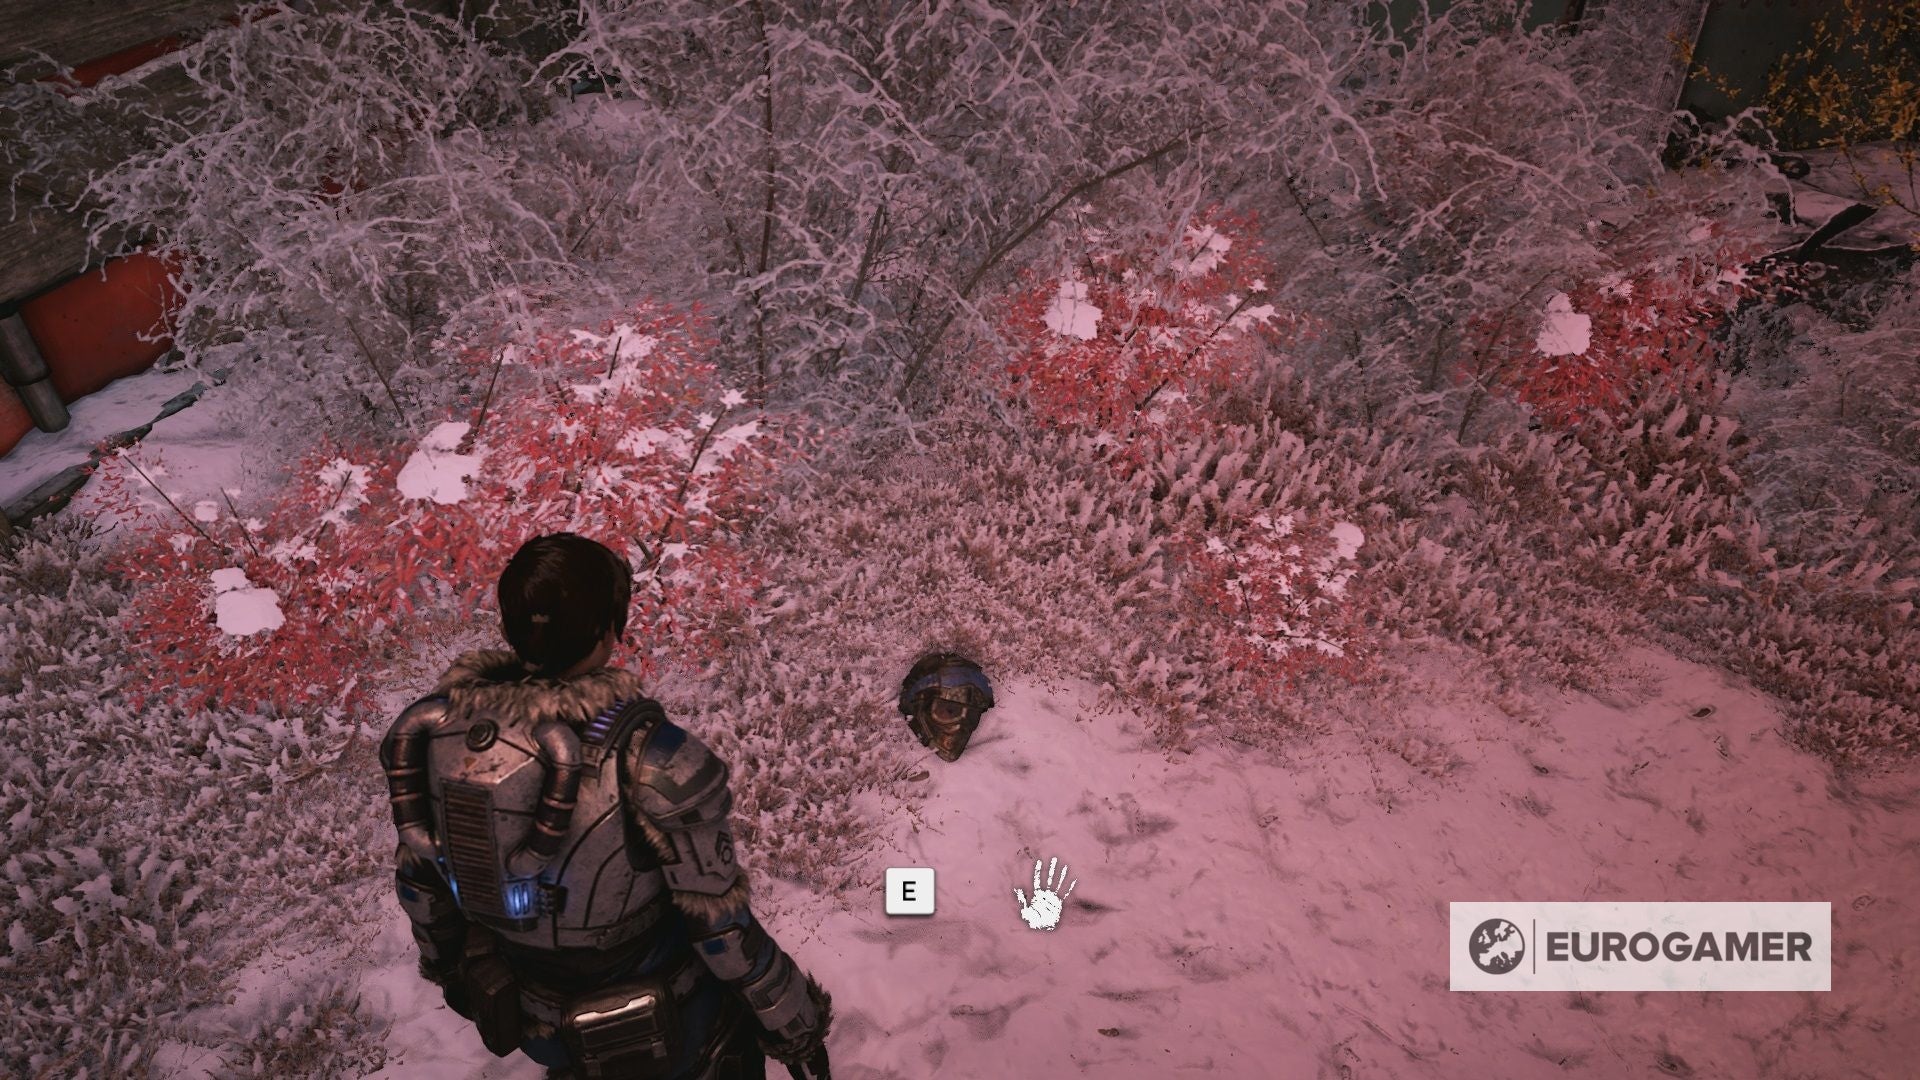
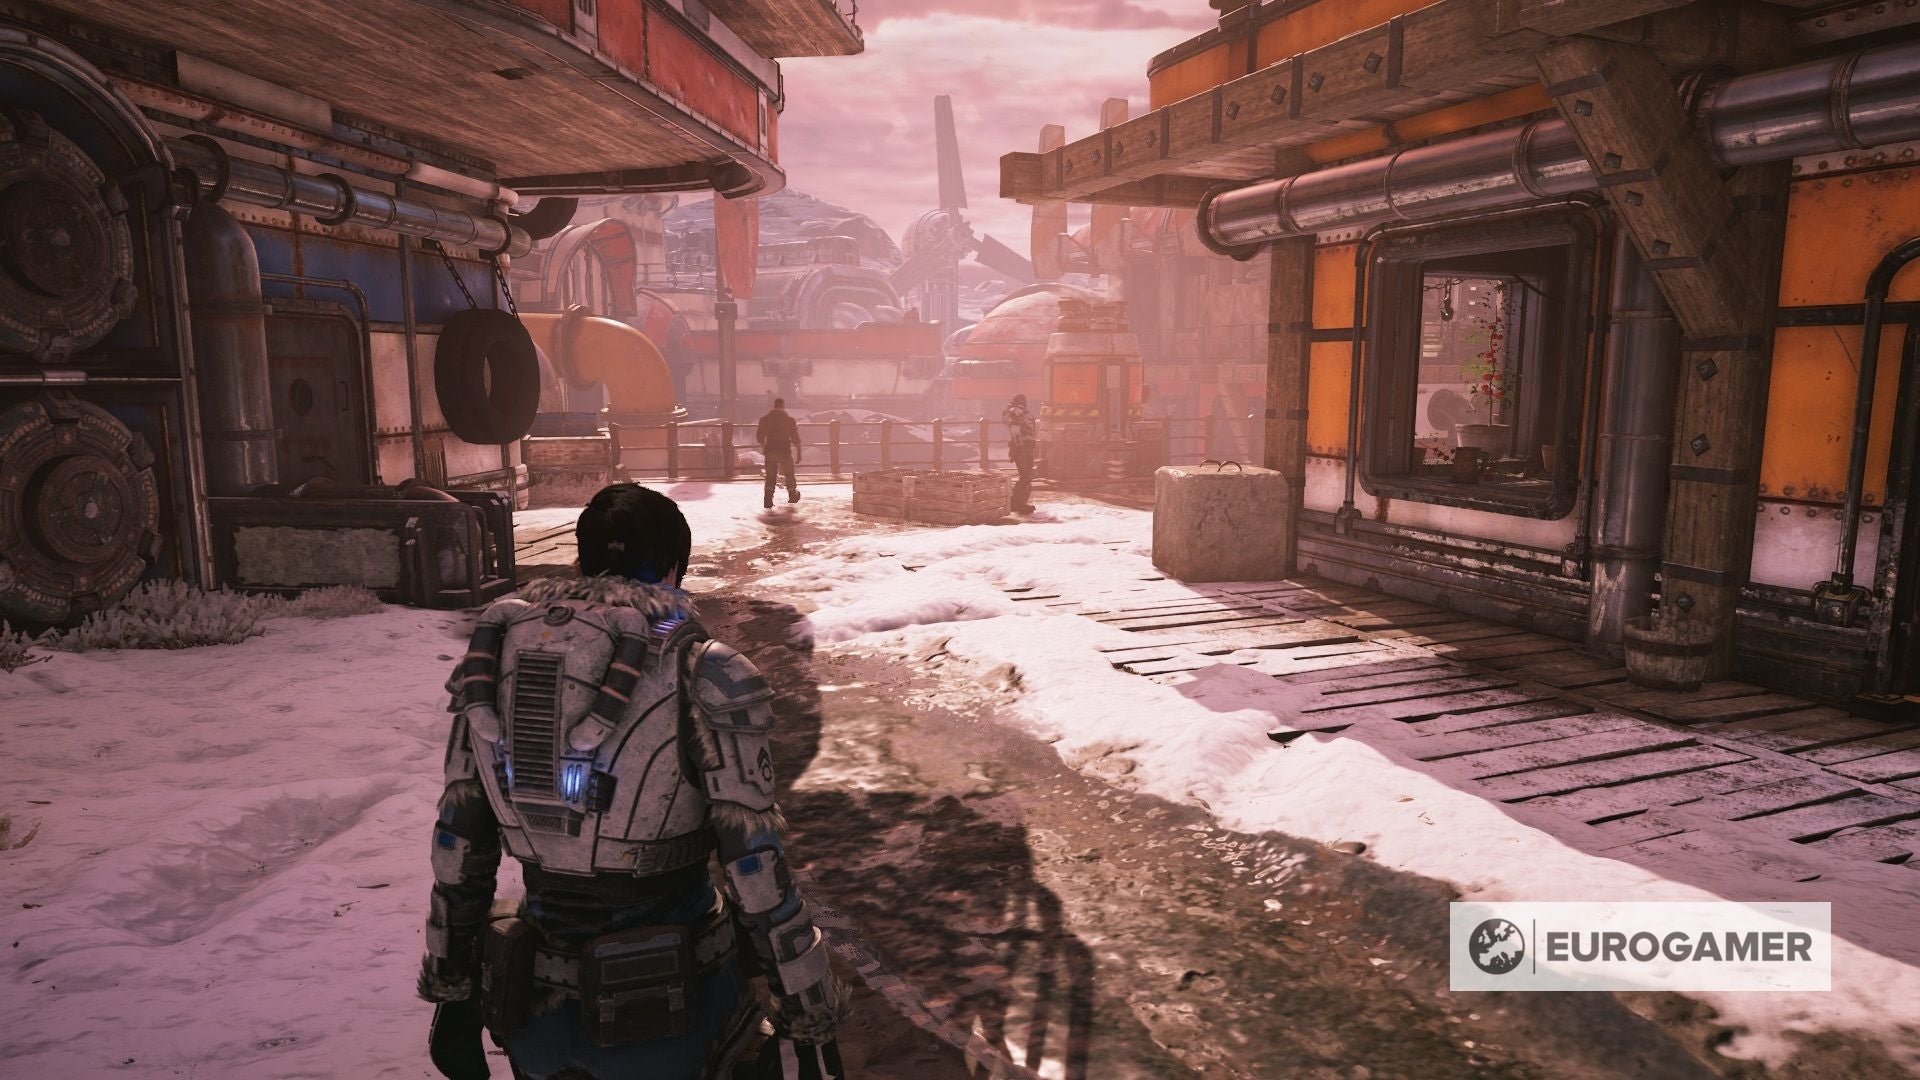
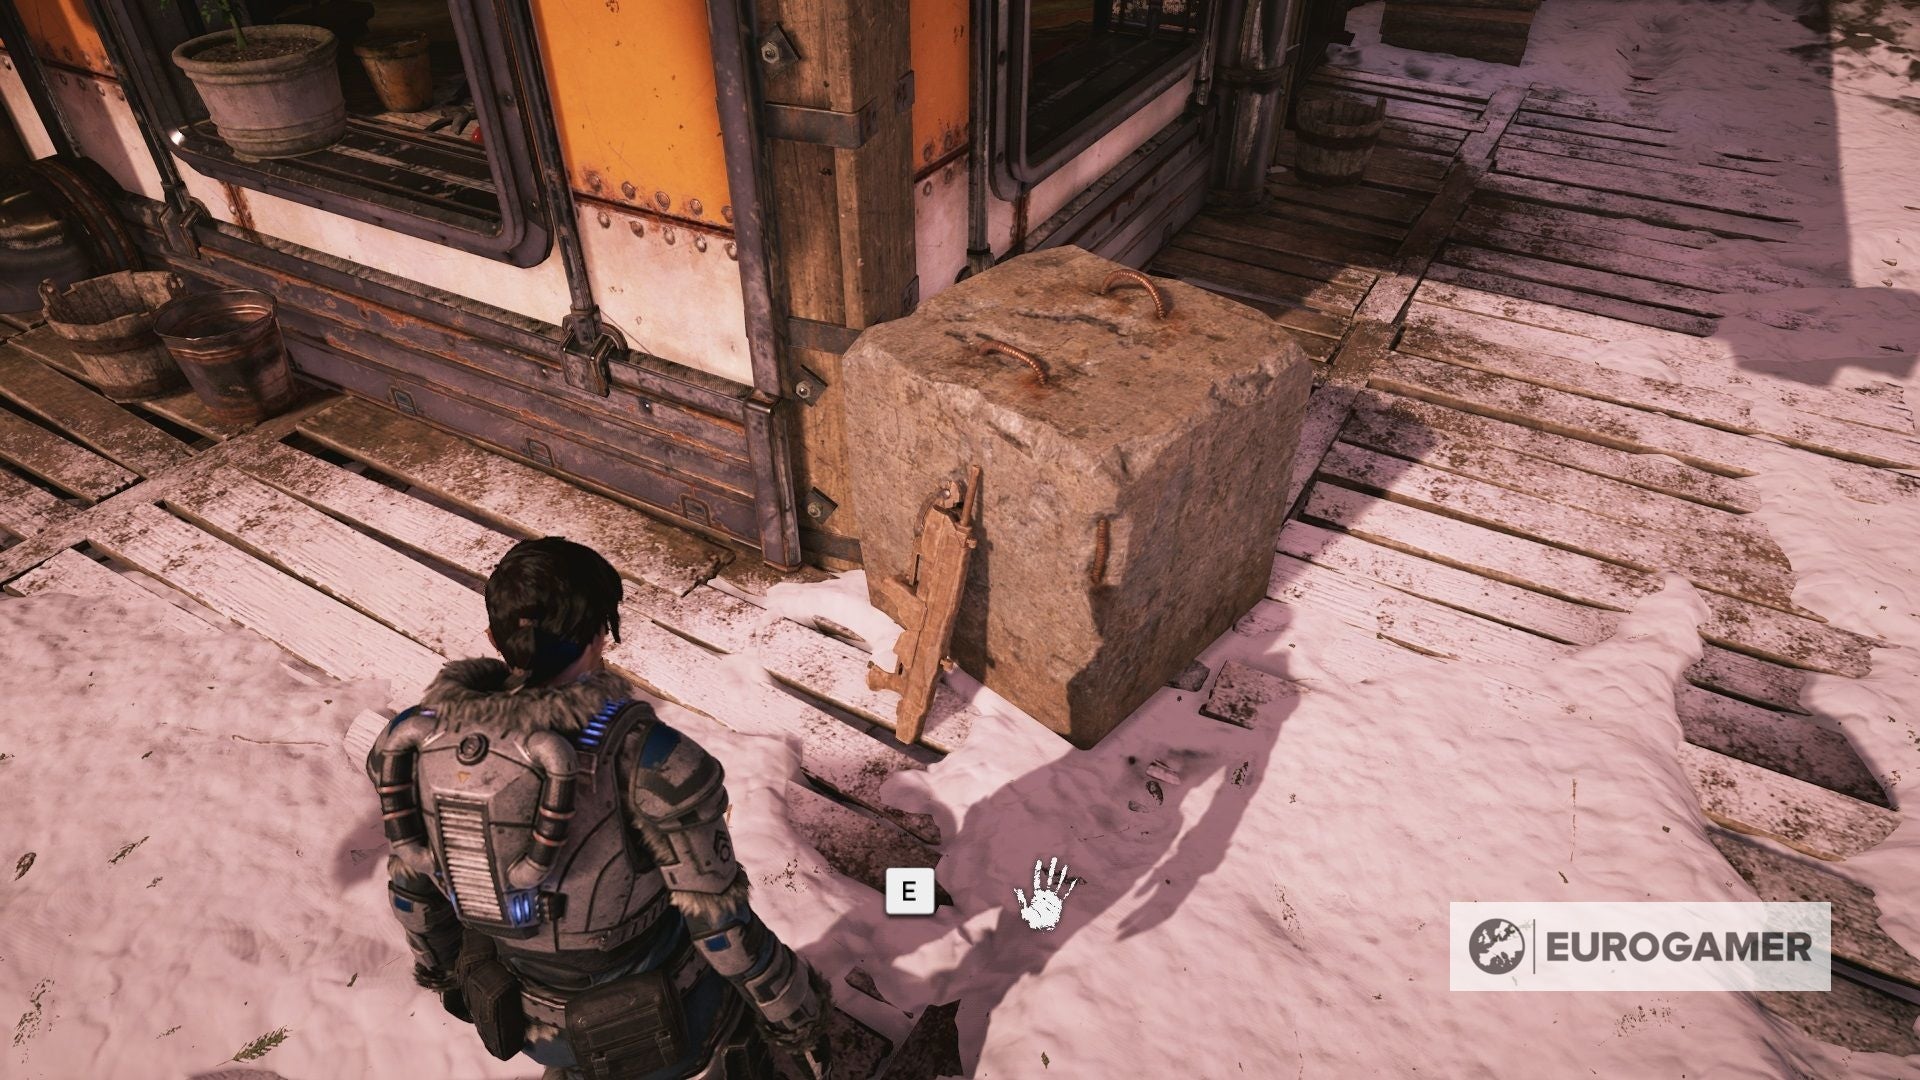
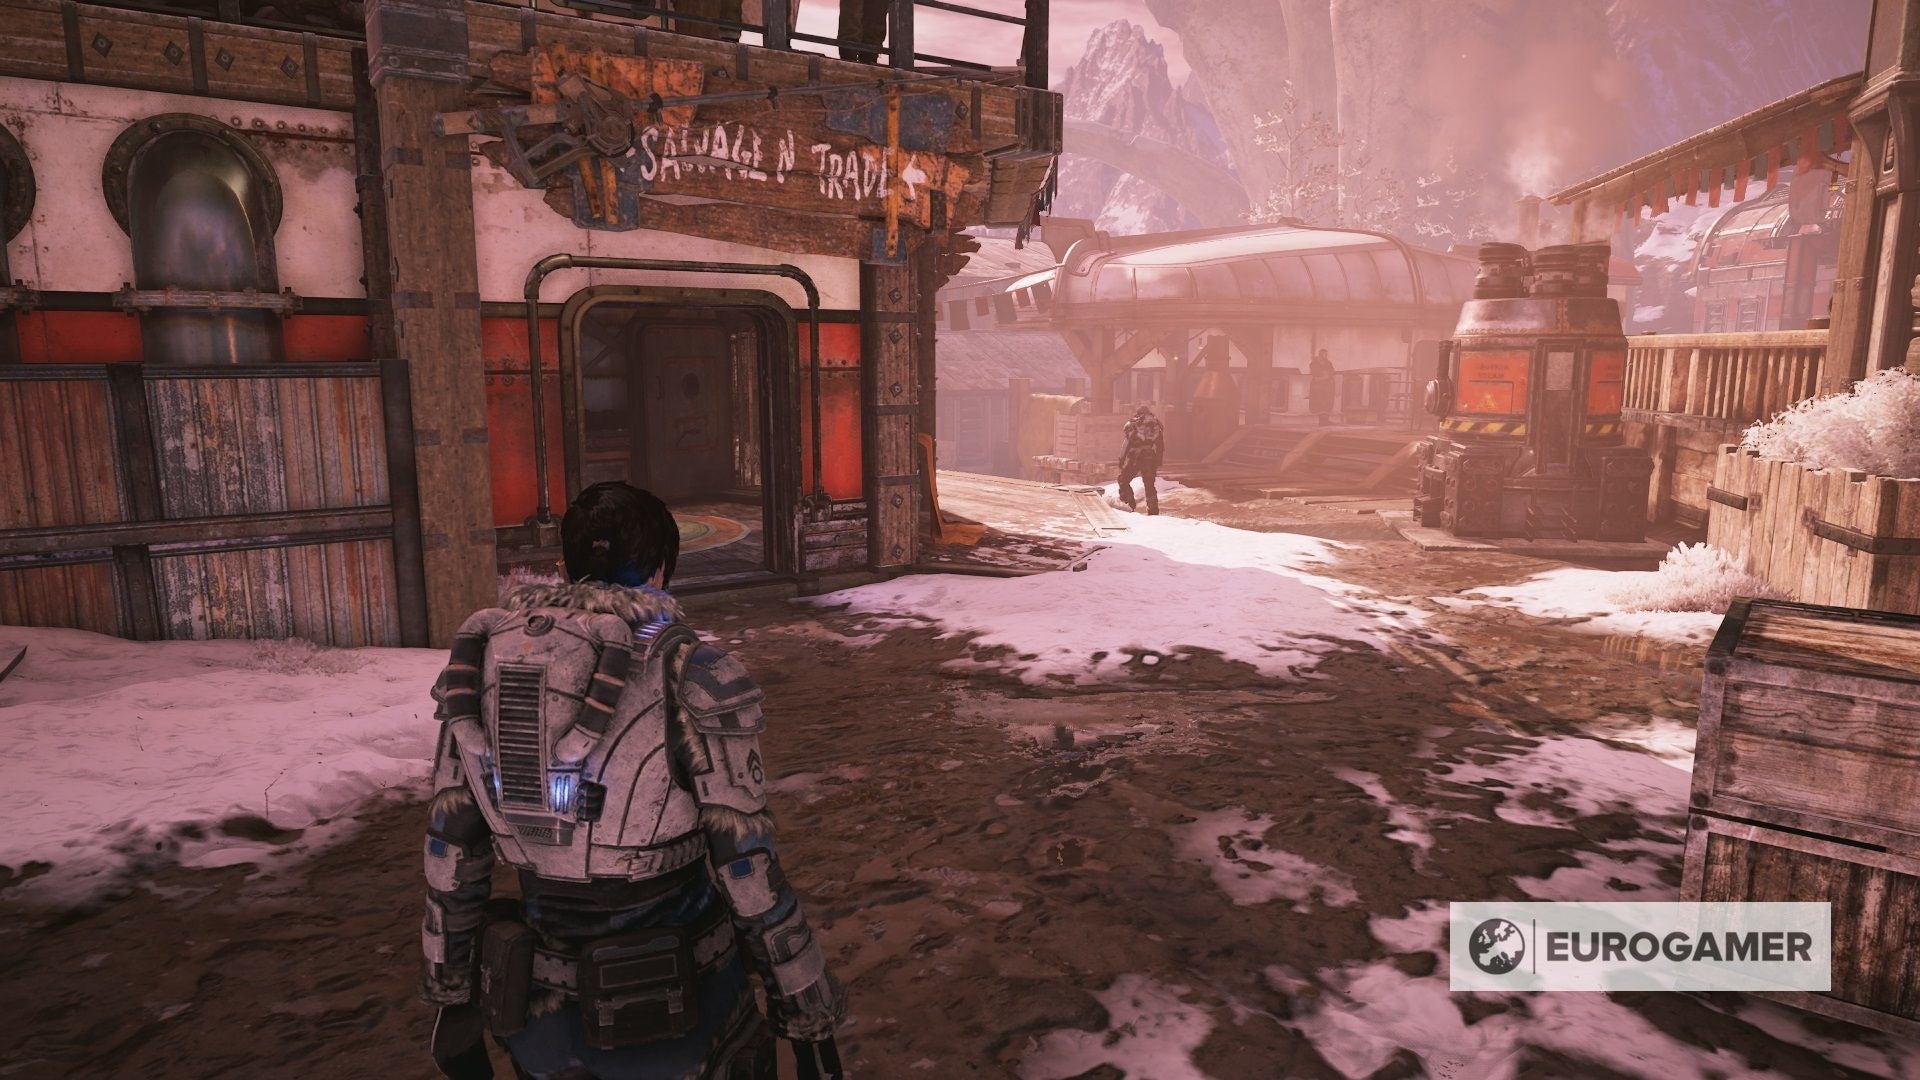
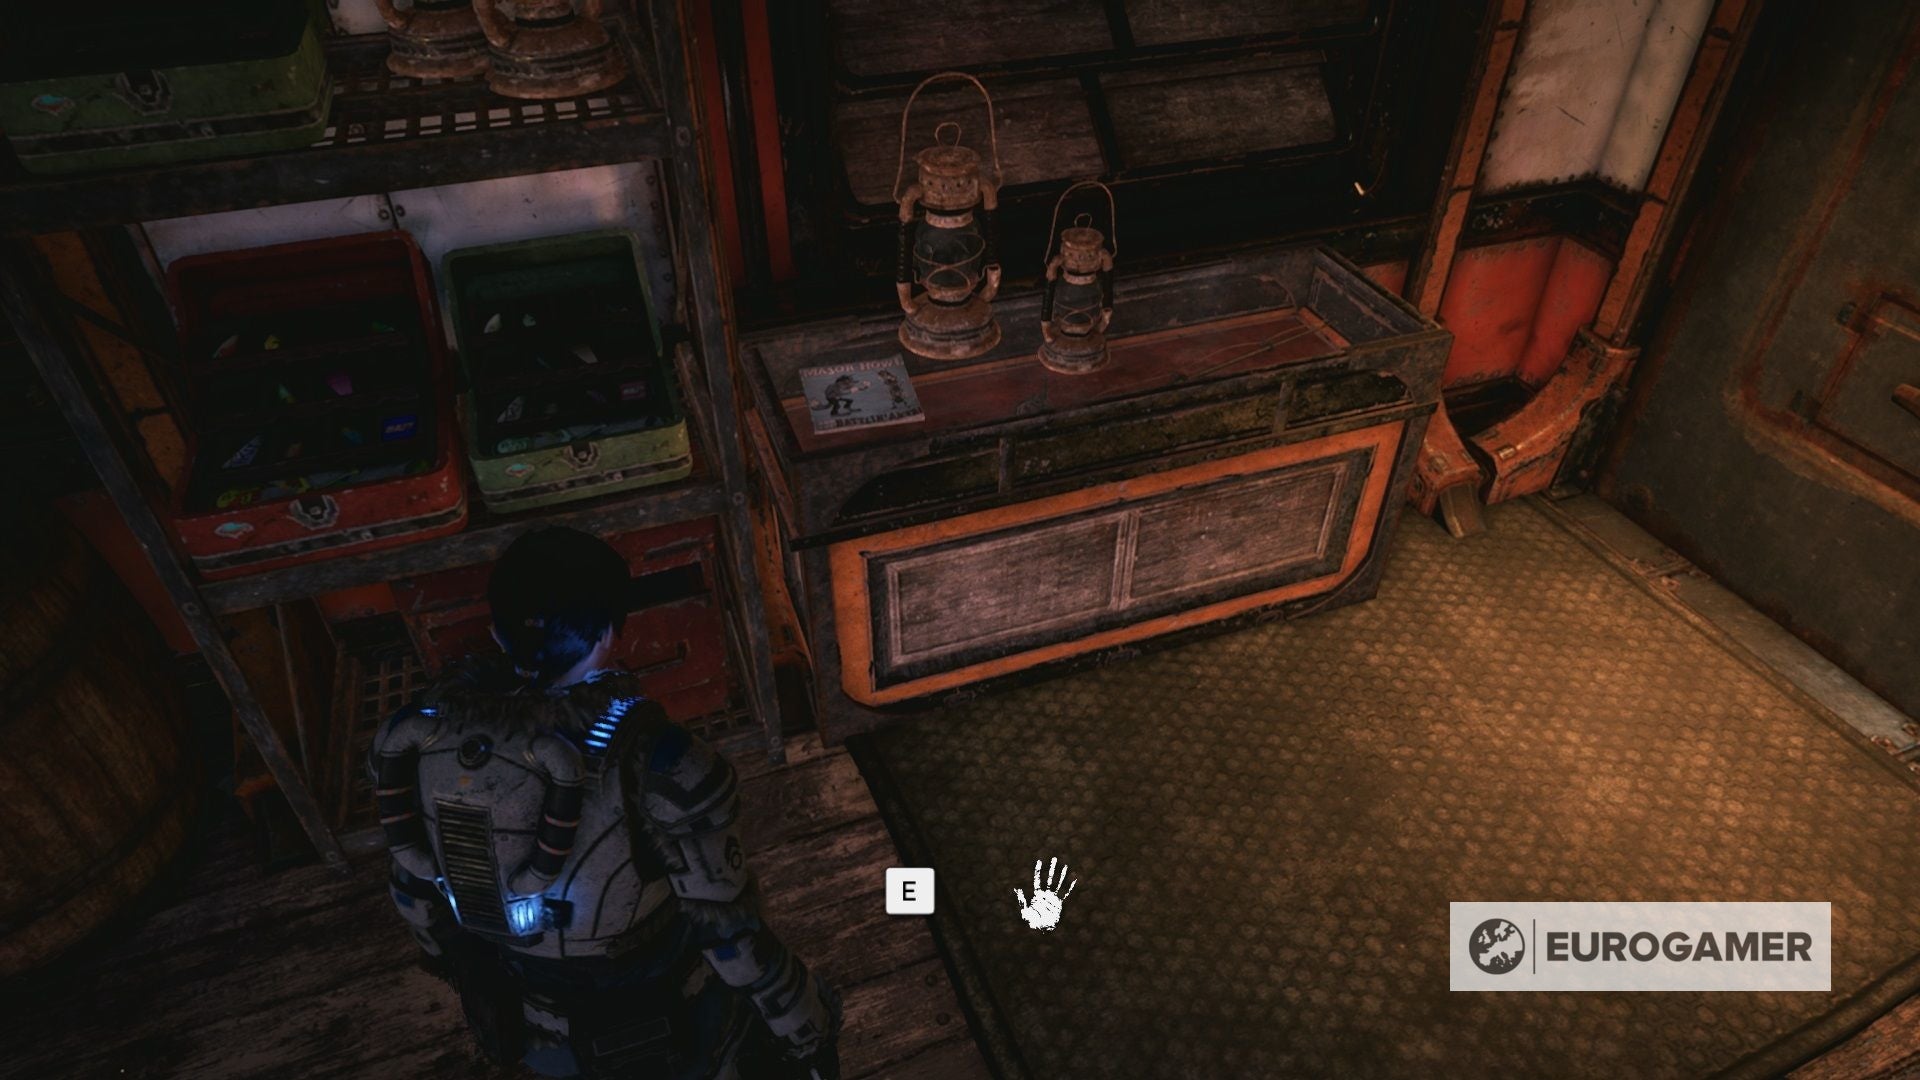
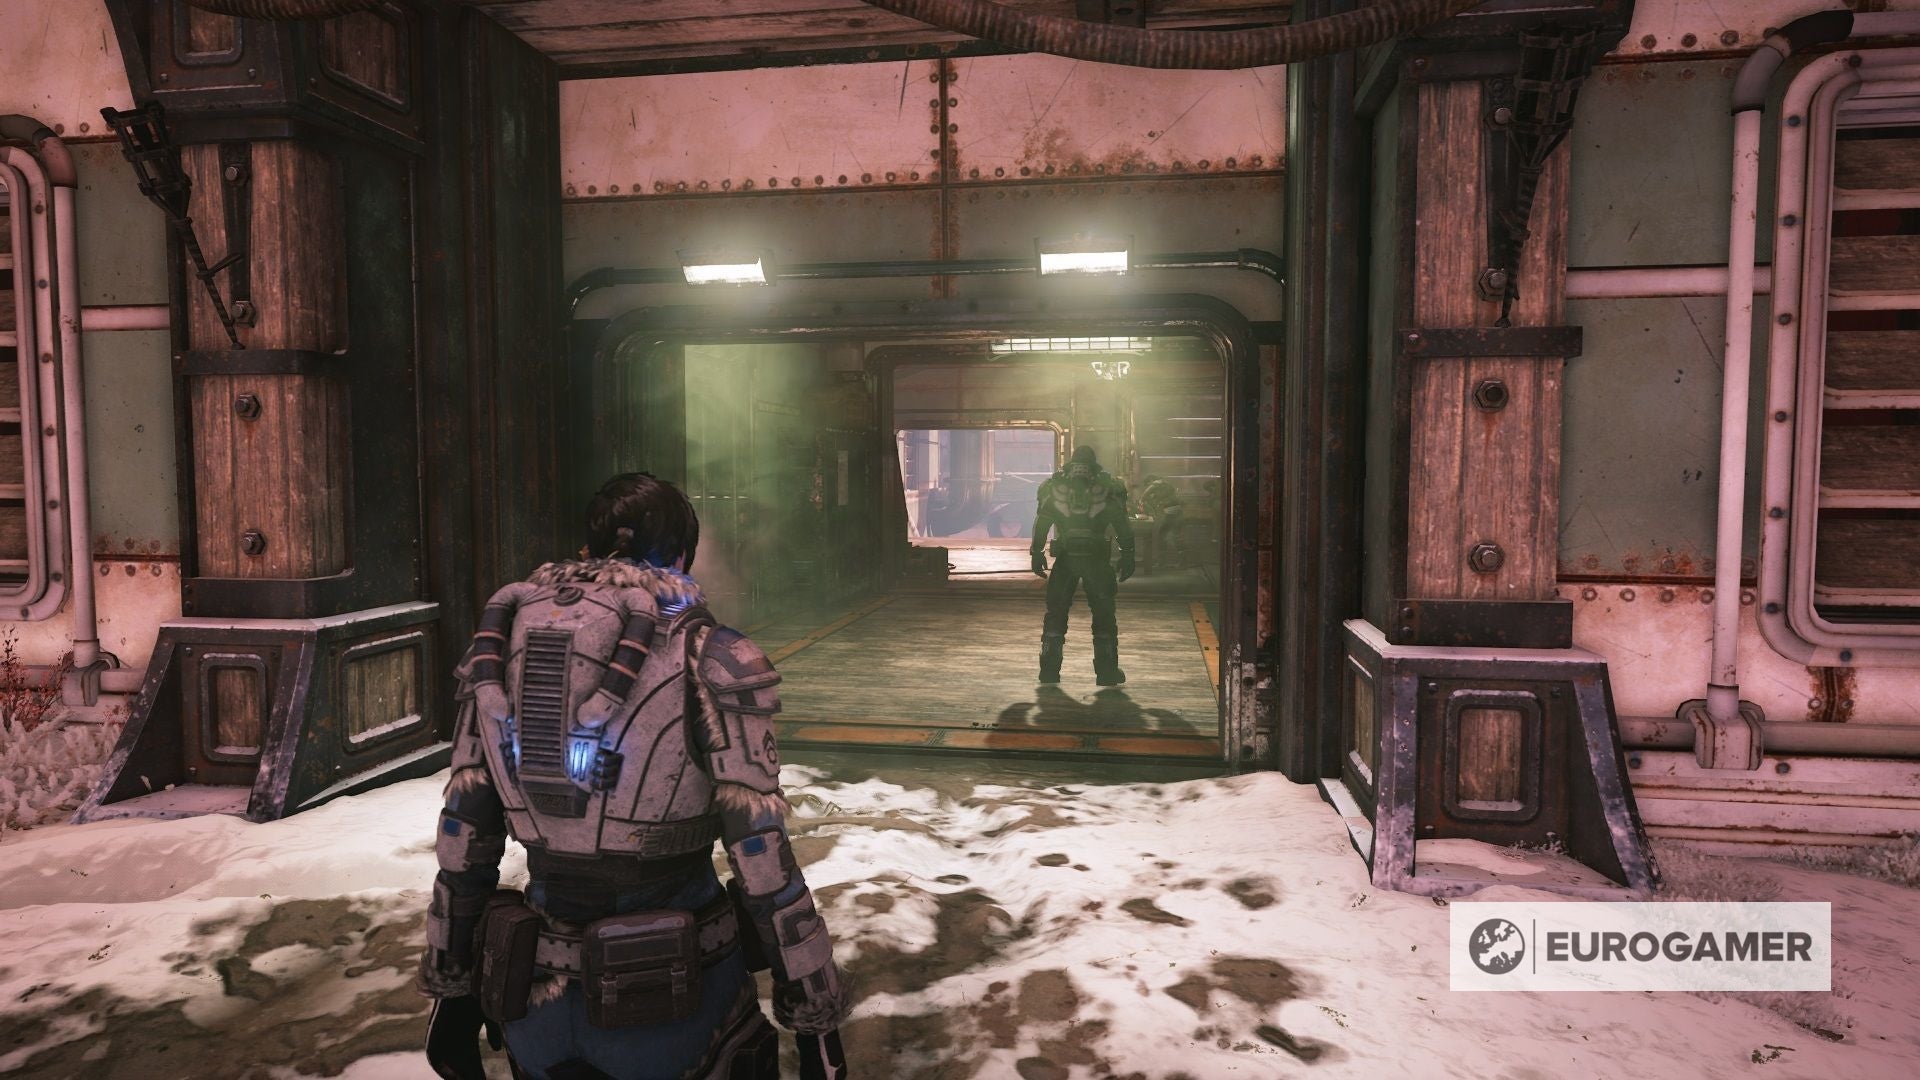
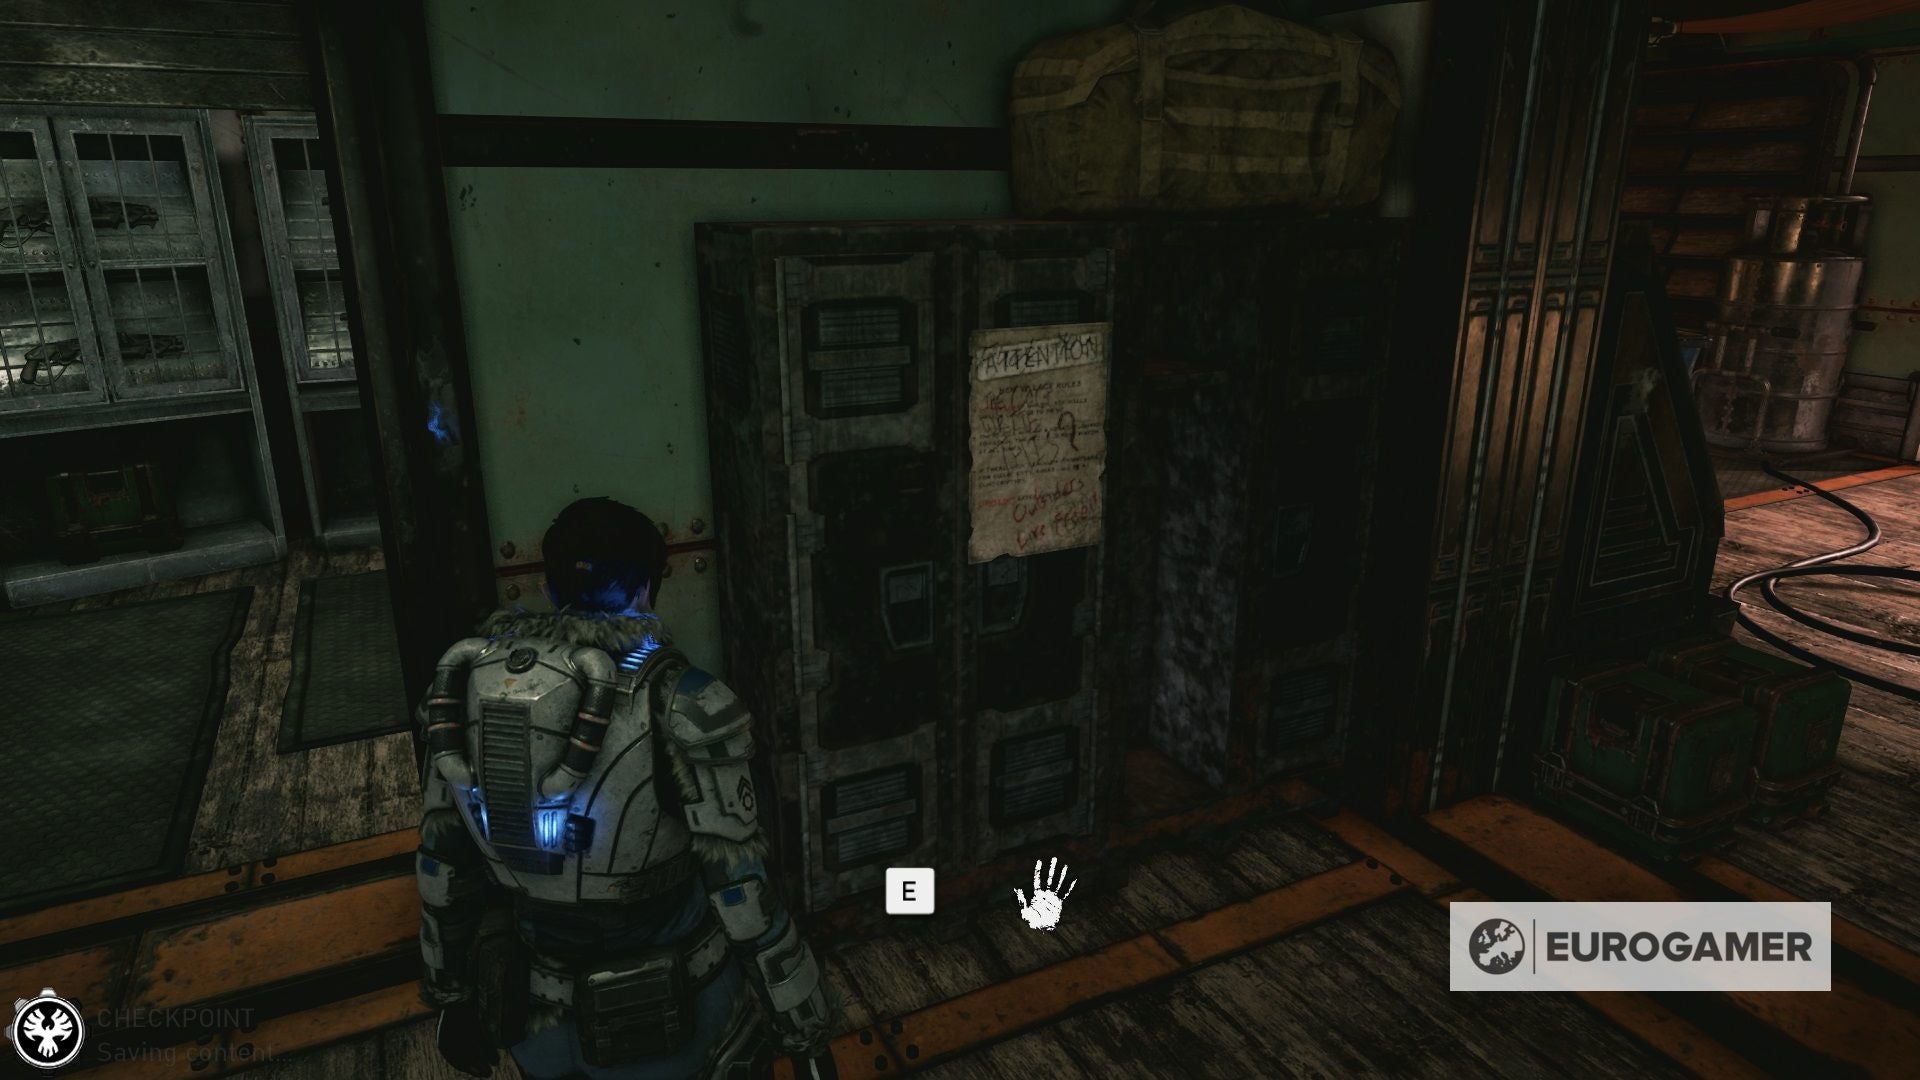
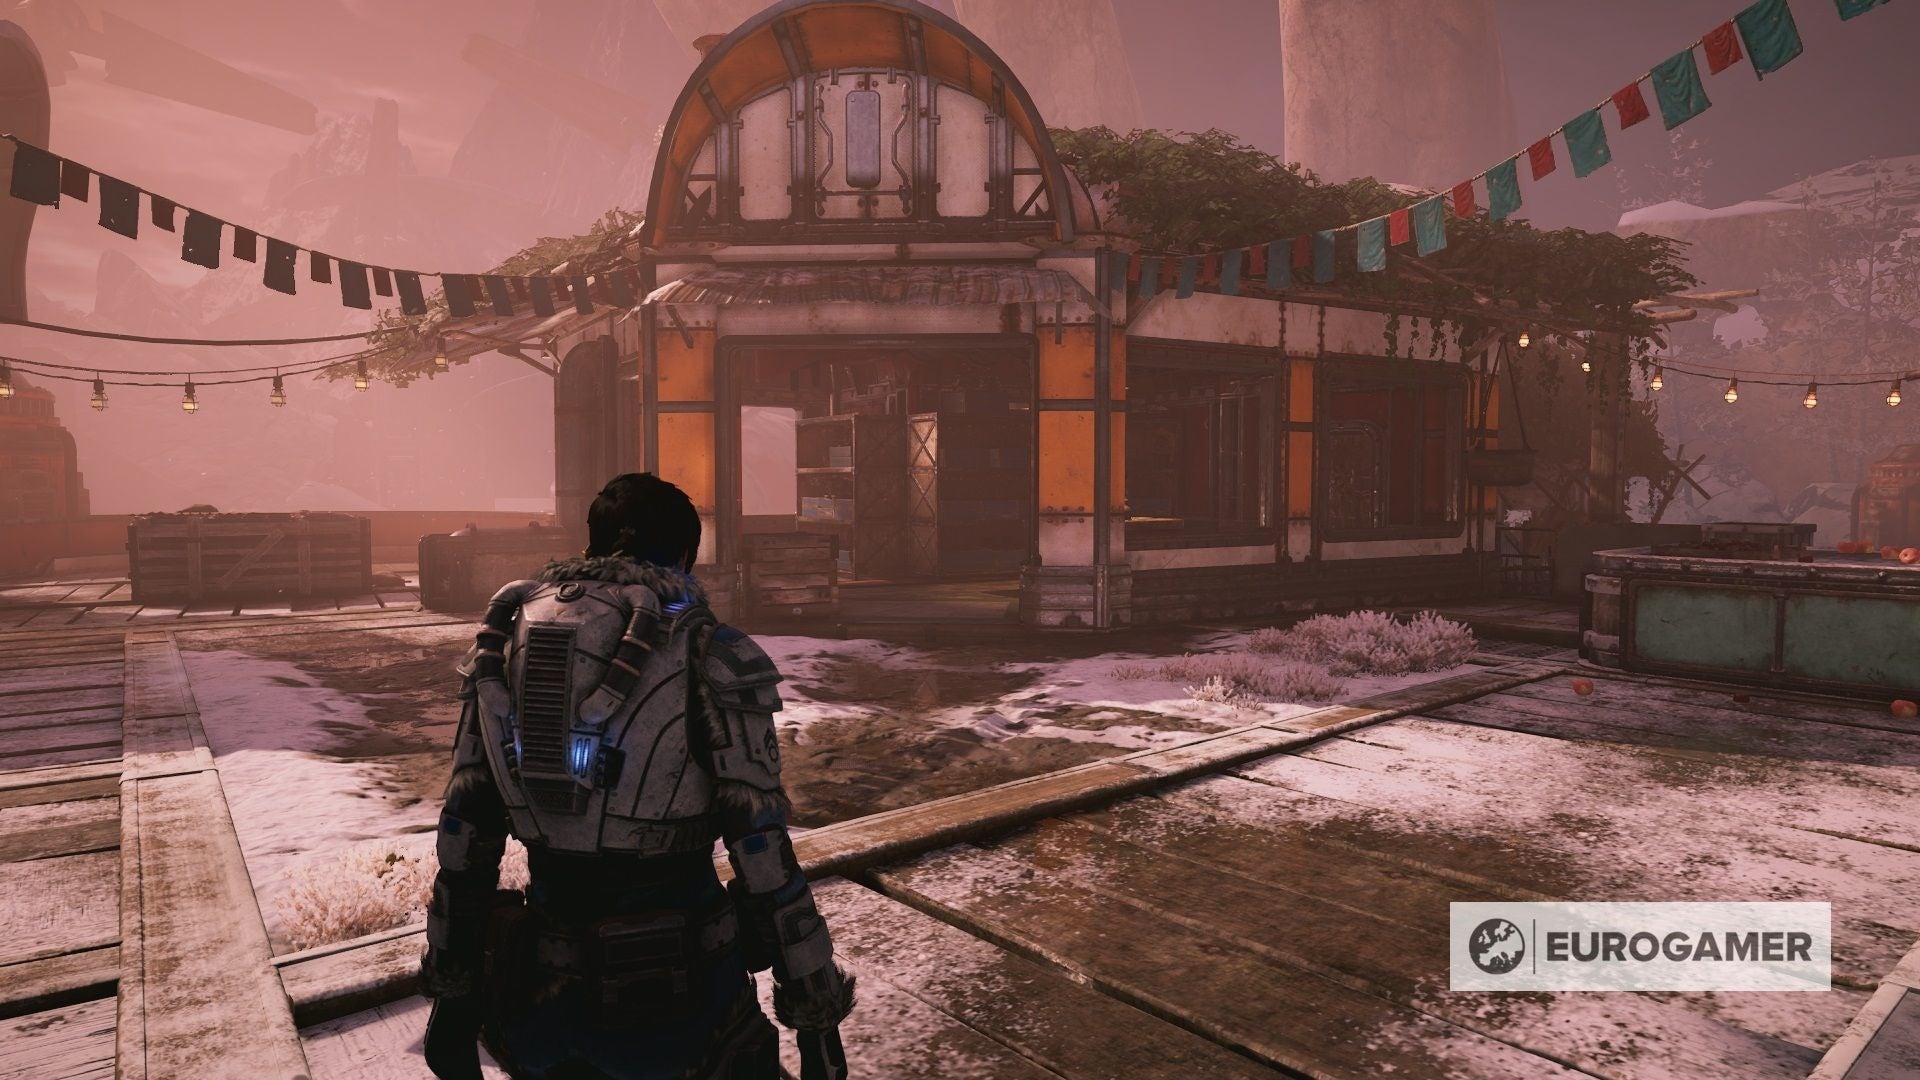
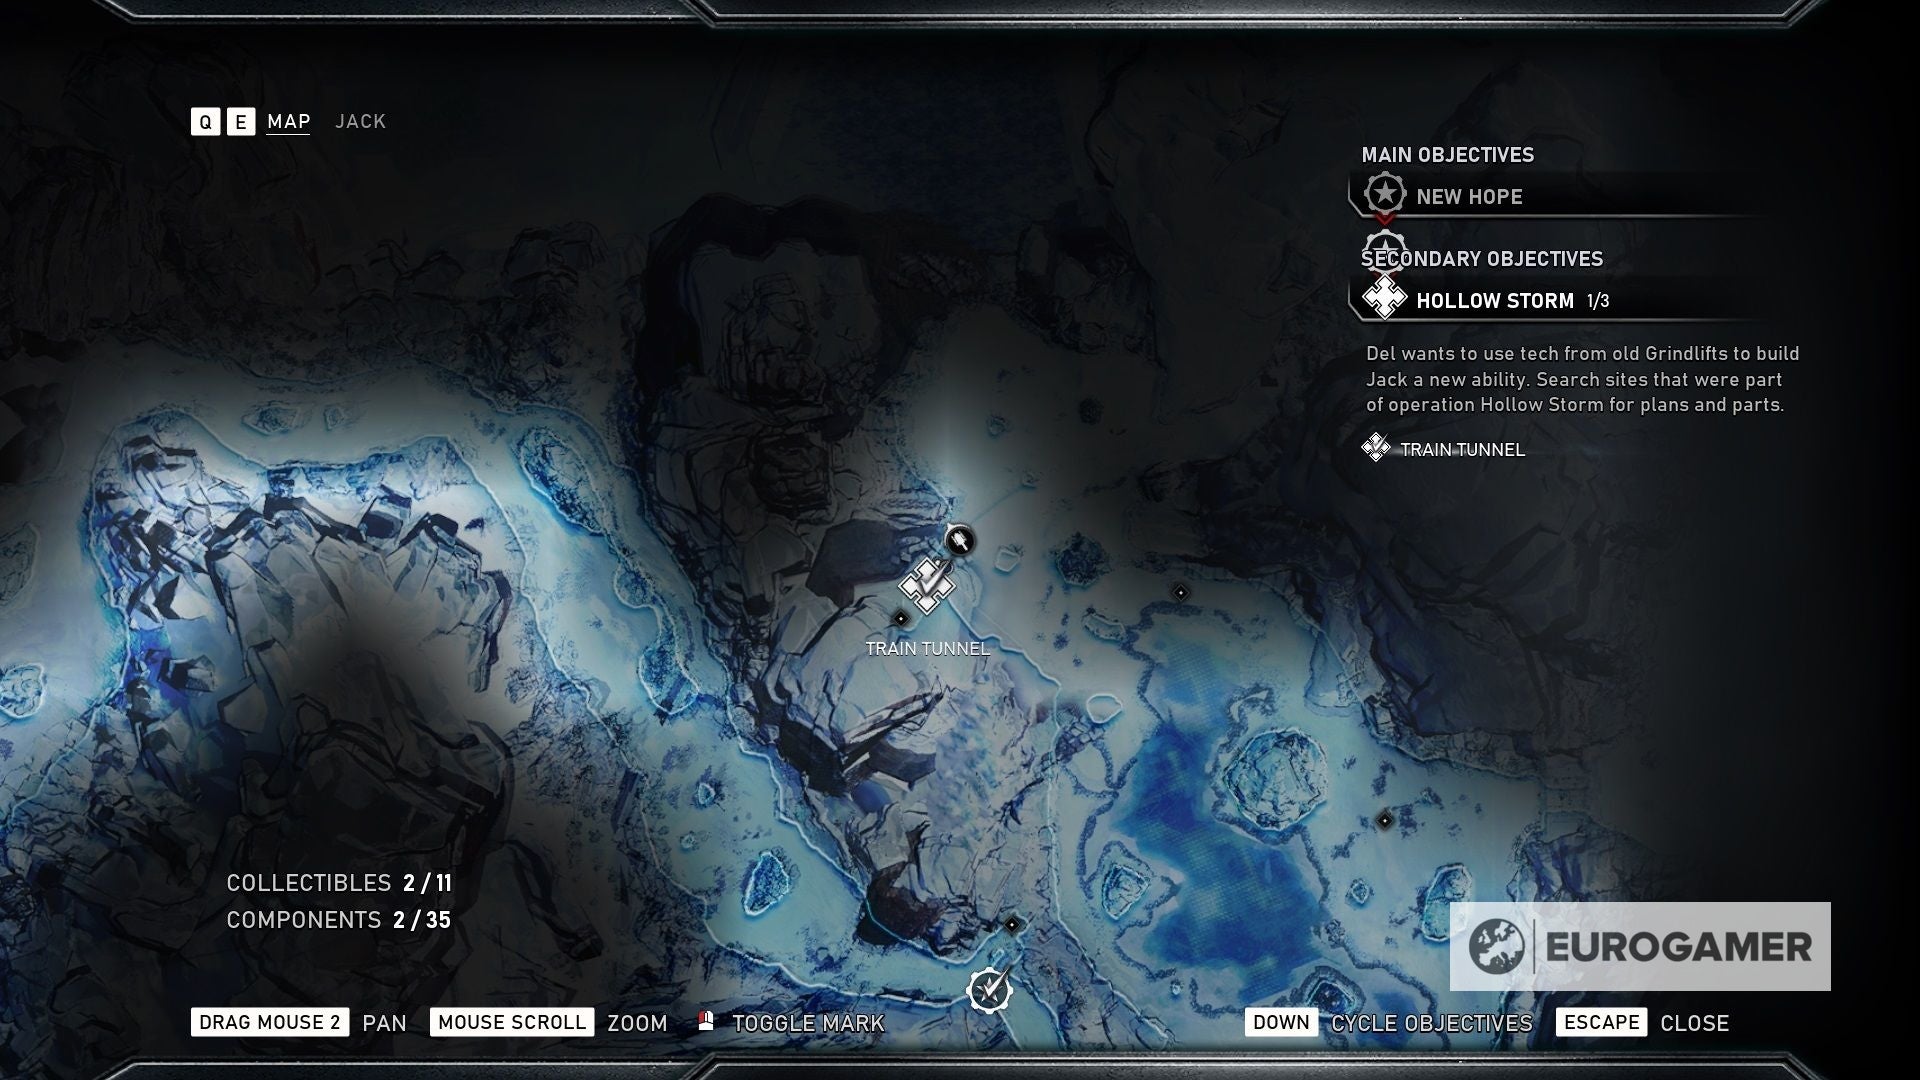
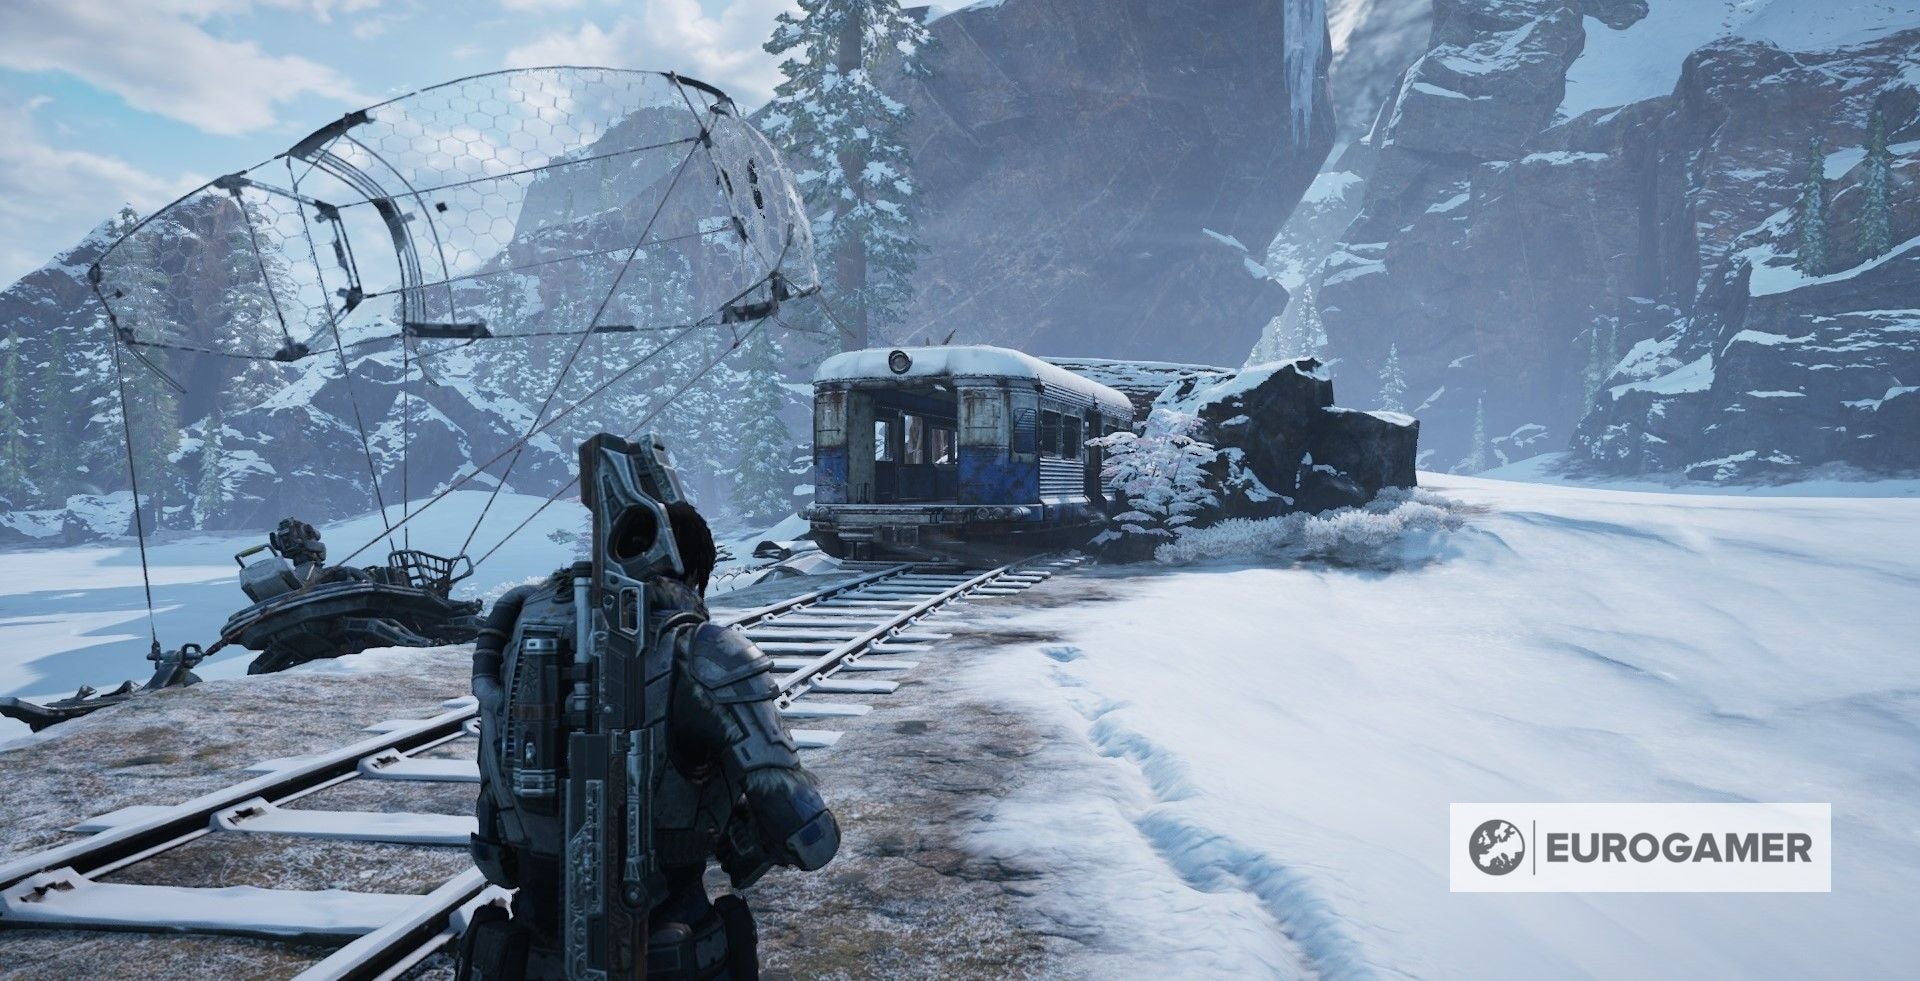
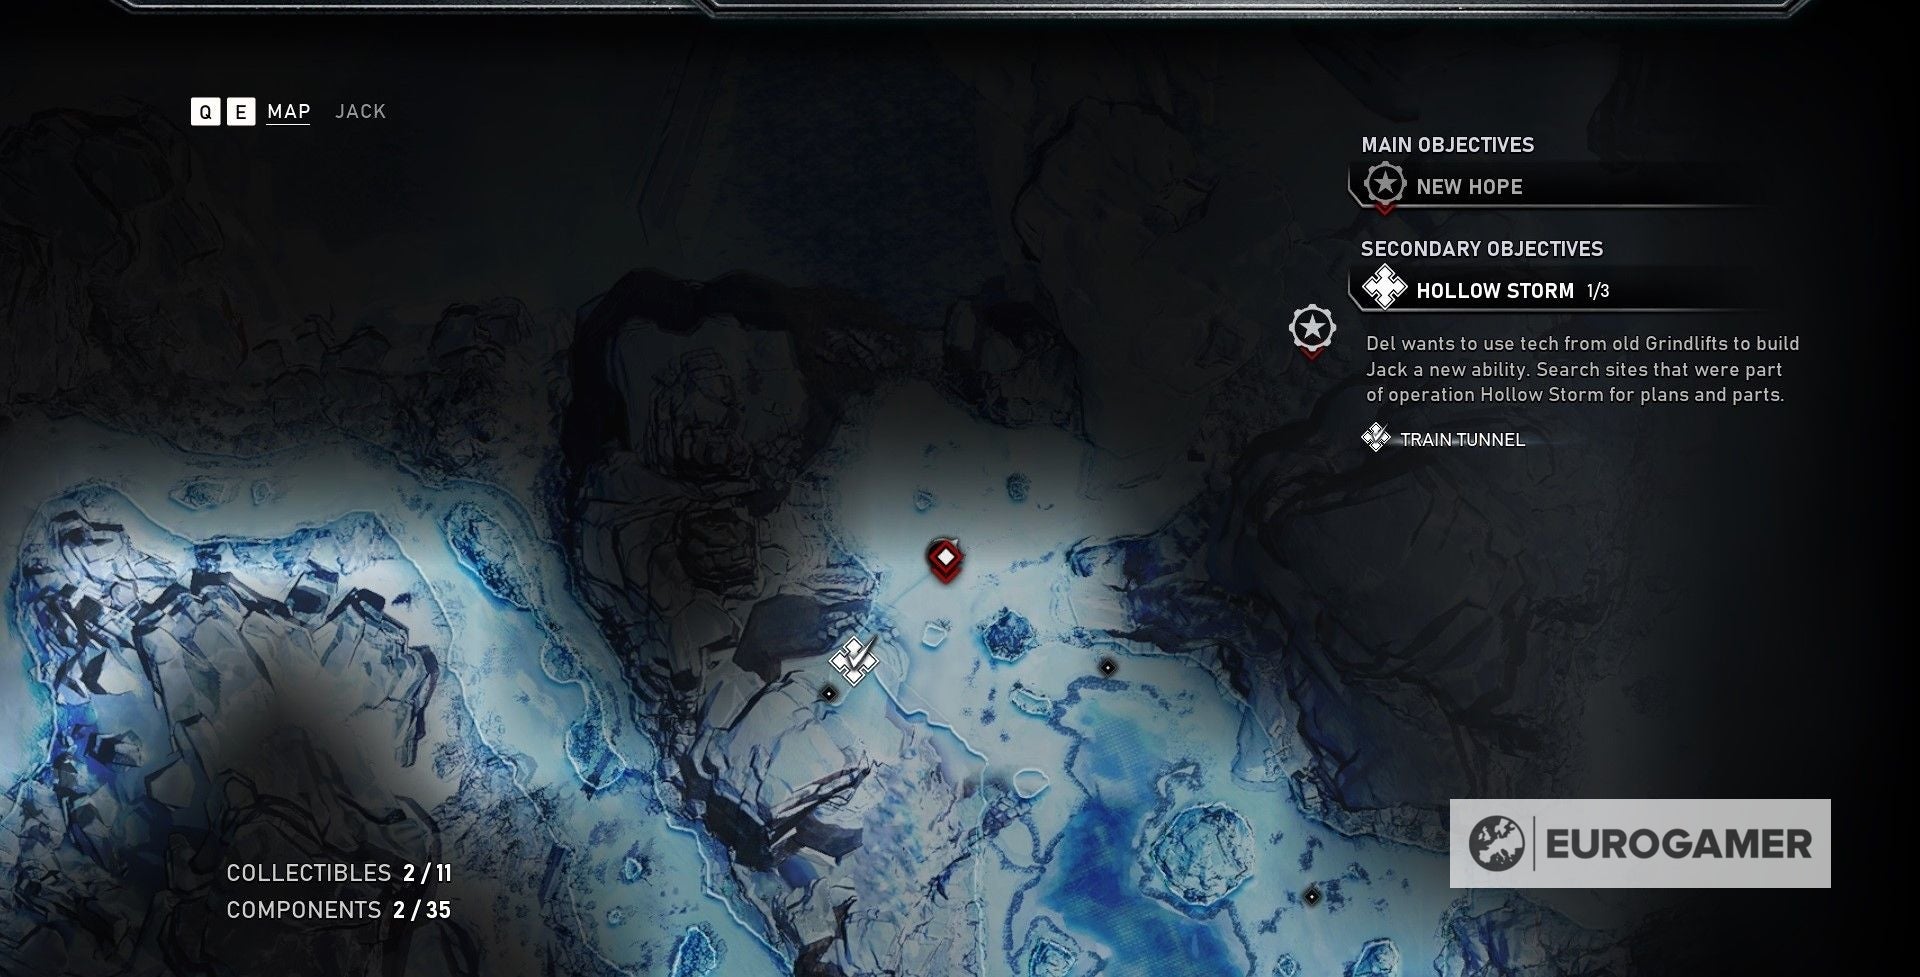
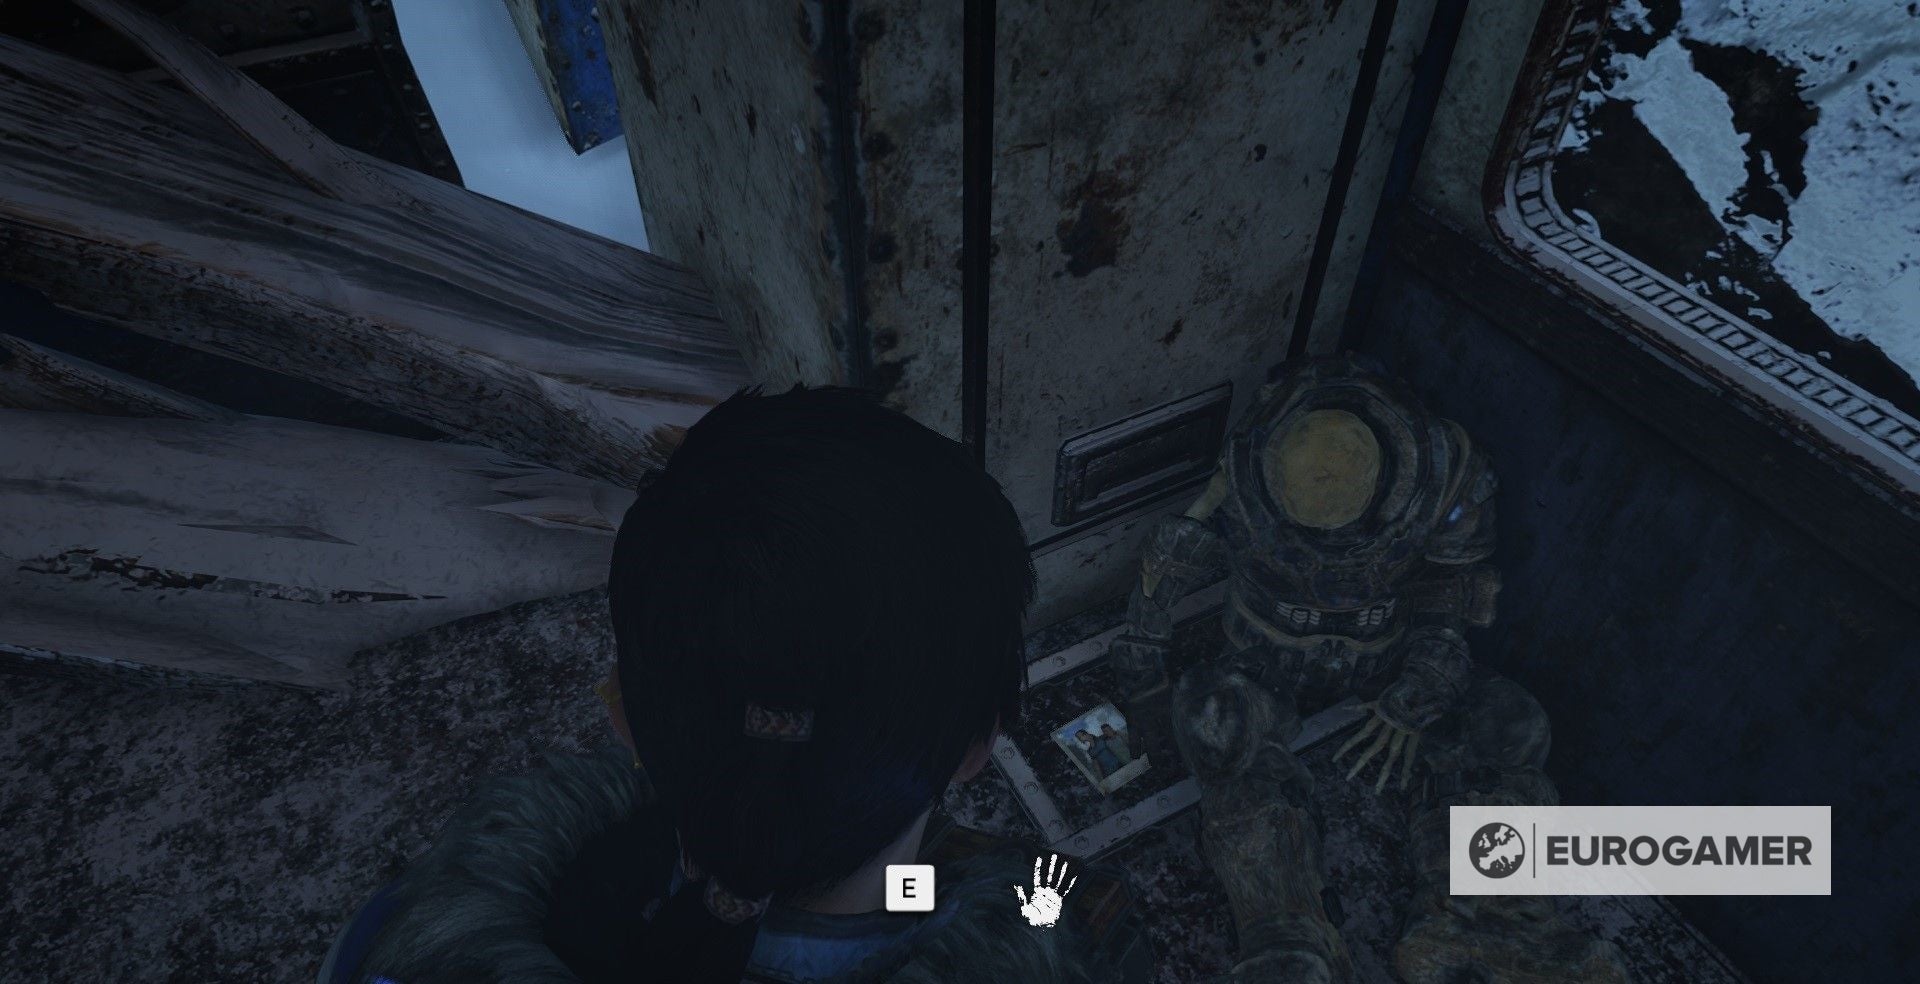
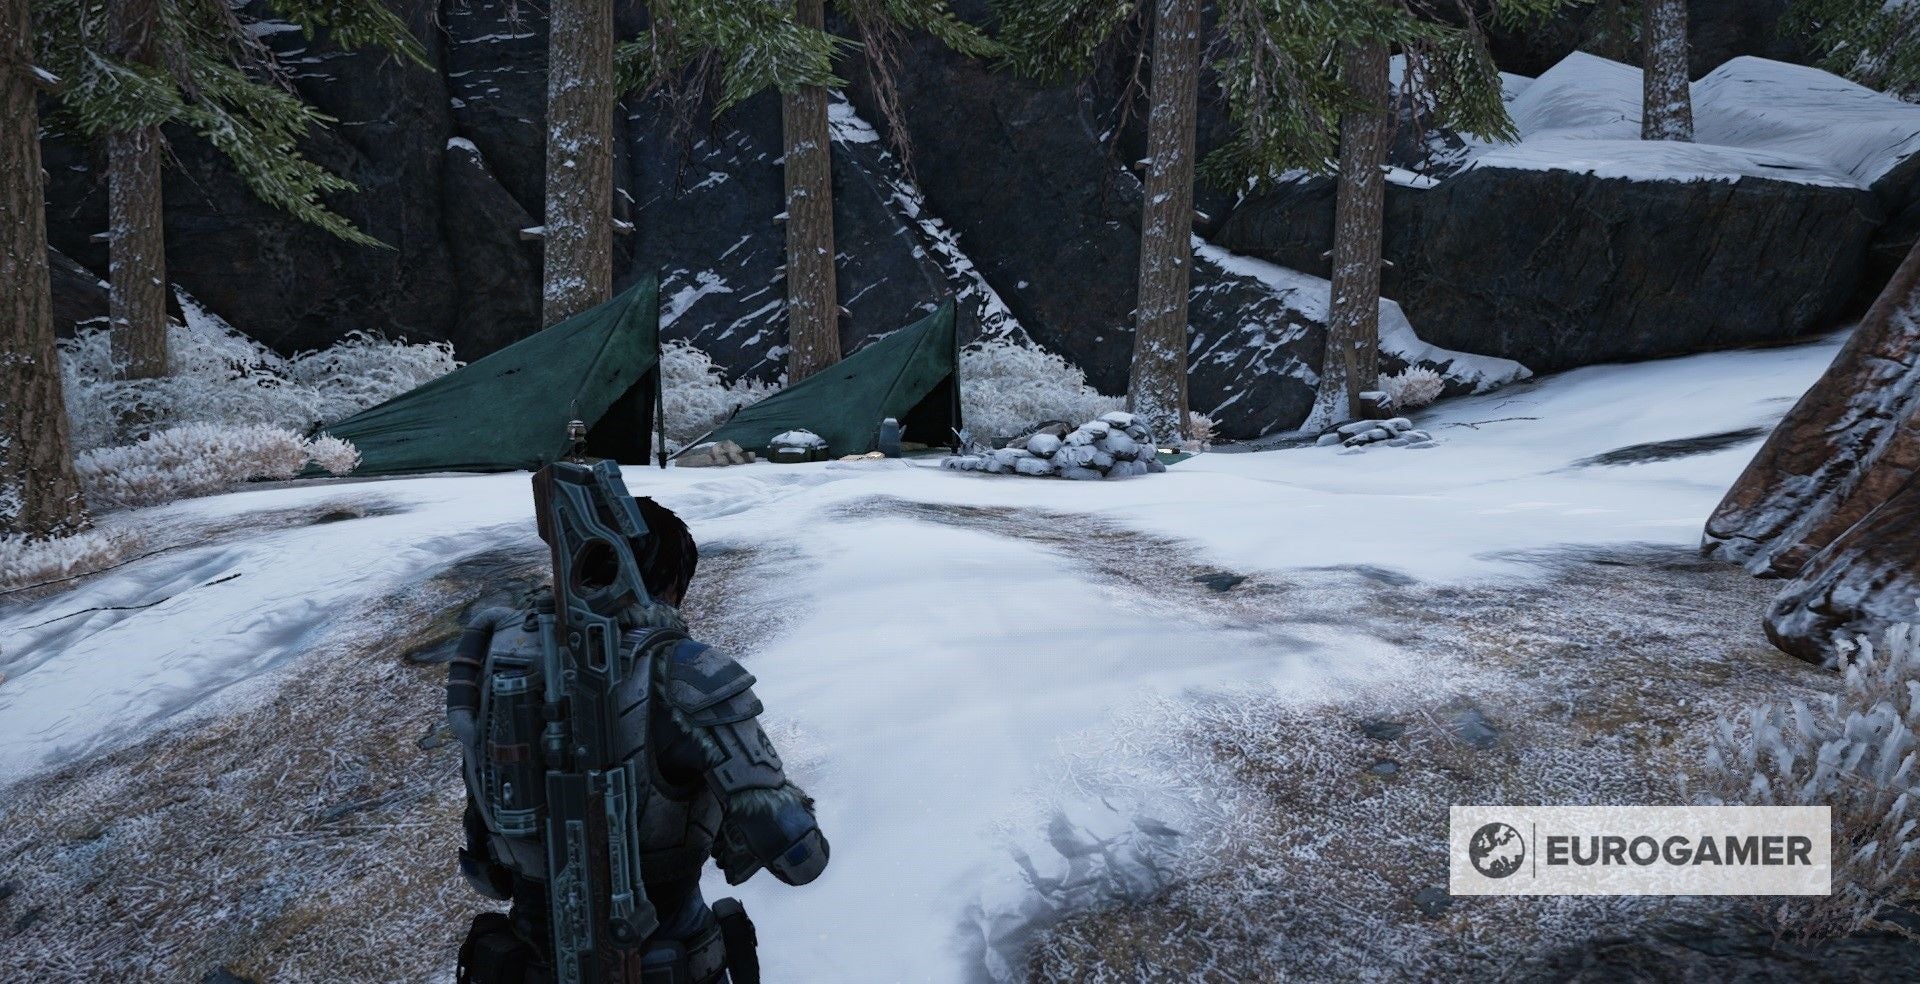
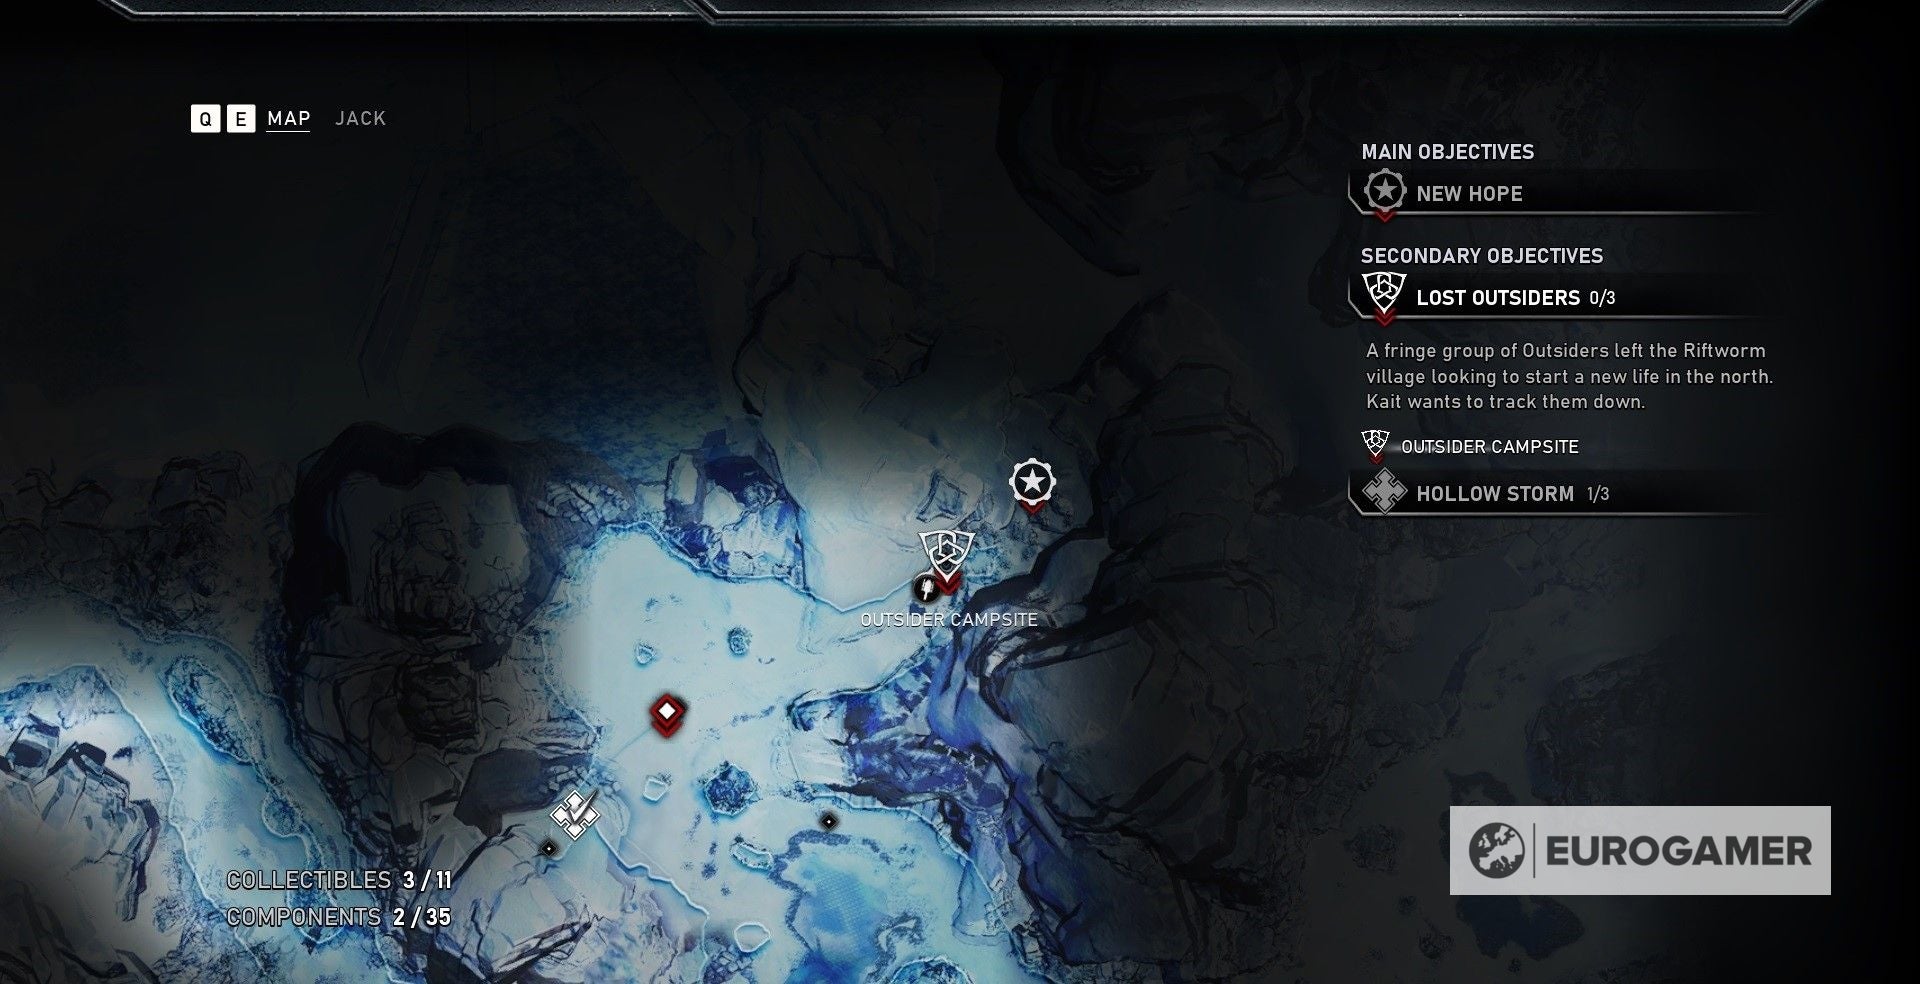
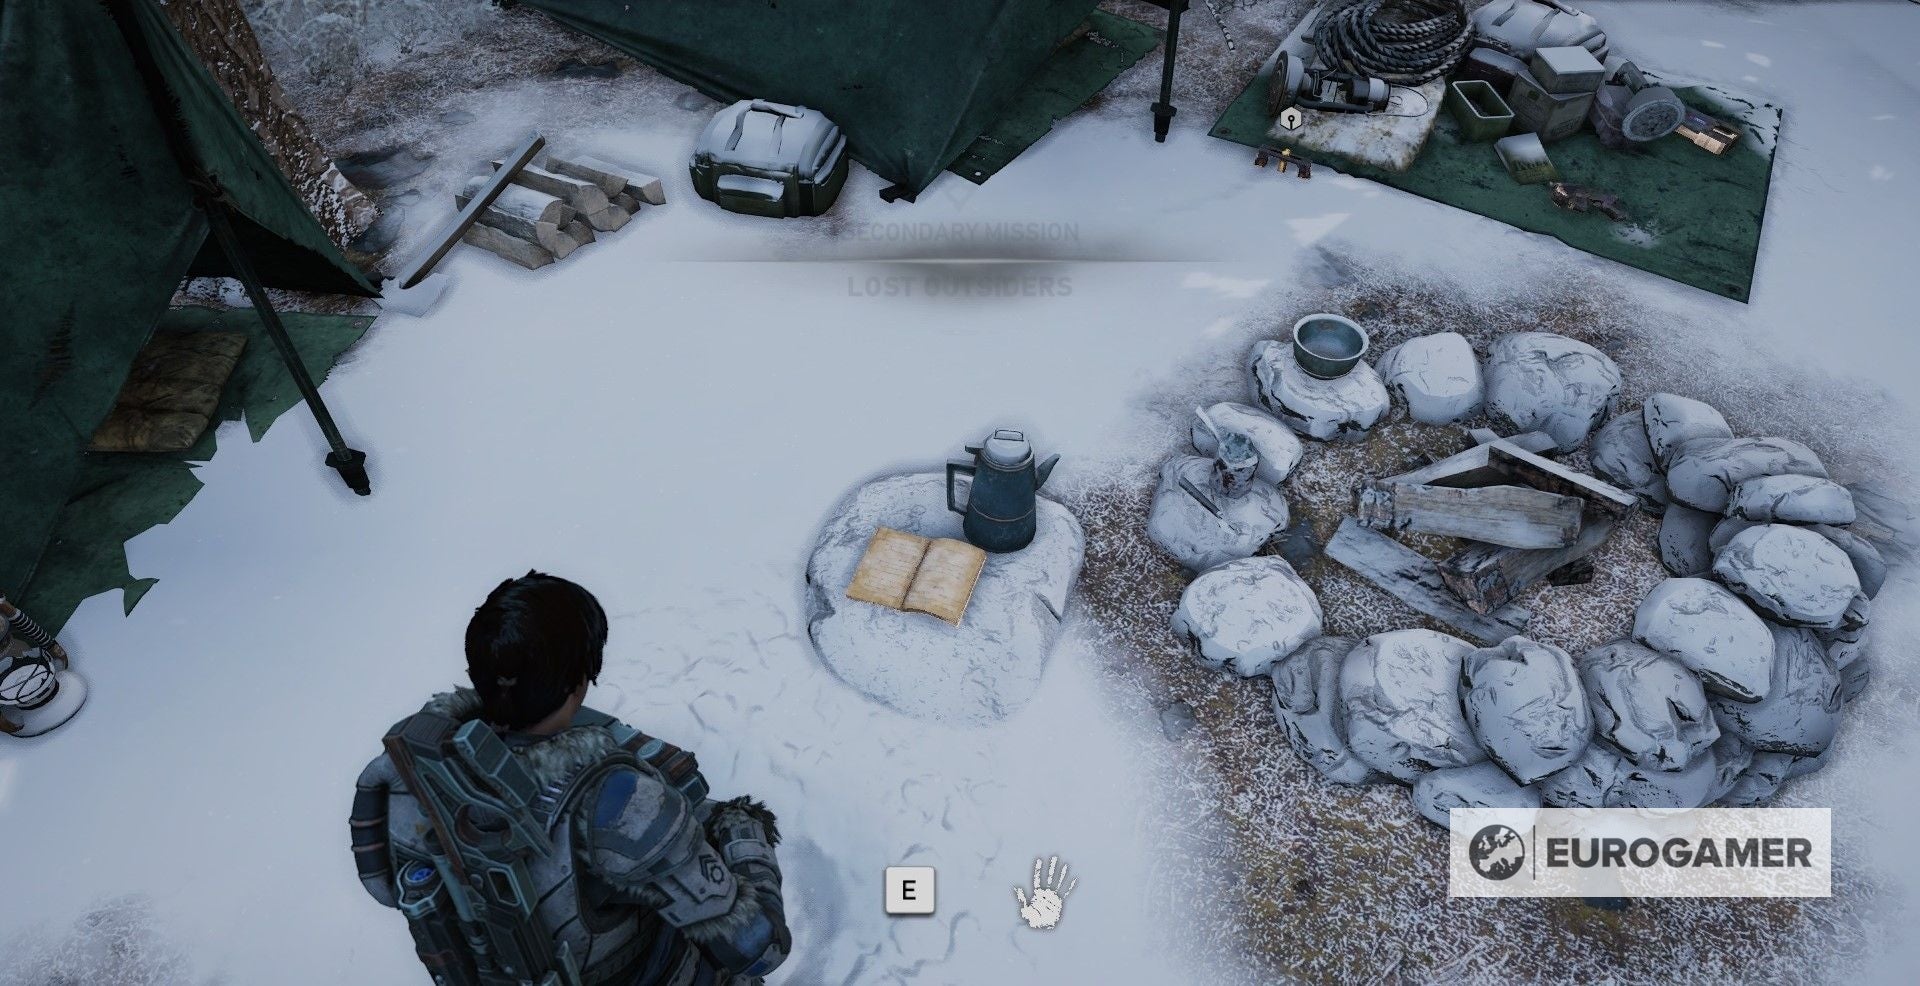
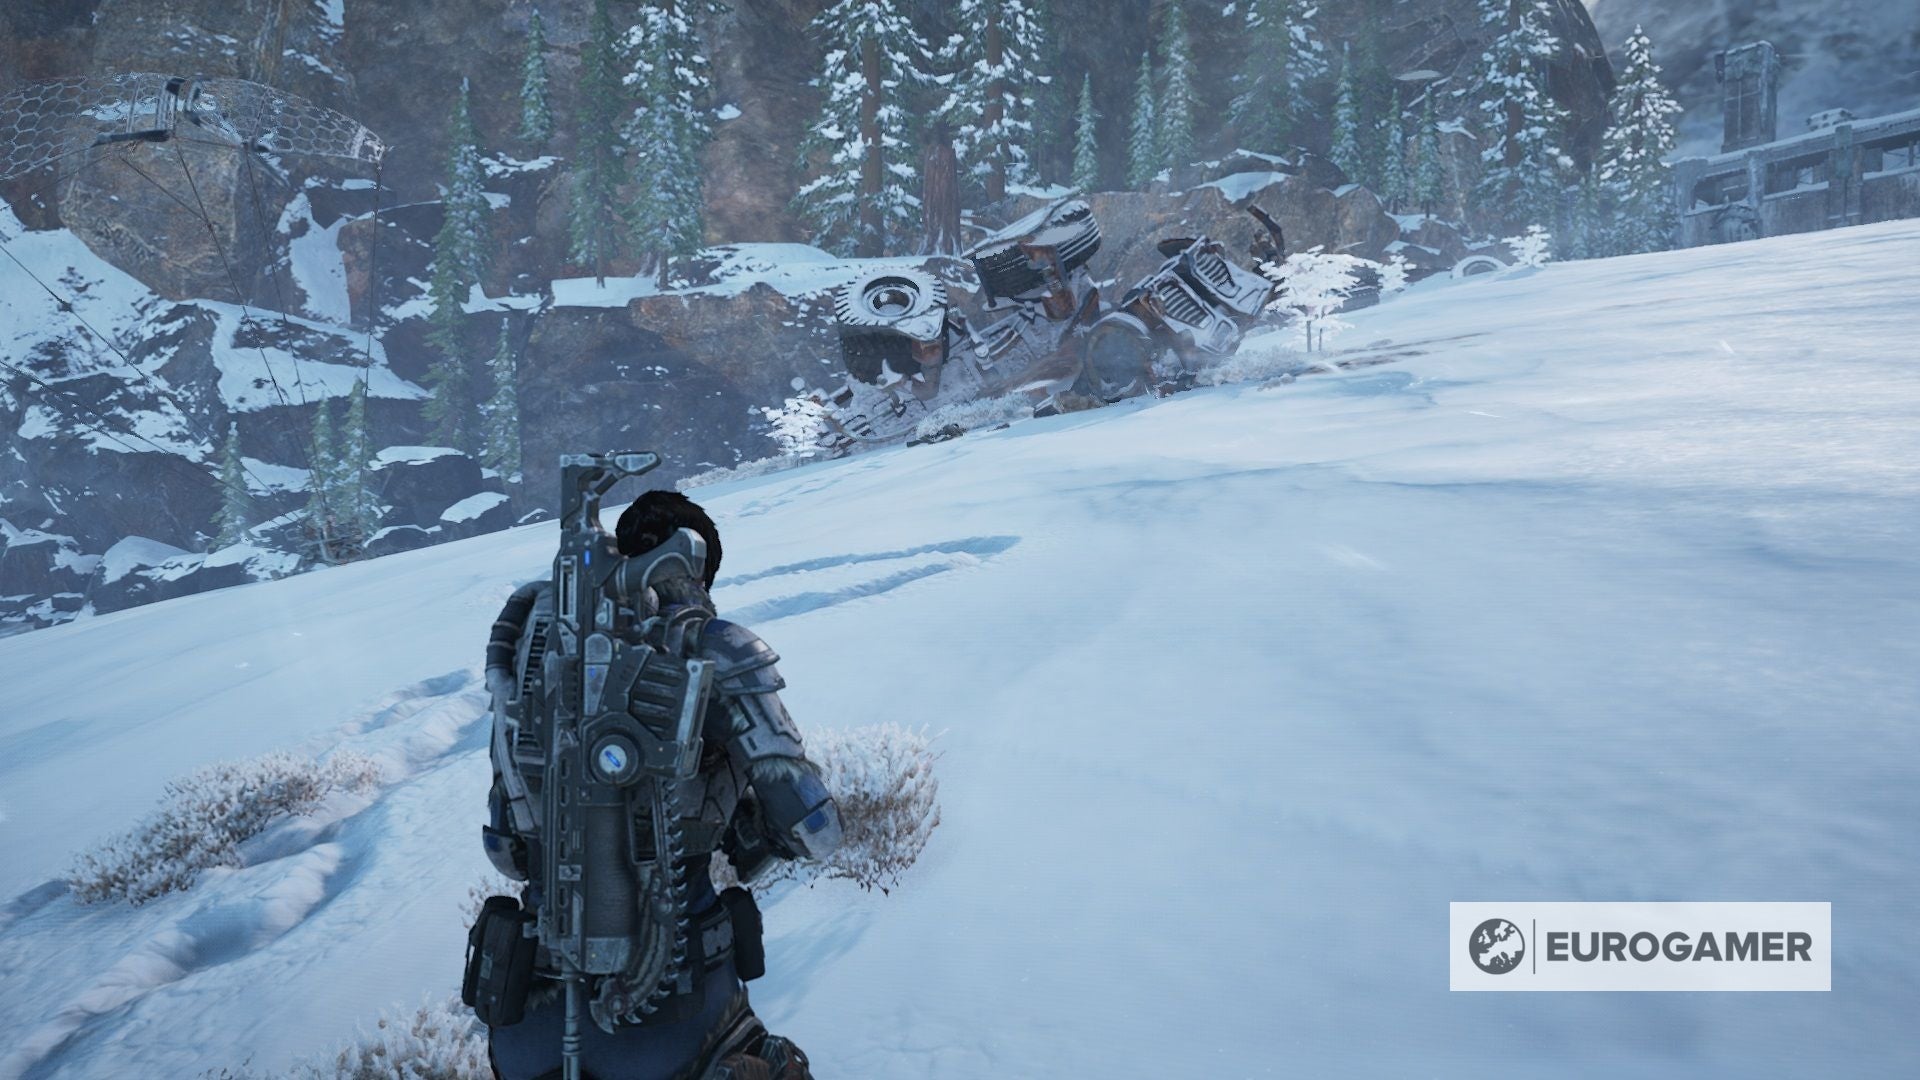
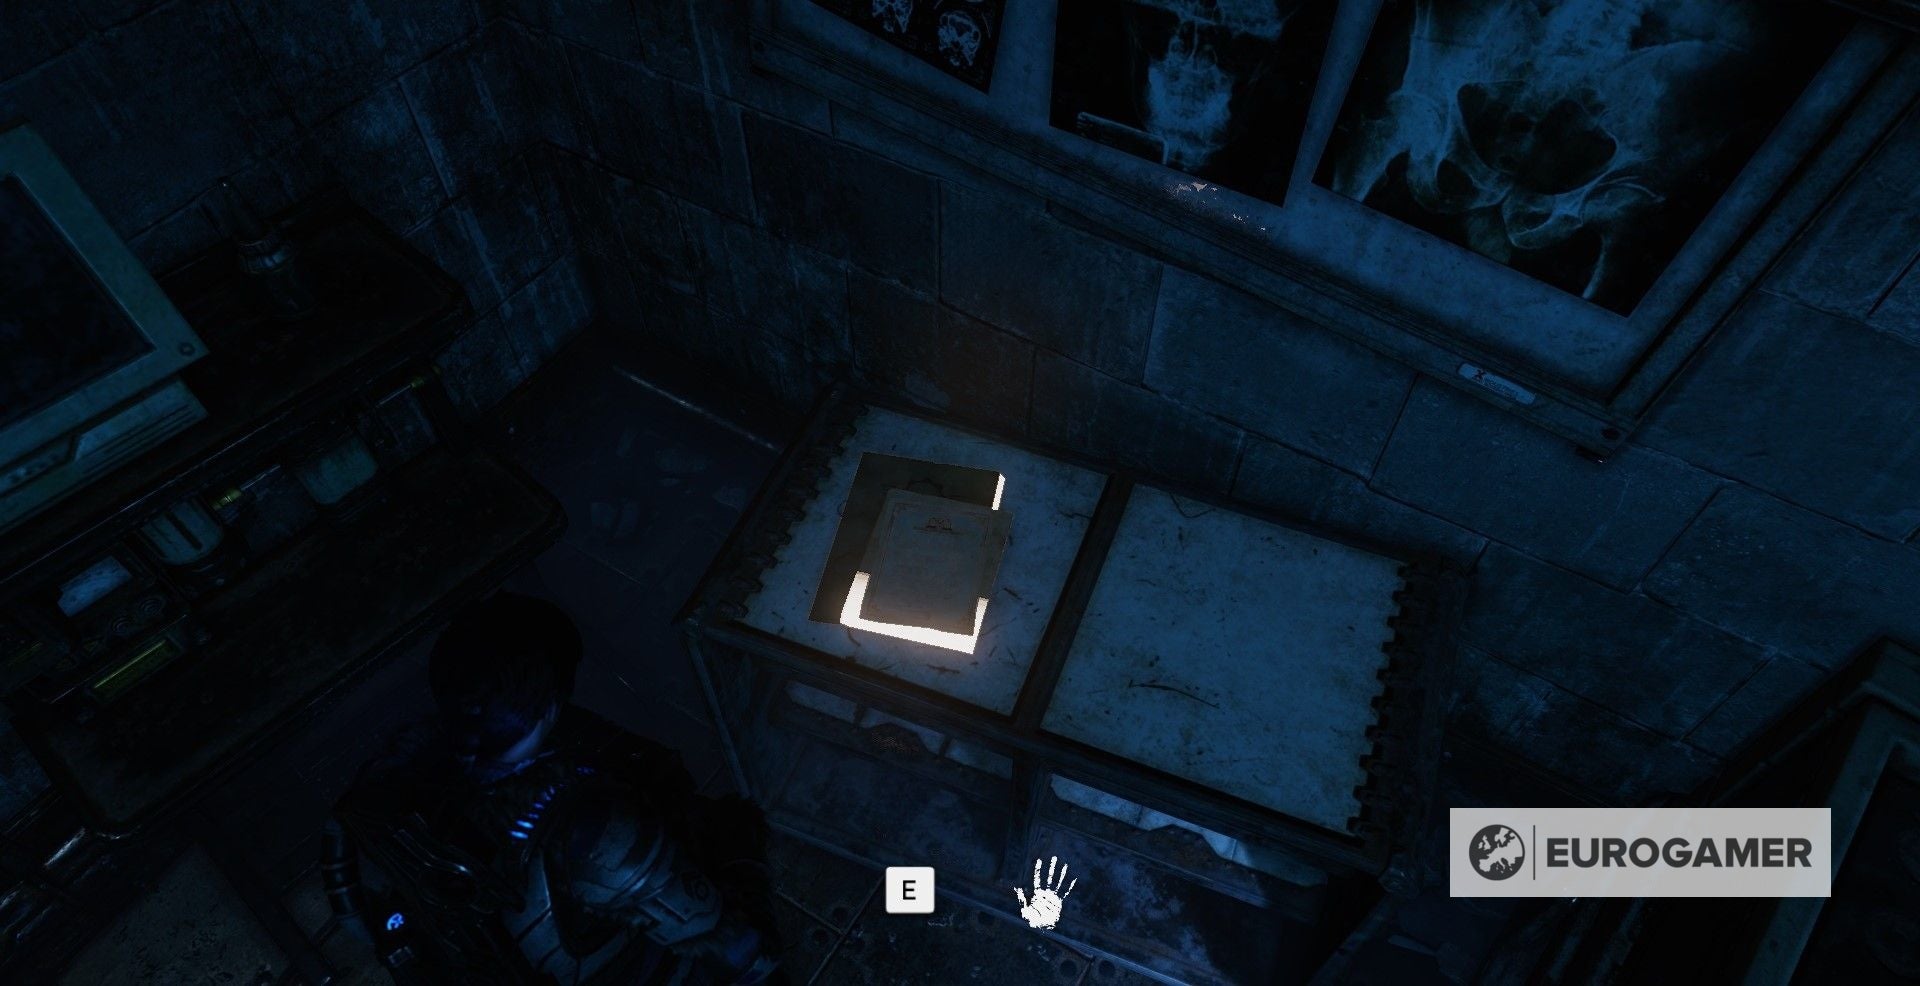
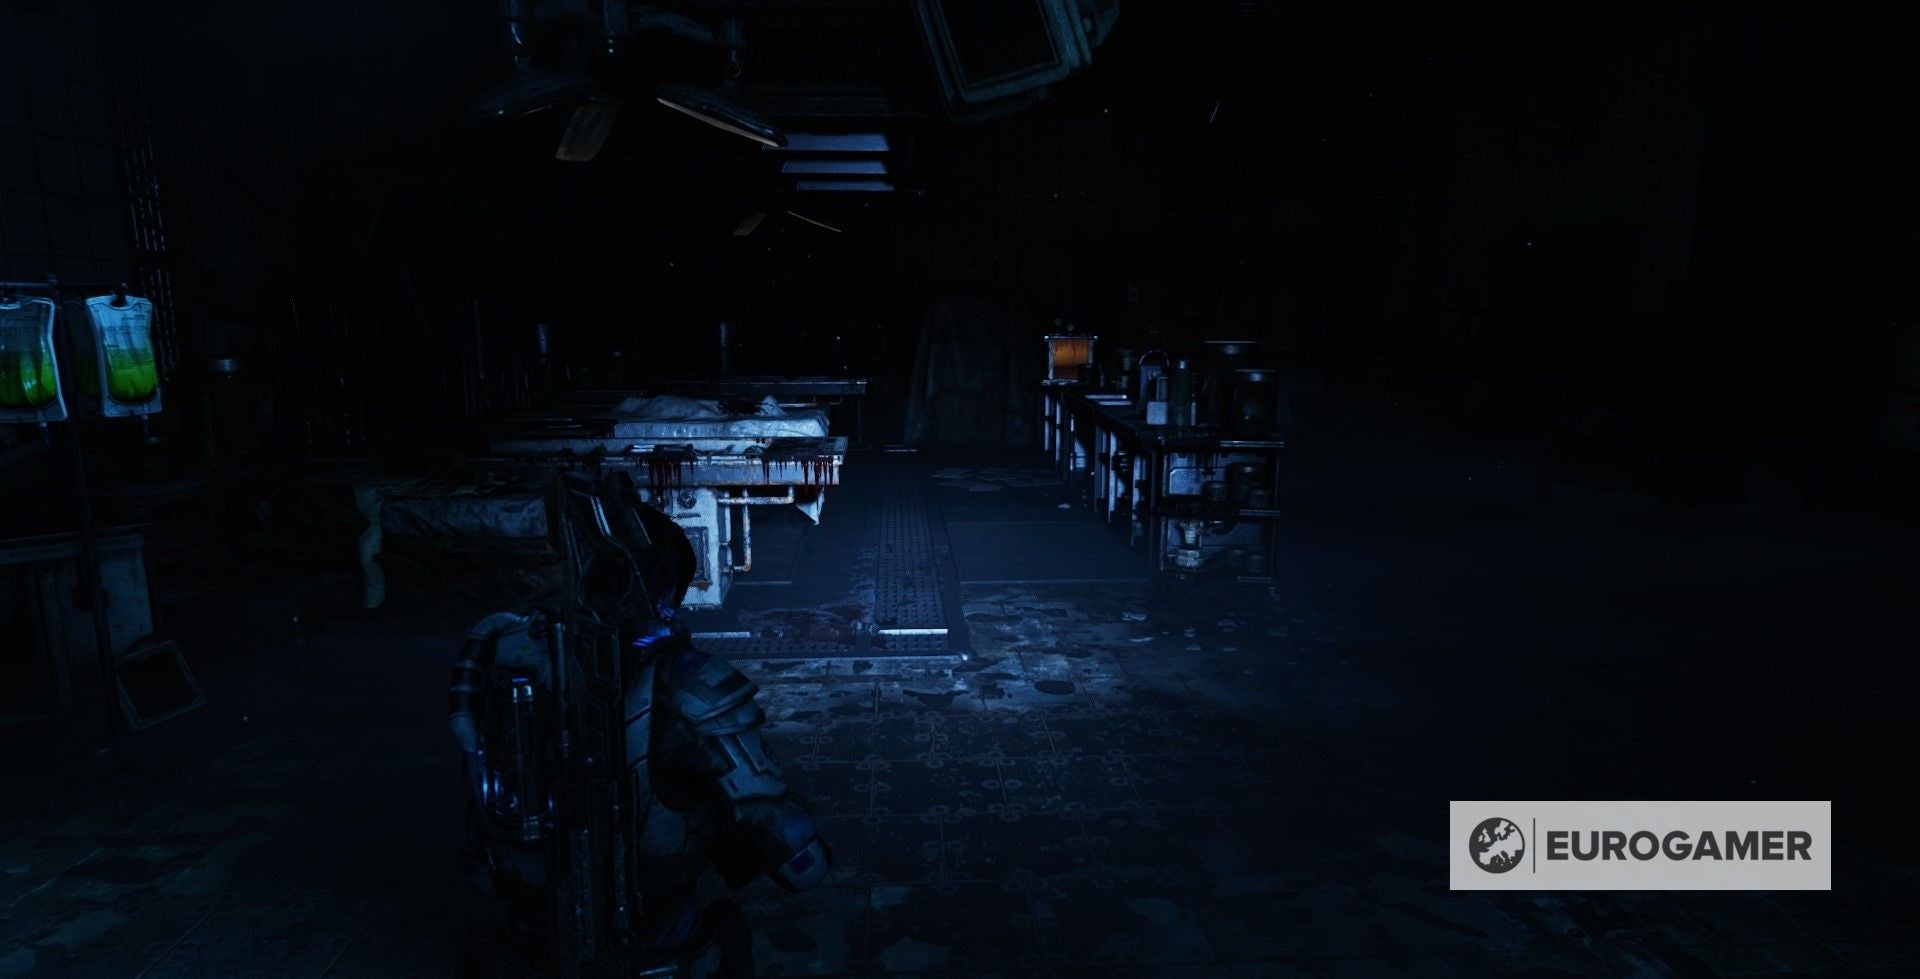
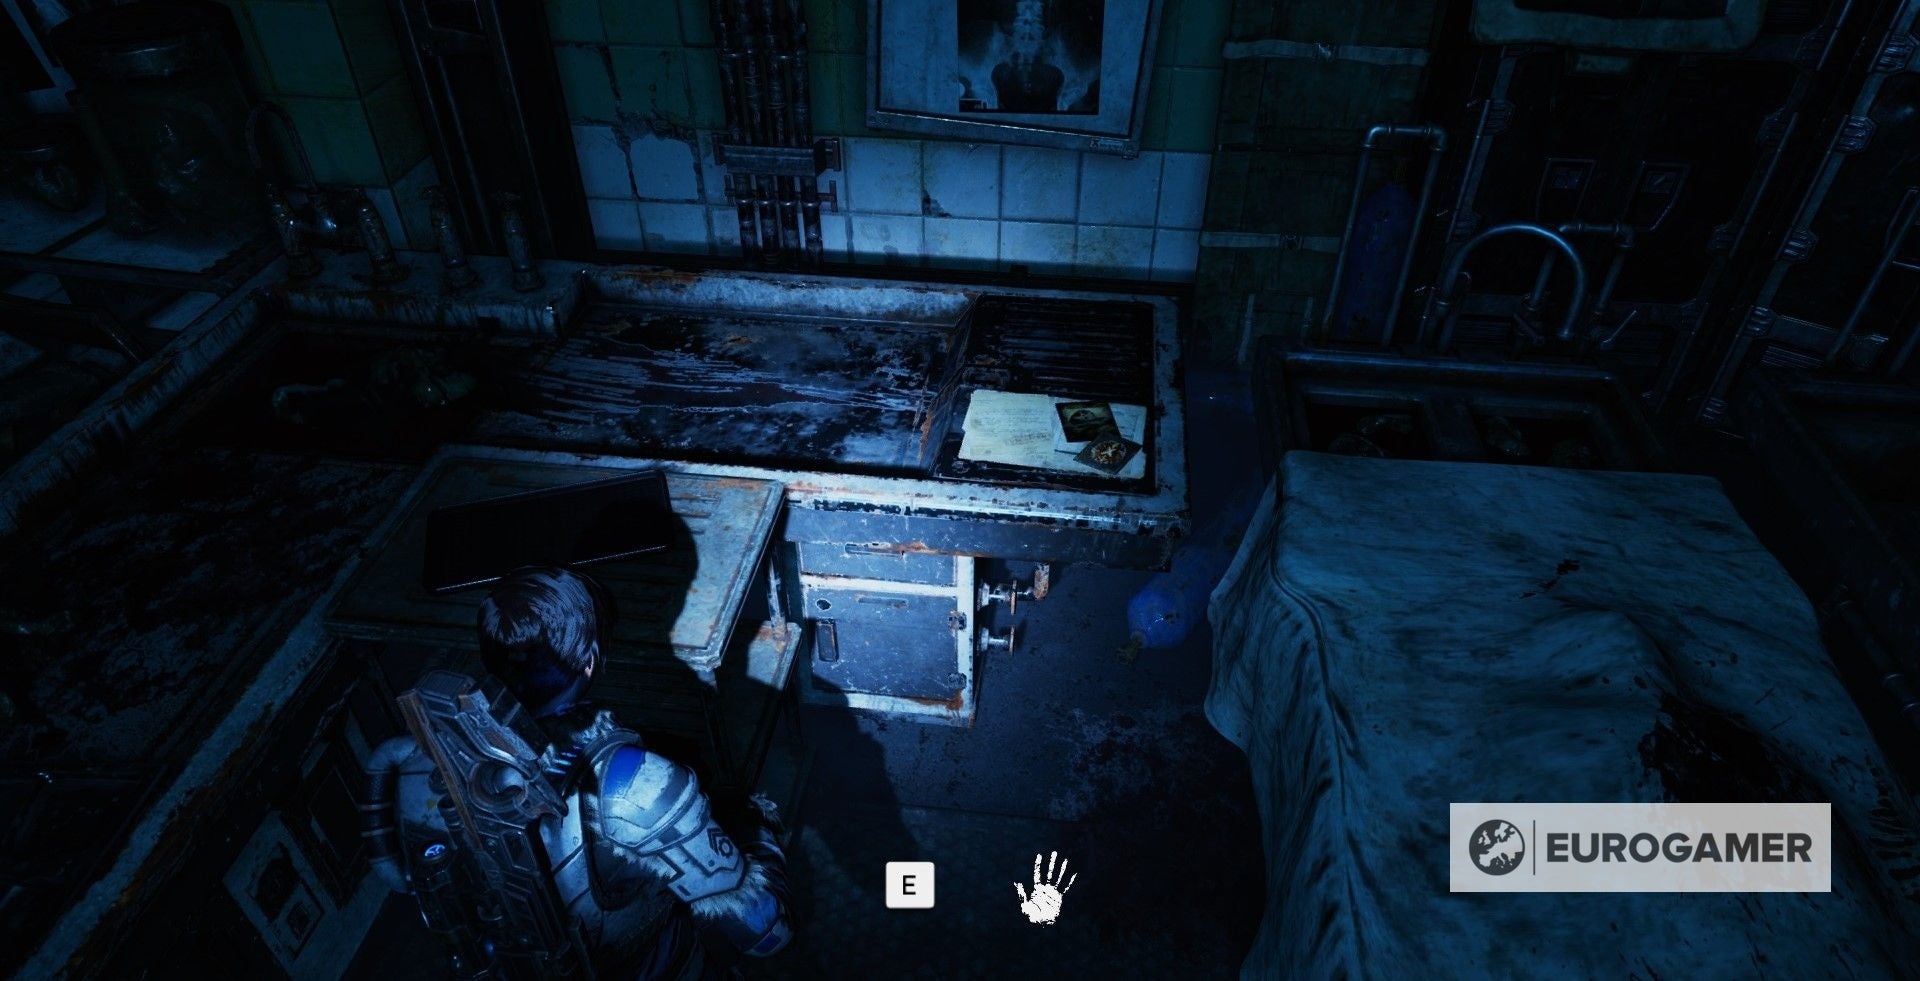
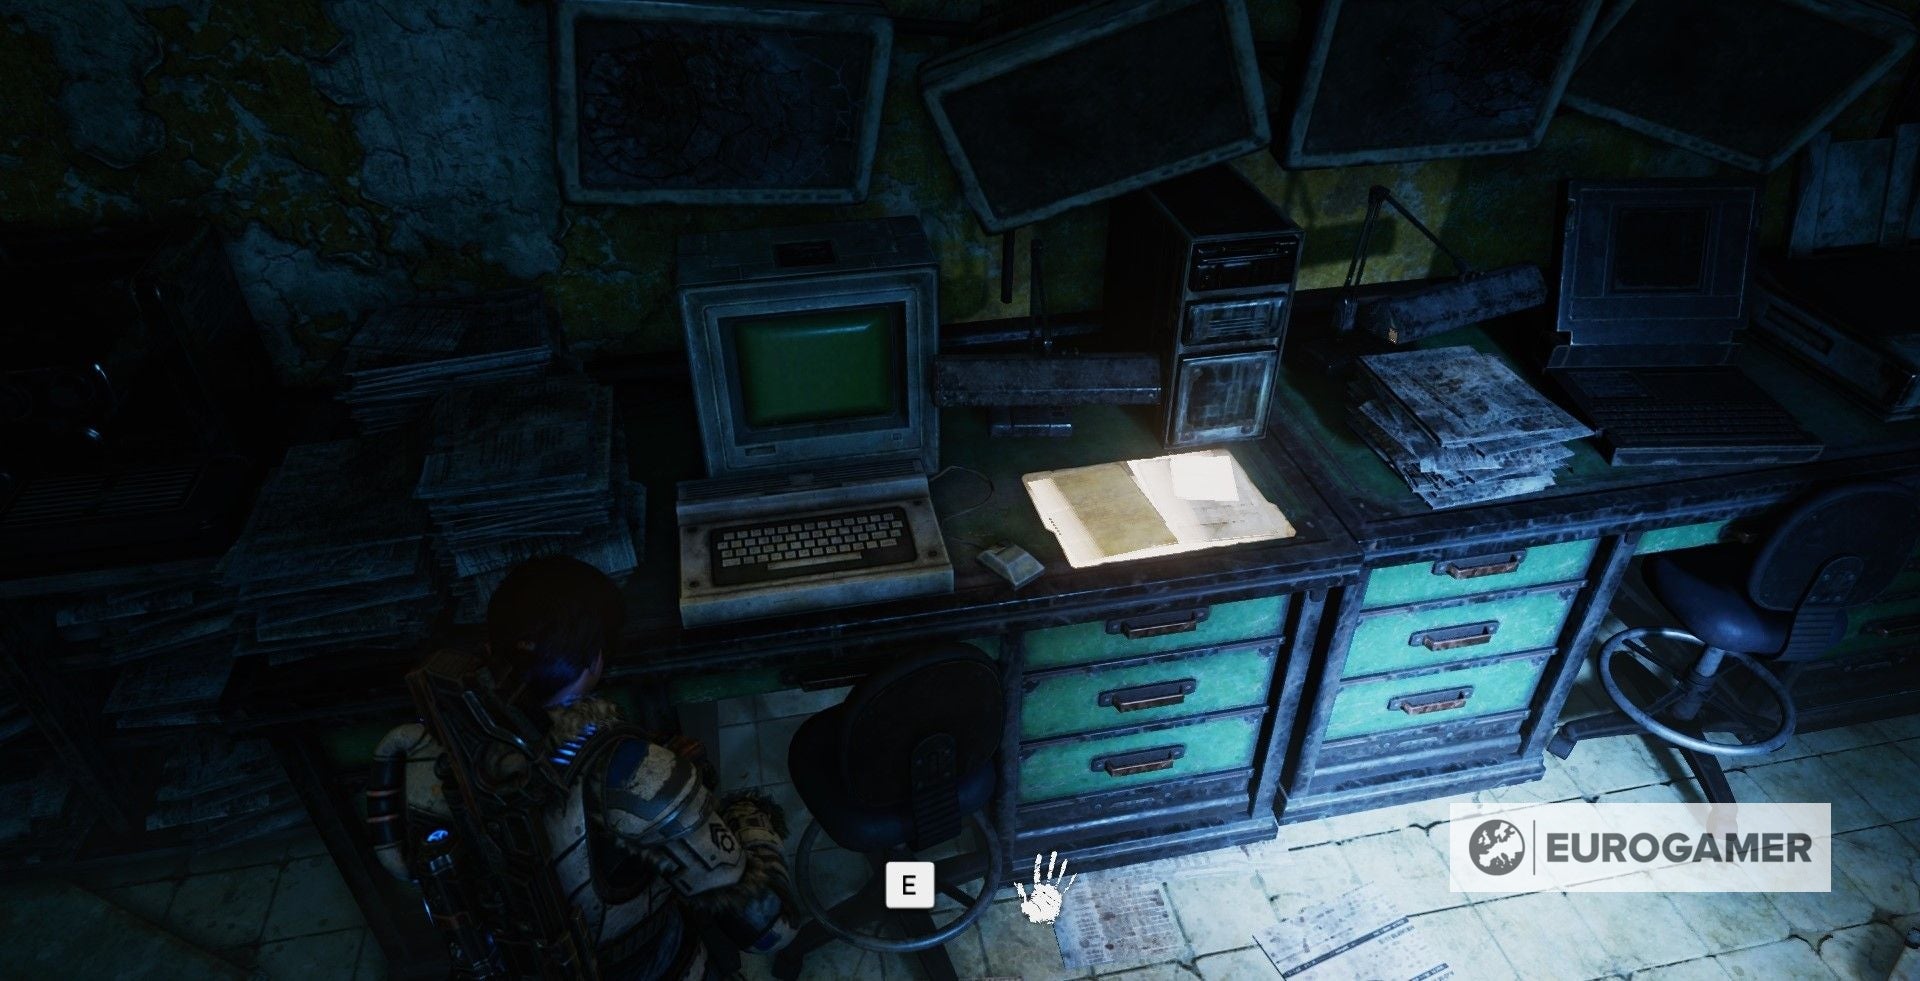
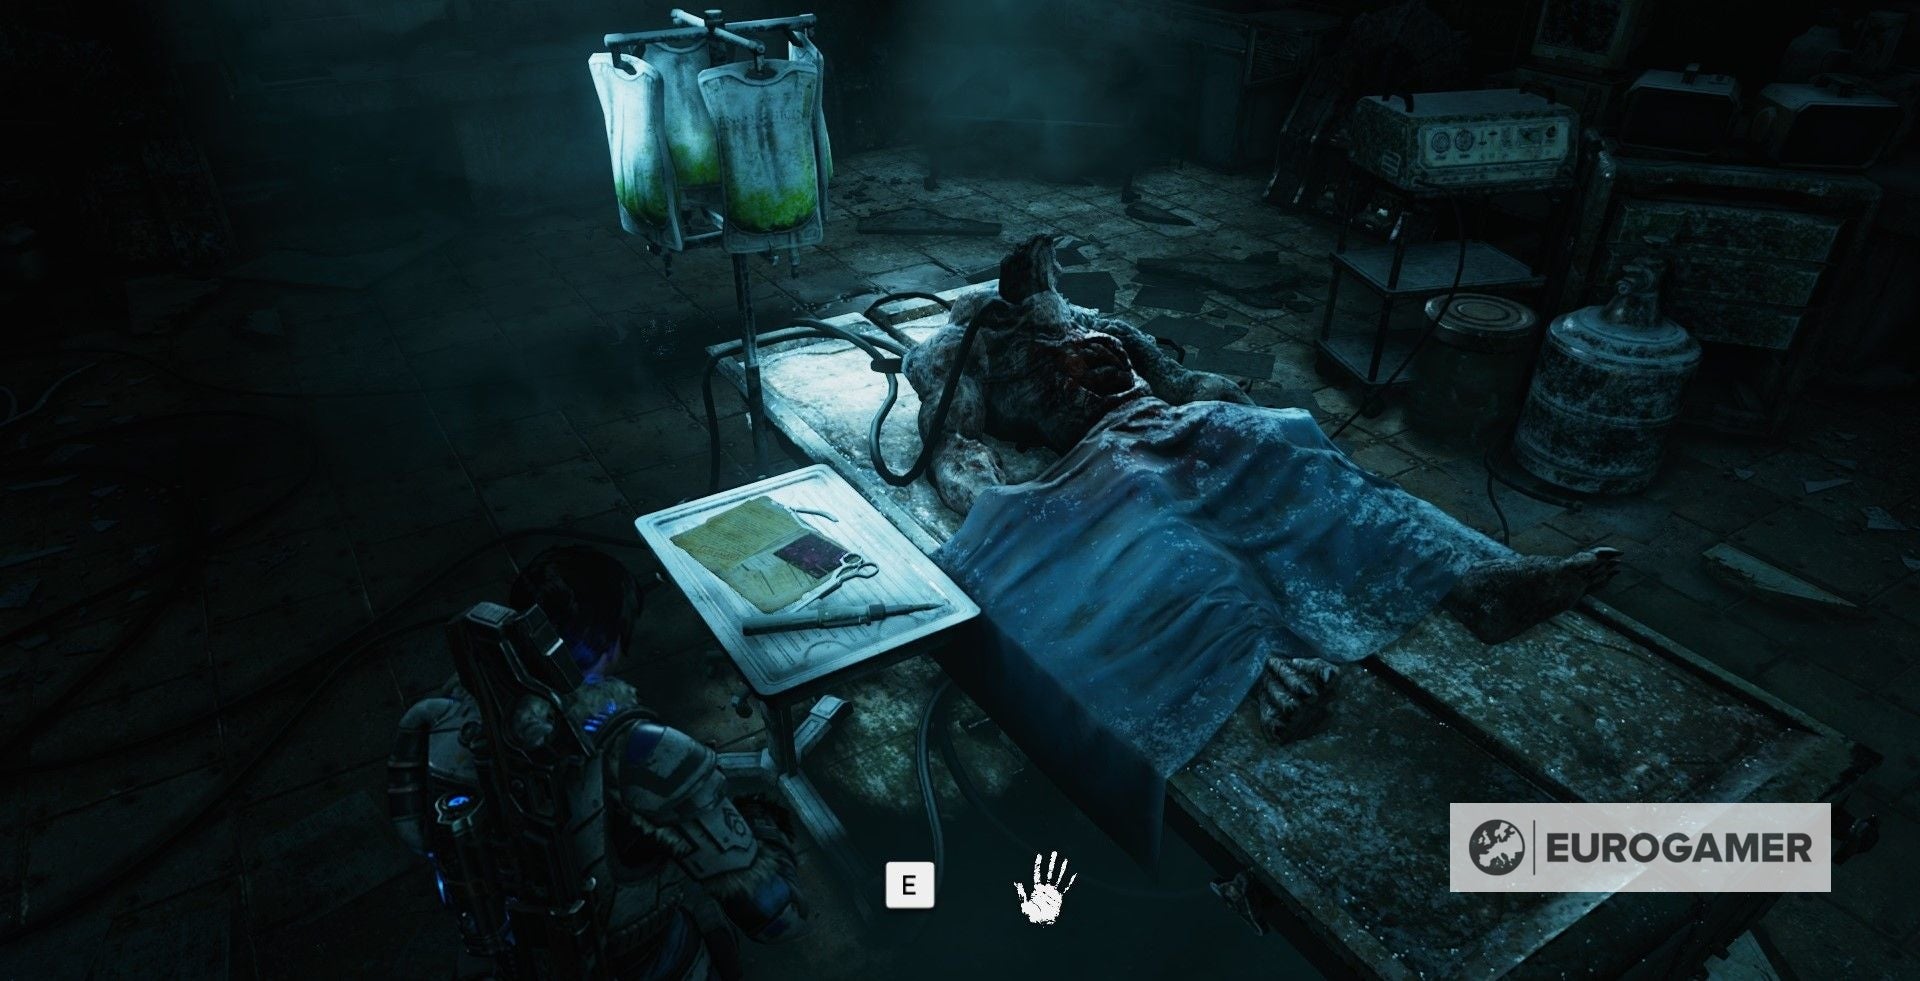
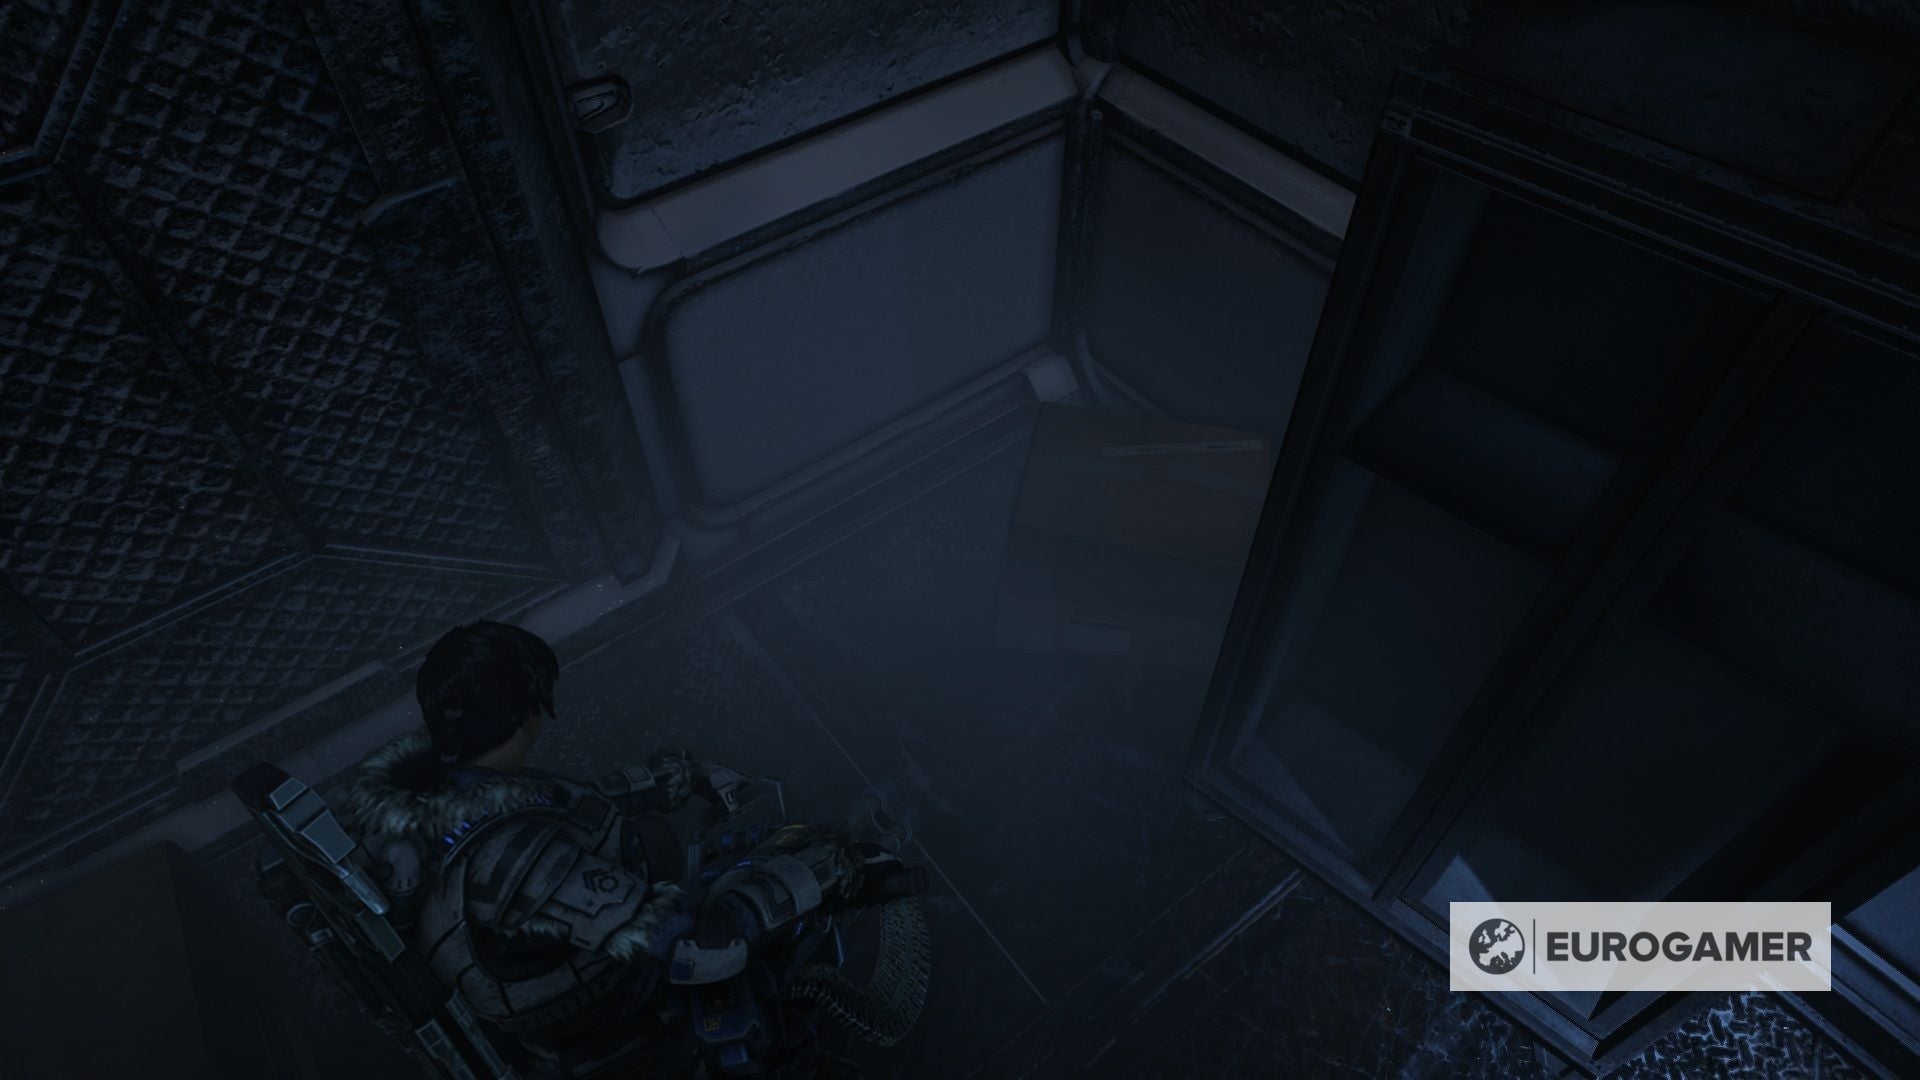
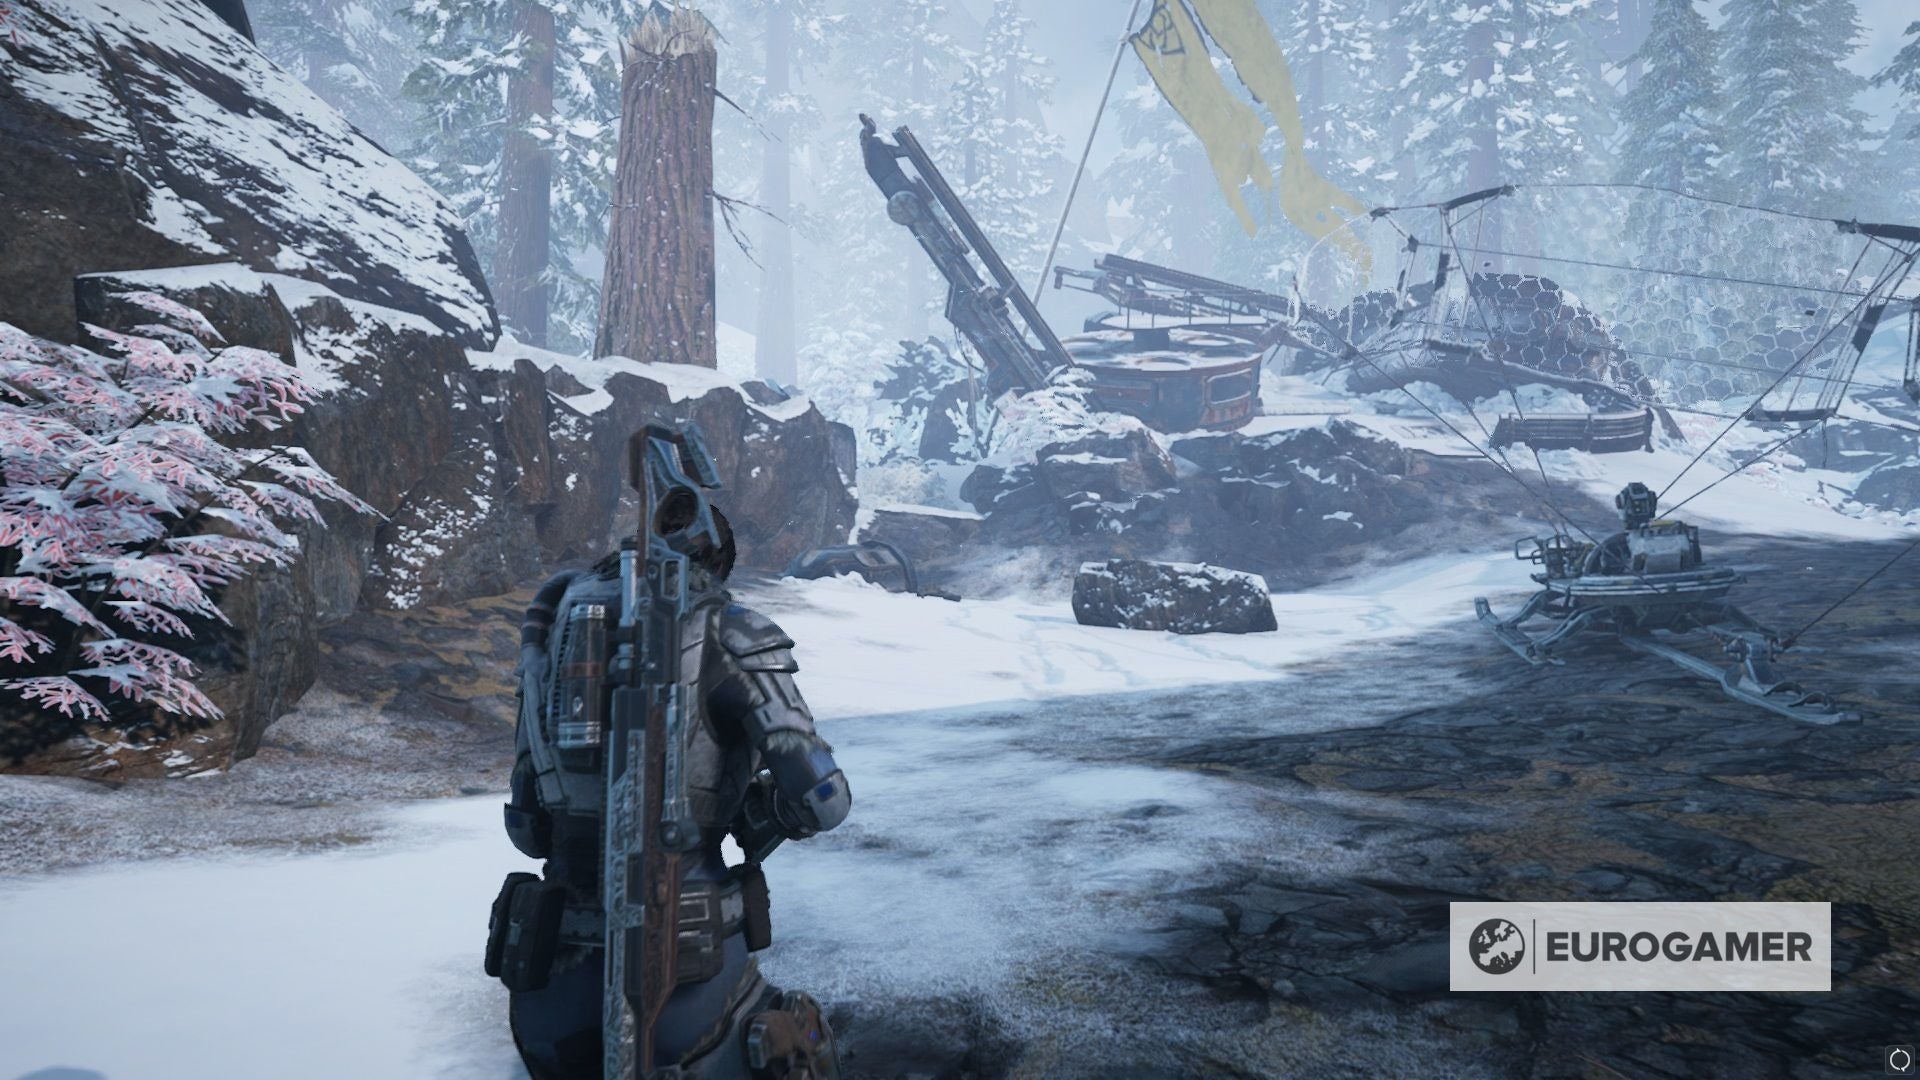
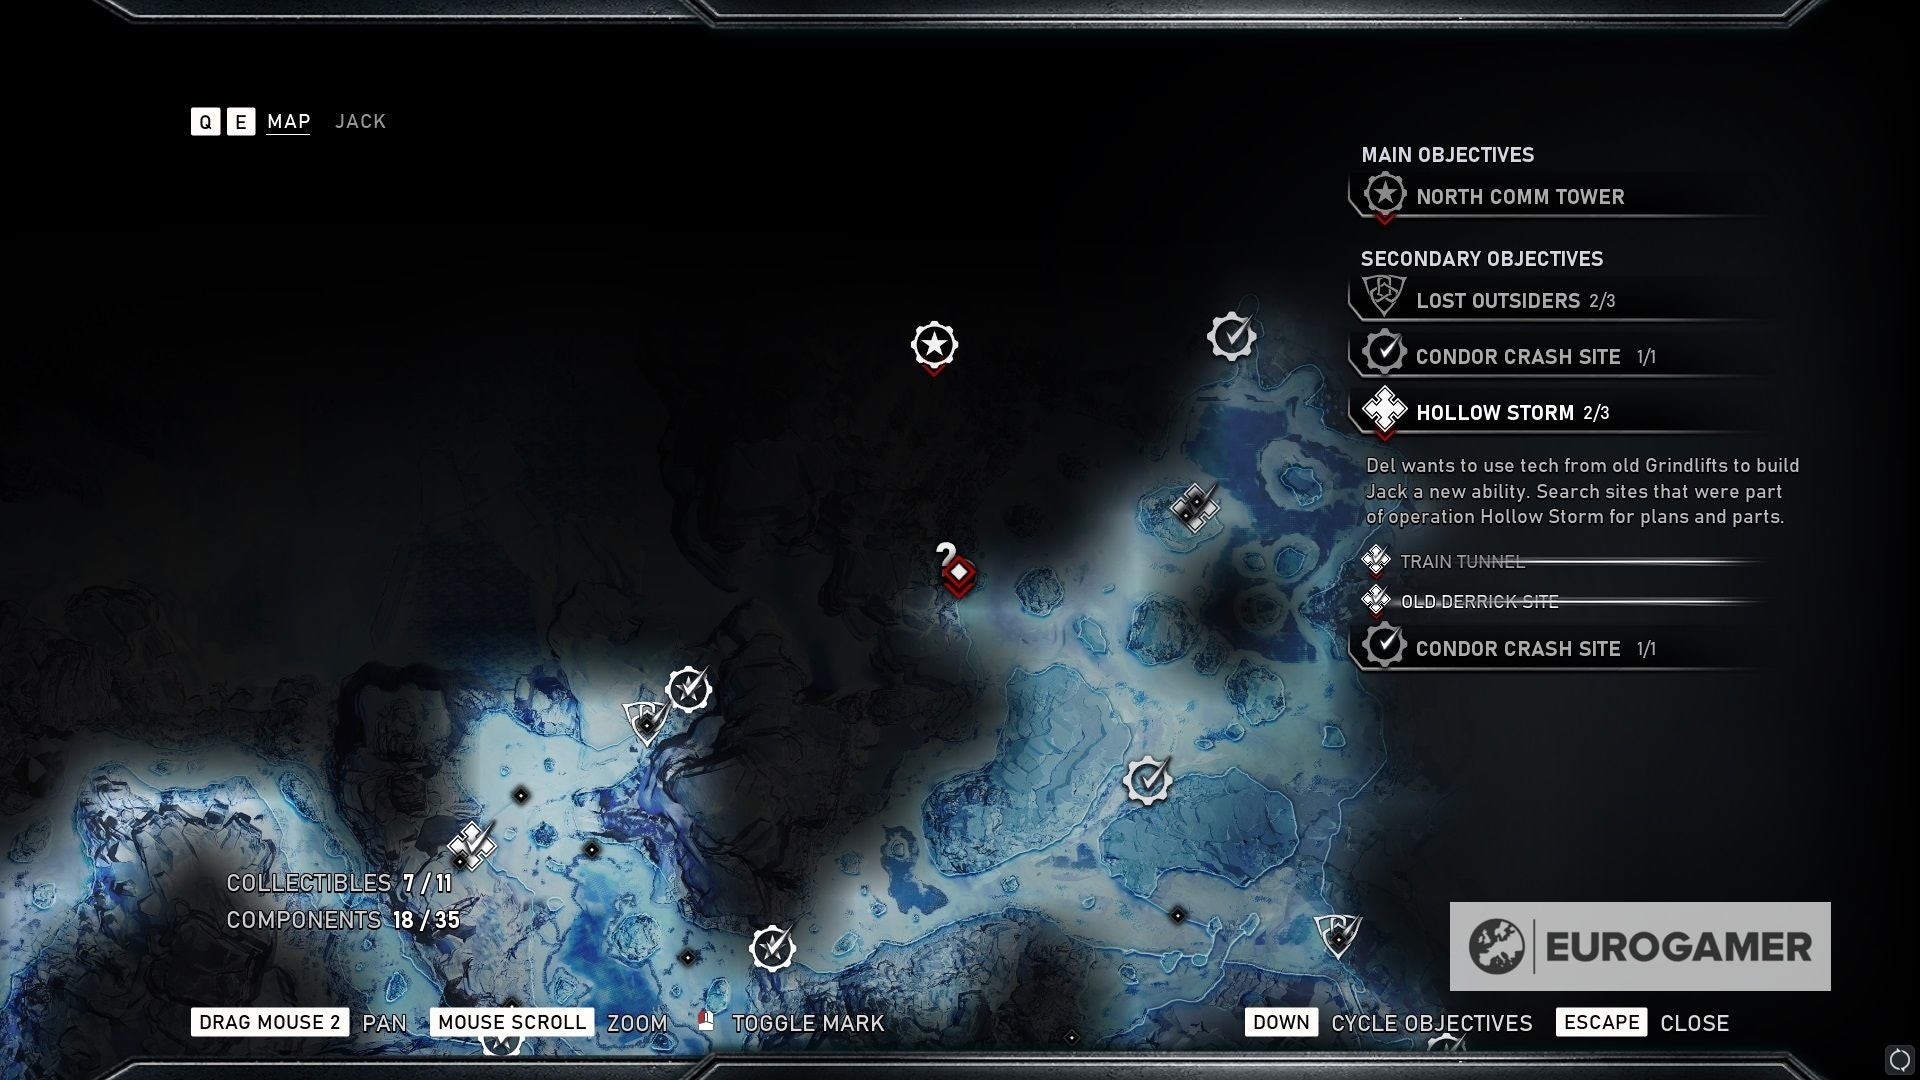
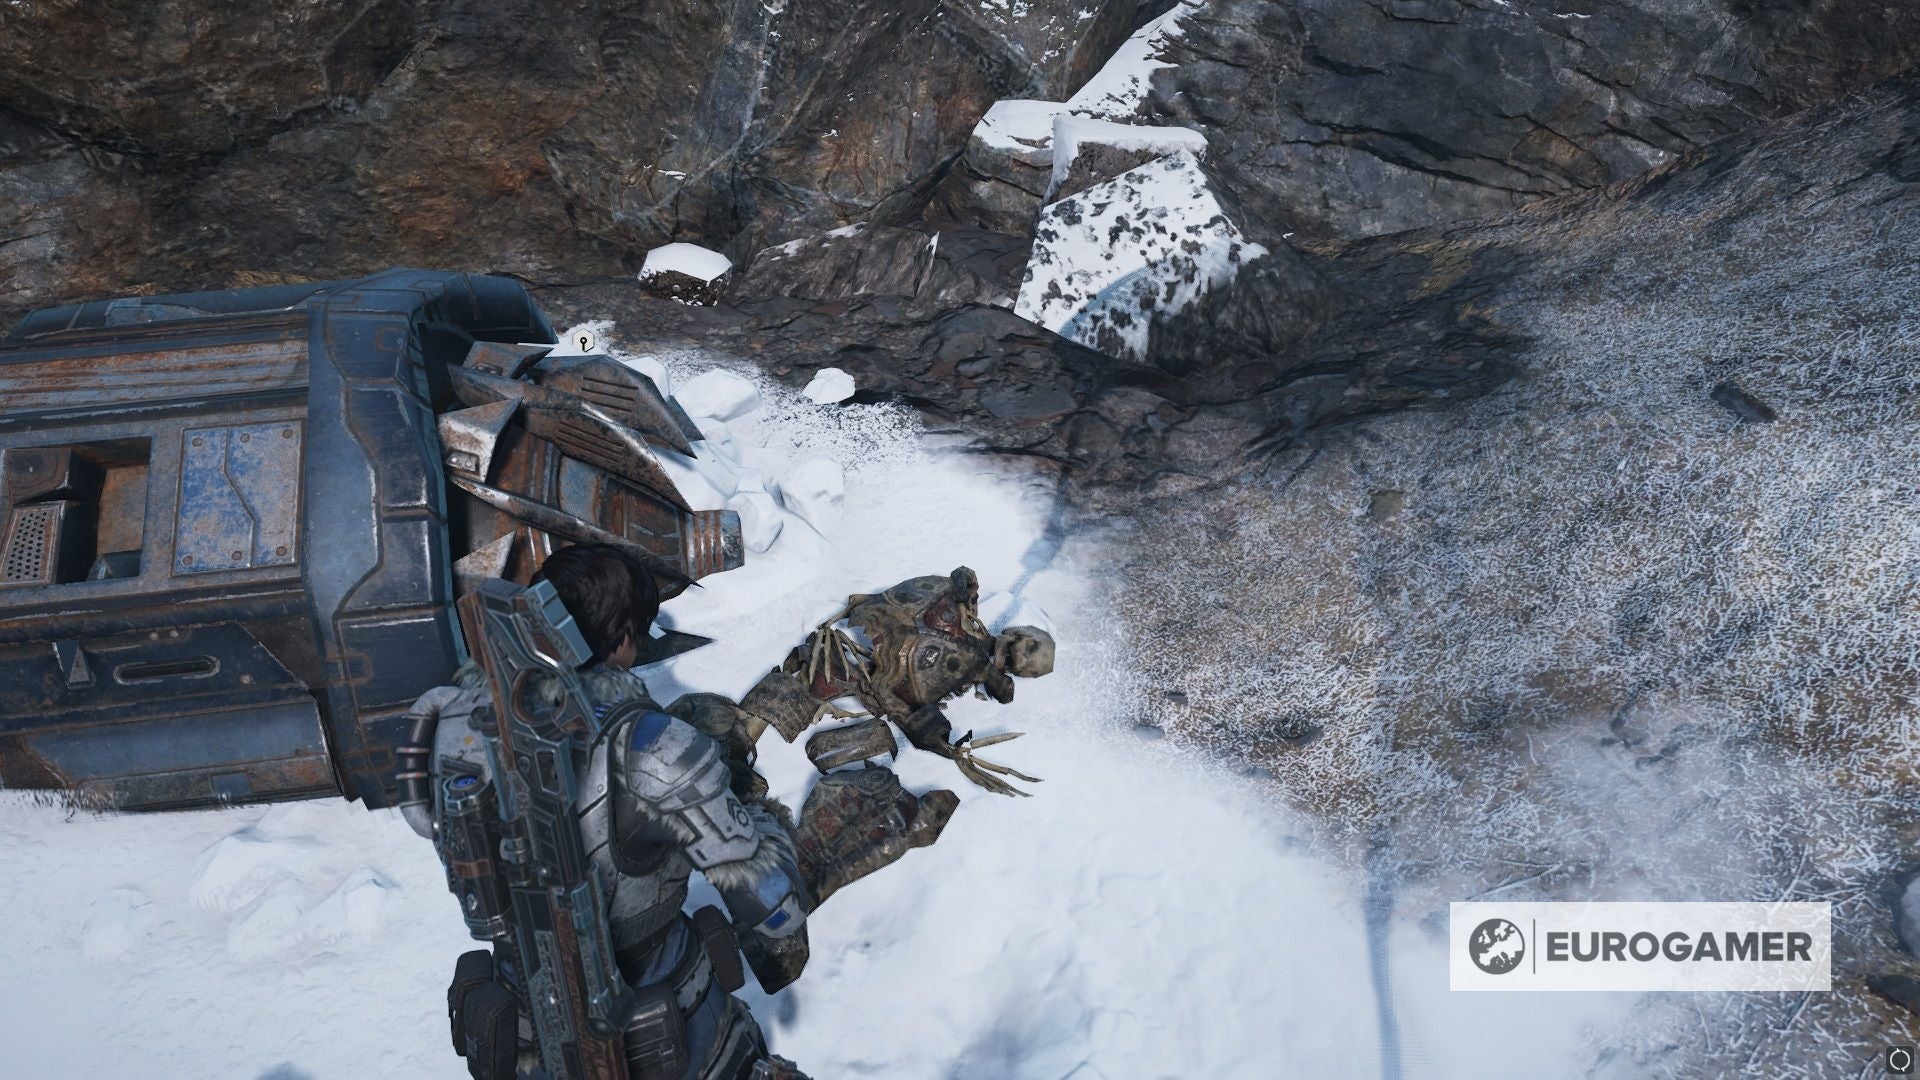
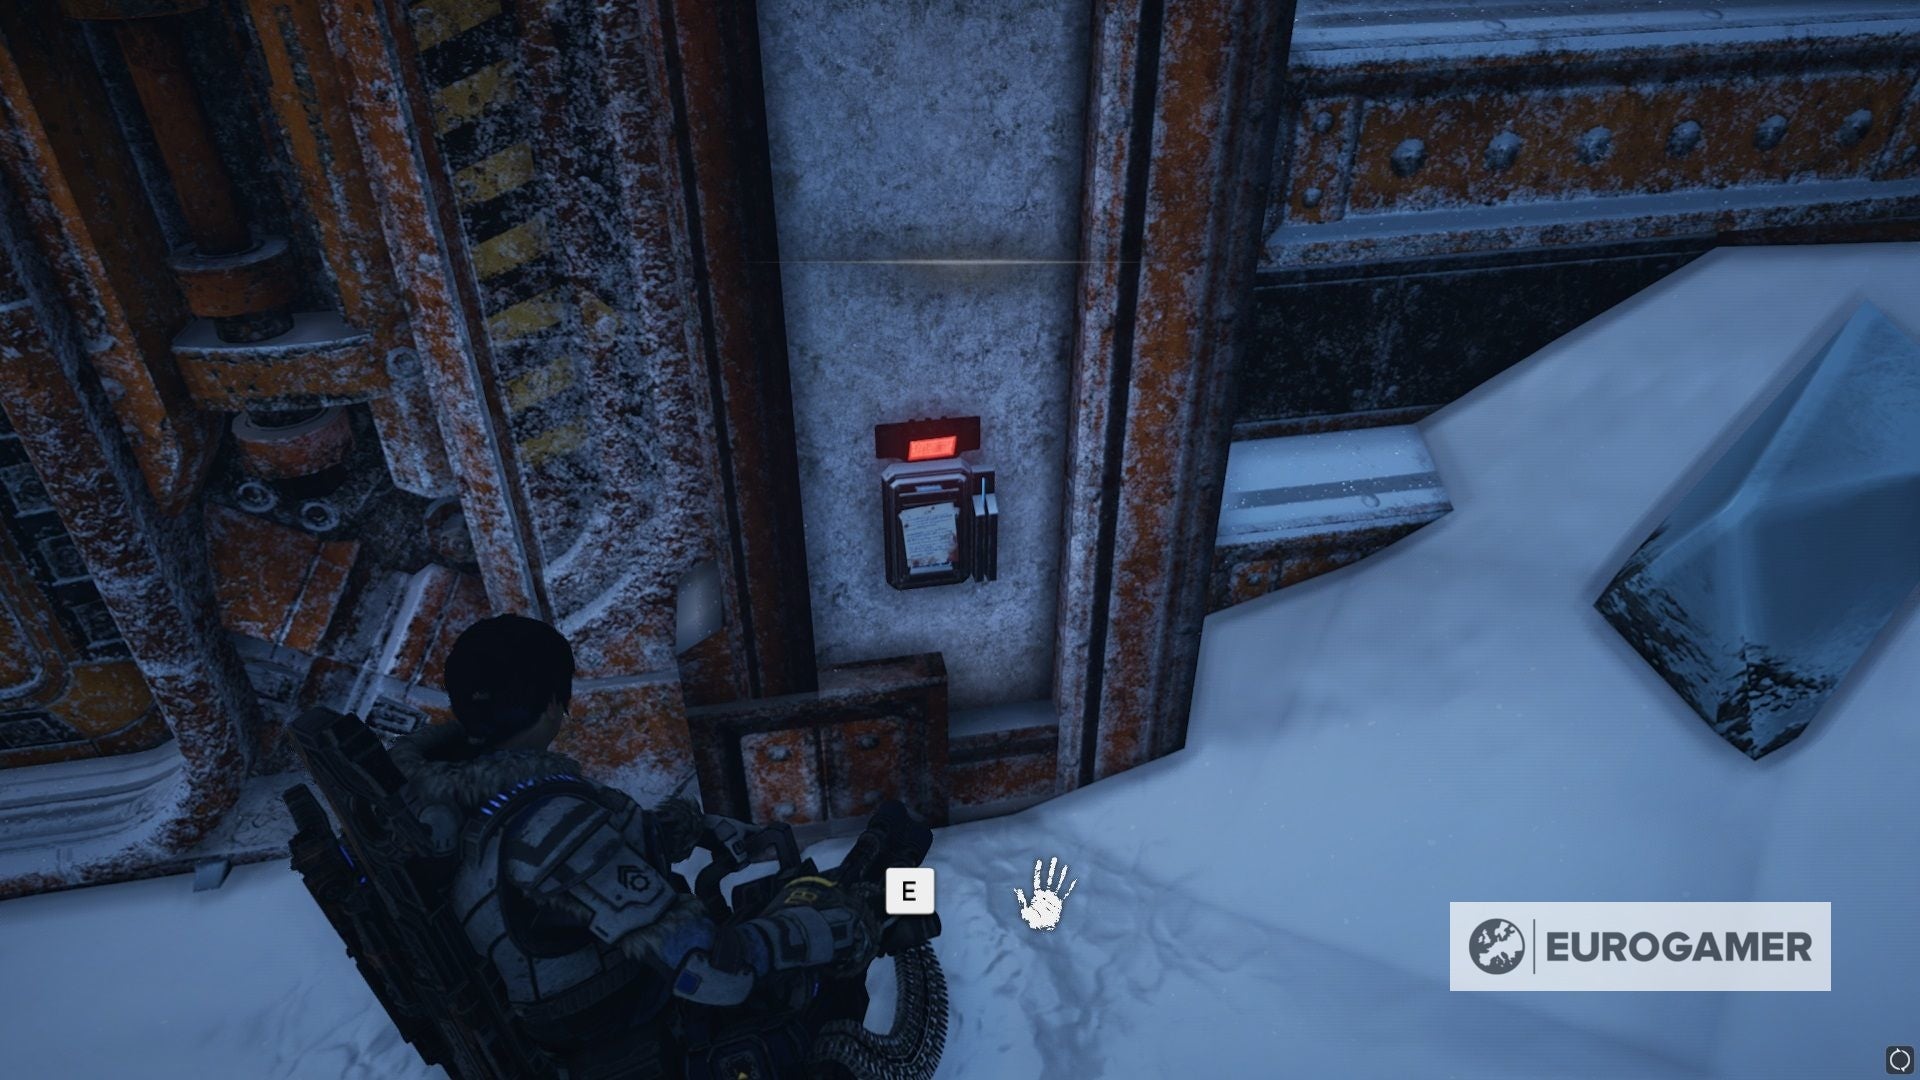
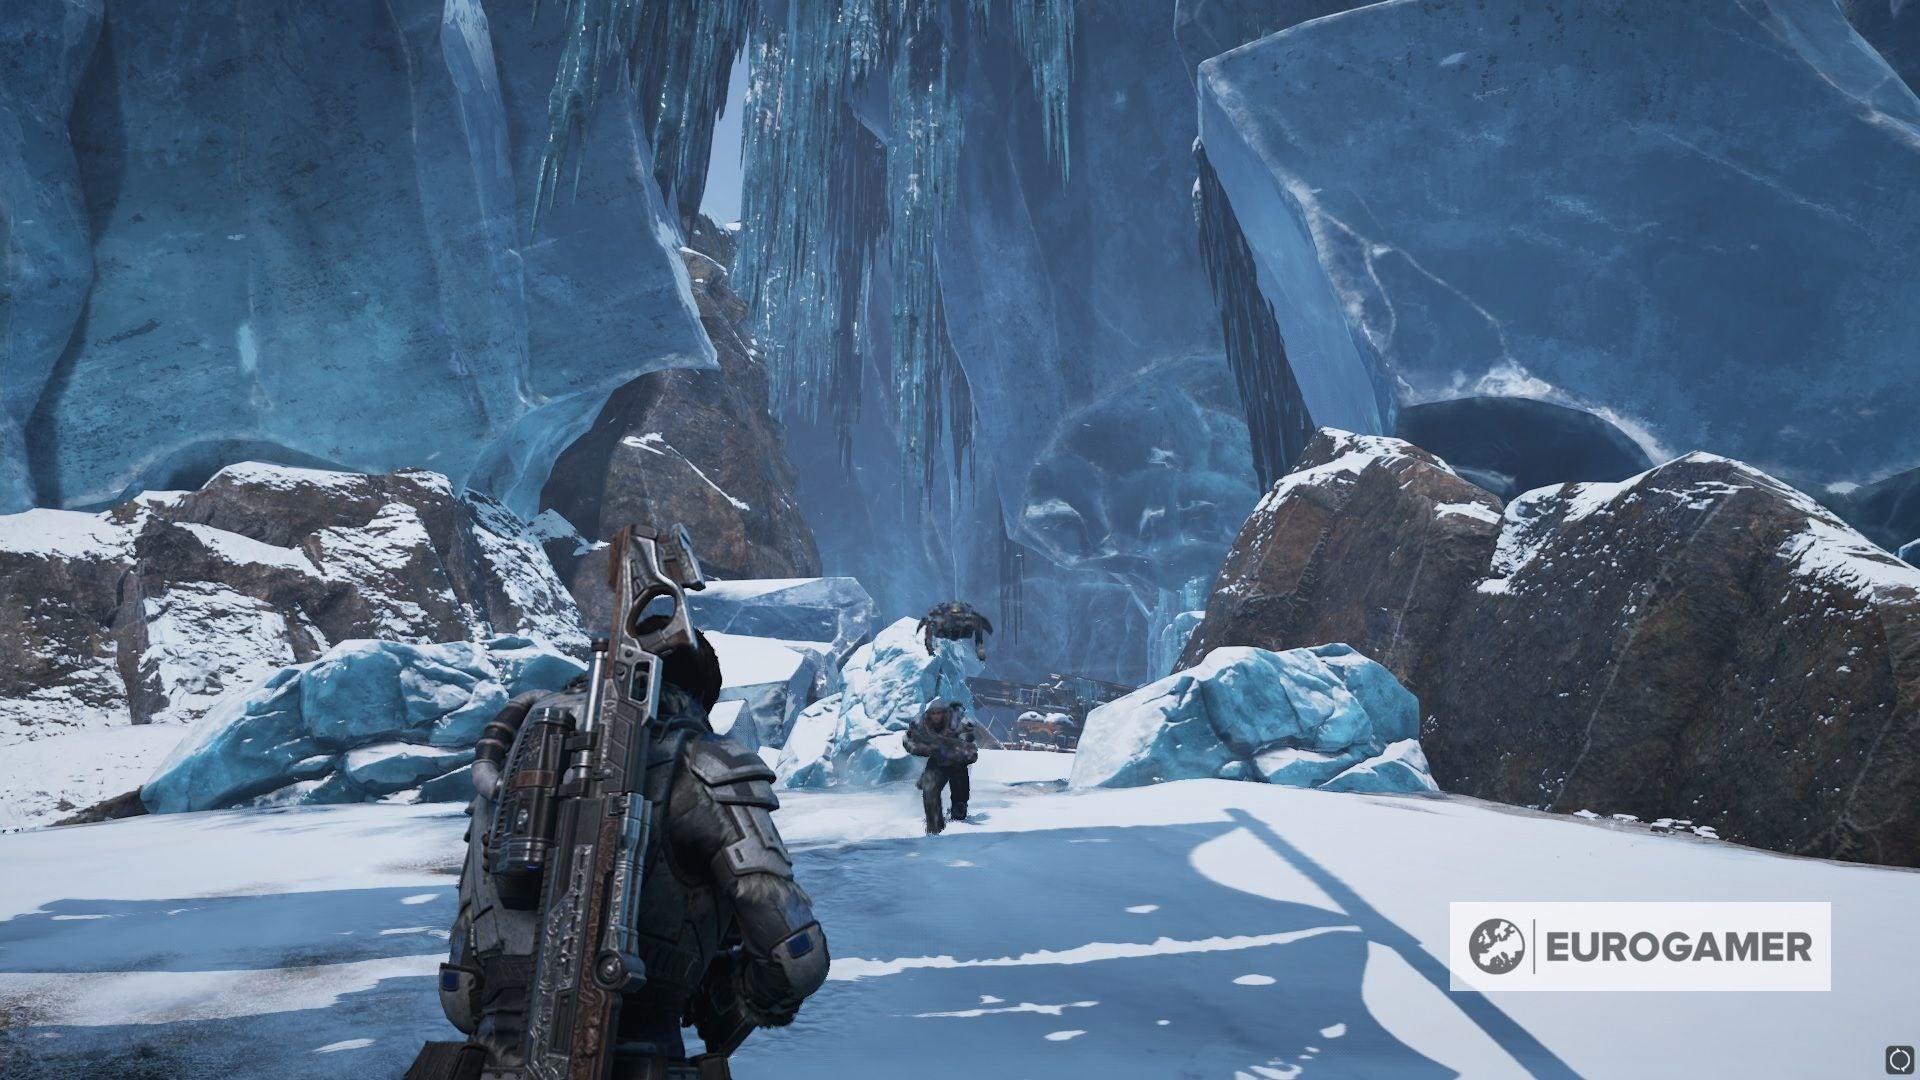
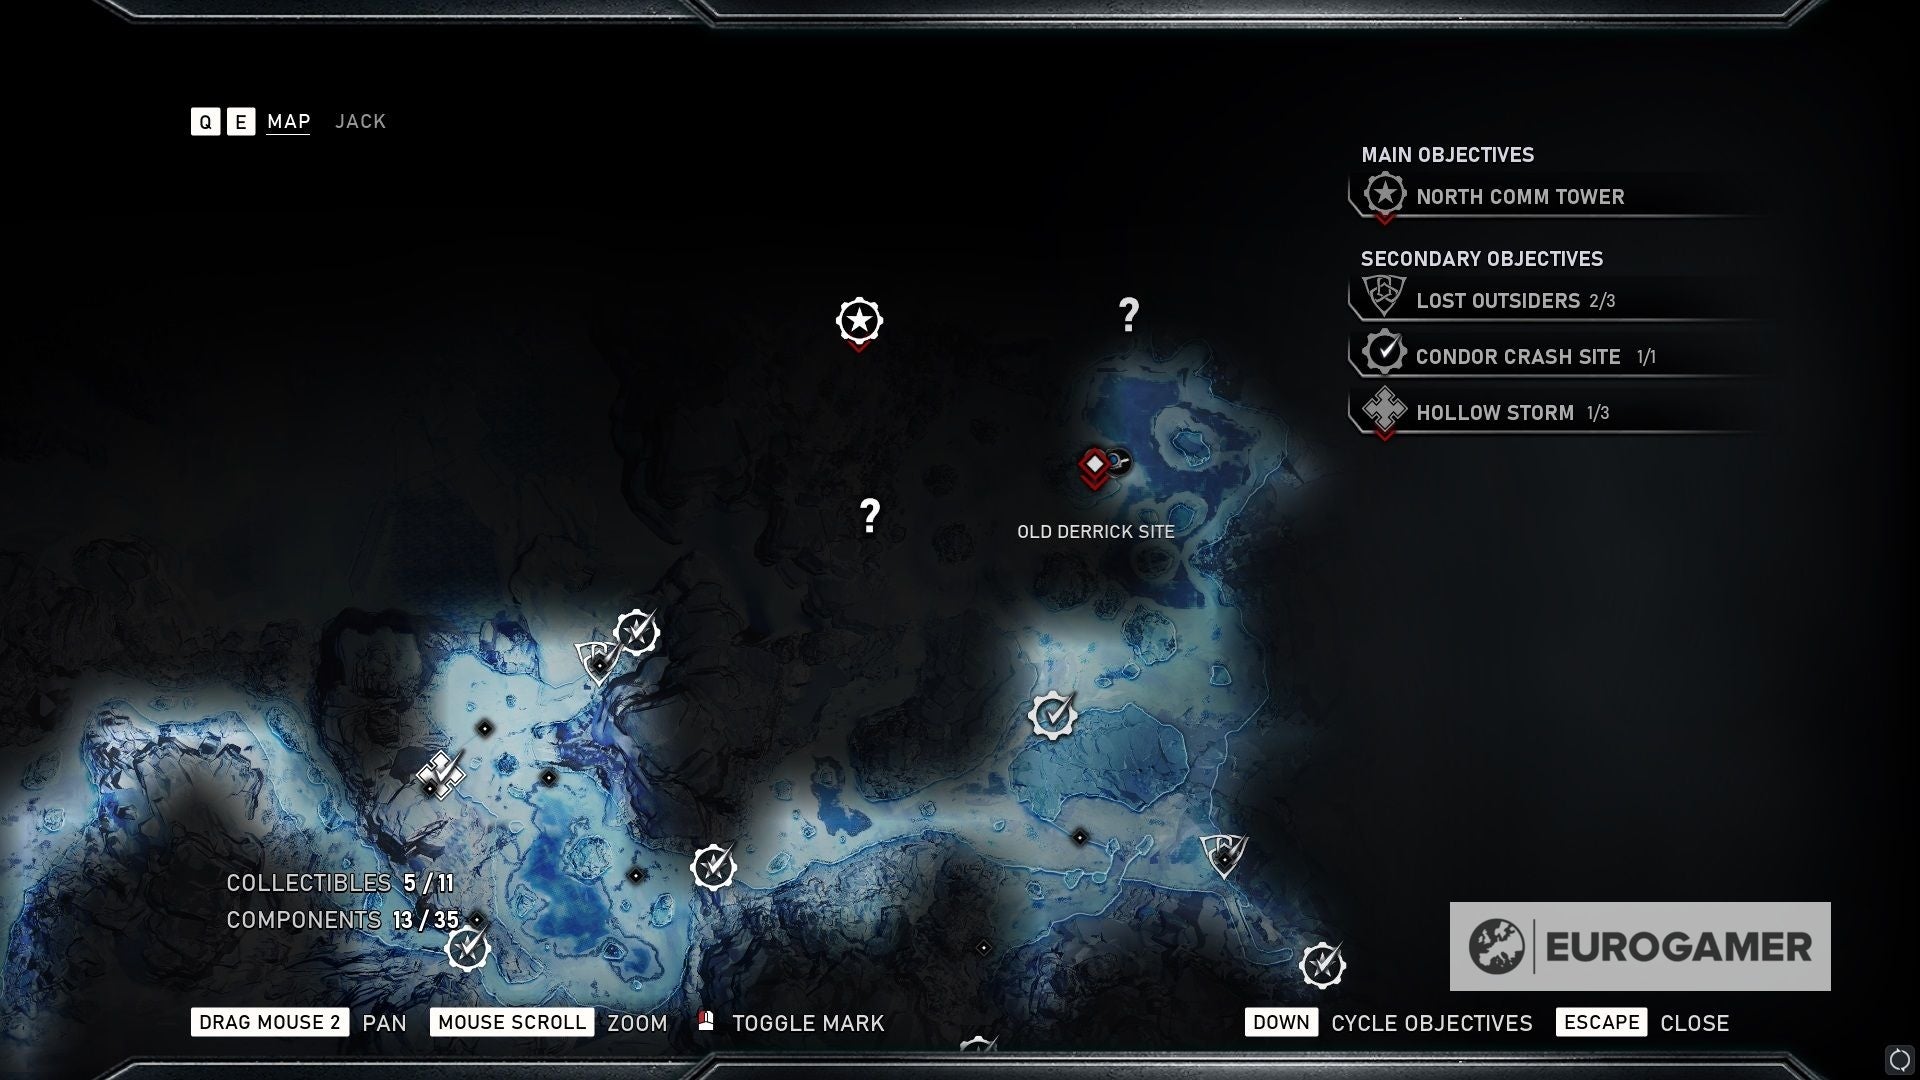
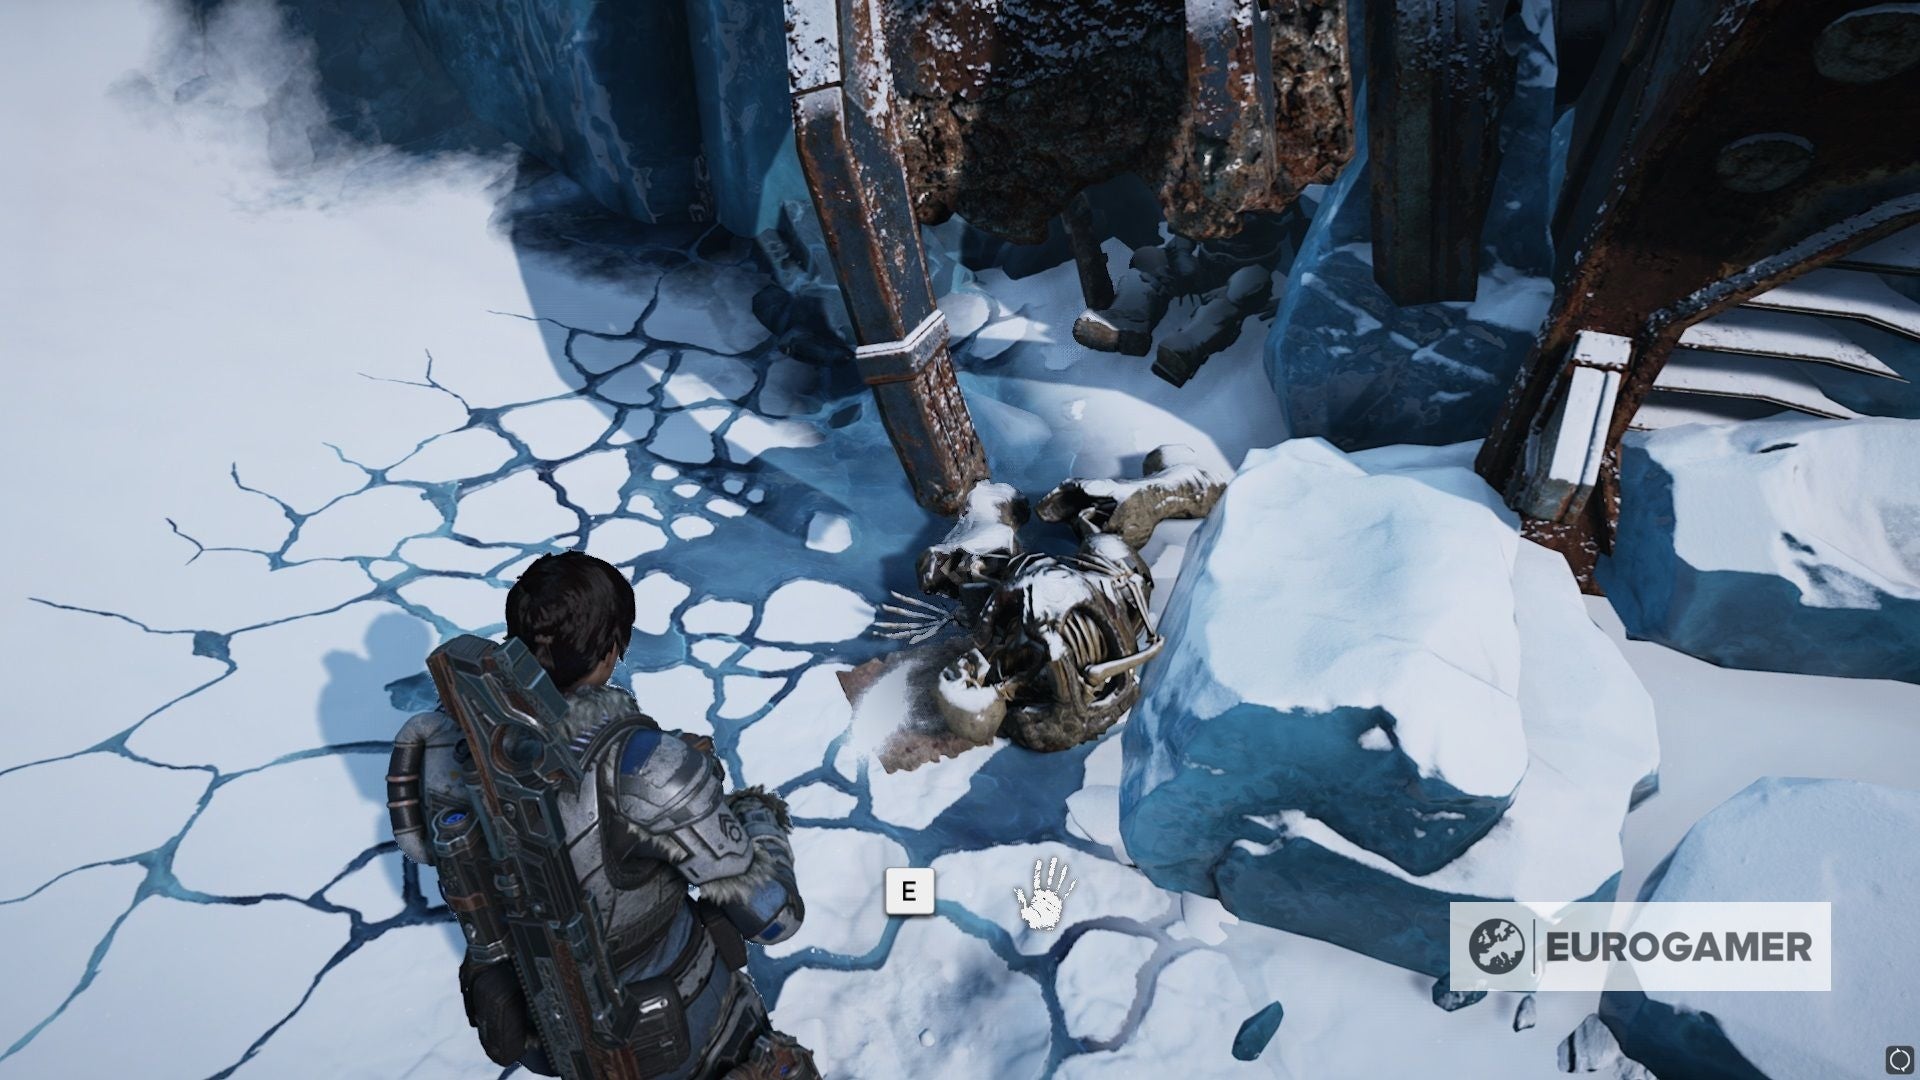
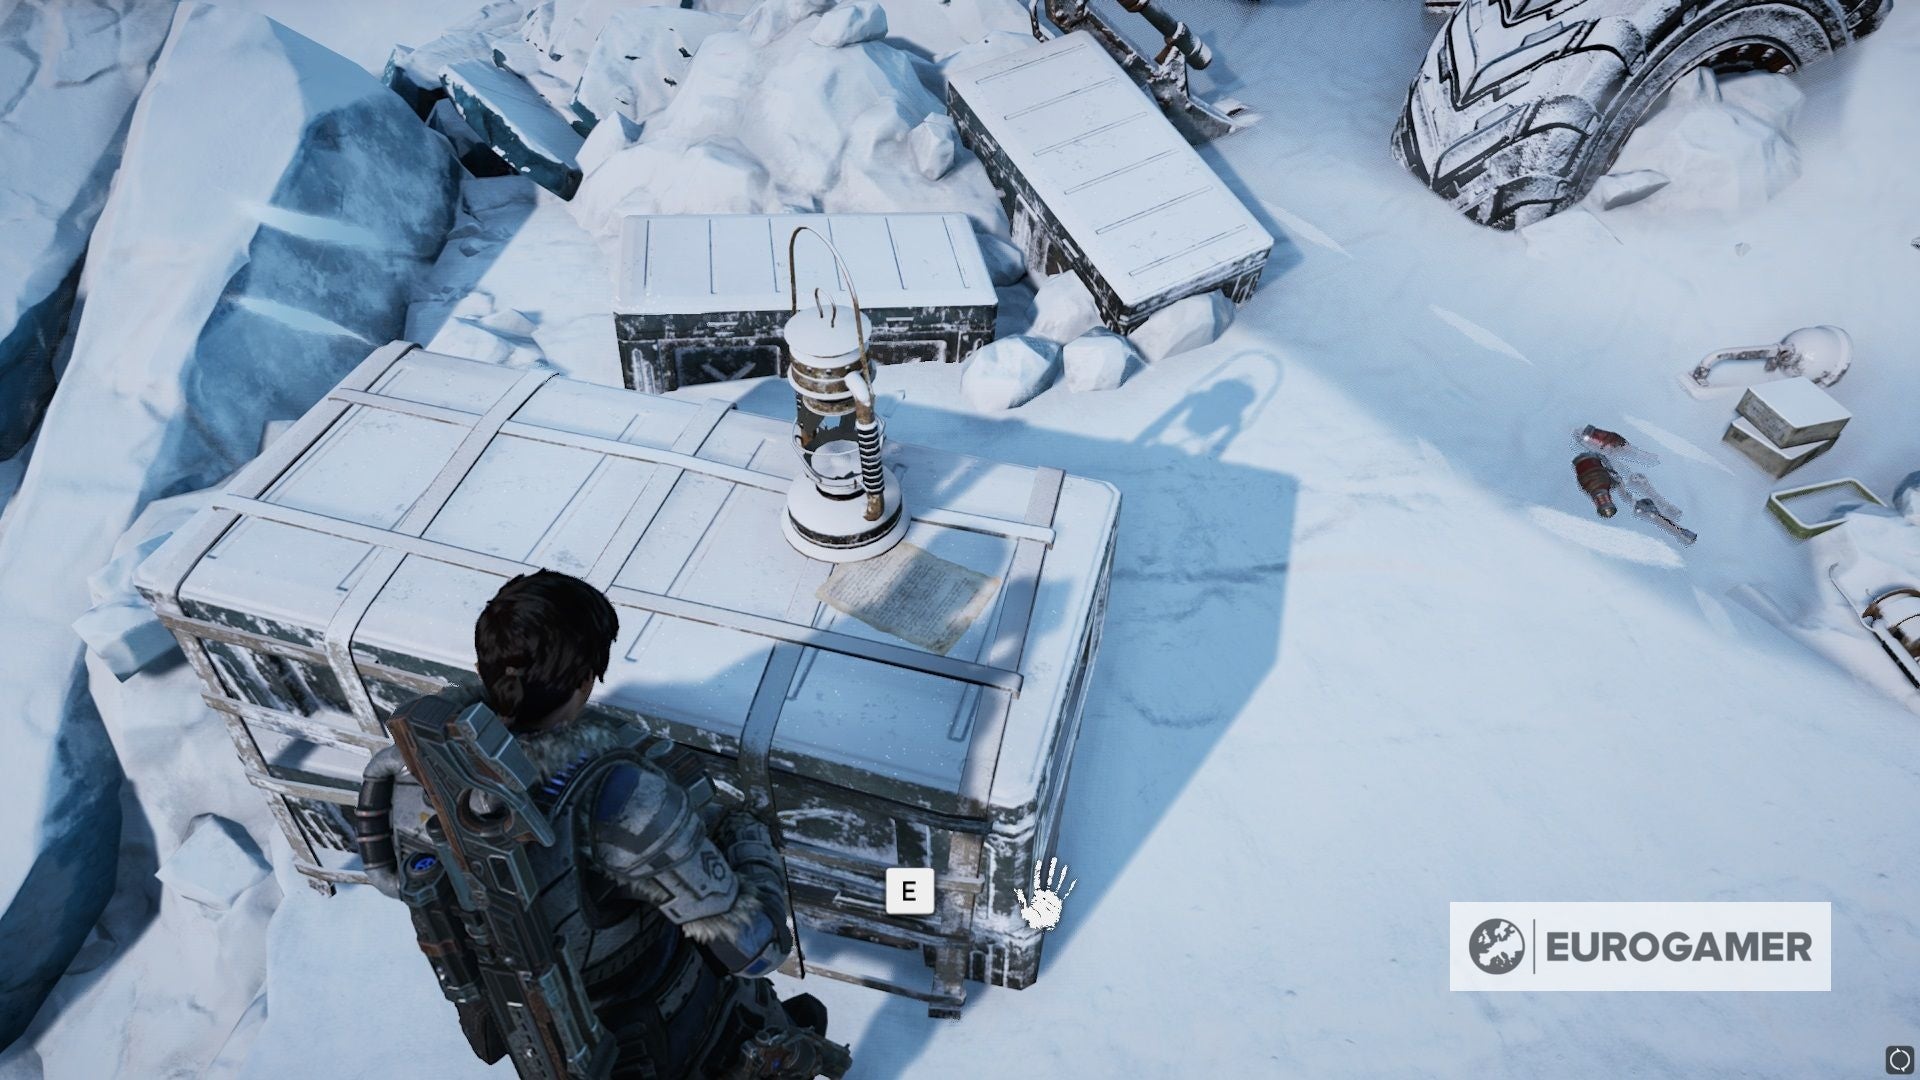
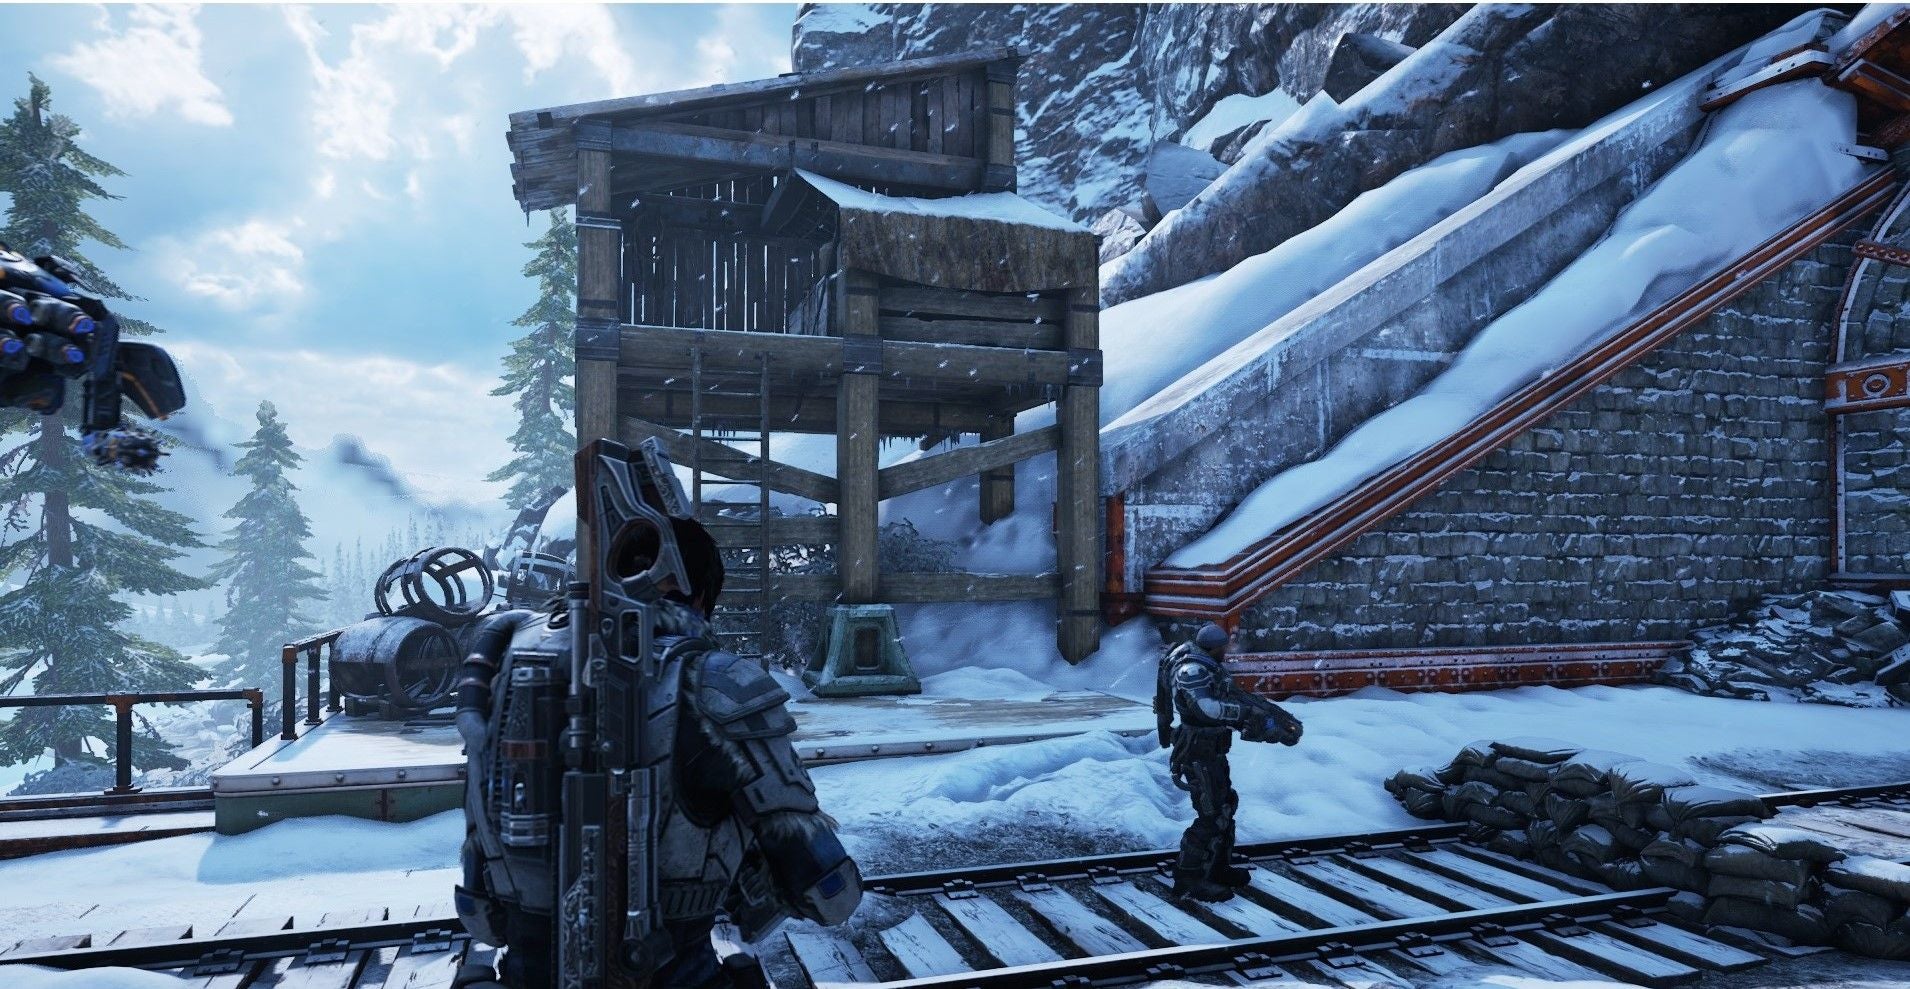
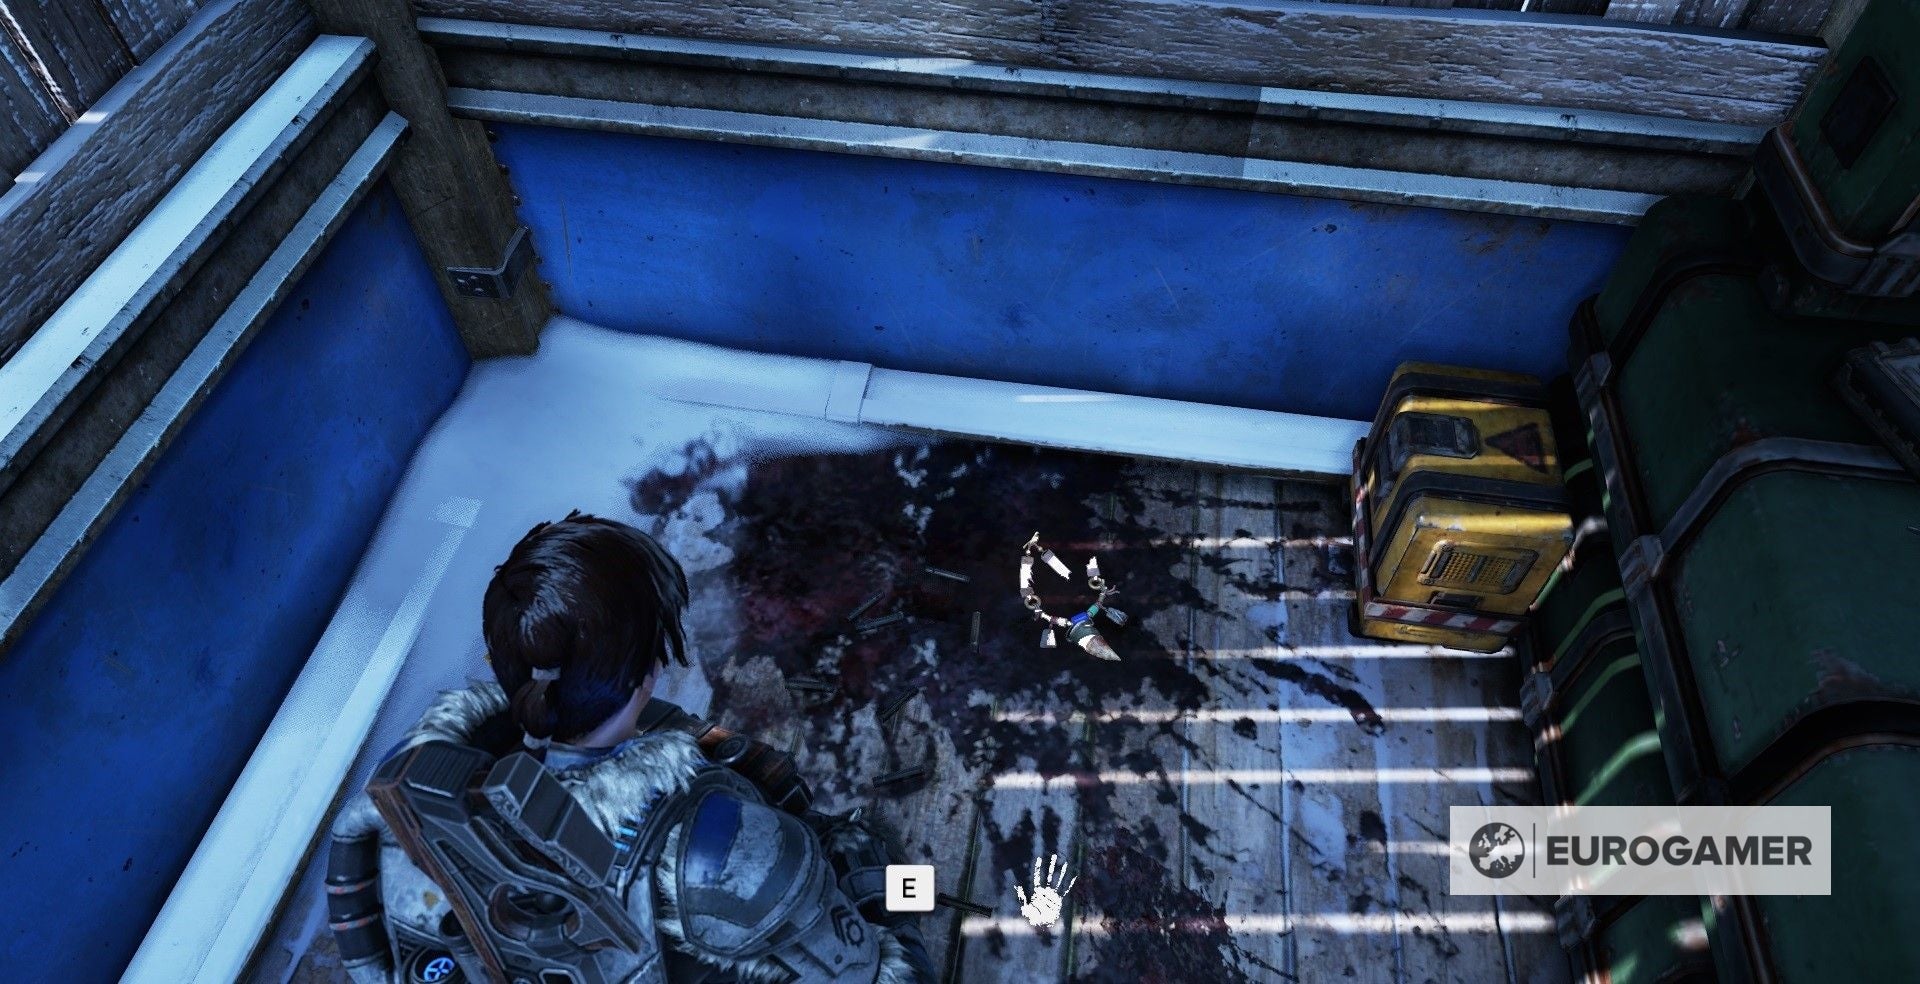
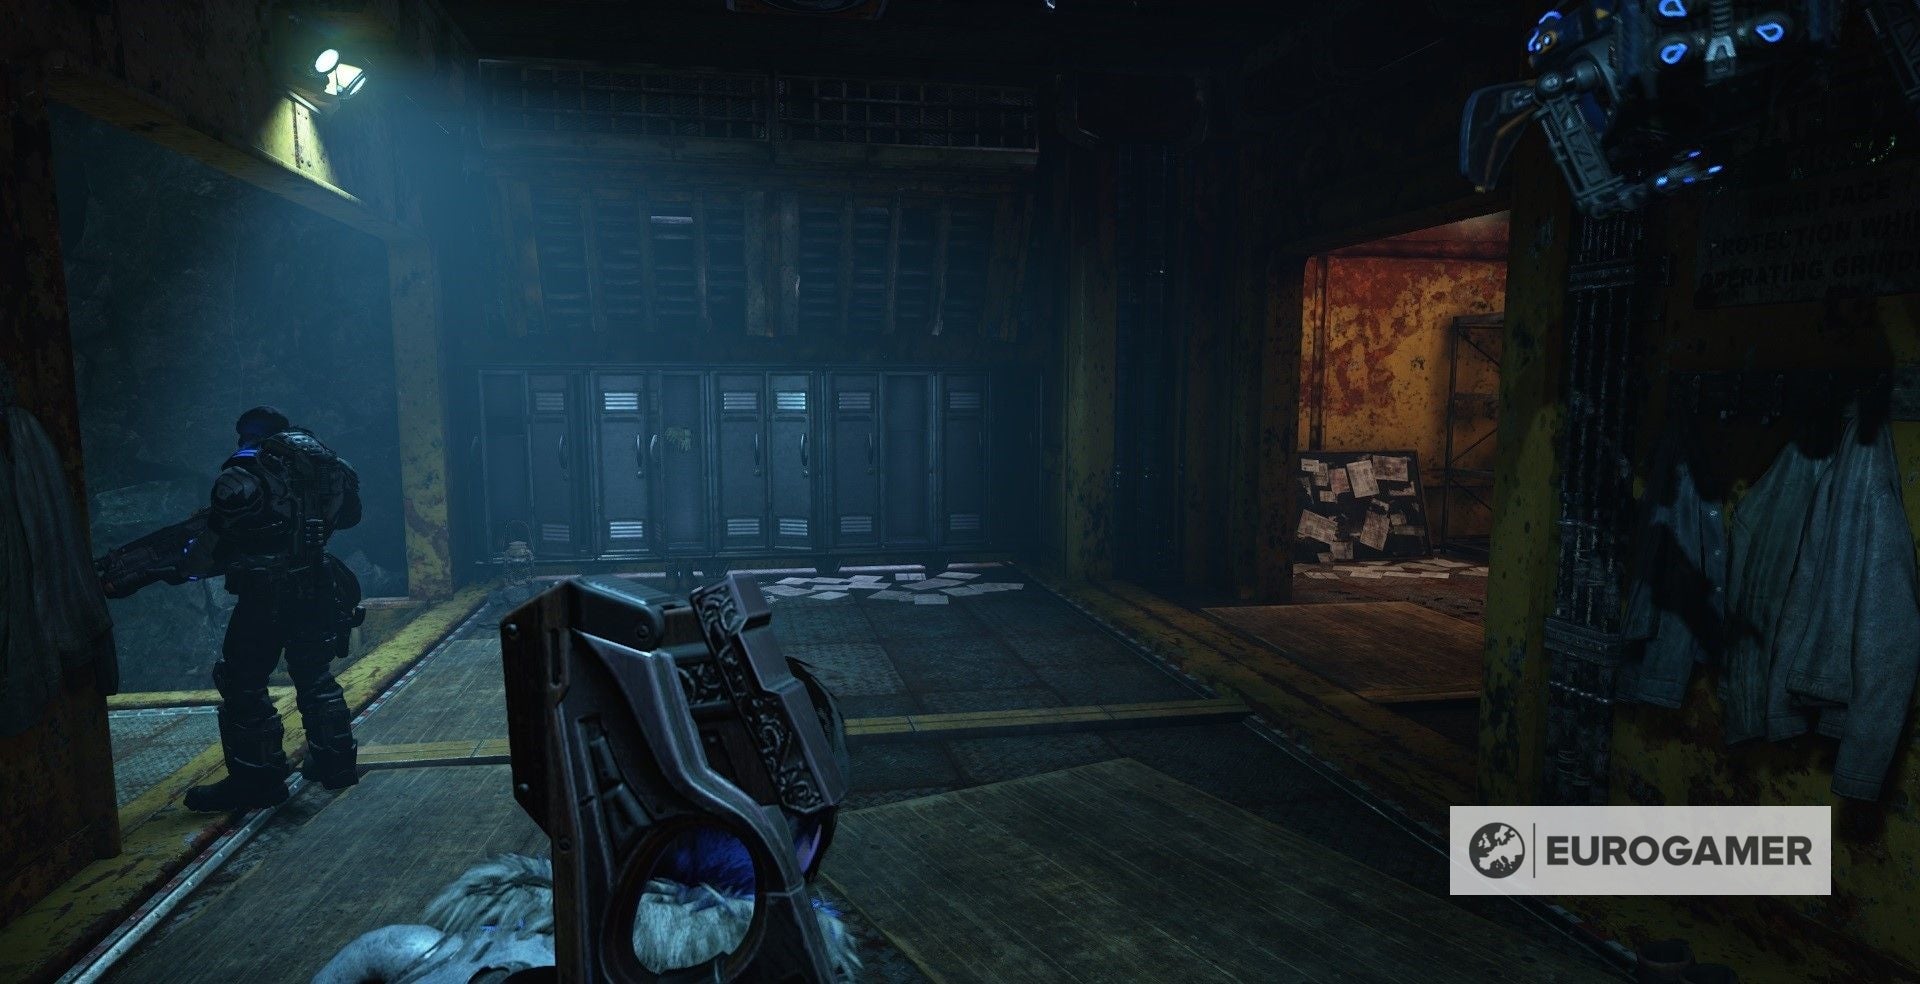
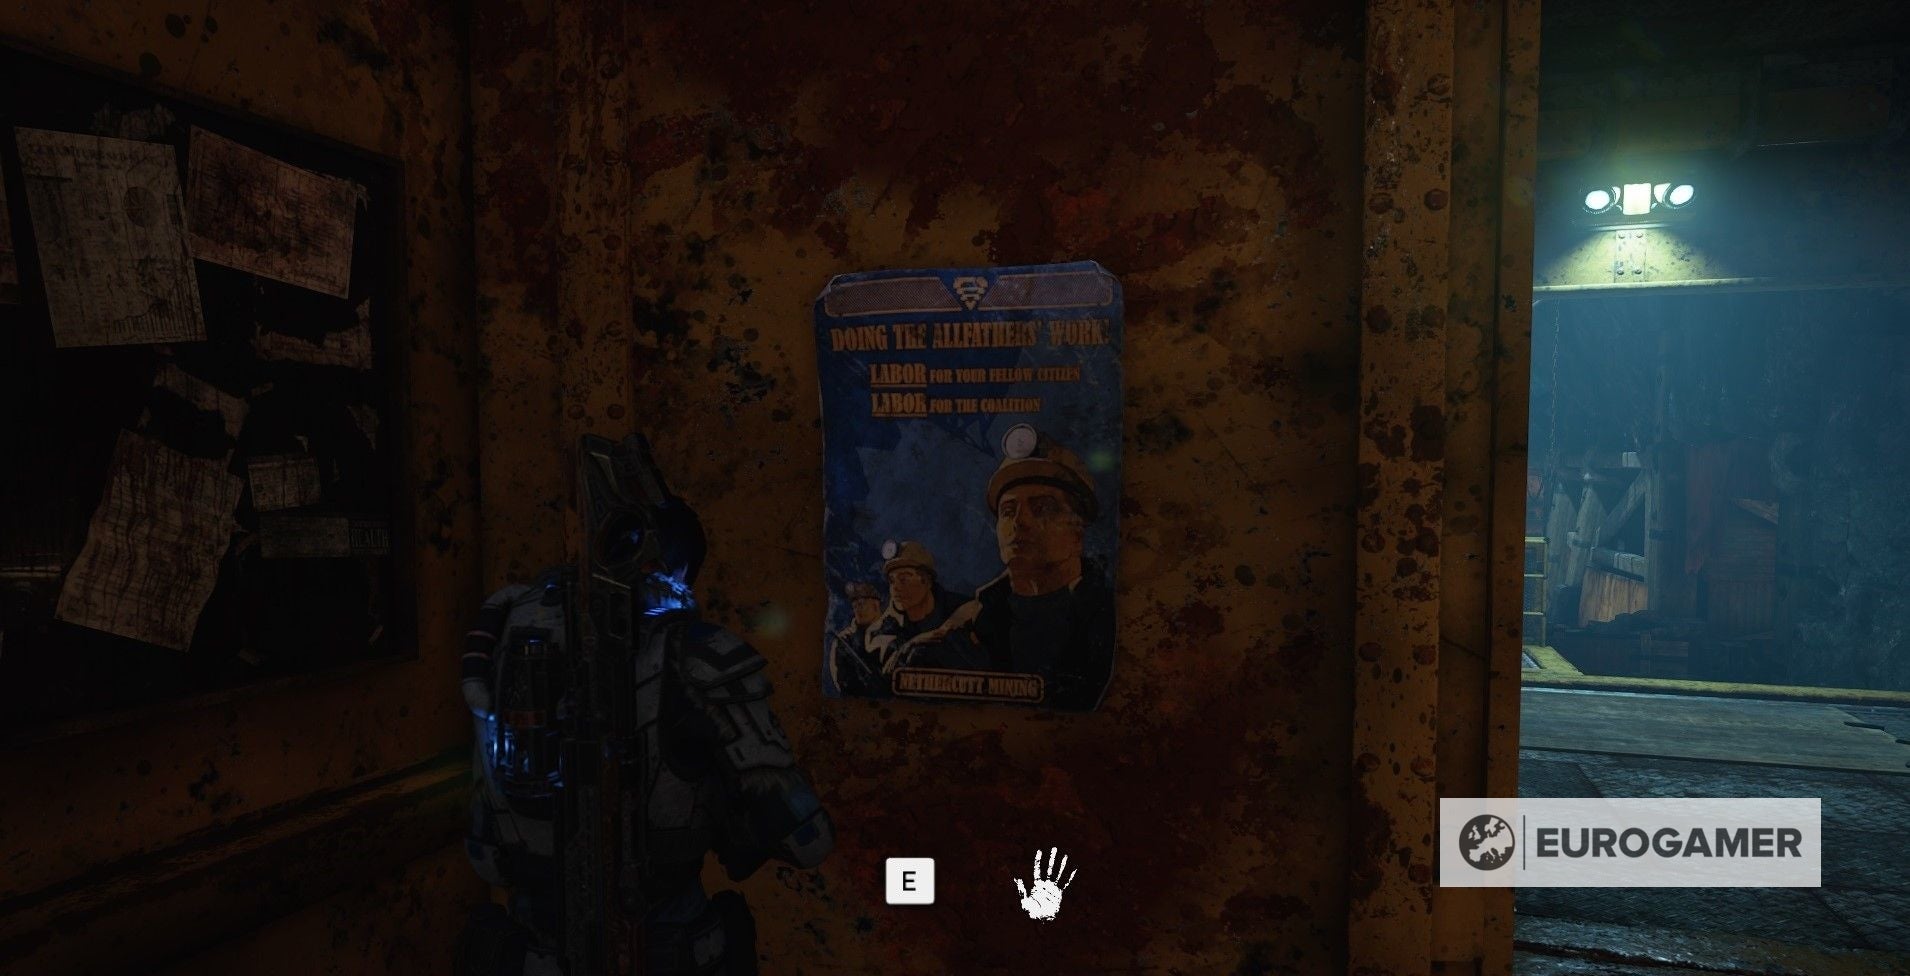
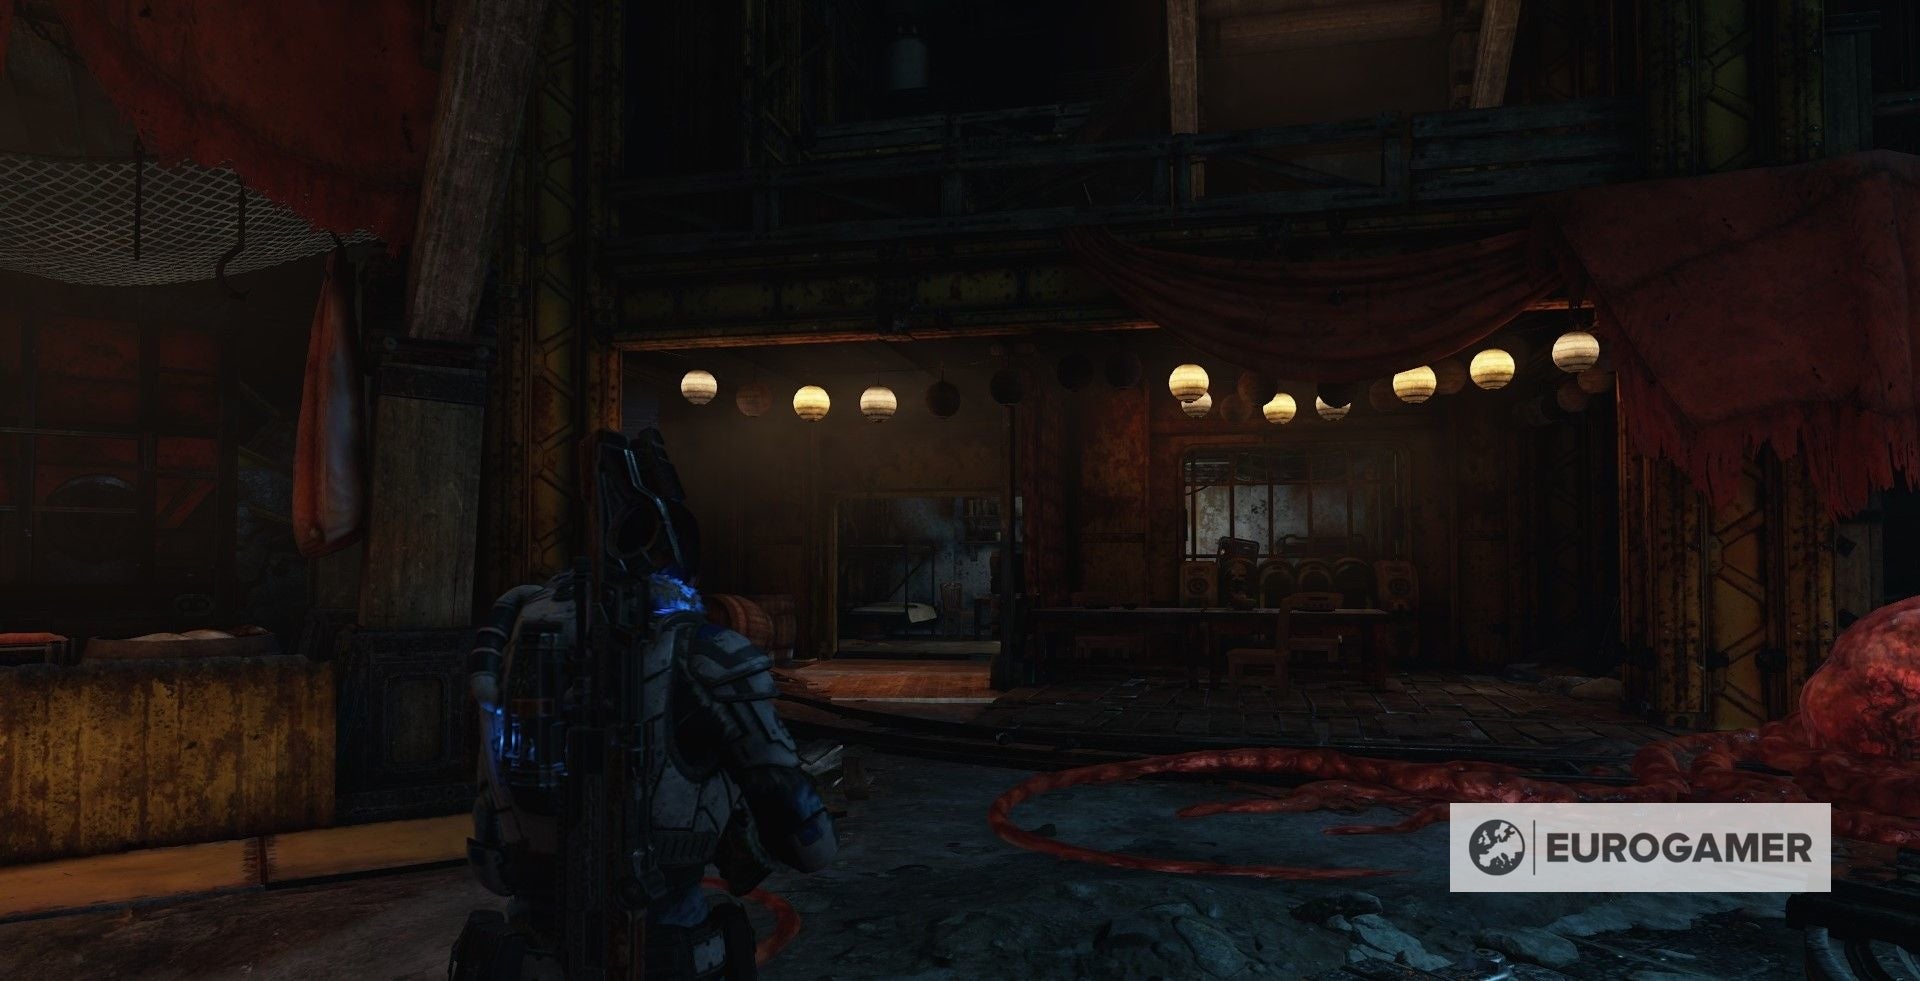
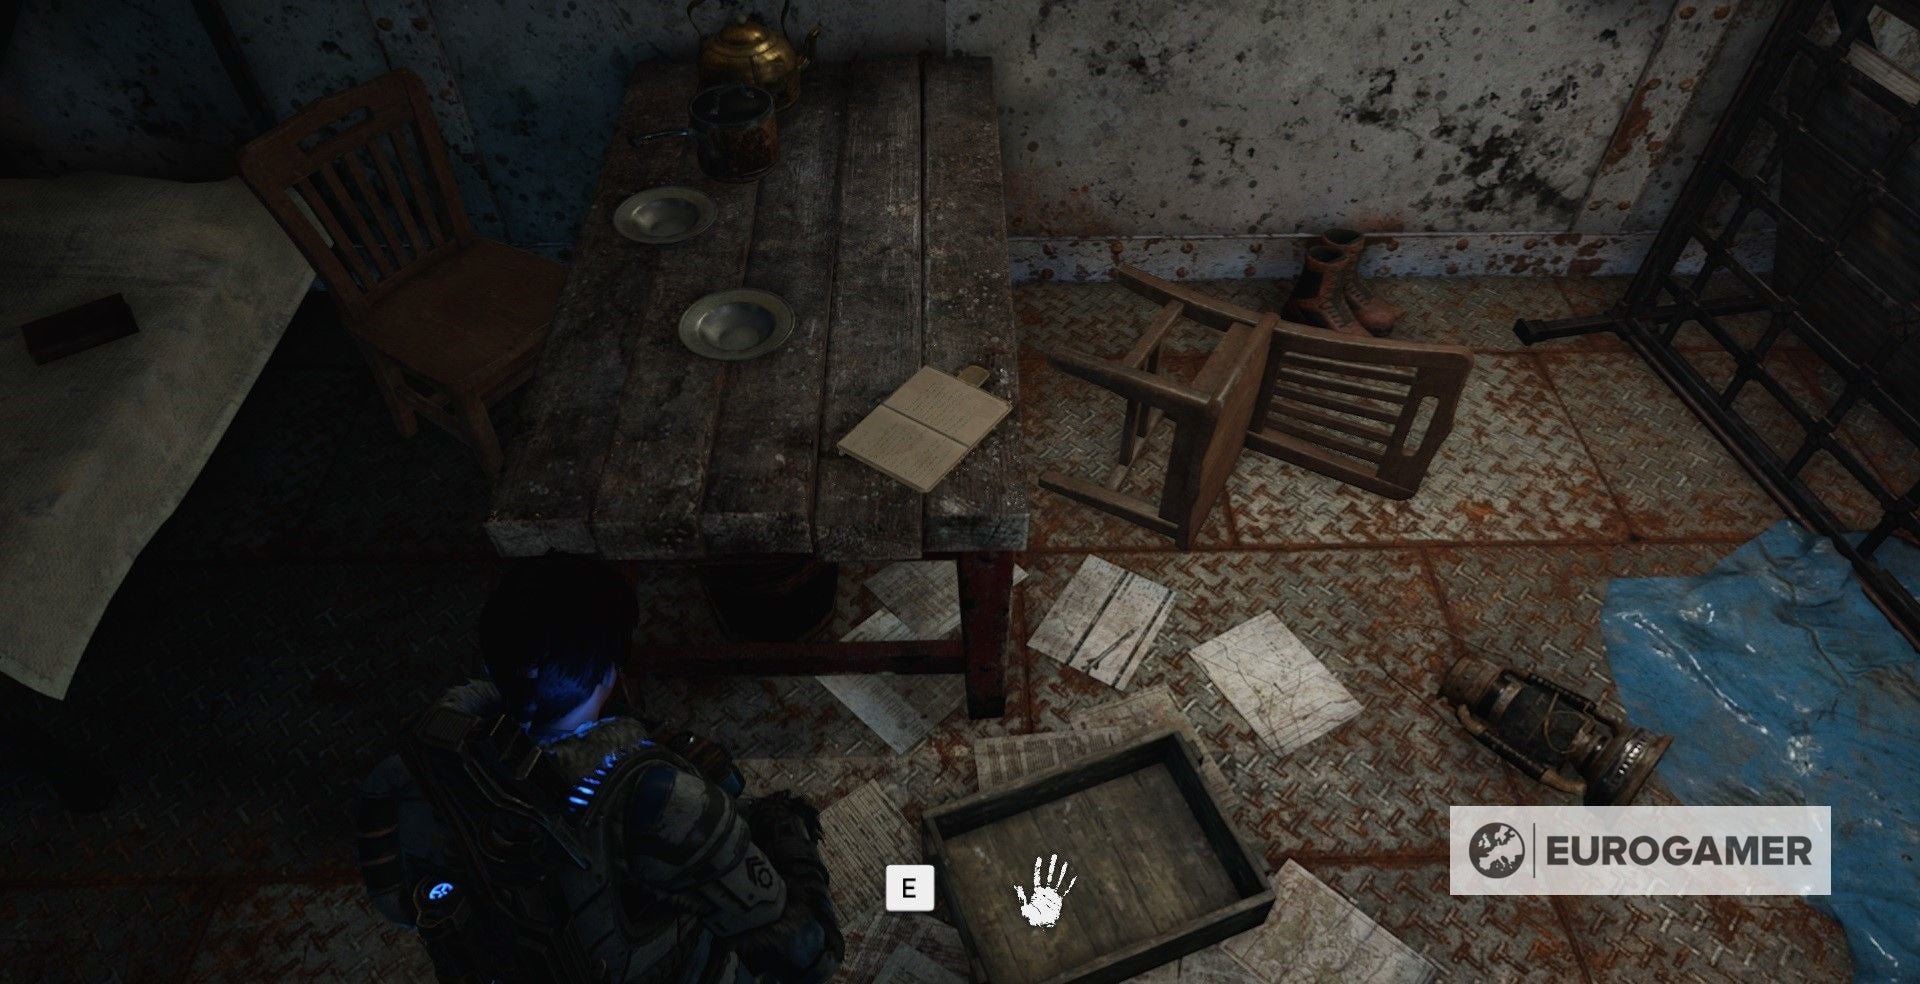
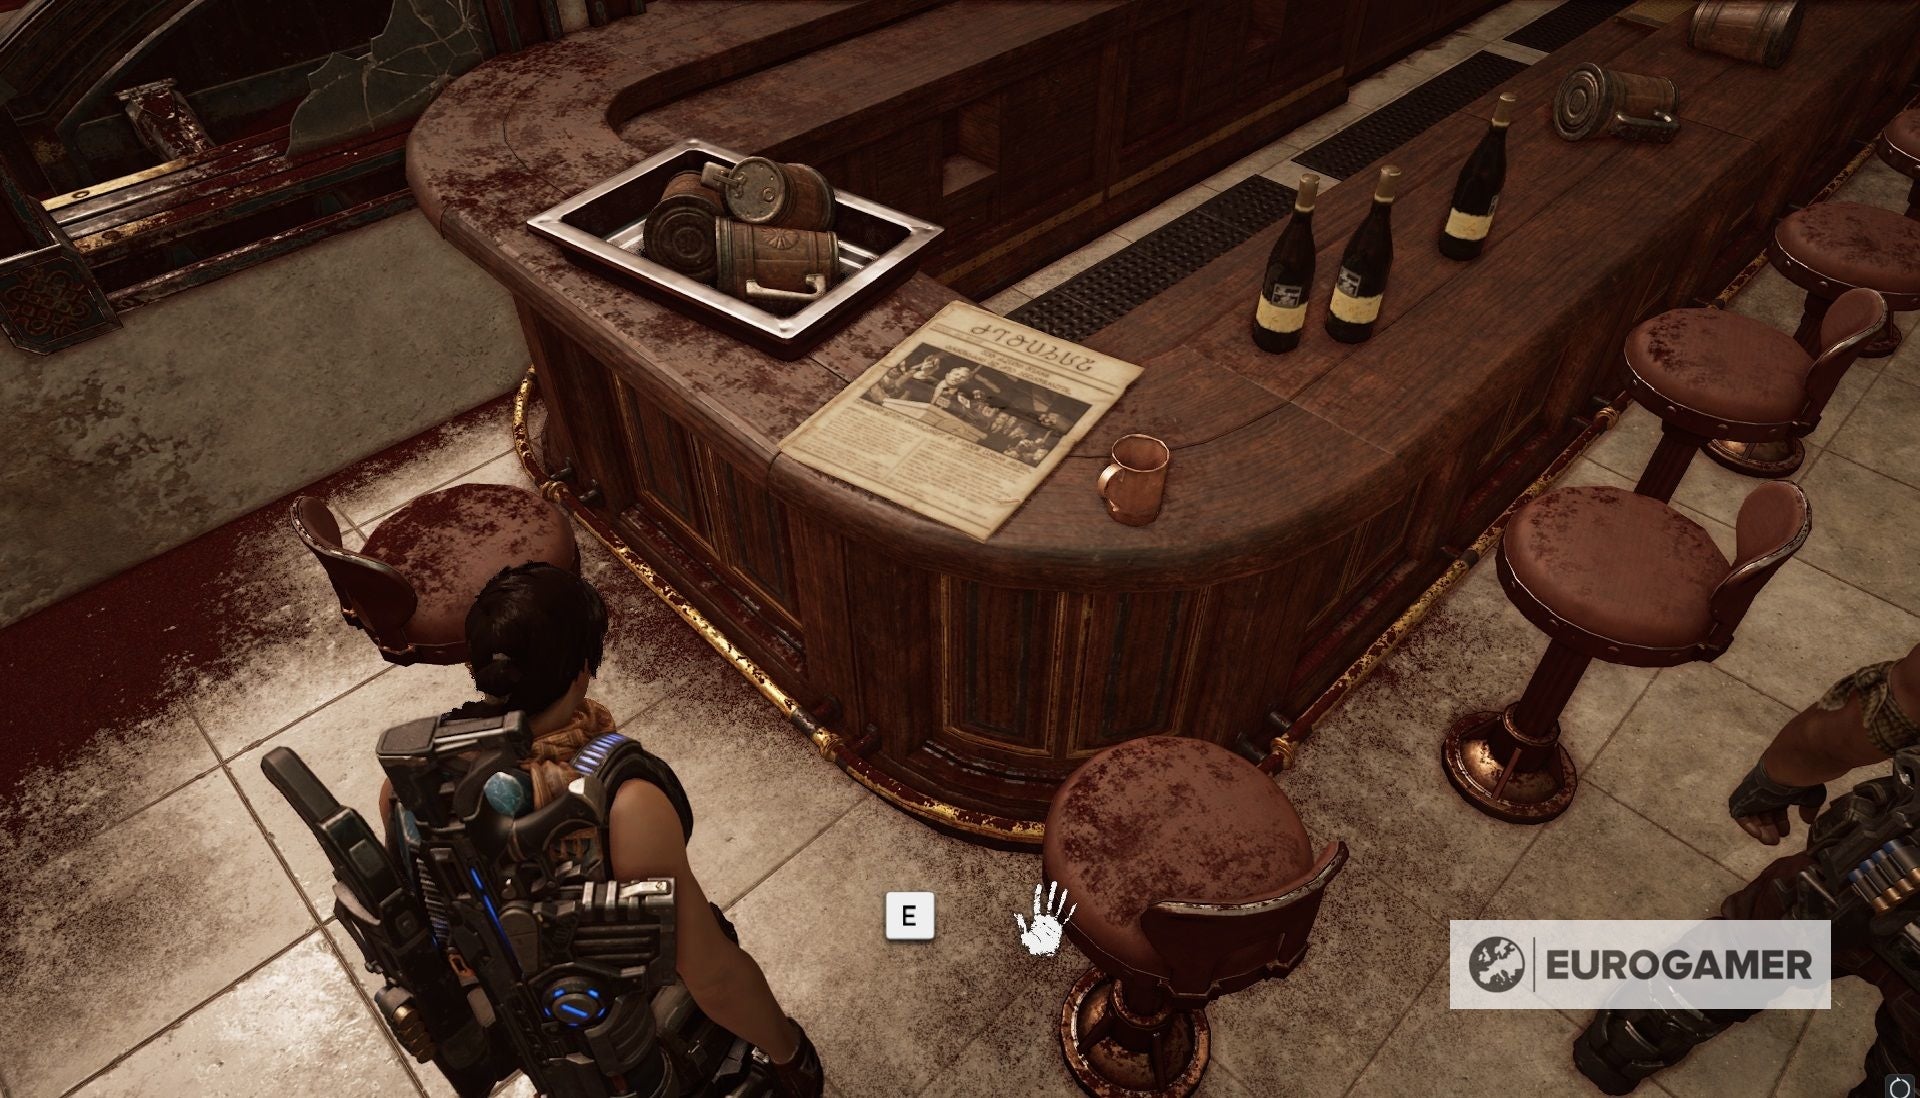
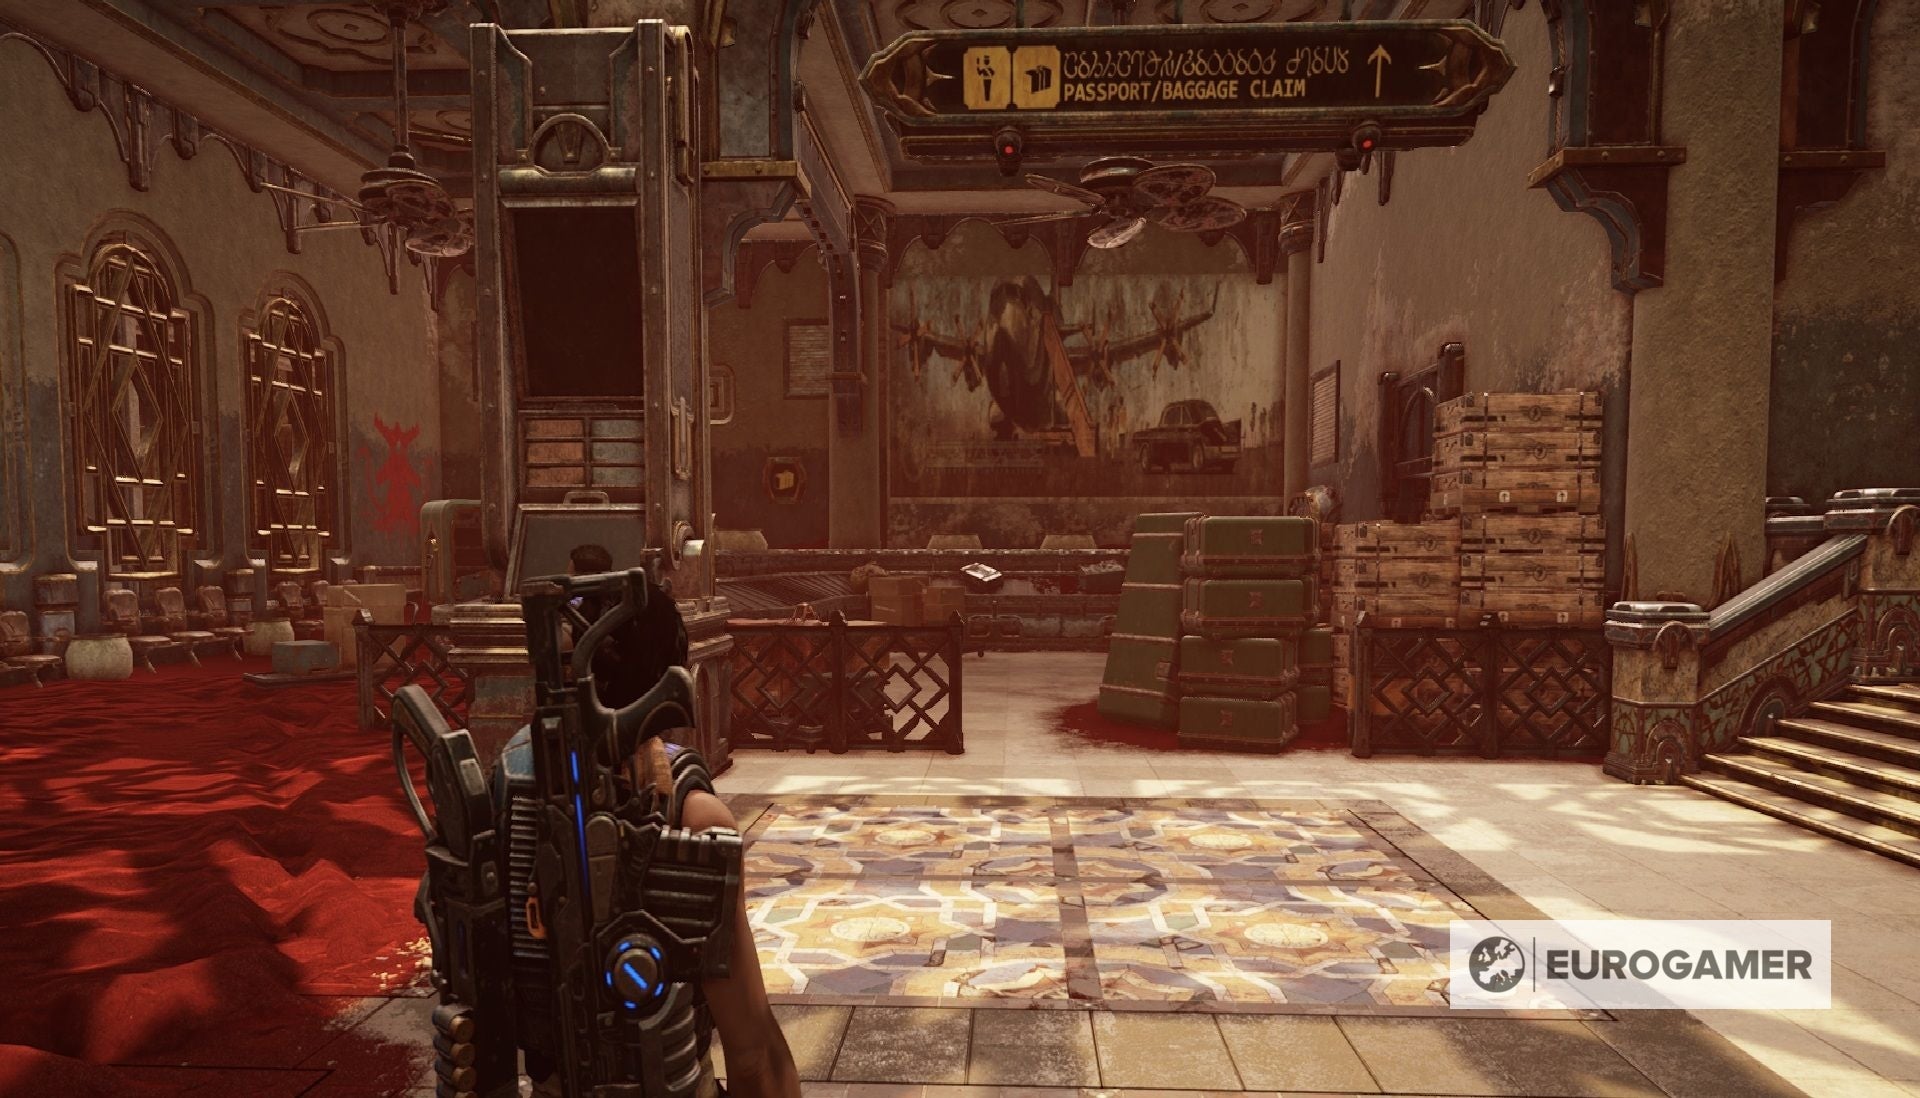
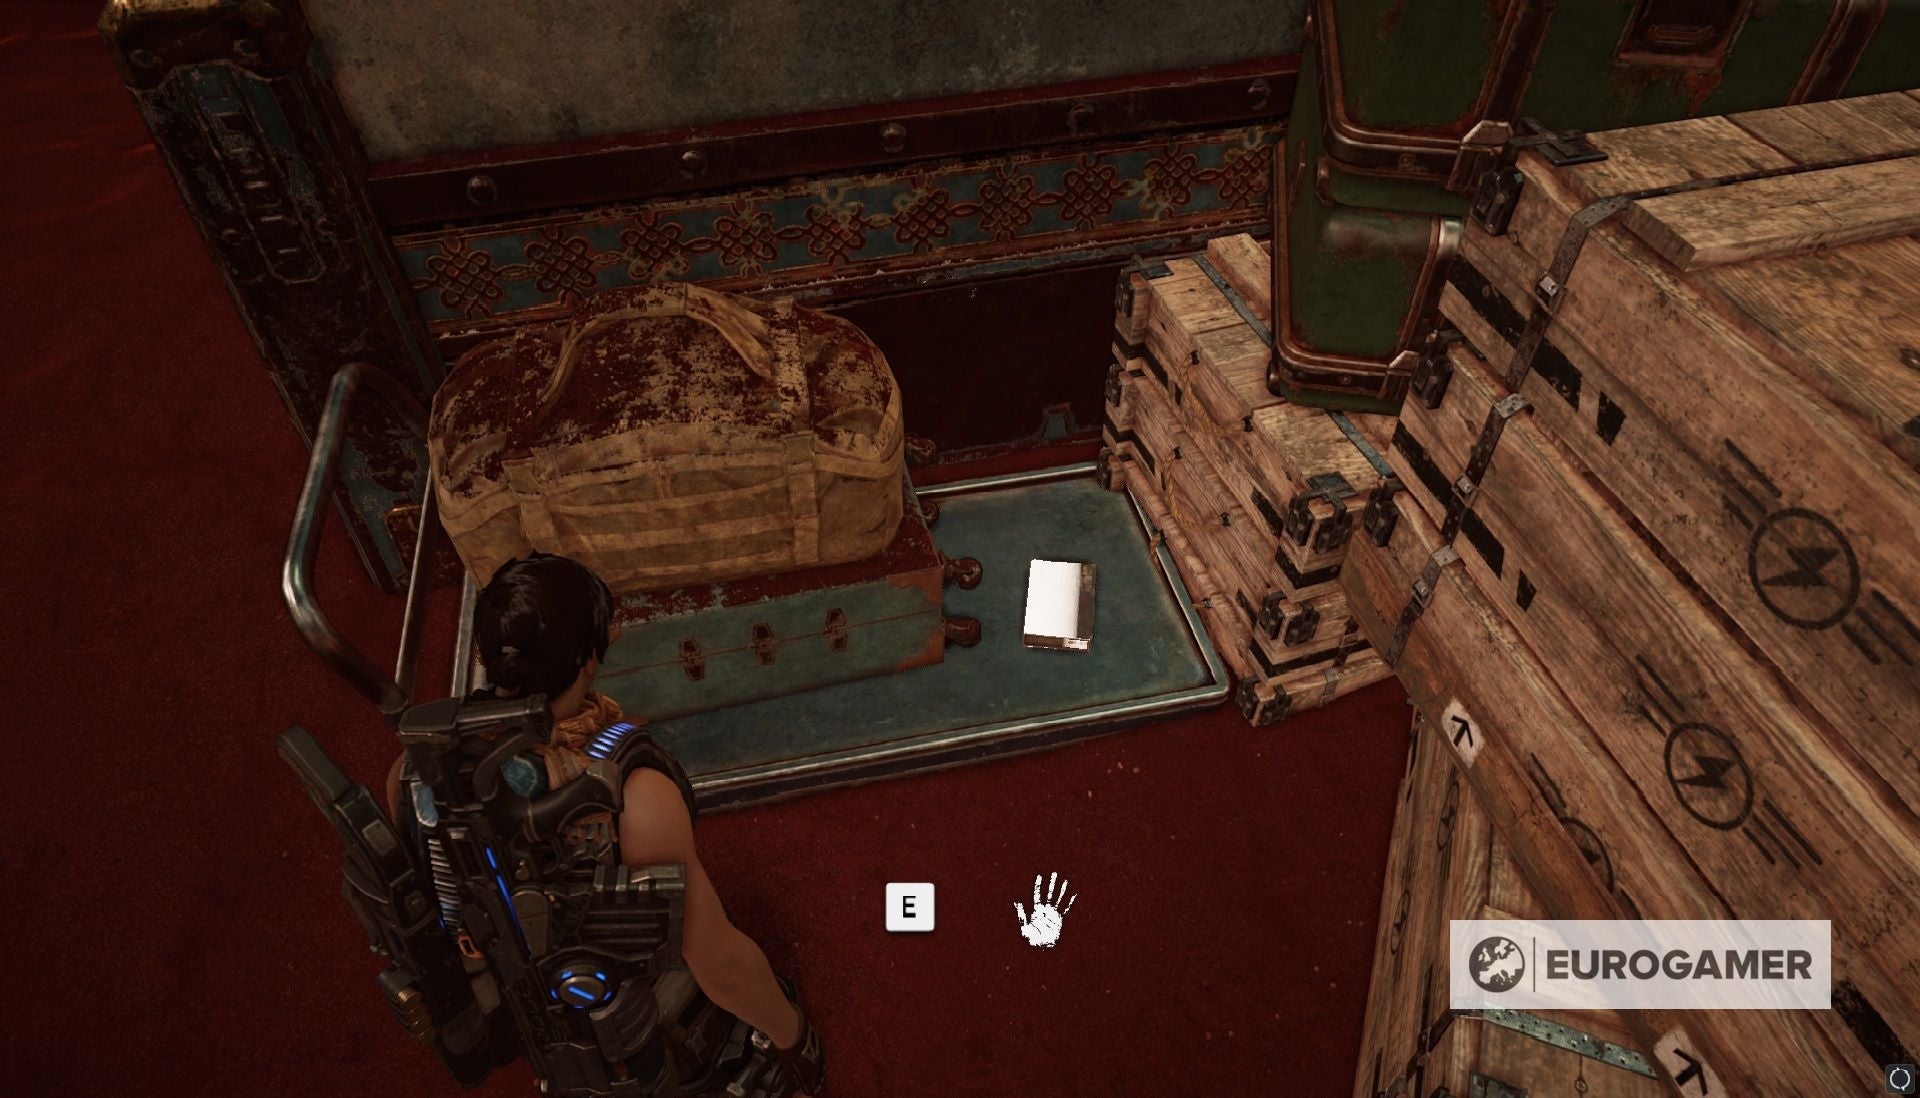
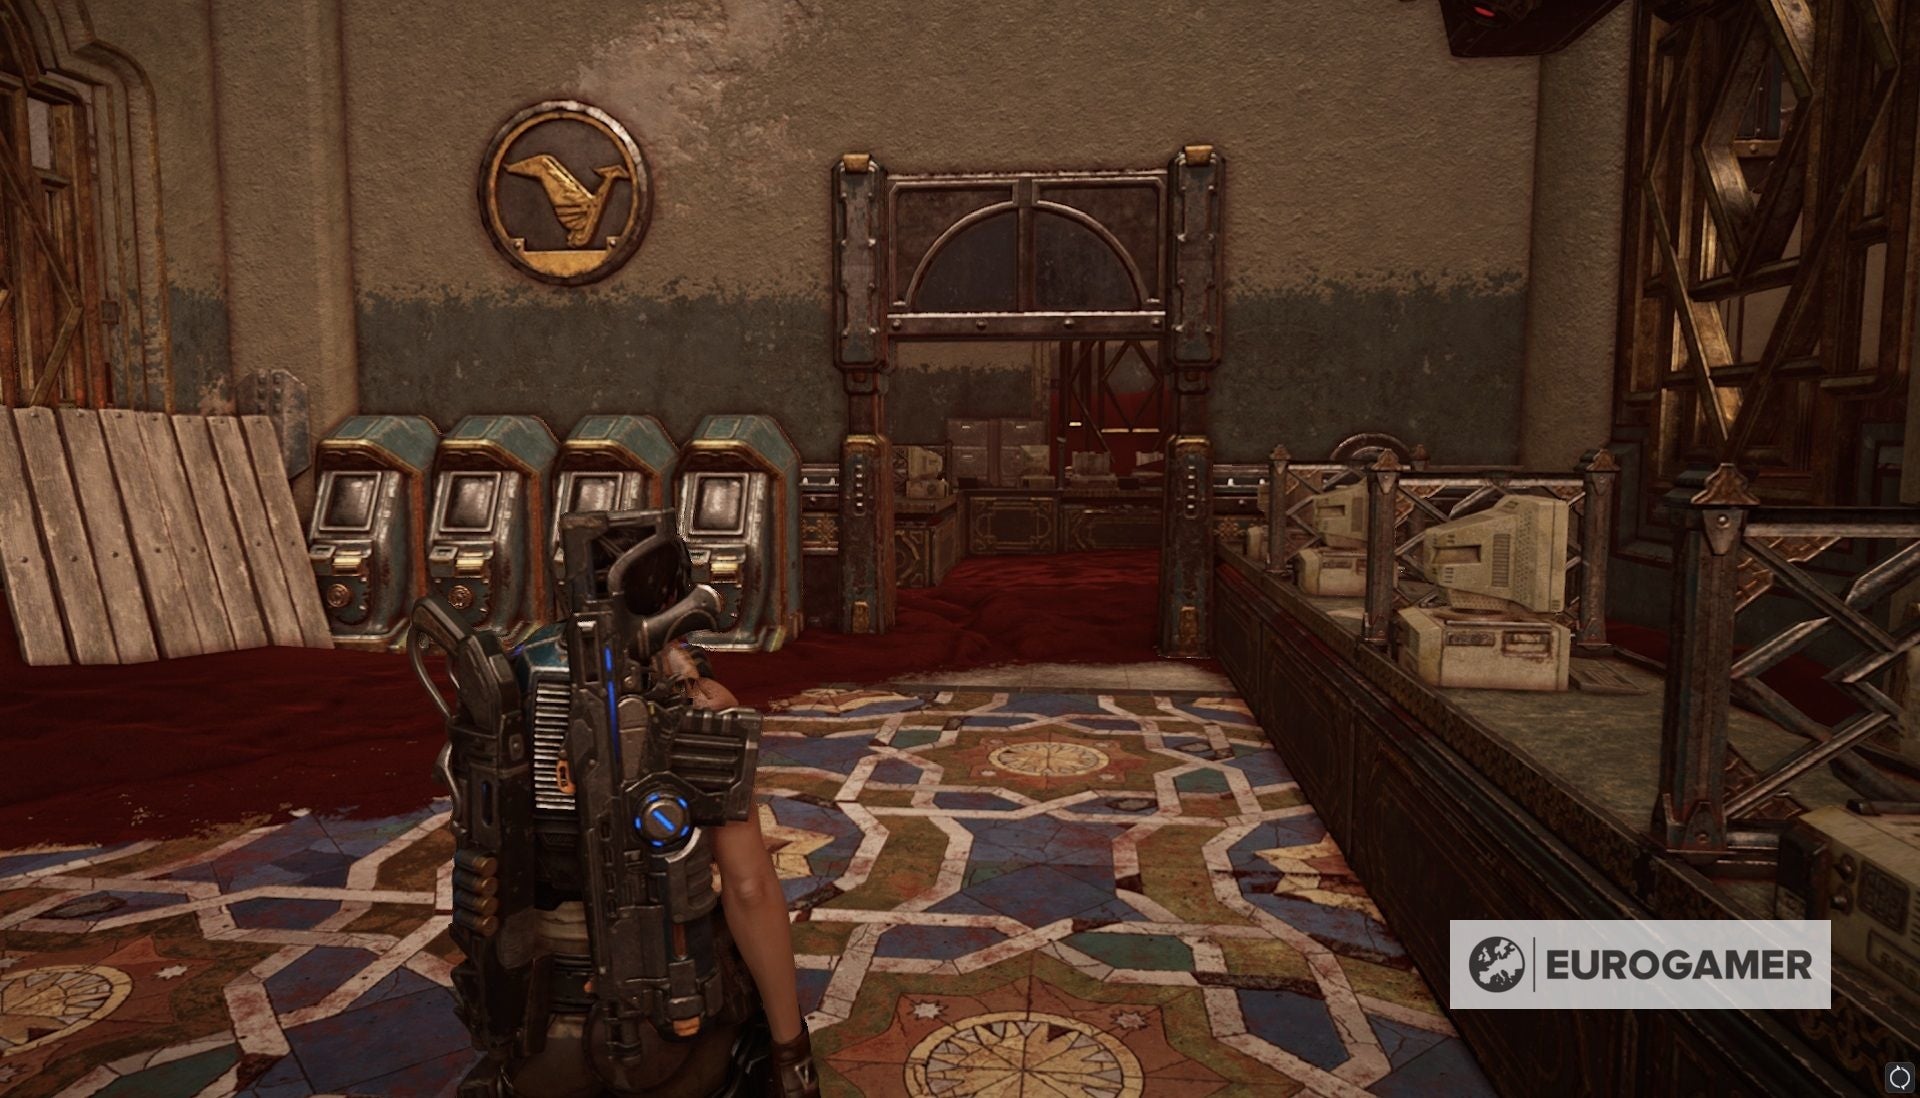
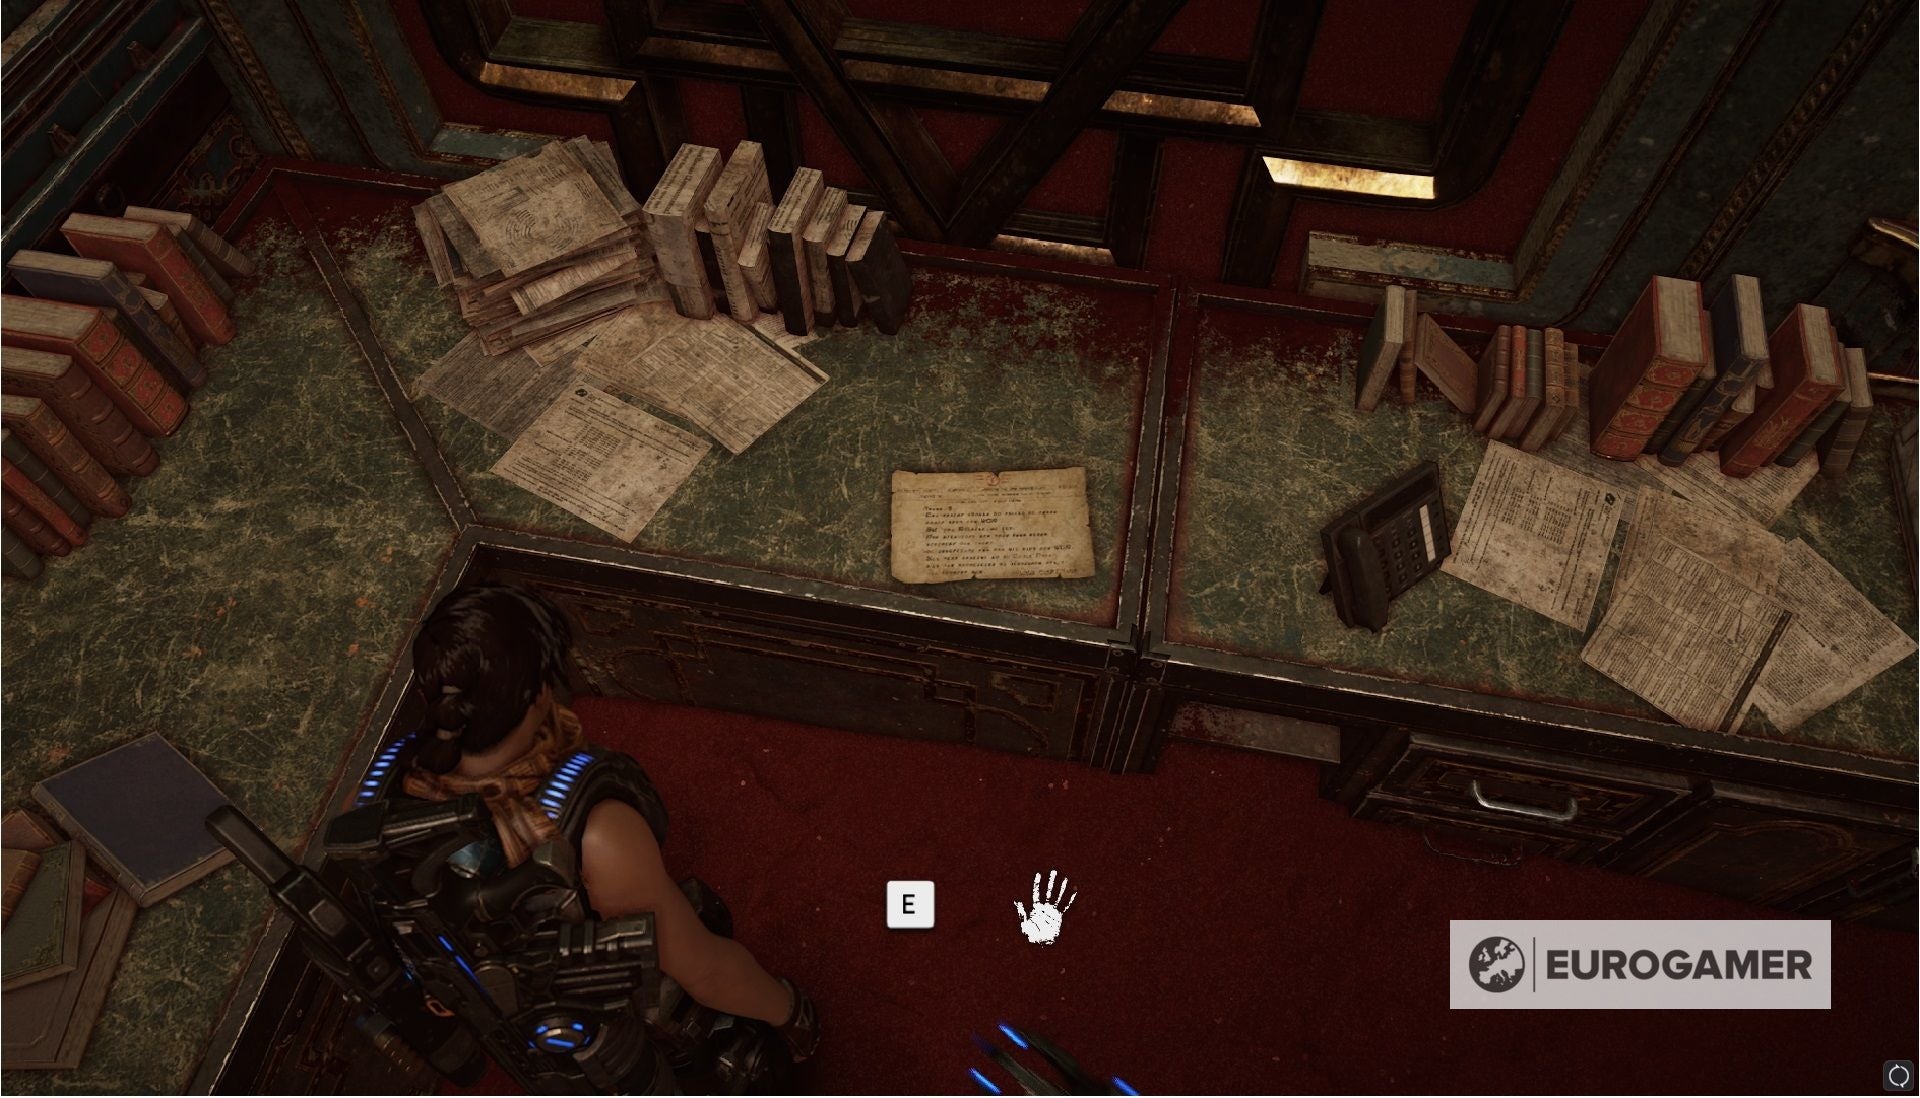
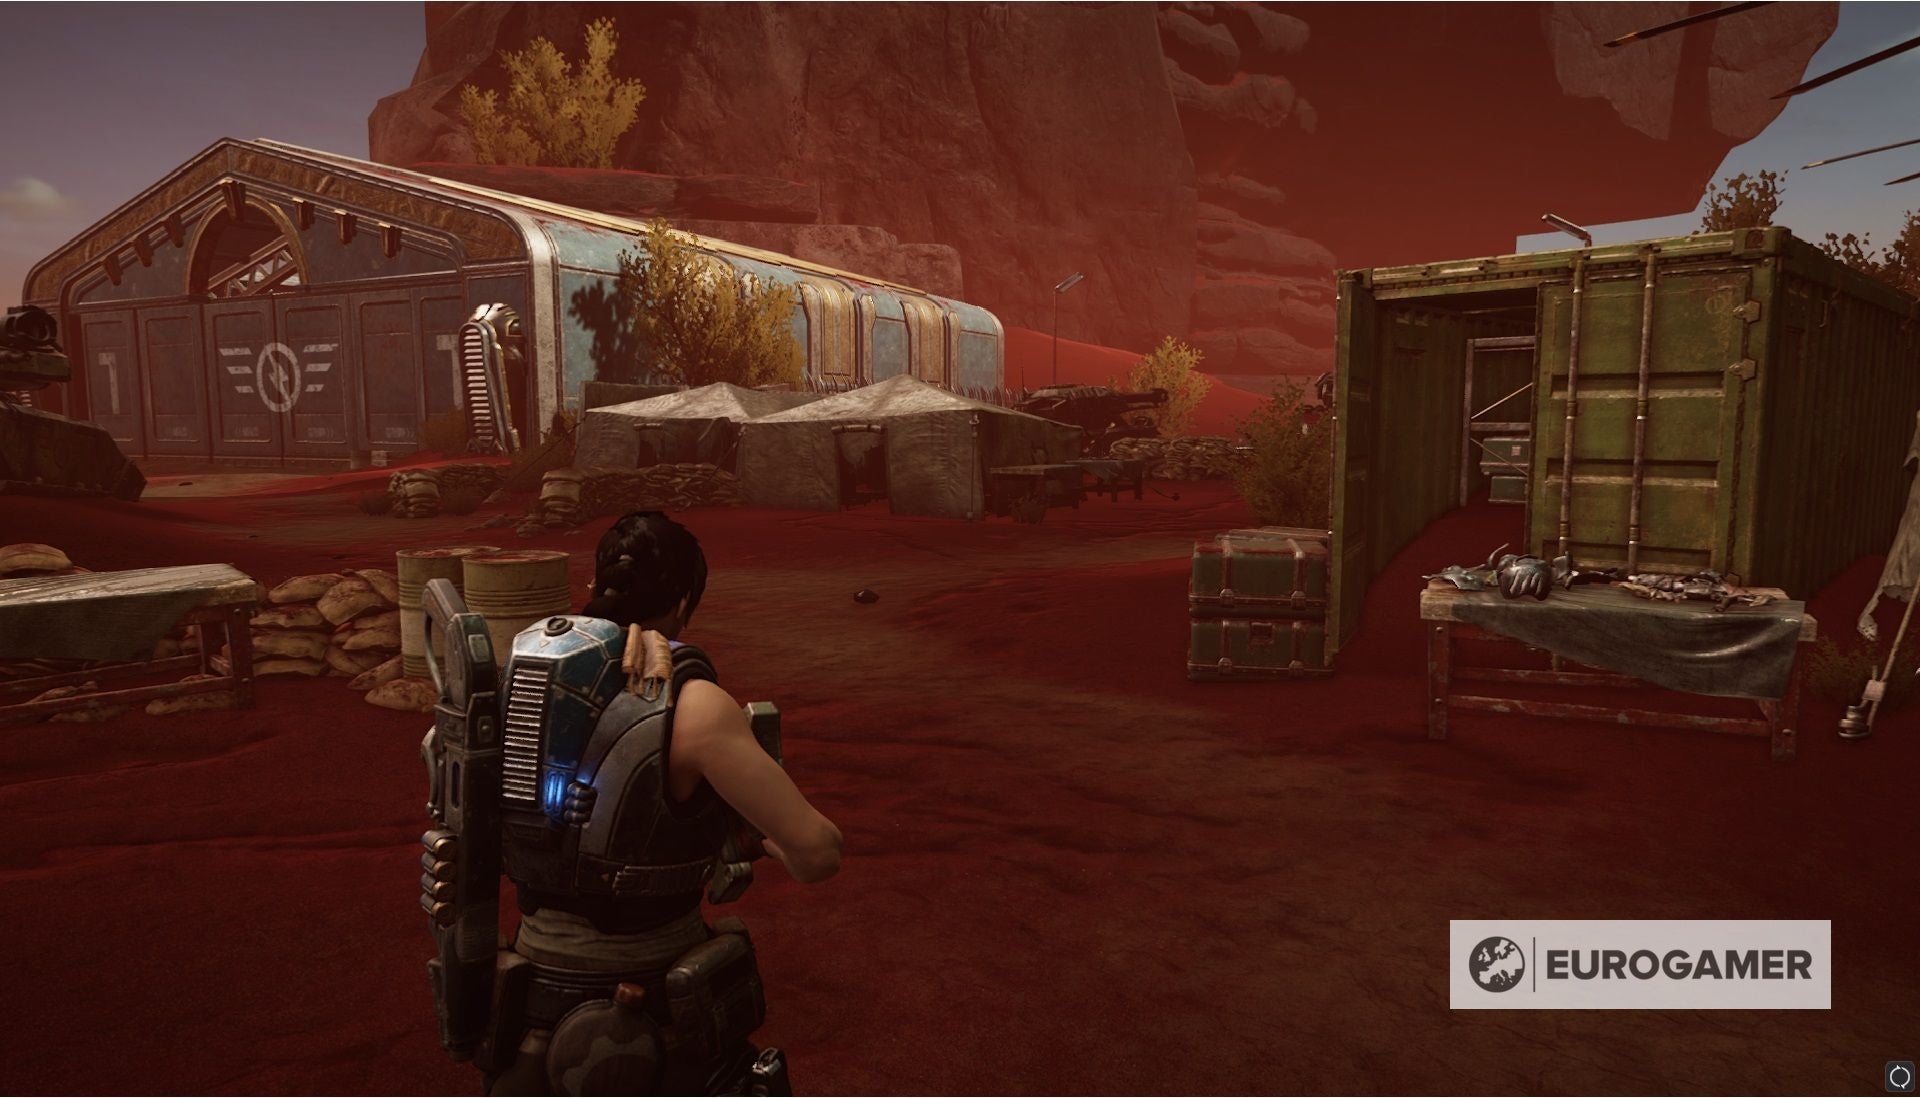
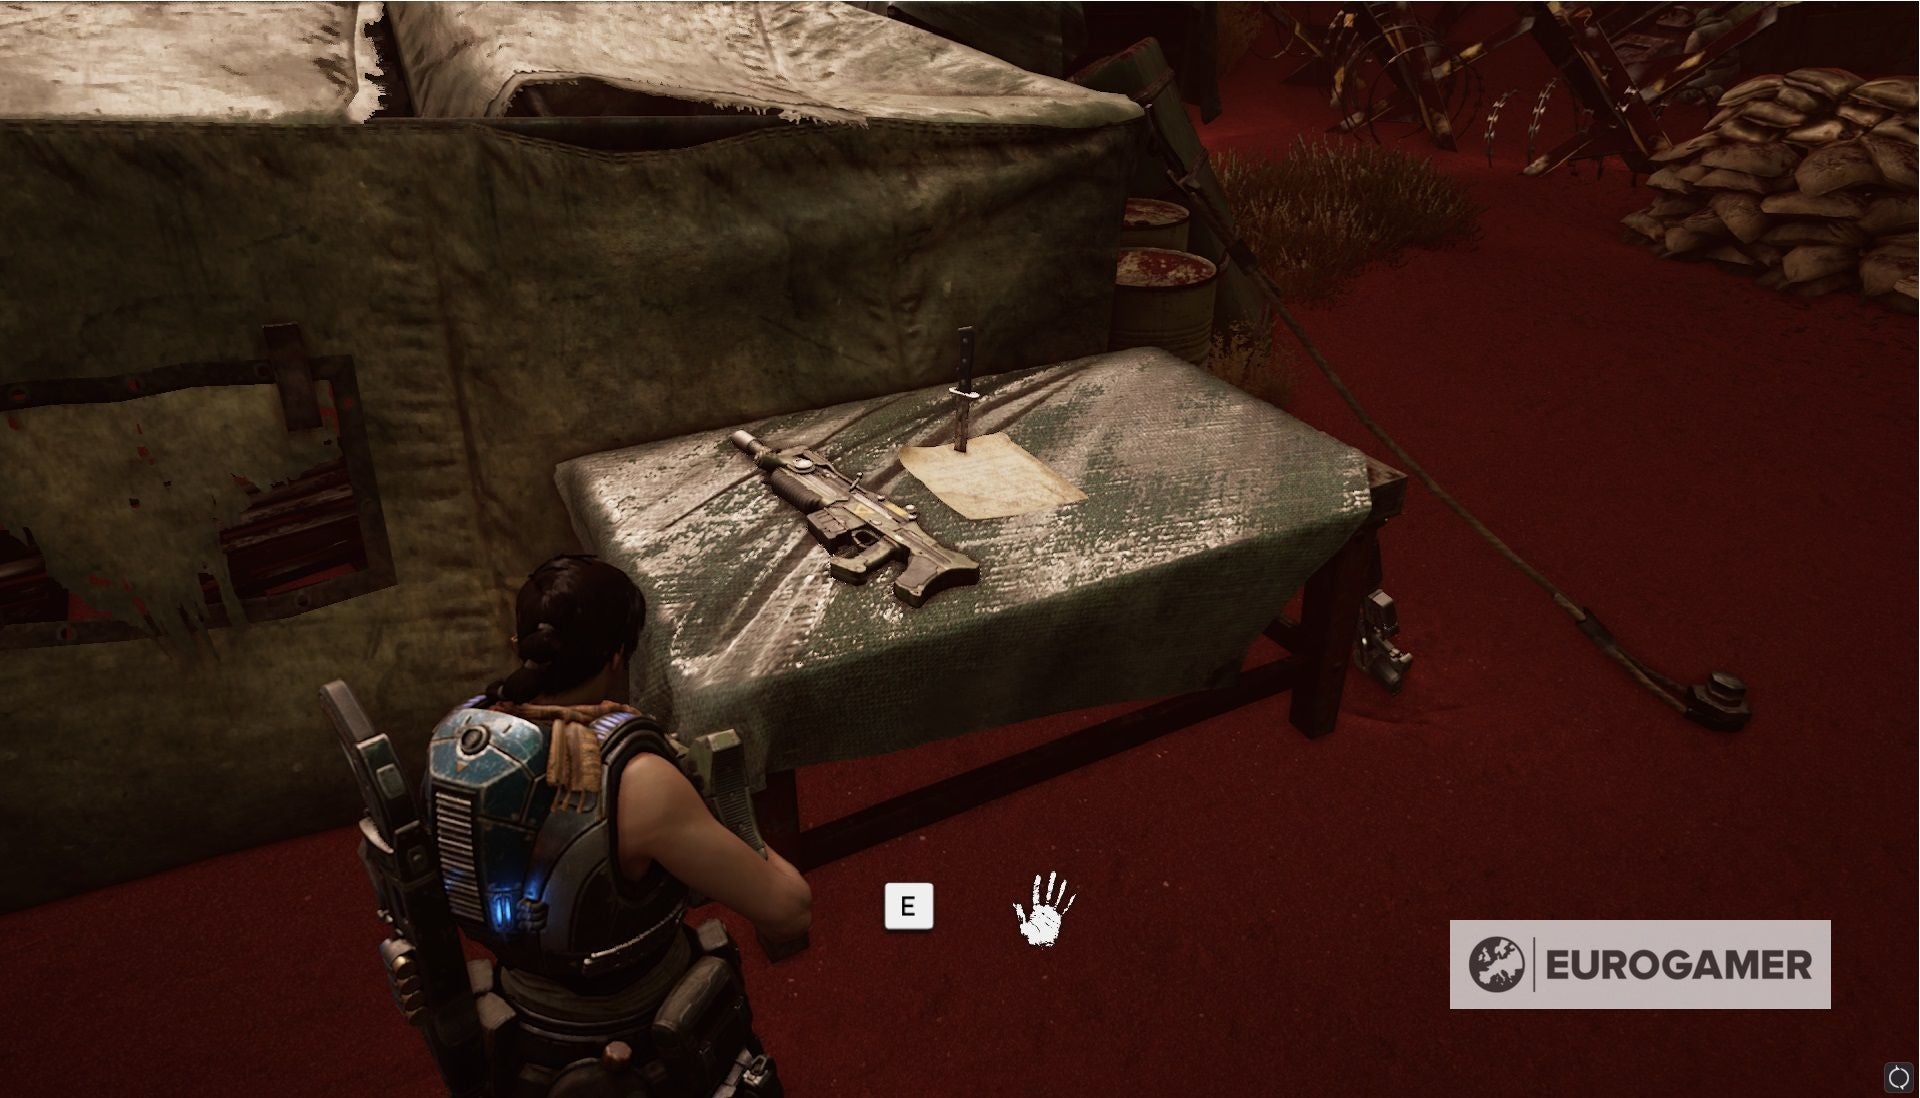
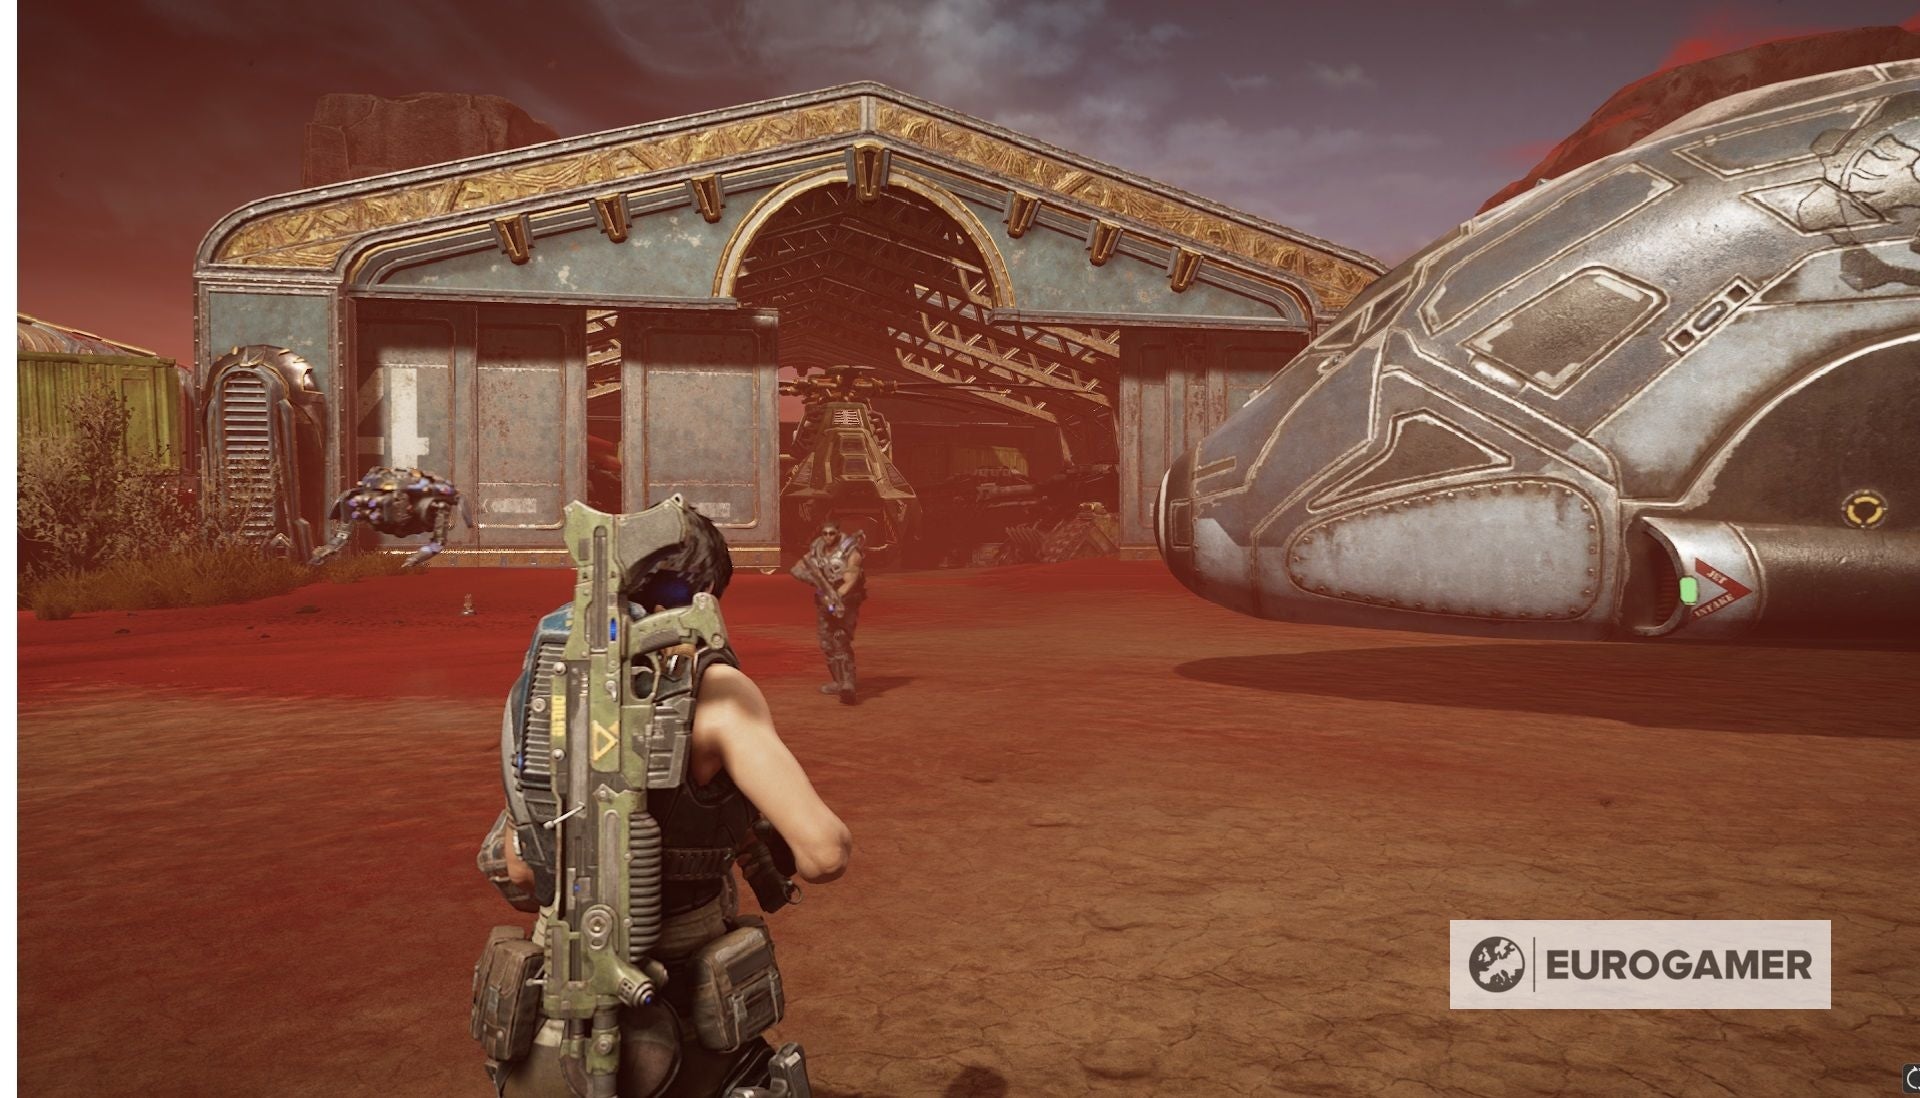
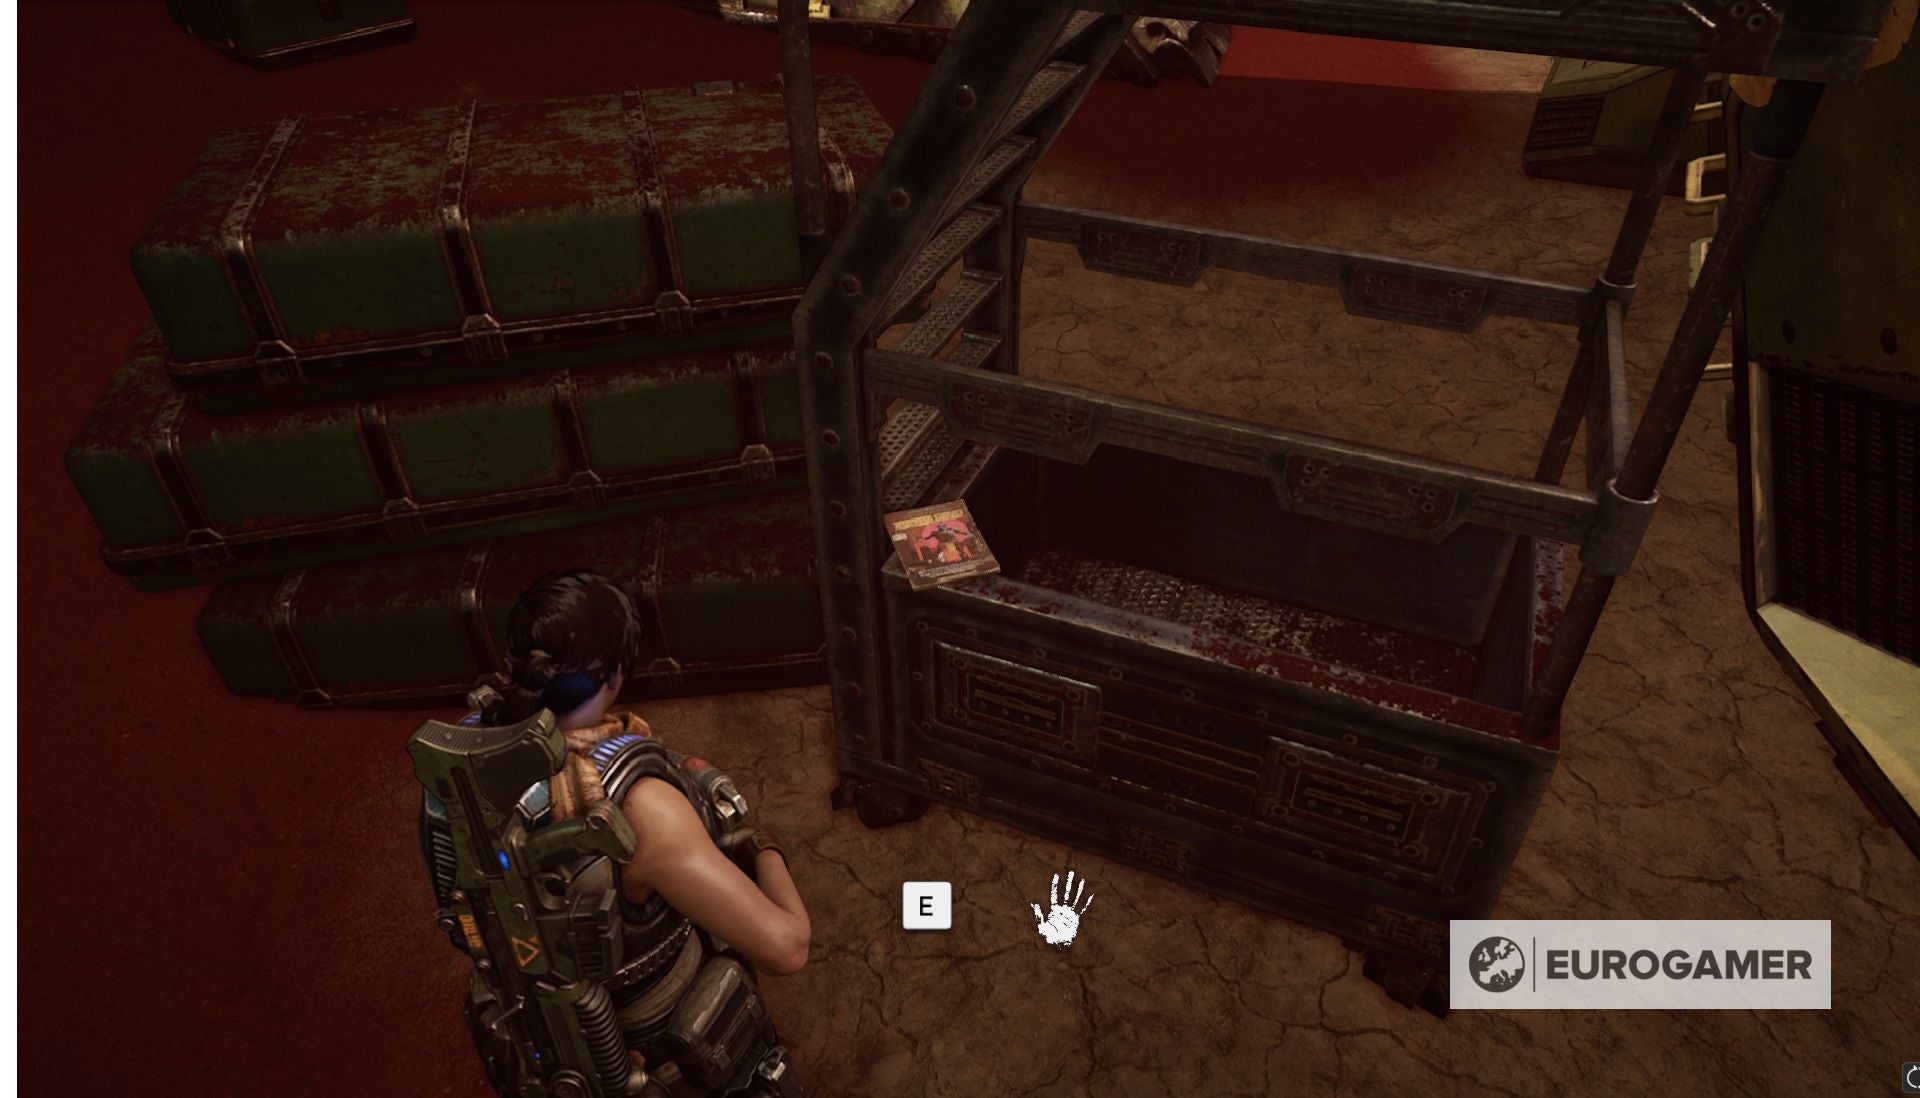
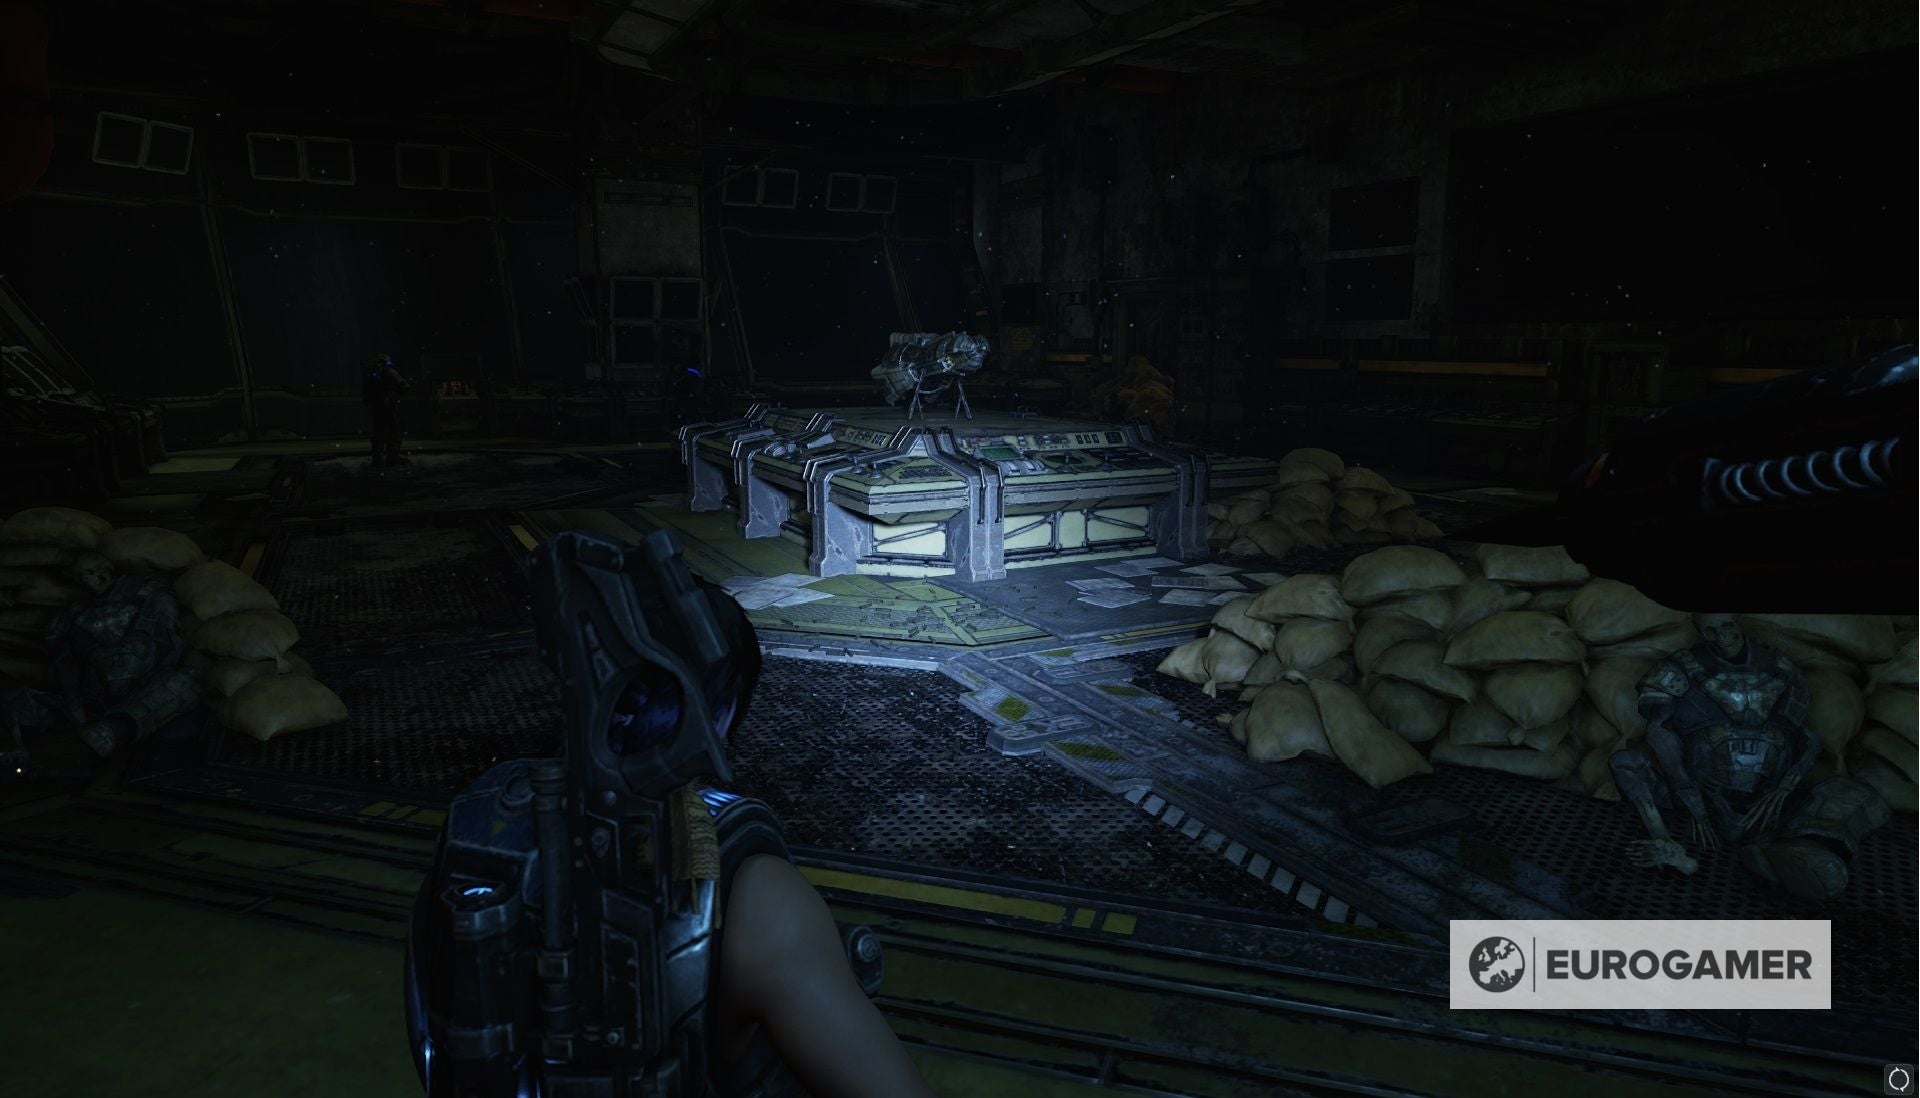
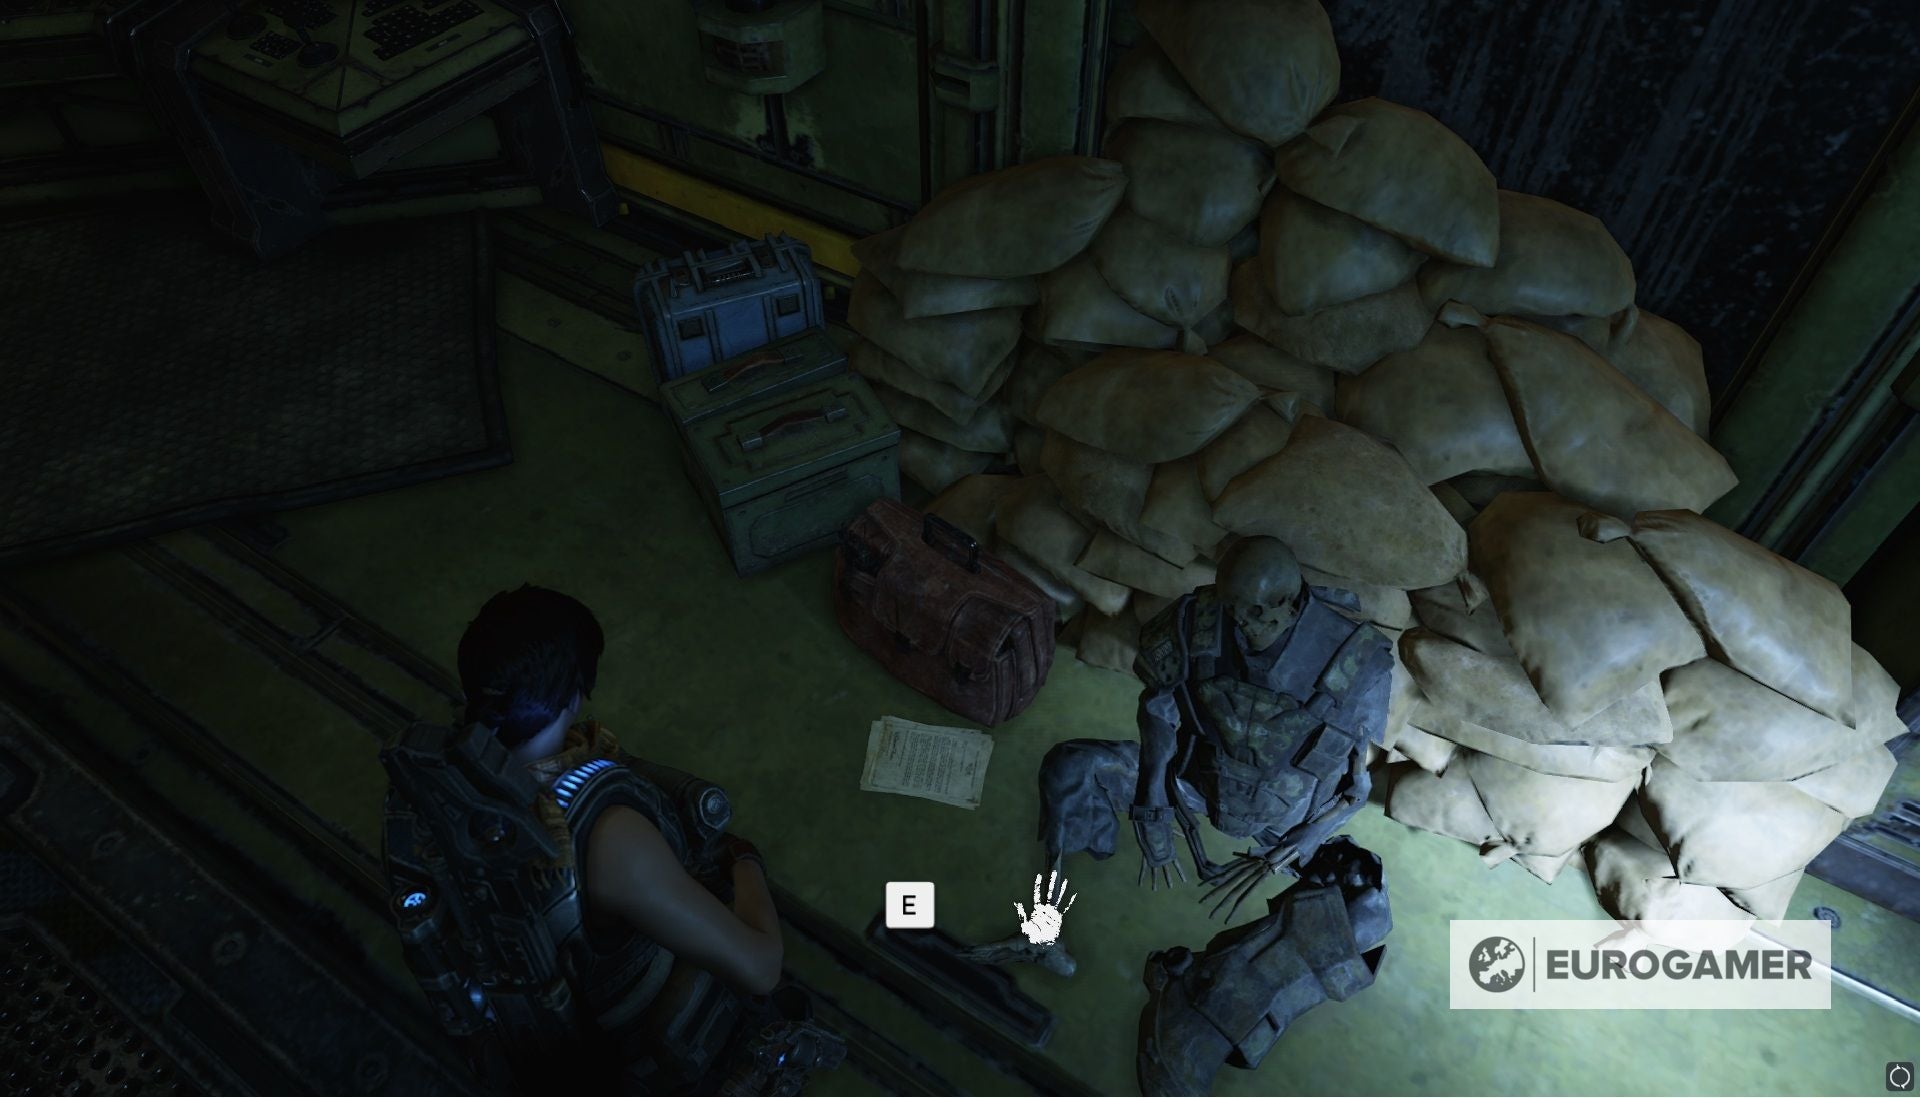
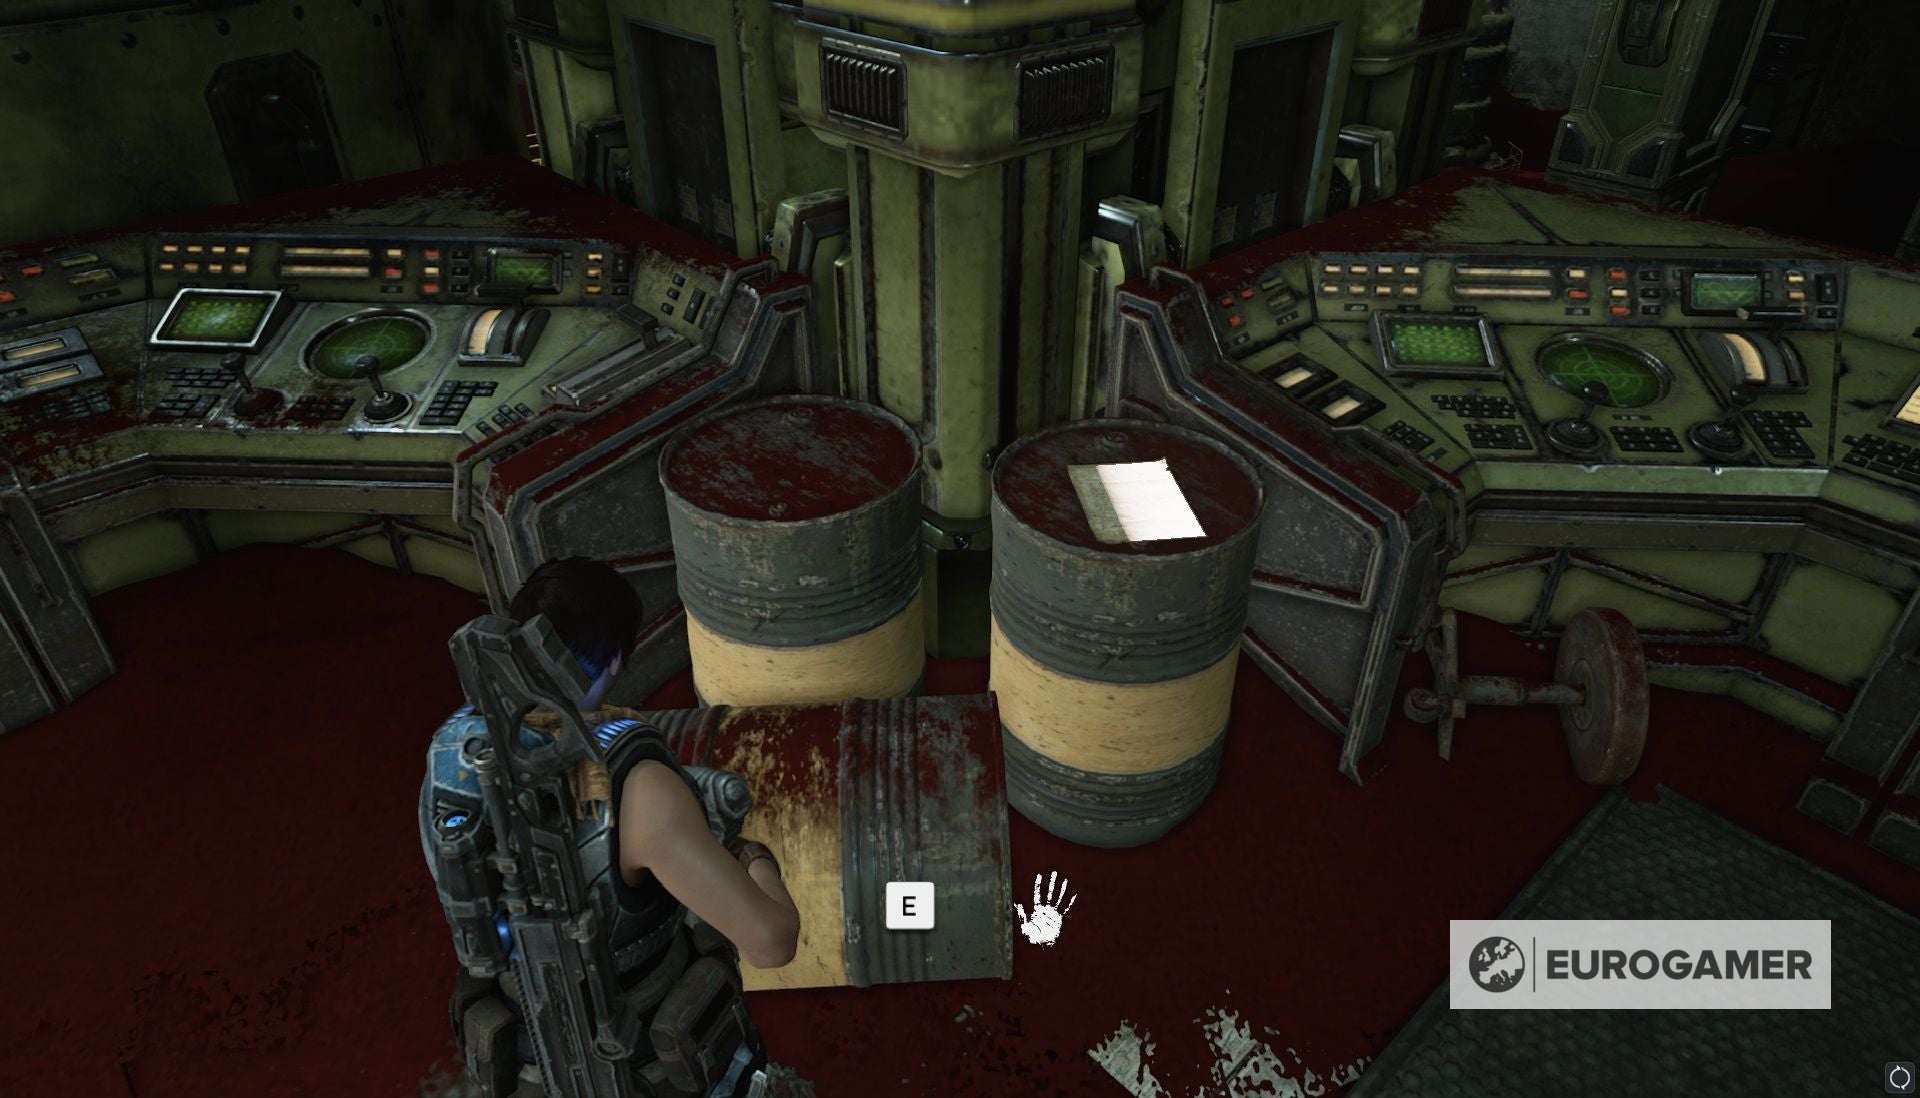
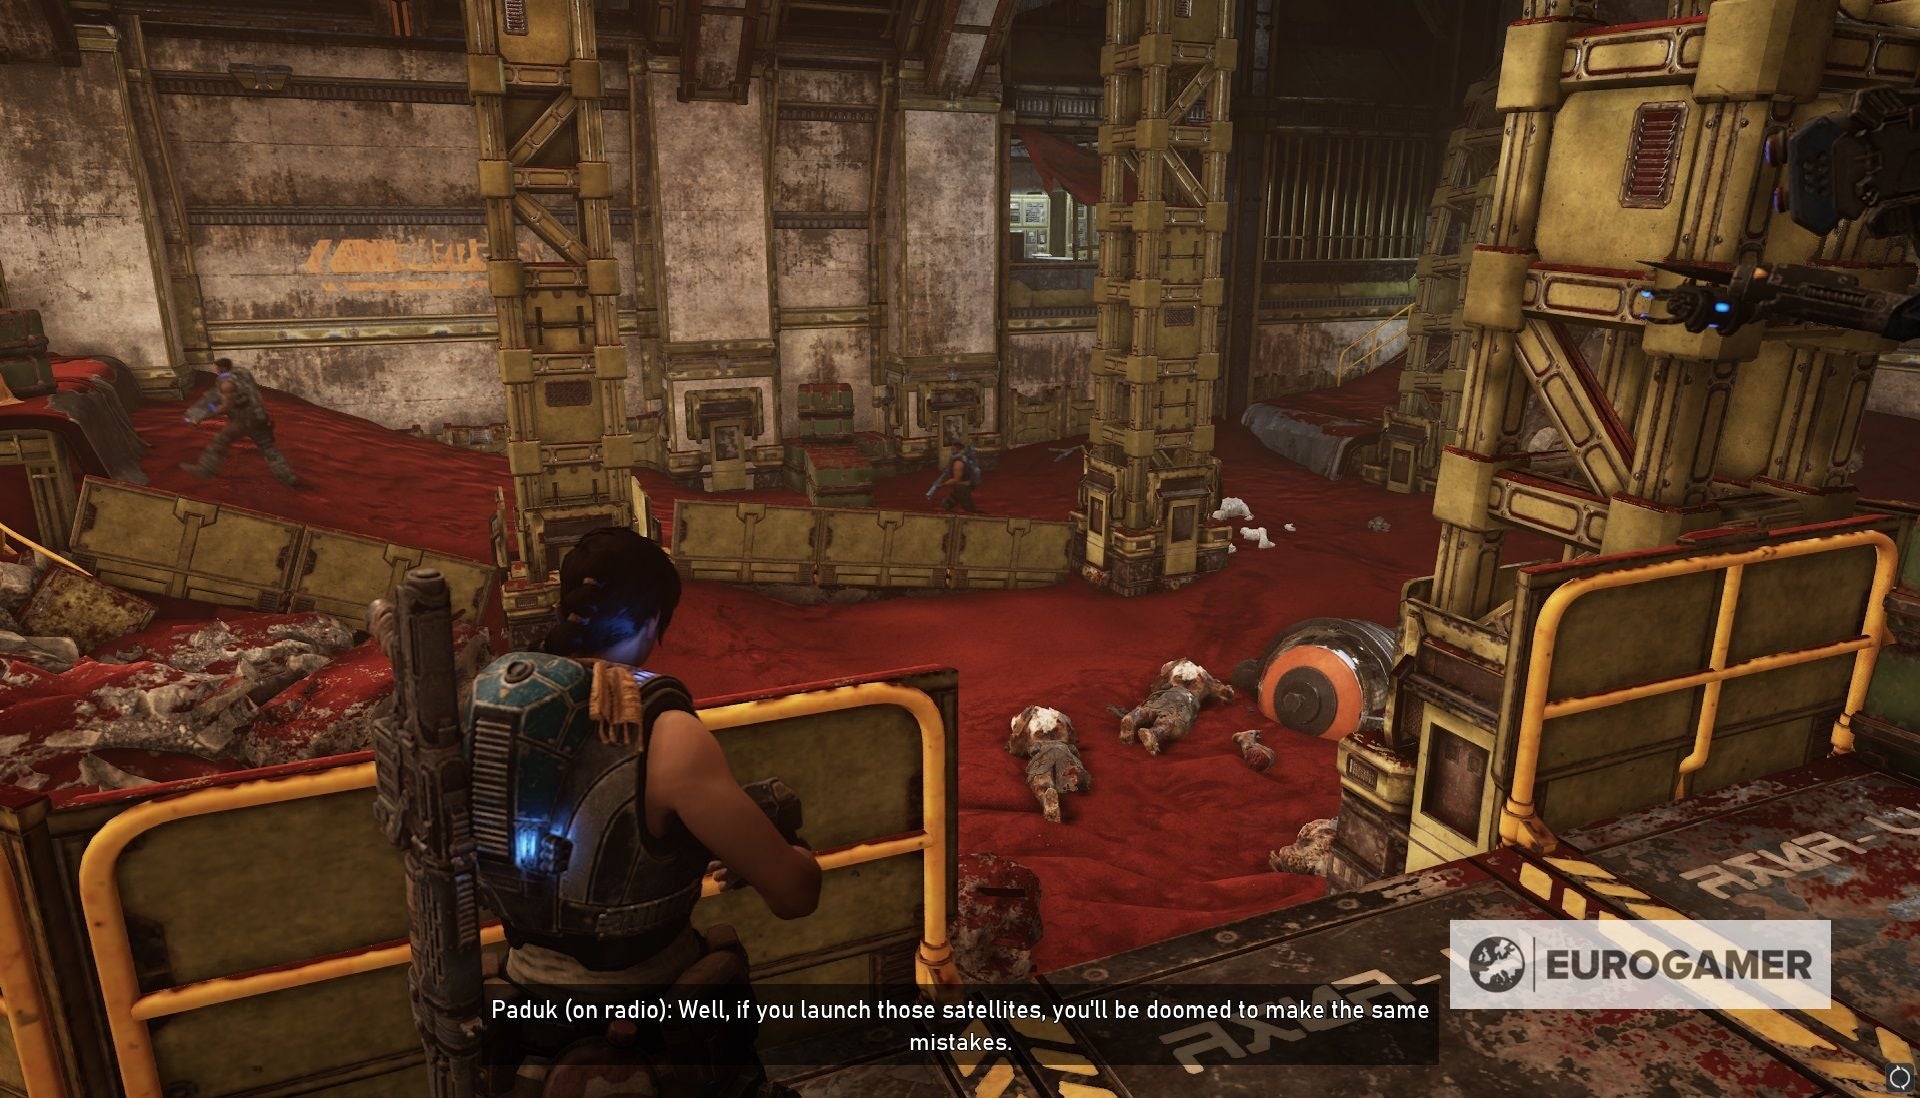
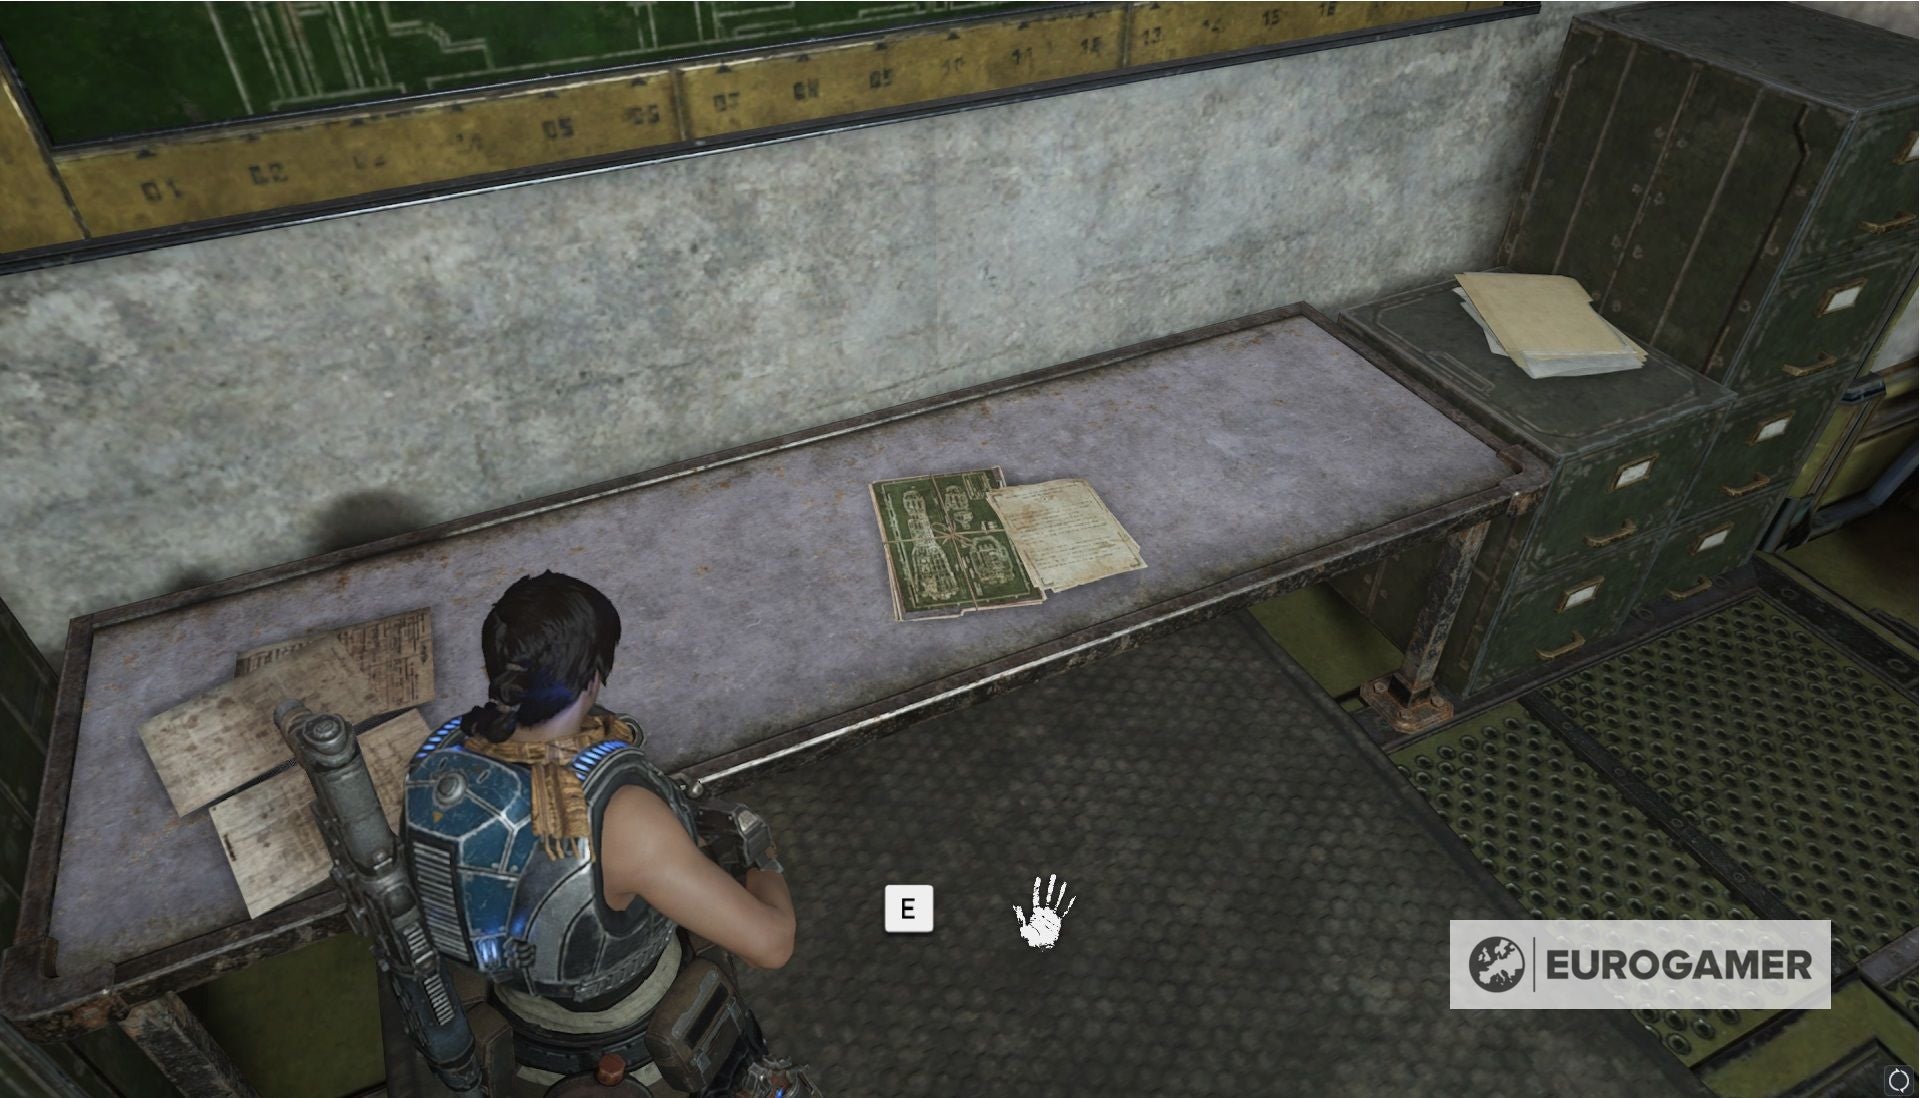
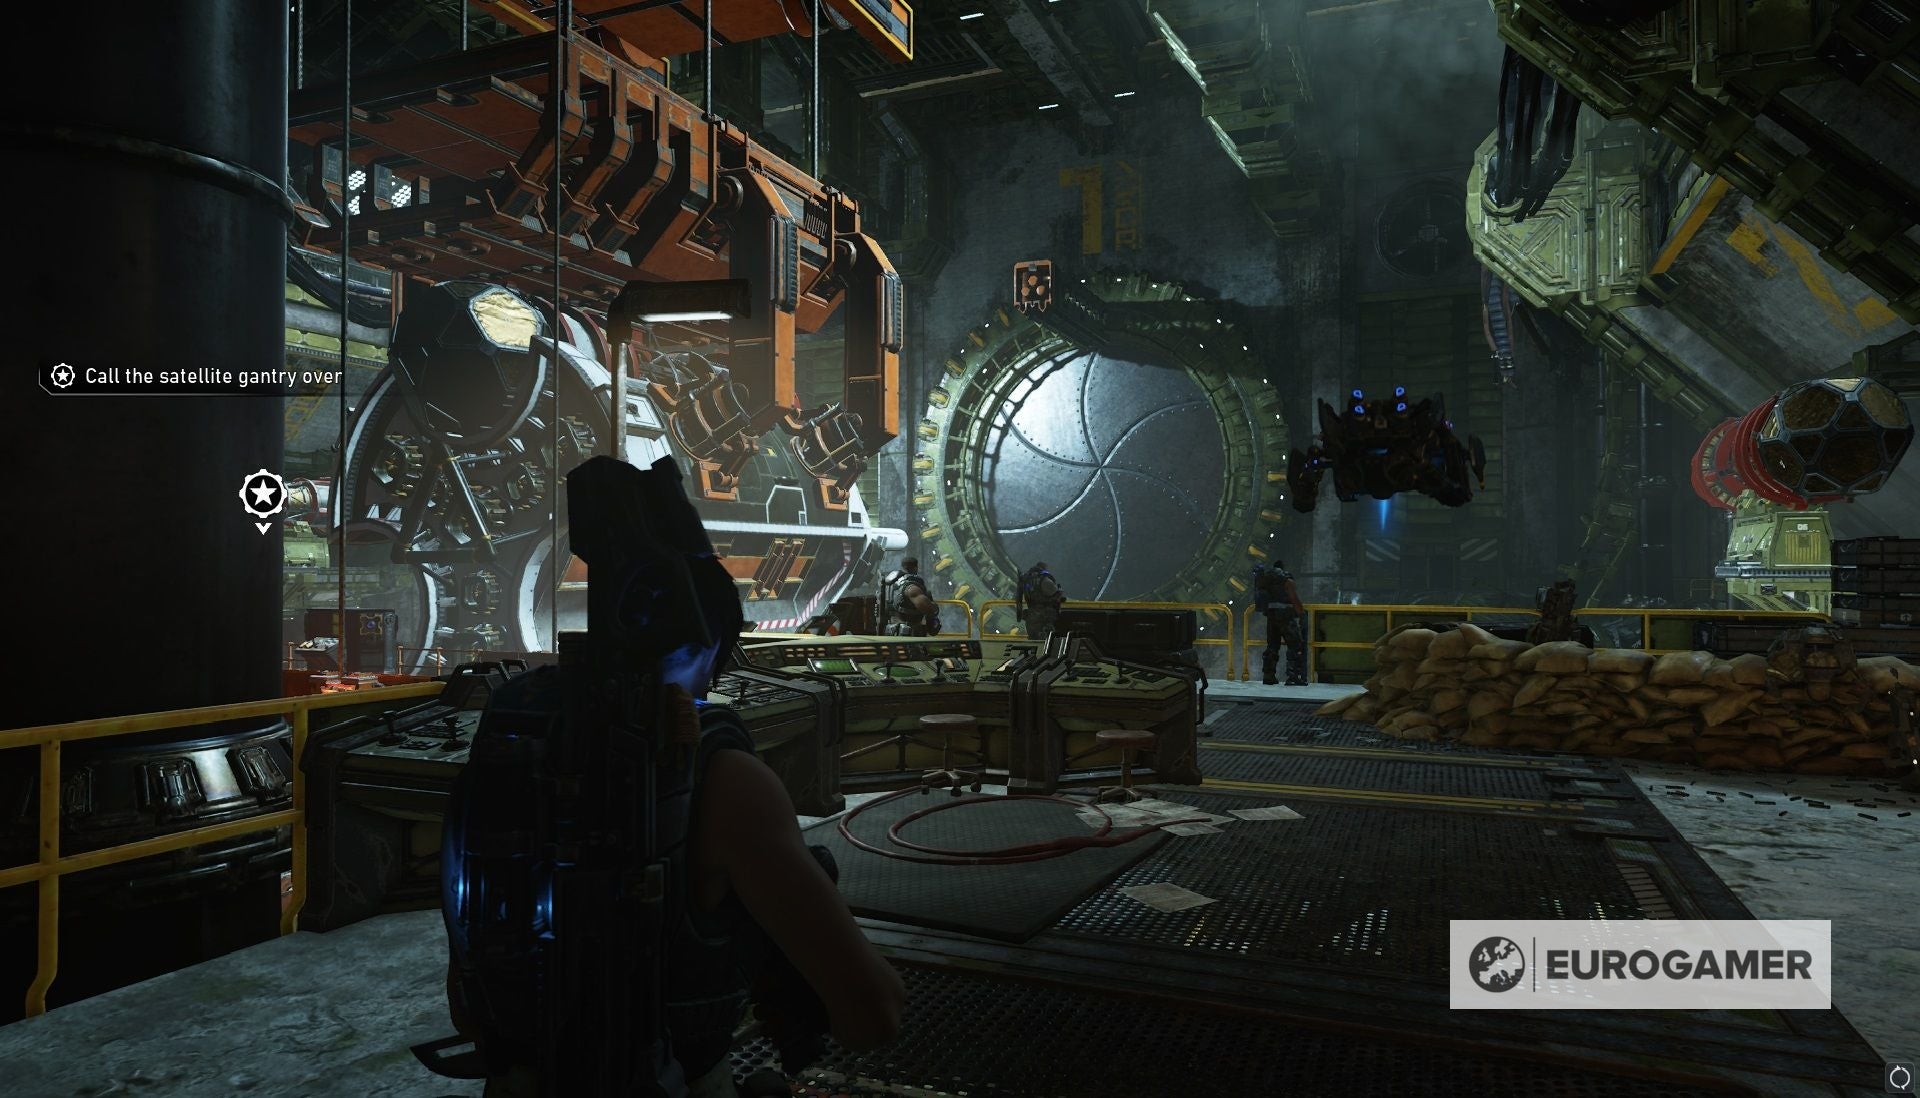
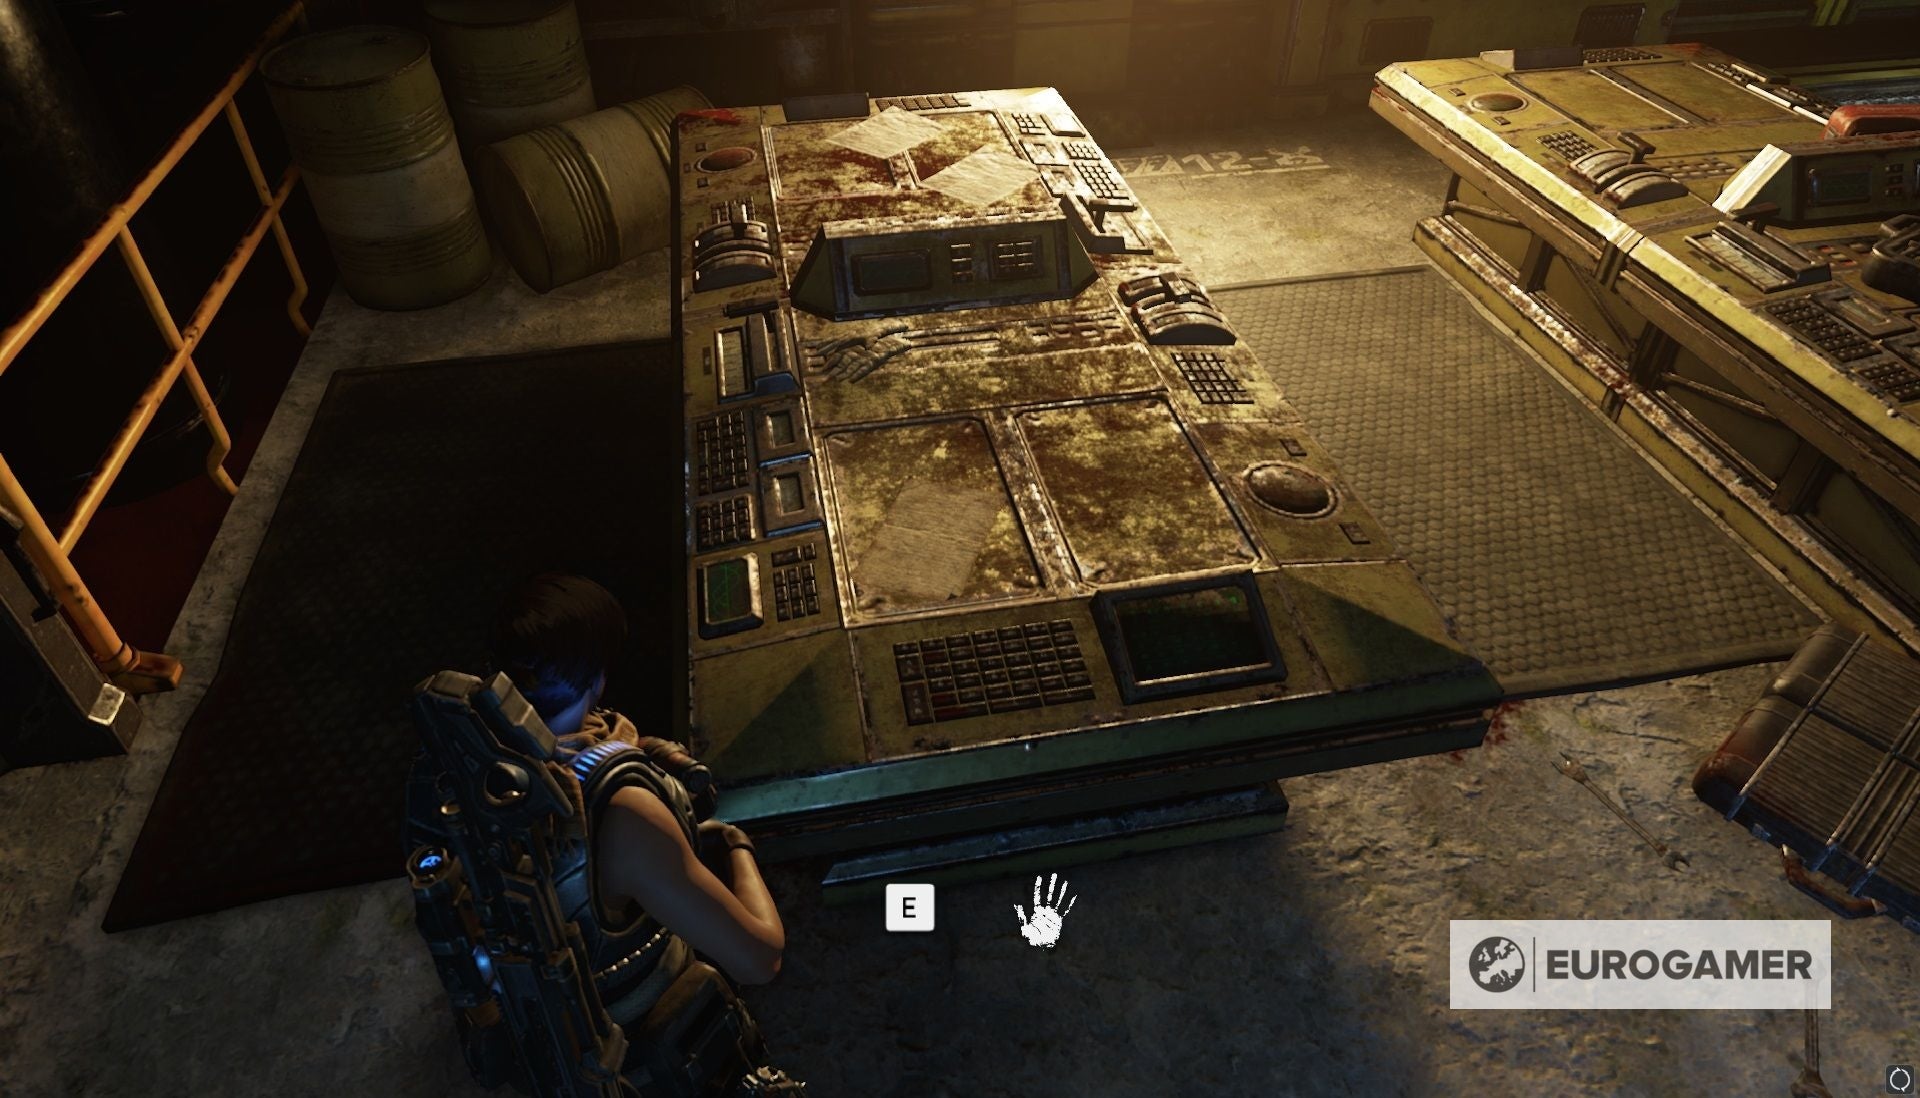
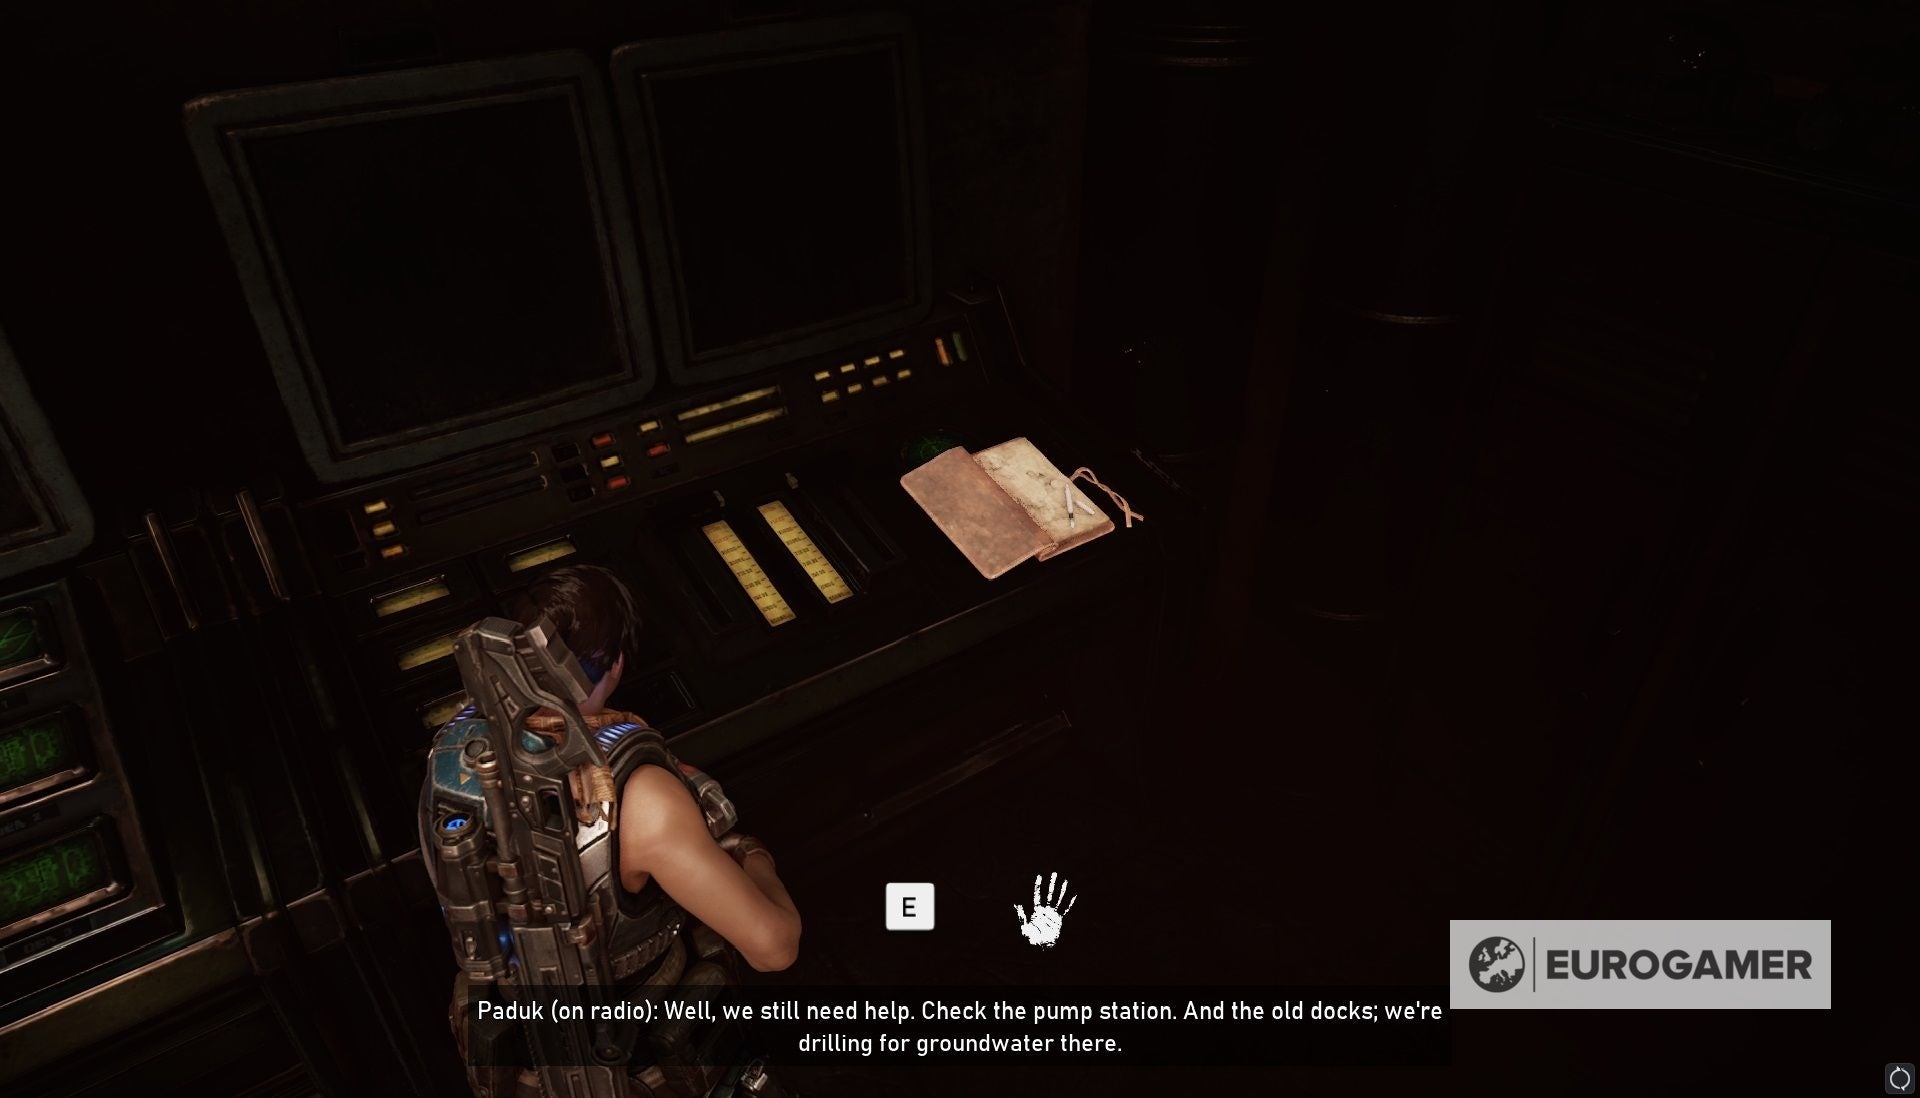
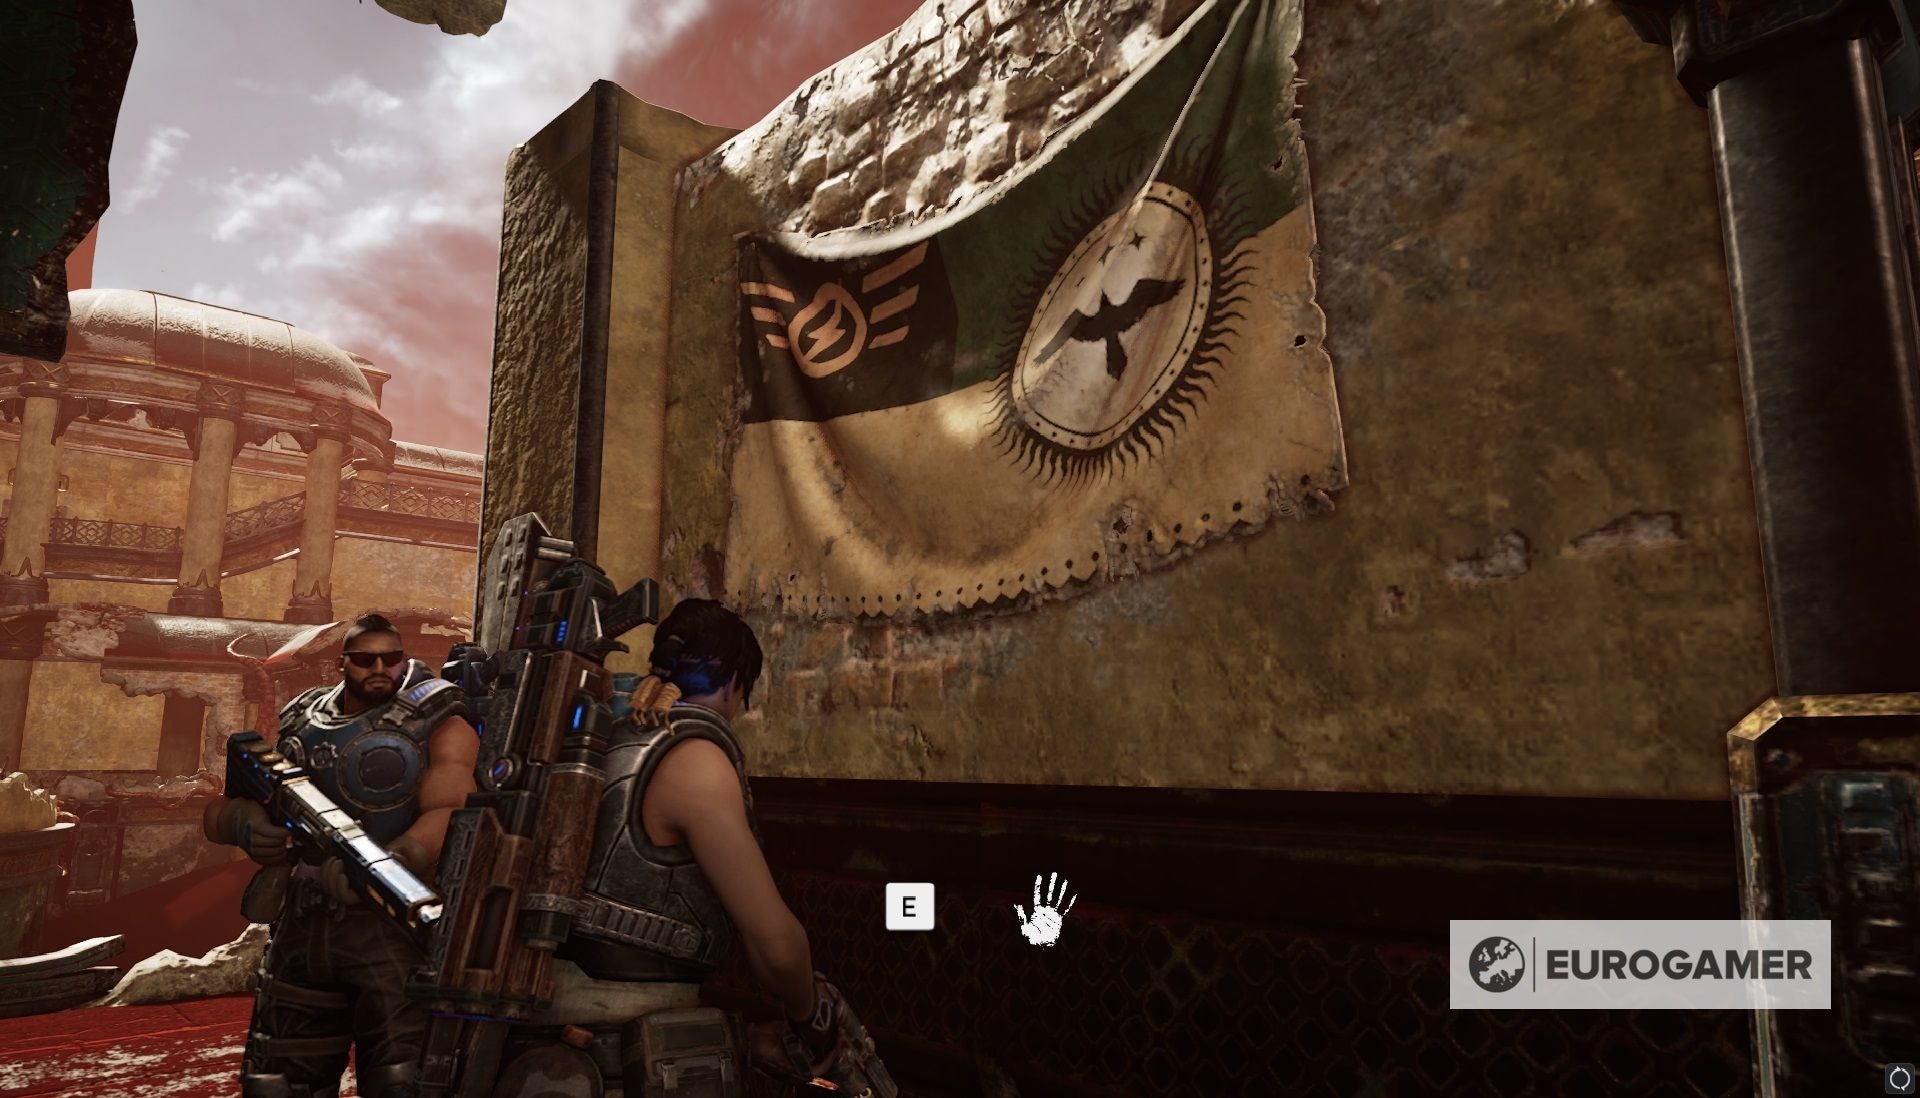
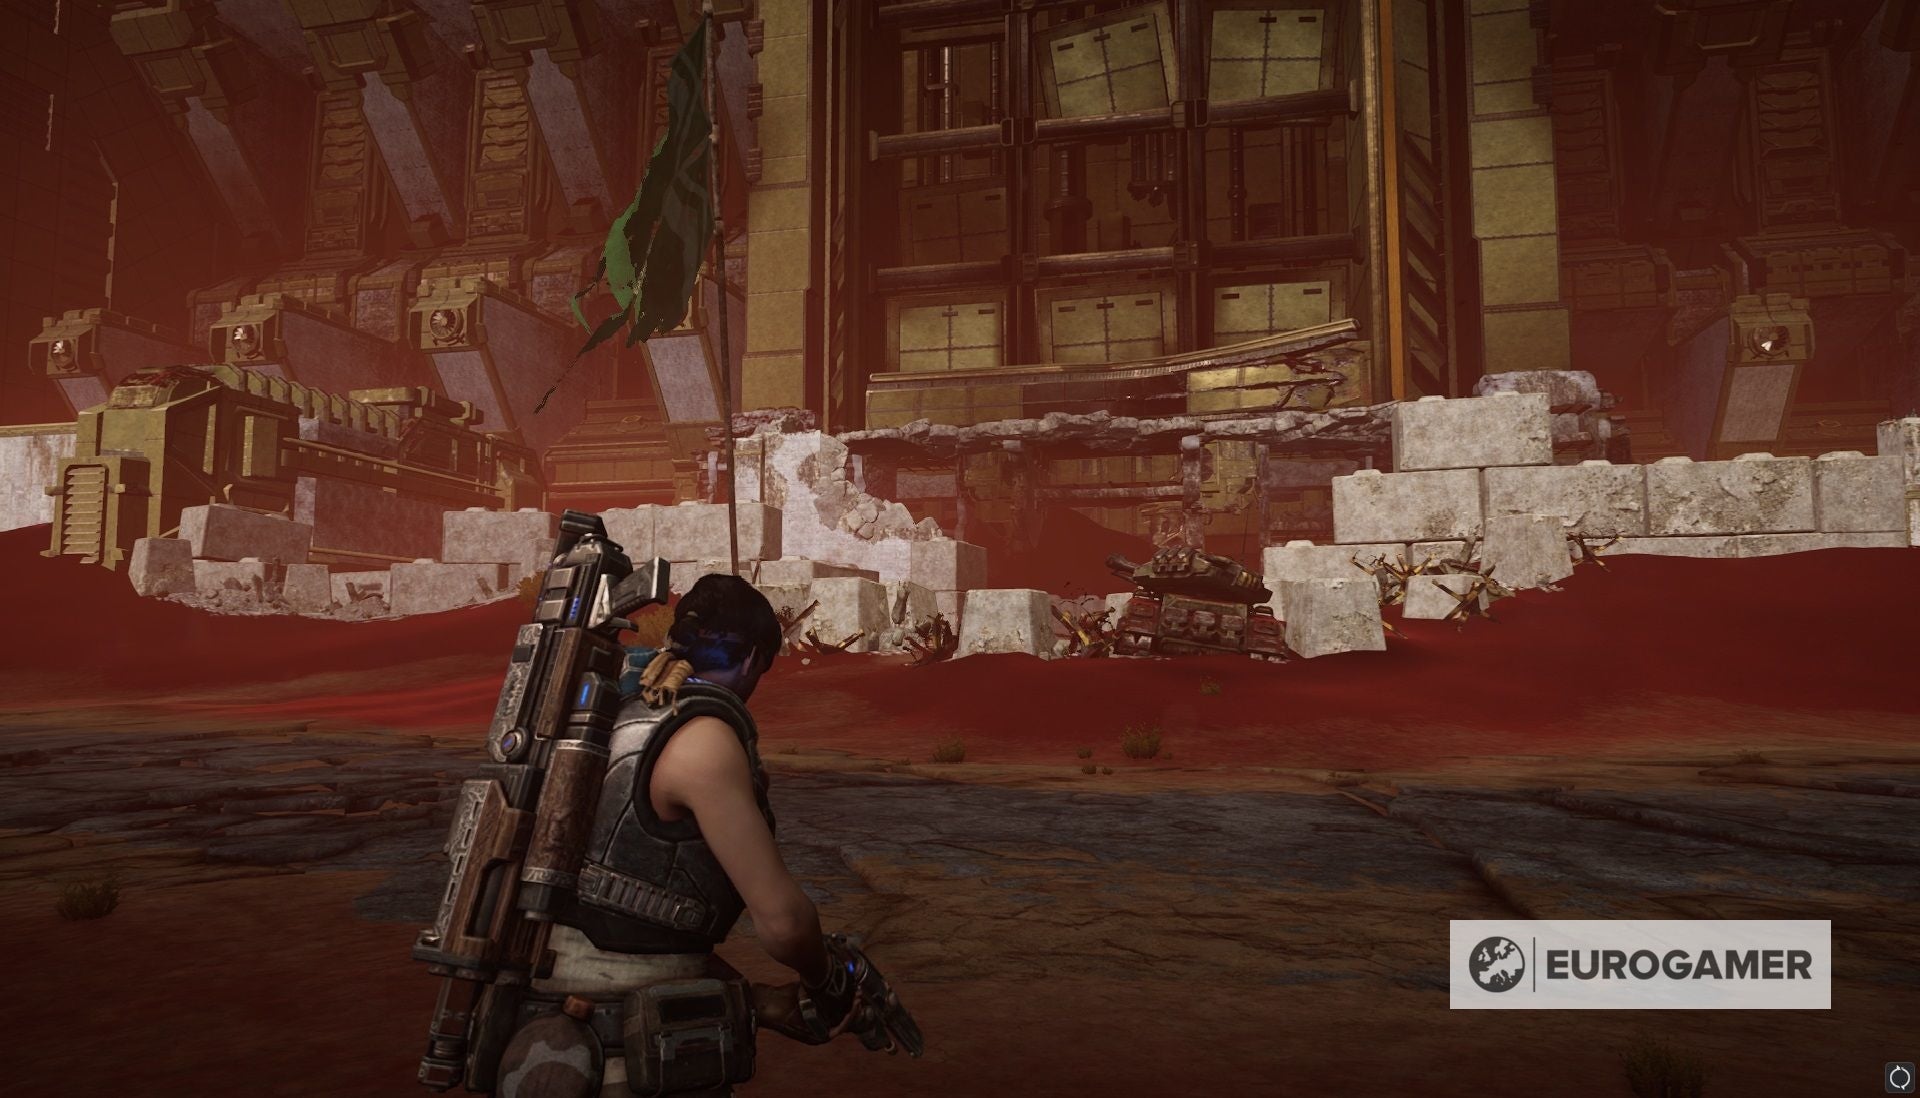
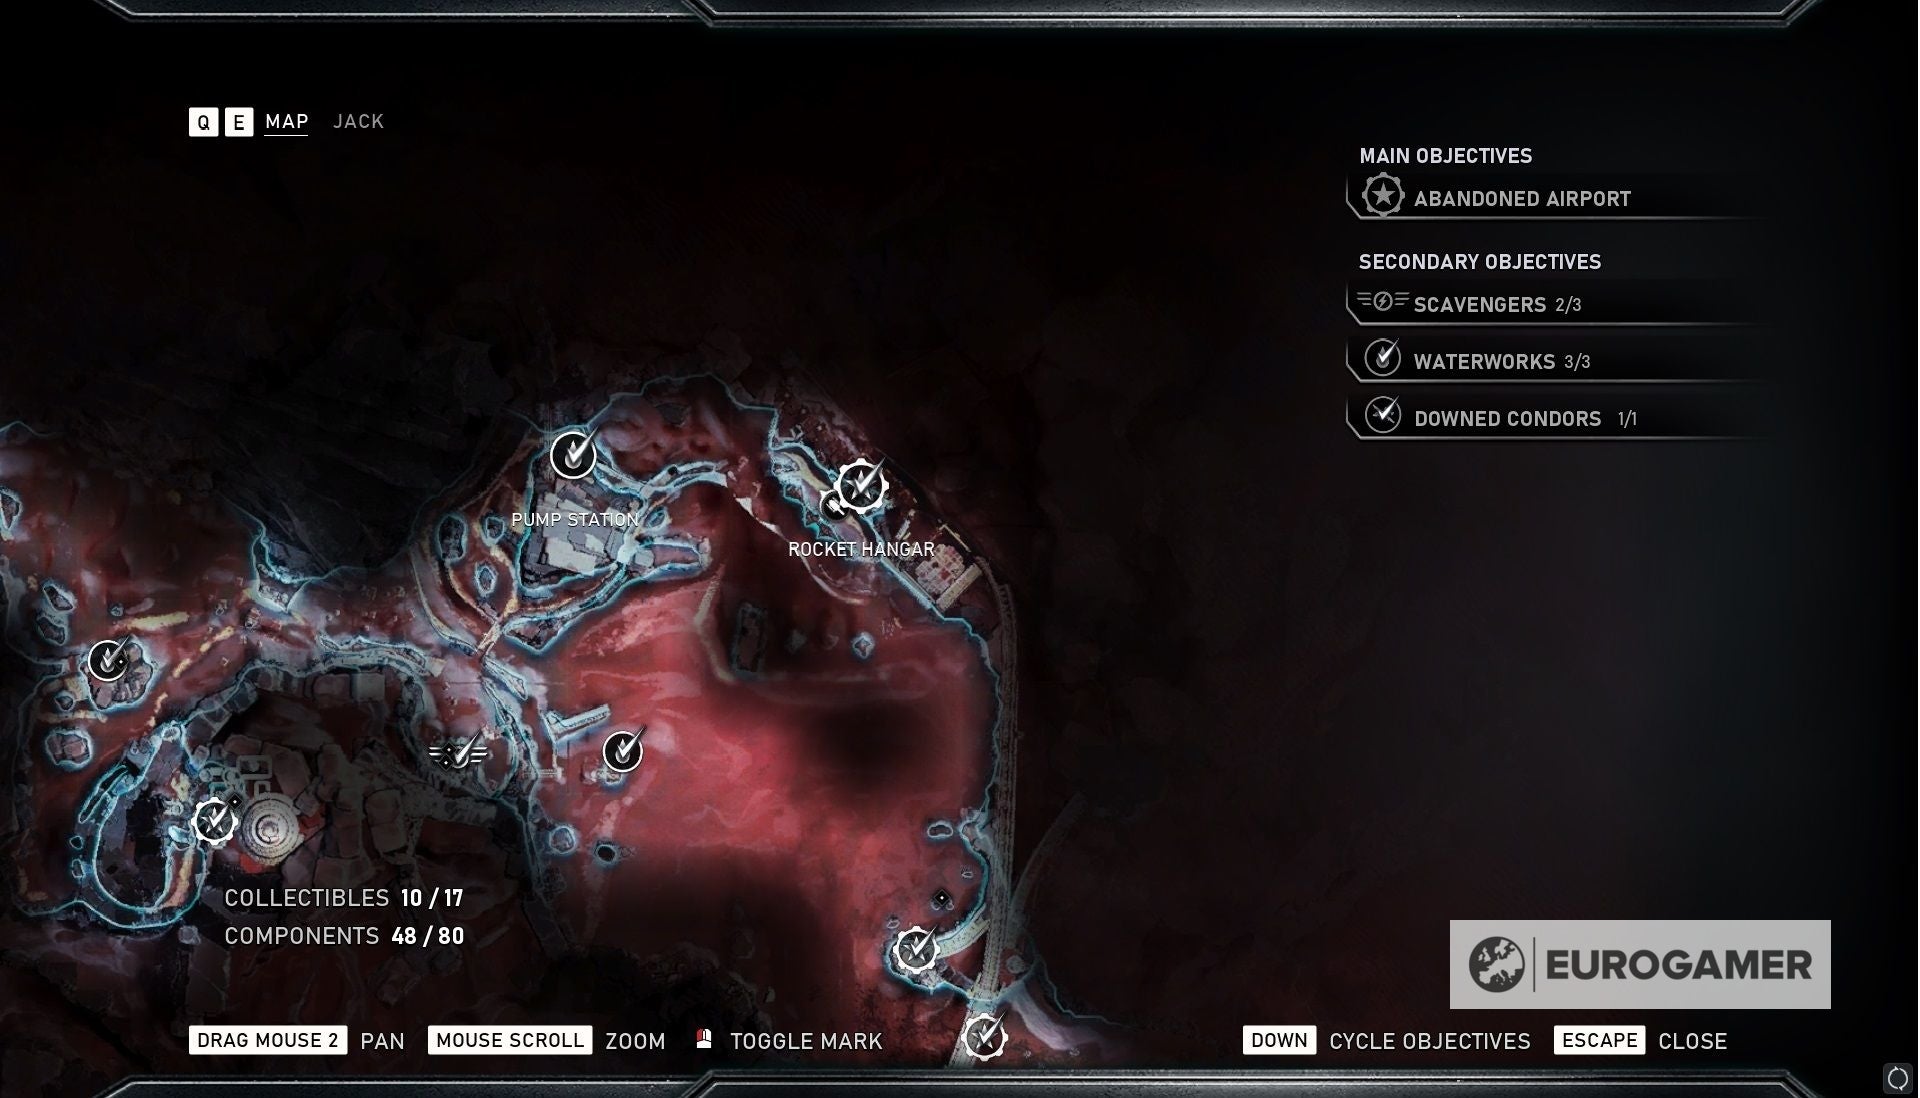
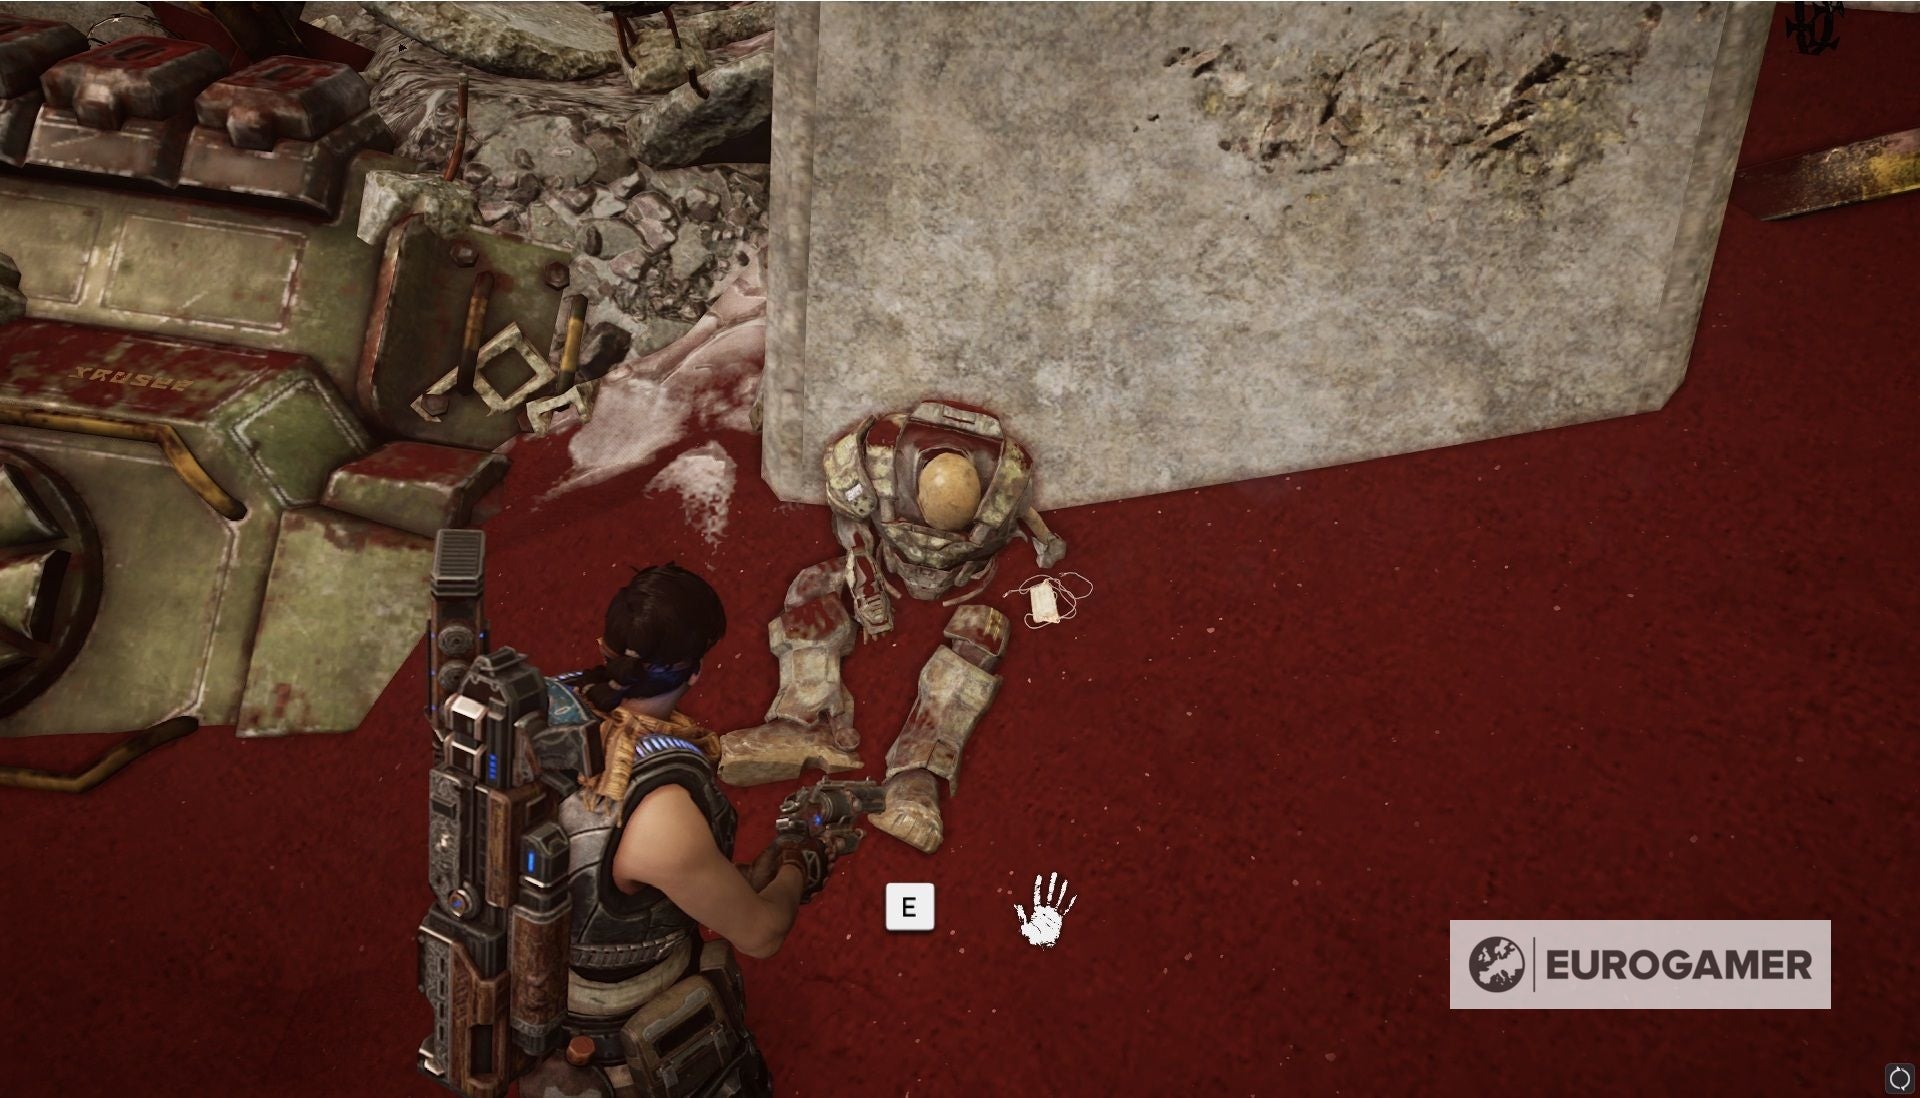
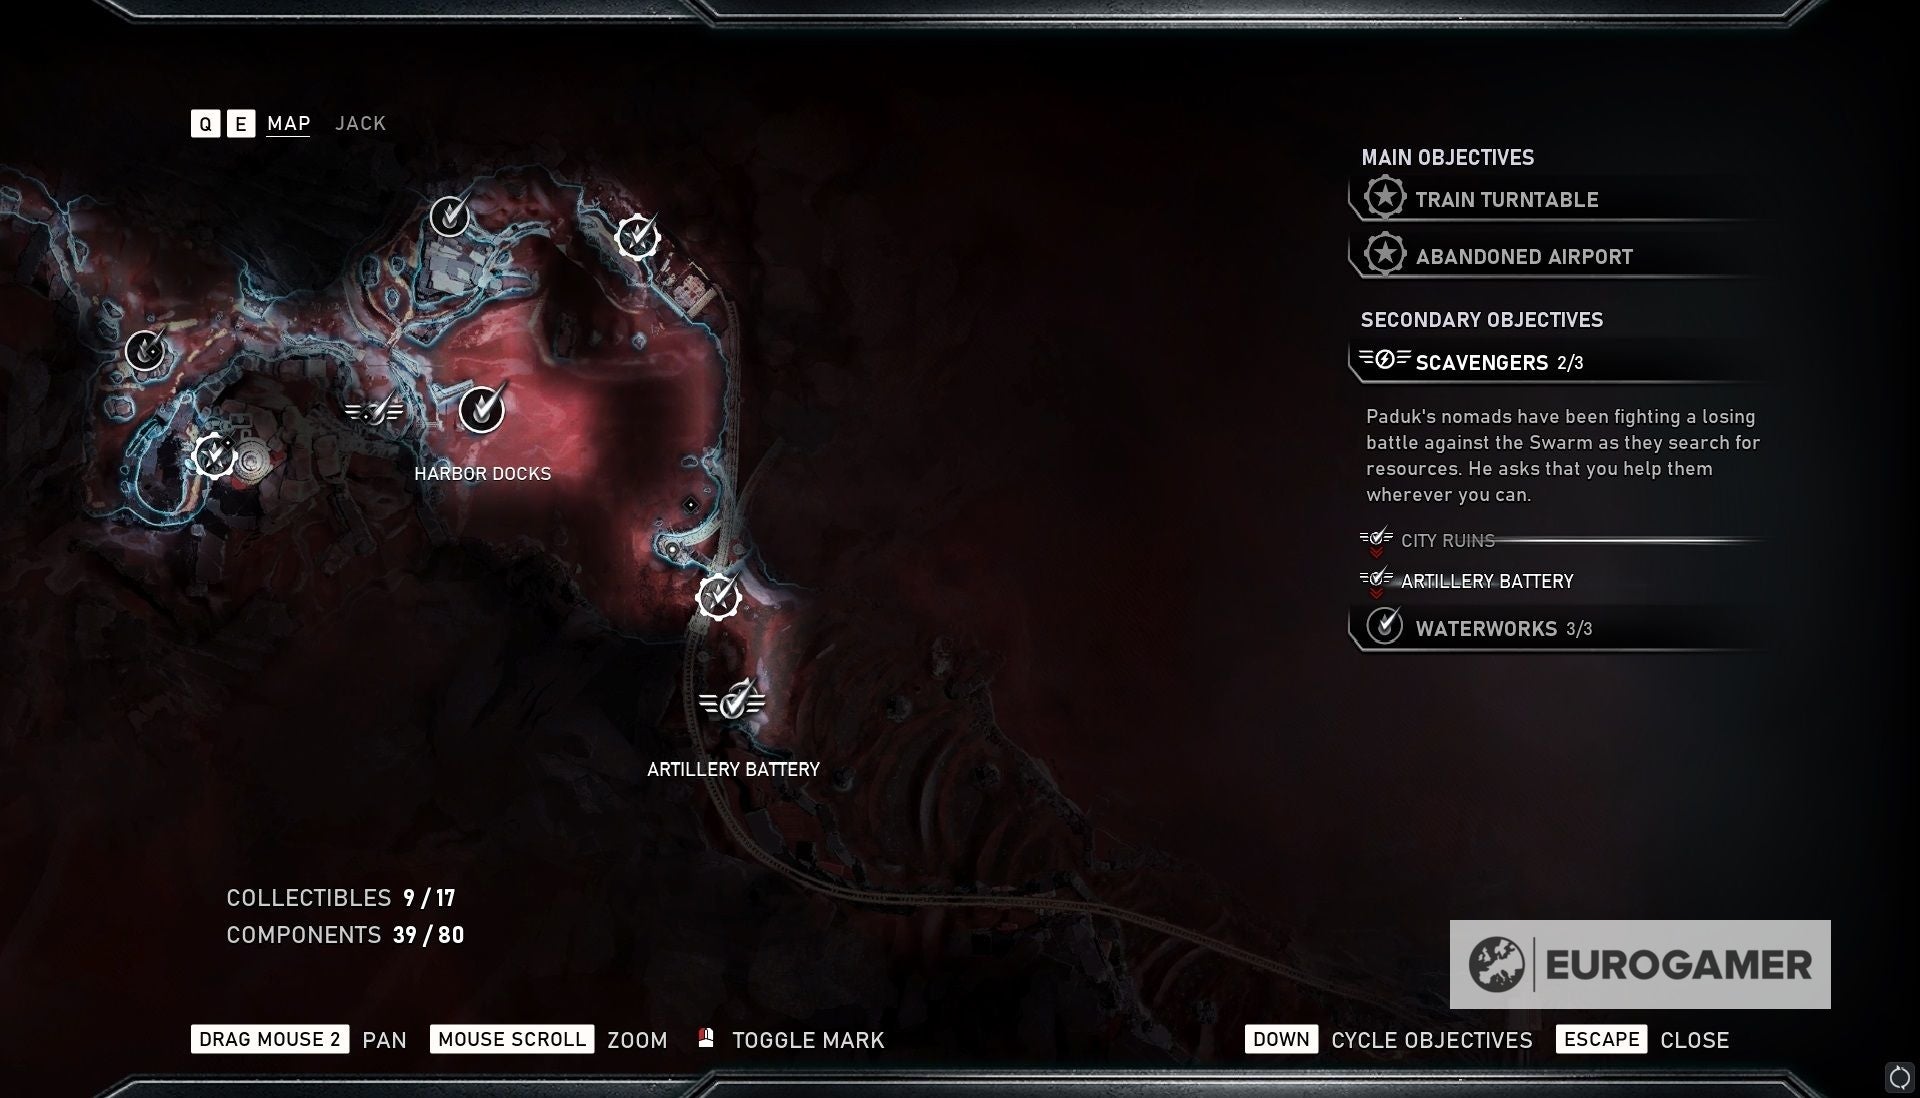
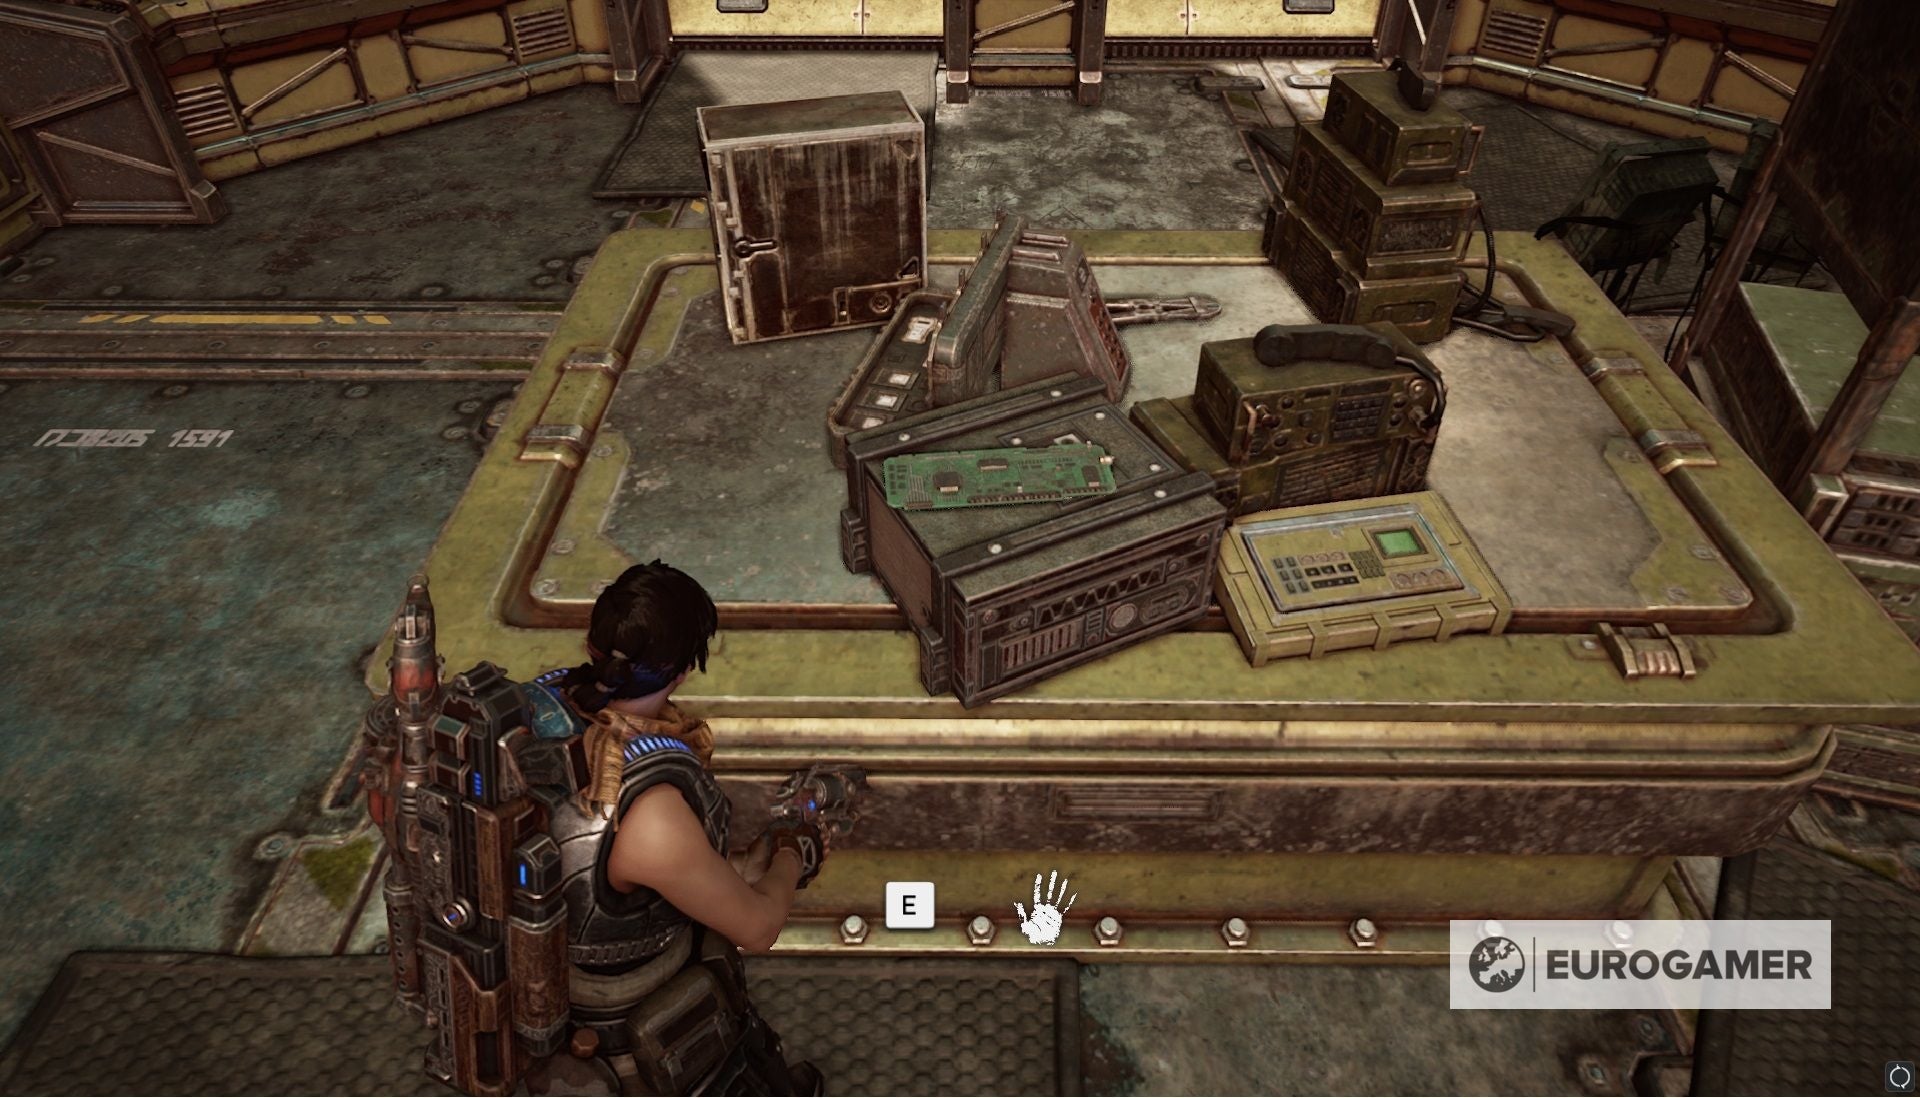
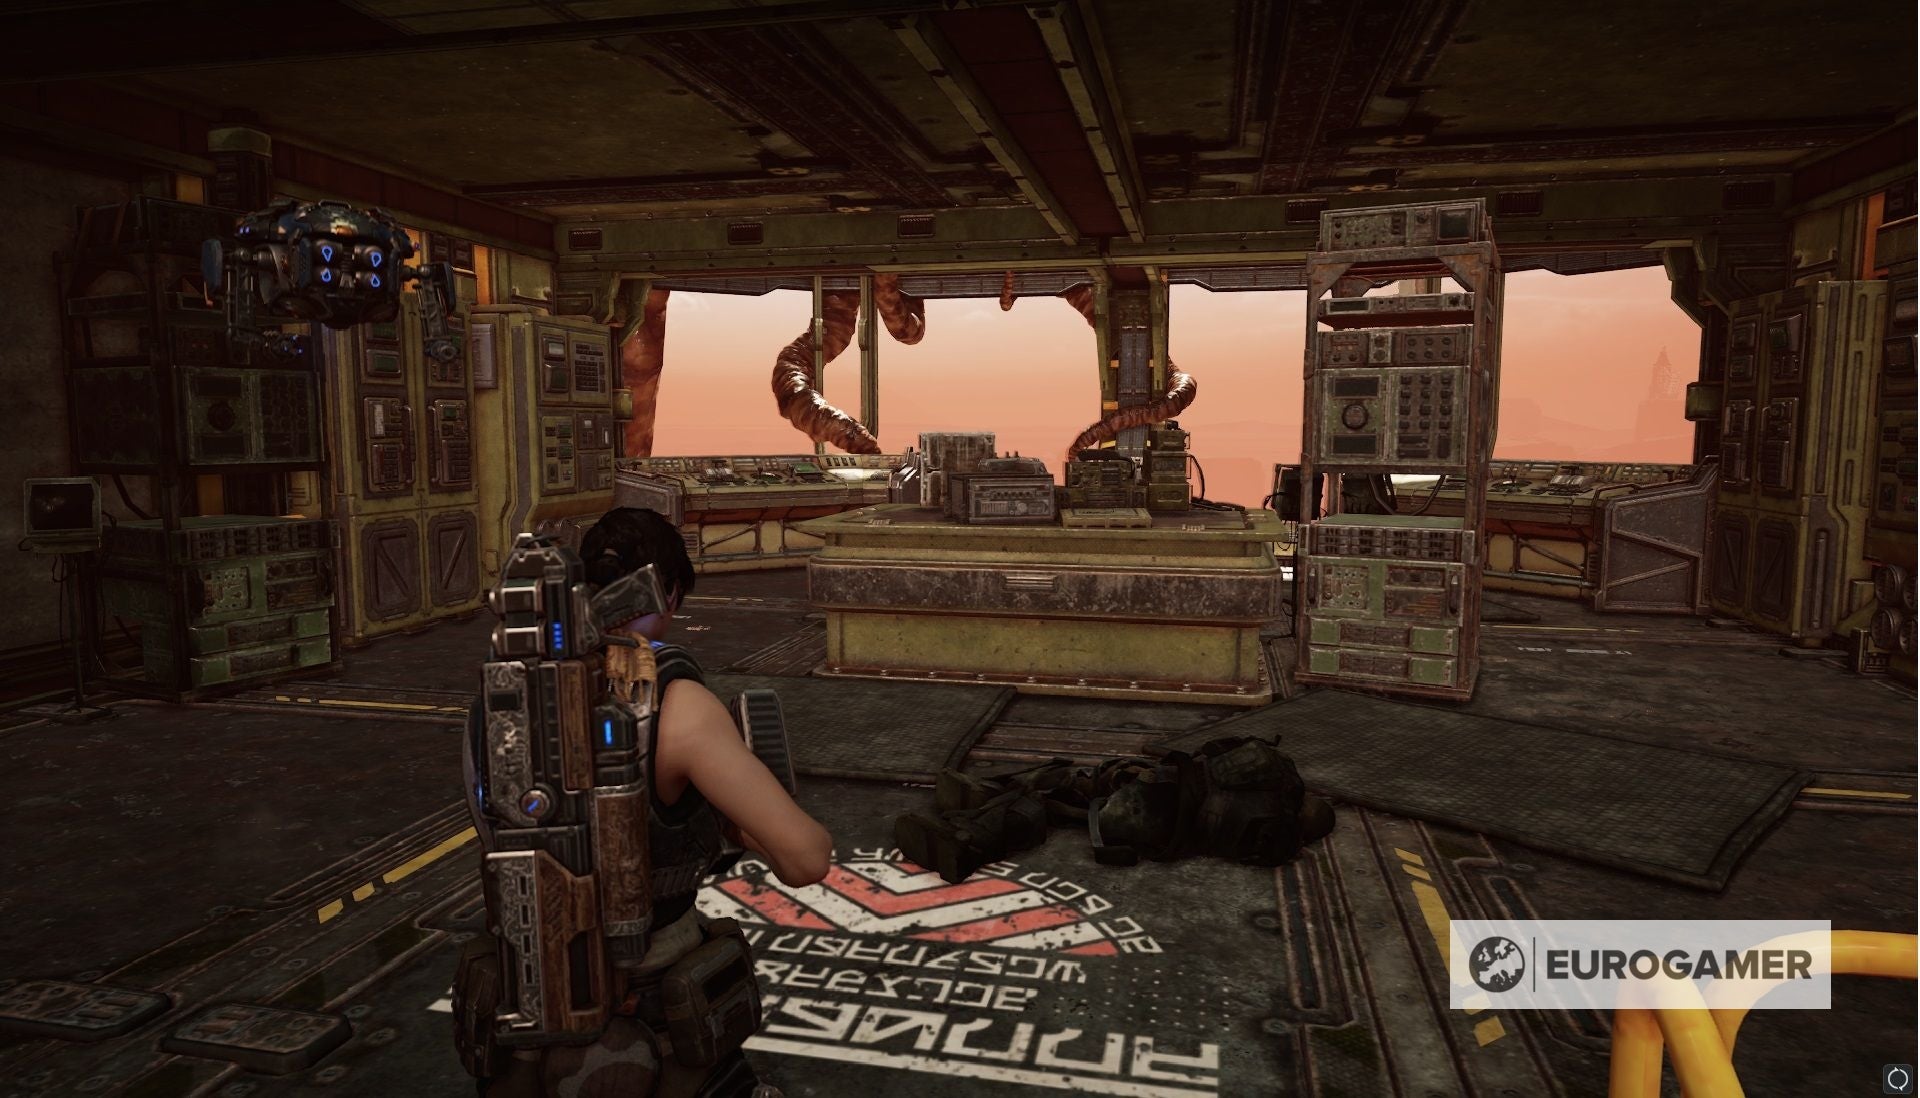
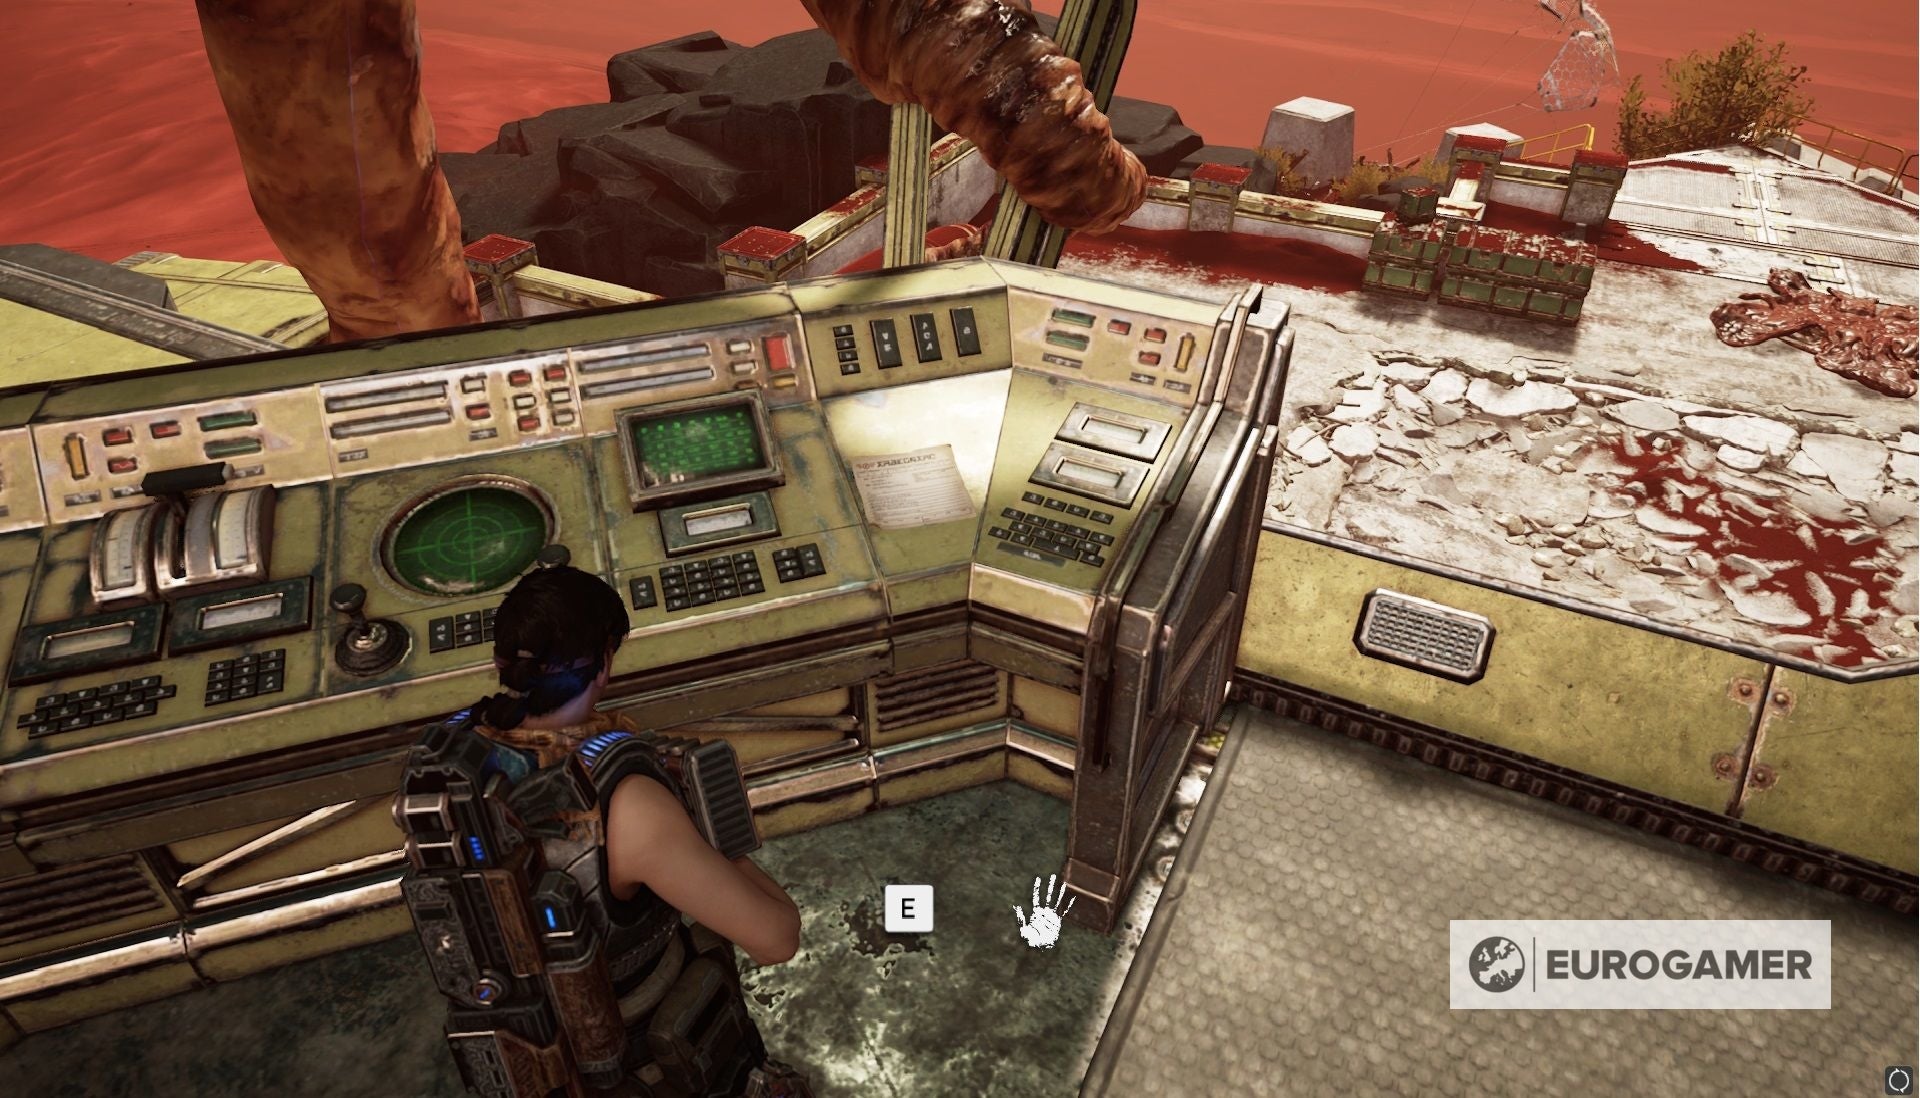
And with that - let’s delve into those collectable locations! At the very start of the game, climb out of the water to your left, where there will be two paths - one going up, and another to the left by the cliff wall. At the end of this left path is the collectable on the ground. Wellness Advisory Poster As you’re exploring the ruined facility, you’ll enter a bathroom, complete with showers and lockers. Halfway through on the left is a poster on the wall, which you can collect. COG Tags: Fallen Azura Gear This one comes a little while after the last two, after the battle through the second silo. After Dave lets you through a door and learns about some intelligence from a computer, you have to go left up some stairs to the Commander’s office. Instead, go straight ahead to the Infirmary. On the right are several bodies in the ground - grab the collectable amongst the weapons and ammo. Chairman’s Wristwatch Straight after the above collectable, you’ll climb some stairs on the way to the Commander’s office objective. Ignore the corridor ahead and enter the dark room on your left. There’s another room in here with the collectable on the desk. Lightmass Missile Strike Authorization On the way to the Commander’s Office, you’ll have an encounter with the Hive and a Scion. Once it’s done and you have to get Dave through a vent to unlock a door, first find the doorway in the far left corner which leads around to a set of consoles in a room overlooking the battlefield you just went through. On the console is the collectable. UIR Hammer of Dawn Blueprints After Dave unlocks the door from the vent following the last collectable and you arrive in the Commander’s office, go straight ahead and search the desk in the opposite room. As soon as you gain control in this chapter, you’ll find this collectable on the desk next to the destroyed robot, Dave. Mark 3 Lancer Blueprint Once you grab the Flash component to upgrade Jack, turn left and walk over to the crates along the far wall. The collectable is a blueprint waiting on one of the crates. Trauma Record: Marcus Fenix Once you grab the Flash component to upgrade Jack, turn right but don’t go through the doorway just yet. There’s a collectable on one of the trolleys to the side. Gym Notice to Trainees After sparring with Fahz, investigate the side of the gym to find the collectable on the wall. DBI Marketing Brochure On the way to Jinn’s office, but before you go through the door to your objective, there’s a seat to the left with a collectable. As soon as you’re in control, look to the ground directly in front of you to find the collectable next to a dead COG soldier. The New Ephyran: 20th Anniversary Edition As soon as you leave the crash site, continue forward until you reach an office. You can find this collectable on a desk in the back left side of the room. Seditious Literature After your first proper firefight proceed upstairs. Once you do, turn around to find the collectable on a desk in the corner. Settlement 2 Welcome Package Upon reaching a room filled with civilians, walk towards the exit with a COG soldier standing nearby. Instead of leaving, enter the small room to the left with a guitar inside. The collectable can be found on a table near the entrance to the room. Storied Embry Star After fighting alongside Lizzie on the streets, enter a destroyed building to the left of the park gate. Go up the stairs and continue to the opposite side of the room, and you’ll find the collectable hidden in a wooden drawer. COG Tags: Fallen Gear At Condor Crash Following your trip through the park you’ll cross a bridge into the wreckage of a Condor ship. On the ground in the wreckage you can find tags surrounded by broken Deebees. Serian Colossus After killing juvies on the street you’ll come by a book shop at the end of the road. Inside you can find the last collectable of the chapter in a display at its centre. After breaking through a locked gate you will enter a loading dock. Walk left down the stairs towards the van and vault into the building. WIthin this small room is a table with a collectable on it. COG Tags: Fallen Cog At Hotel In the loading dock you progress through a blue door into a dark storage room. The tags can be found directly in front of you on the ground next to a dead COG soldier. Lost Horse Plush Following a stealth encounter against a room full of Rejects you proceed through golden doors into a room with flowers at the centre. Walk behind these flowers and under the stairs to find the plush. Settlement 2 Summer Birth Pamphlet In the same room as the prior collectable, continue up the stairs to the 2nd floor. Proceed forward until you see purple signs with the words “parents of Settlement 2” on them. The next collectable can be found on the purple tables beside them. Song Lyrics After you eventually enter the theatre, continue forward until you reach a hallway with wooden floors. Once you do, take the first left into a dressing room, then take another left into a smaller side room. Here you will find the lyrics on a table to the right. Worn Lighter Leave the dressing room and move forward until you reach backstage. Go down the small steps towards the lit dressing tables in front of you, and you will find the collectable on the closest one next to a bust. Octus Canon Scroll Prop When you find yourself on the stage, continue all the way to the other side of the room. To the right of the lever that draws back the curtains the prop can be found on top of a storage crate. As soon as you start the mission, head right down the stairs. There you will find a yellow doorway that leads into a shop. The flute can be found on the table by the till. Ilima City License Plate Keep walking down the main road of the town and you can find a furnace alongside the path. On this furnace near the fire is your collectable. Lost Gear helmet Make your way left of the giant painted bone on the main path towards some bushes. Within these bushes you can find the helmet of a dearly missed COG Soldier hidden on the ground. Wooden Toy Lancer Once you make your way past the broken steam vent, a boy will shoot a toy lancer at you and run away. He leaves your collectable behind by the large cement block on the right side of the street. Major Howl And The Battlin’ Ants Keep walking down the main path and eventually you’ll cross a shop called ‘Salvage N’ Trade’ to the left.Go inside to find the collectable on a display case next to a lantern. New Village Rules Mandate At the end of the road is a workshop that you must enter to progress. As soon as you do, go to the lockers on the left and the mandate can be found hanging off them. Note To The Chief After your character has a vision, walk straight ahead into the yellow building in front of you. Inside, the note can be found on a wooden table. Norsko’s letter When you finally make it to the steam farm, stay right of the path. After passing some tires, the letter can be found on a wooden crate. Outsider Skiff Schematic After making your way back to the first section of the town with the furnace, make your way to the workshop to your left. Next to the silverback mech, you can find a collectable sitting on a container. COG Tags: Oscar Diaz Eventually you will leave the village and enter a dark garage.Go left to the corner of the room to find the tags on a table next to a large red tool cabinet. On your way towards the New Hope coordinates you will stumble across train tracks. Follow the tracks to a tunnel, and enter through a caver south of the tracks. At the end of this tunnel there will be a blue COG train car with a collectable inside. Faded Photograph Once you have left the tunnel, follow the tracks to a lone train car that has crashed into some debris. Enter and you will find a photograph next to a body. Lena’s Journal Follow the New Hope waypoint and you will pass through a small campsite with green tents. You can find the journal on a snow covered stone next to a kettle by the campfire. Islander’s Lost Earing Go back towards the COG gate you opened and towards an even larger gate to the east. Near there is a wrecked vehicle buried in snow. Next to this wreck will be a skeleton with a collectable next to it. After braving the ice storm you will make your way inside the New Hope research facility. When you do, immediately head towards the locked gate on the right side of the room. There, you can find the letter sitting on a desk. Sovereign Directive 10345 Once you fall into the facility’s cells, leave the cell you are in and enter the hallway. Turn right and keep going until you find a locked door to the right. Have Jack open this door and the directive can be found on a desk within. Patient Analysis AX-331-2 Starting from the same room as the Sovereign Directive, leave back into the hallway and continue into the lab on the right. Stick to the left of this room and you will find the collectable on a small metal table next to a bloody metal surgery bed. Patient Analysis: EV-184-9 When you enter a kids room and vaulting through a window, hang a left until you come across a workstation with a computer. The file should be found to the right of this PC on the same desk. Patient Analysis RK-619-4 Following your arrival at the stasis tanks, you will drop down into a long hallway. Take the first door to the right and enter a room with a dead Sire on a table at its centre. The collectable will be on a table next to it. Timeworn Data Drive The last collectable of this chapter is found in the server room. Once you enter, keep to the right and follow the wall as you progress. You will find the data drive on a shelf by several computers. Close to the entrance of the eastern communications tower is a large orange building. Go inside this building and you will find the collectable next to a frozen body. Krav’s Locust Tag Just south of the northern communication tower is an Old Derrick Site. Before you enter, look to the left of the entrance and you will discover a skeleton next to some metal debris. The tags can be found next to the body. Grindlift Actuator Component Within the northern Derrick site is a large destroyed vehicle submerged in snow. After you finish fighting in the area, go on top of this vehicle and retrieve the component behind a yellow panel. Lena’s Scribbles On your way to the northern communication tower you will pass by the northern tower substation on the right of the path. Head to the door, and you will find this collectable attached to the lock. Orders From Ketor Skorge Near a large ice sheet you can find another Old Derrick Site frozen in ice. Make your way to the yellow flag that marks the entrance and stick right. The collectable can be found next to a skeleton trapped under an old rusted machine. Grindlift Radiator Component Continuing inside to the 2nd Derrick site, climb up the large vehicle at the back of the ice cave. There you will find a yellow panel, which will trigger a firefight once you interact with it. After you’re done fighting, go back to the panel to retrieve your collectable. Letter to Momma On the way to the Abandoned Mine towards the south, you have to cross over an ice bridge. Instead of that, proceed past the bridge towards a small armoured vehicle. Next to it is the collectable on a wooden crate. Frayed-Pouncer-Tooth Necklace This collectible can be found at the Abandoned Mine near the eastern communication tower. After fighting off the Swarm, proceed up the lift and kick down a green door. Climb up the wooden tower directly in front of you and you can find the necklace on the ground. Nethercutt Mining Poster Once you are inside the mine itself you need to lift up a metal door to proceed. As soon as you do, enter the room to your right. The poster will be found on the wall to the right of the doorway. Nethercutt Miner’s Journal Once you reach the main part of the mine filled with pods, walk left towards a building with hanging paper lanterns outside. The journal can be found inside on a dinner table. When you come across a large door guarded by gun turrets, walk down the path opposite this door. You will come across a large room filled with dead bodies, with the helmet on the ground at its centre. Subject Analysis: UL-119-2 After you turn off the ice turrets within the facility, walk down the stairs and past the frozen COG soldiers to your right. Walk up the ramp ahead of you and kick down the door, and you will find the file within the room on a desk. Subject Analysis: TE-872-3 After you enter a room with a yellow stasis tank, a story critical cutscene will play. Afterwards, the collectable can be found directly in front of you on the floor. Lexigram Board Following Niles, you will have to use Stim to run past a frozen room to deactivate a generator. Next to this generator is a skeleton holding the board. Subject Analysis: EV-184-9 Once you shut down the facility-wide freeze using the hand-scanner, turn around and walk towards the desks that are illuminated orange. The file can be found on the left desk next to lab equipment. Sketchbook Leave the room with the hand-scanner through a door illuminated with a white light. Look immediately to you left as your go through the door, and you will find the sketchbook on the floor. As soon as the mission starts, turn around and you’ll find the frist collectable on the bar to your right. Doomed Empire, By Logan Hobbs Once you go downstairs, go straight ahead towards the baggage carousel. As you pass some large green boxes, look right to find the collectable on the floor by the doorway. Missive To Agent 9 Pass through the metal detectors within the building and head towards Paduk then walk to your right. Move forward until you enter an office, and the missive can be found on a desk in the left corner of the room. Nomad’s Creed After you leave the building and talk to Paduk, walk left of him and towards the large green tents. The collectable can be found on a table next to a knife and a Markza Mk 1. The Astounding Lightning Rangers! When you get onto the runway, walk past the plane and into hanger 4. Look left of the helicopter and the collectable will be sitting on a metal container. At the start of the chapter head downstairs and open the double doors. As you enter the dark control room, head forward along the right side of the room, and you’ll find the command case by a skeleton and green ammo boxes. OZP-11 Termination Directive As you enter the empty rocket hanger go down the stairs to the right as far down as you can go. Then turn left and continue forward until you reach a small control station. It’s here that the collectable can be found on top of some barrels. UIR Space Mission Brief Continuing through the facility you will eventually sneak up to a pack of Swarm troops. Instead of heading left towards the objective marker once they’re dead, go right and vault onto a small staircase leading into a hidden room. Inside this room, you can find the brief on a metal table. Loyalist Order From Major Toly Making your way through the chapter you will reach a room with a giant circular hatch ahead of you. Vault over the sandbags to your right and you can find the collectable on a green crate near a Longshot. UIR Tag: Major Toly Following the satellite, you’ll enter a large sand covered room with a tank in front of you. Walk straight to this tank and the Tags will be next to a body on the ground. The Major’s Speech Moving towards the objective you’ll find yourself in a dark staircase heading downwards. Follow this staircase until you reach an illuminated room, where the collectable will be located on a table. At the Water Tower, you will have to fight off The Swarm. After you do, open a door to the control room, and the sketchbook will be sitting on a desk. UIR LC Circuit A1 West of the Harbor Docks are ruins with trucks parked outside. FIght your way inside until you find a communication room. Within this room you can find the collectable on a table. Well-worn Vasgari Flag After you pick up the UIR LC Circuit A1 from the communication room in the ruins, leave the room and walk forward until you walk through a doorway into a destroyed room. Turn to your right and the flag can be found on the way. UIR Tag: Fallen Loyalist At the entrance to the rocket hanger where Chapter 2 starts, find the green flag that marks the point of entry. Walk to the right by the large cement blocks to find a tag next to a skeletal soldier. Loyalist Orders To Lieutenant Melich South of the Harbor Docks are three isolated armored vehicles. Behind the northernmost vehicle is the collectable lying by a body. UIR LC Circuit C1 South of the train bridge is an artillery battery. Once you’re finished fighting there, go up the stairs to the 2nd floor and the collectable can be found on the green table immediately ahead of you. Emergency Loyalist Radiogram Remaining in the artillery battery control room, move behind the centre table to find a radiogram on the left control panel. RNV Borascu Captain’s Log To the east of the cargo ship is a destroyed cargo ship. Enter the wreckage and follow the wall to your right. The captain’s log can be found within a blue shipping container on the ground. UIR LC Circuit B1 Within the cargo ship is a set of stairs. Ascend these stairs and you’ll find a collectable on the ground next to a dead scavenger. UIR Tag: Lieutenant Melich Head to the turntable control room you journeyed to at the end of Act 3 Chapter 2. The tags can be found in the back left corner of this room, hidden atop a box in the dark. Lightmass Missile Fragment As you walk towards the Cosmonaut training facility you will come across a hole in the building. Walk to the right of this hold and the missile fragment can be found on the ground past some rubble. UIR Tag: Captain Tagger After fighting off waves of The Swarm in the large circular room where the Hammer of Dawn beacons are stored a wall will be smashed through. Walk through this new exit and you will find the tags on the ground. Fallen Nomad’s Visor Near the end of the chapter you need to meet up with a convoy out in the desert. When you get there, go around the armored vehicle directly to your right and you will find the visor on the ground in the sand. After you’re lifted into a building, walk through the structure until you descend down a flight of stairs. Once you do, walk straight into the right corner of the room for your collectable. Ruptured Gear Helmet As you defeat the Swarmak, proceed until you’re greeted by the street with a van directly ahead of you. Walk right of the van and follow the road., then find a helmet on the ground to your left. COG Tags: Minh Young Kim Once you make it to the Tomb of the Unknown, head right and keep walking until you pass the wreckage of a blue car. After you do, you’ll find some tags attached to some rubble with a knife. Restoration Notice: Tomb Of The Unknown The final collectable of the game is an easy one to find. Walk up the stairs to the Tomb of the Unknown towards the door to the building. Attached to the doorway is the notice, directly right of the entryway. With all the above done, the ‘It’s Not Hording If Your Stuff is Cool’ Achievement should then appear. If not - go through the Chapter list to go through any you are missing.
